'74 Chieftain 21' I/O is home, the rebuild begins !

Status
Not open for further replies.

Watermann

Starmada Splash of the Year 2014
Joined
Jan 12, 2013
Messages
13,786
What is the clamping and drying time of Titebond Wood Glues?

For most of our wood glues, we recommend clamping an unstressed joint for thirty minutes to an hour. Stressed joints need to be clamped for 24 hours. We recommend not stressing the new joint for at least 24 hours. For Titebond Polyurethane Glue, we recommend clamping for at least forty-five minutes. The glue is completely cured within 6 hours.

I think prying with screw drivers could be called stressing the joint.
 

FrankenCub

Petty Officer 1st Class
Joined
Dec 29, 2015
Messages
296
What is the clamping and drying time of Titebond Wood Glues?

For most of our wood glues, we recommend clamping an unstressed joint for thirty minutes to an hour. Stressed joints need to be clamped for 24 hours. We recommend not stressing the new joint for at least 24 hours. For Titebond Polyurethane Glue, we recommend clamping for at least forty-five minutes. The glue is completely cured within 6 hours.

I think prying with screw drivers could be called stressing the joint.
Well if completely cured in 6 hours, one would think that the core taken out with the hole saw wouldn't have come apart by the drilling process. That's what got me concerned. The cutout from the keyhole didn't take much pressure with the screw drivers at all. I would think that it would have been much stronger after 12 hours.
Maybe I'm just worried bout nothing, but seeing how easy they came apart doesn't sit well with me lol. Not like I had my 4' demo bar in it :D
 

oldhaven

Chief Petty Officer
Joined
Aug 30, 2015
Messages
576
A properly prepared and cured West System Epoxy joint will tear apart the wood fibers before the epoxy fails. I have tested this by building laminated longbows and any failures I had in those highly stressed joints were because the wood laminations or the handle scarfs failed mechanically. Something may have contaminated the surface of the plywood but if it was roughened up and warm enough for the glue to penetrate the wood it should have been good with the TB3.

Ron
 

classiccat

"Captain" + Starmada Splash Of The Year 2020
Joined
Dec 20, 2010
Messages
3,412
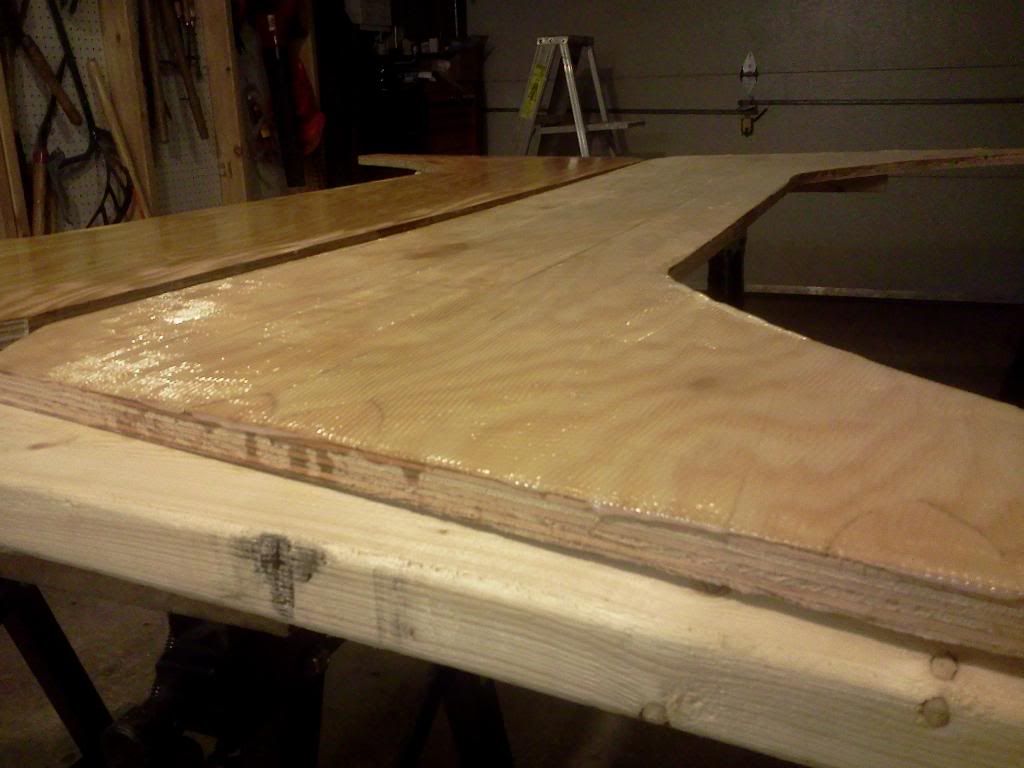
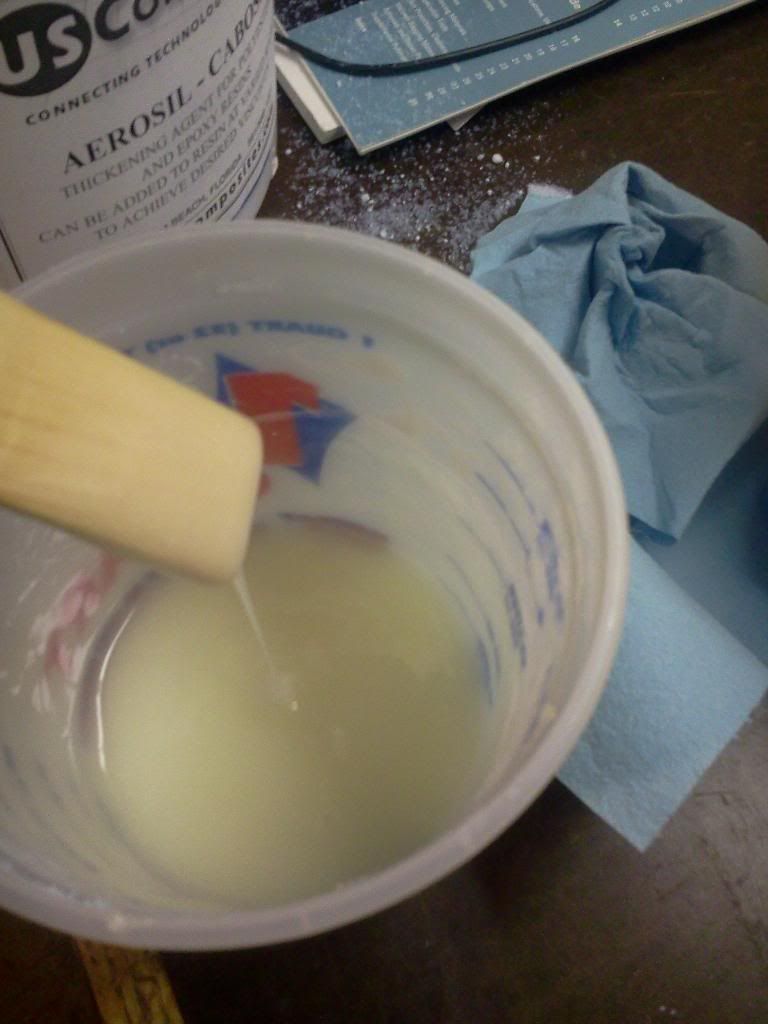
Strange...alot of guys have been having success with the TBIII however if you're still apprehensive & decide to go the epoxy route, use a prime coat of straight epoxy. Once that tacks-up (before it gets waxy), spread an epoxy/cabosil mix for the glue.


FrankenCub

Petty Officer 1st Class
Joined
Dec 29, 2015
Messages
296
A properly prepared and cured West System Epoxy joint will tear apart the wood fibers before the epoxy fails. I have tested this by building laminated longbows and any failures I had in those highly stressed joints were because the wood laminations or the handle scarfs failed mechanically. Something may have contaminated the surface of the plywood but if it was roughened up and warm enough for the glue to penetrate the wood it should have been good with the TB3.

Ron

I'm going to check it out more today before I pry it apart, maybe Watermann is correct and I 'm just worried about nothing. IDK, now it's cured more so I was just too early working with it.

Strange...alot of guys have been having success with the TBIII however if you're still apprehensive & decide to go the epoxy route, use a prime coat of straight epoxy. Once that tacks-up (before it gets waxy), spread an epoxy/cabosil mix for the glue.

That's what I was originally going to do, other than different brand of epoxy. We'll see what happens by the end of the day.
 

FrankenCub

Petty Officer 1st Class
Joined
Dec 29, 2015
Messages
296
I trimmed the top of the transom where it needs the angle to fit under the cap, I left it an inch tall for test fitting, and the scrap piece trimmed off is glued good on part of it and the other part not. Where it is a good joint it will ruin the wood before the joint fails. Now I definitely don't want to try to split it to redo. It would most likely cost me two pieces of plywood. For the most part the transom seems good, not flexing and only a couple spots I'm kinda suspect of. The only thing I can think of doing is try to force some glue into the joint and reclamp while I make a new horse collar. I didn't realize the one I made was of old PT I had laying around. Using my phone to post so I'll try to check back every so often.
 

Watermann

Starmada Splash of the Year 2014
Joined
Jan 12, 2013
Messages
13,786
Well if completely cured in 6 hours, one would think that the core taken out with the hole saw wouldn't have come apart by the drilling process. That's what got me concerned. The cutout from the keyhole didn't take much pressure with the screw drivers at all. I would think that it would have been much stronger after 12 hours.
Maybe I'm just worried bout nothing, but seeing how easy they came apart doesn't sit well with me lol. Not like I had my 4' demo bar in it :D
I think the 6 hour cure time at the end of the Tite Bond quote I posted is for the Tite Bond Poly glue which is what I use (below). The TB III is 24 hours. Even so with the poly TB I let it sit a couple days before I mess with it.

44405-01-1000.jpg
 

FrankenCub

Petty Officer 1st Class
Joined
Dec 29, 2015
Messages
296
While letting the transom sit after working more glue into a couple spots I get most of the bad gas out of one of the tanks, and found a pin hole. As I moved the tank back and forth I could hear the rust and crud sliding around. They're no good :mad:
While sitting in the Chief pondering what way to go and taking measurements I decided the little 19g belly tank from the Renken would fit under the floor but not sure how much will actually get filled with a bow high attitude and the filler towards the rear. With further cleaning of the tank, fg resin all over it from a previous floor replacement, I found a friggin hole in that one too. Right on top so I'm thinking PT floor ? It as several spots of corrosion but this is the only one that goes through it.

IMG_0474.JPG
 

g0nef1sshn

Lieutenant
Joined
Feb 24, 2015
Messages
1,291
I think the 6 hour cure time at the end of the Tite Bond quote I posted is for the Tite Bond Poly glue which is what I use (below). The TB III is 24 hours. Even so with the poly TB I let it sit a couple days before I mess with it.

44405-01-1000.jpg

Cant remember how many days mine sat, but j know it was several because i was out of town to have the patience to do it.
 

Watermann

Starmada Splash of the Year 2014
Joined
Jan 12, 2013
Messages
13,786
Oh man that's a bummer, the pitfalls of rebuilding these old tin cans sure does take resolve at times.
 

jbcurt00

Moderator
Staff member
Joined
Oct 25, 2011
Messages
25,030
Dont throw the tanks out just yet. A radiator shop can probably make repairs to the Renken.

Bummer about the holes all the same.
 

FrankenCub

Petty Officer 1st Class
Joined
Dec 29, 2015
Messages
296
Oh man that's a bummer, the pitfalls of rebuilding these old tin cans sure does take resolve at times.

Yeah you aren't kidding lol. I do feel good about it though, I'm getting out so much easier than some of the issues you guys have fixed.
 

FrankenCub

Petty Officer 1st Class
Joined
Dec 29, 2015
Messages
296
Dont throw the tanks out just yet. A radiator shop can probably make repairs to the Renken.

Bummer about the holes all the same.

The steel Chief tanks I won't bother with, from what I've seen repairing cars and motorcycles they would need to be coated on the inside, then still have a rusty tank. The Renken tank I can fix, not worried bout that one other than fuel capacity is kinda small. Even smaller if it won't fill all the way with the front being higher than the full pipe is. I have it listed on Craigslist, glad it didn't sell yet. I wouldn't want someone to find it leaking on them. Better go take it off the ad.
 

FrankenCub

Petty Officer 1st Class
Joined
Dec 29, 2015
Messages
296
Ramblings of the gas tank search. In a quest for not needing to raise the deck I'm finding either tanks that are too small of capacity, or the need to spend $500 to replace stock location tanks with plastic. Found a good price on Moeller tanks on that Jungle site but by time I add in everything else needed it will be $500+. Could fix my 19g easily, and free, but would prefer more than 19g. Could build my own from steel to sit in the belly using much more of the available space and end up with roughly 30g, but don't have a break to make the bends. Found a plastic supplier that is close to me with some really great prices on 4x8 sheets but most of what he has I don't think is good for gas tank builds. He emailed me with another thought, Polystone G, which is HDPE. Now that would work great, I can fusion weld it and can also get HDPE pipe to use for fill and vent tubes. Oh snap, it's 1" thick. Only about 3/4" overkill.

I wish that weather would straighten up already, I have Spar needing to be brushed on.
 

Watermann

Starmada Splash of the Year 2014
Joined
Jan 12, 2013
Messages
13,786
Keep an eye on CL, I don't often check for fuel tanks on there but some guys score nice ones on the cheap. Yeah then you're back to fitting it because it won;t be the right size and you may have to travel for it. I would recommend the poly tank over anything else, steel rusts and AL corrodes.

I been doing some spar myself, love the smell in the air of it drying, it smells like things going back together!
 

FrankenCub

Petty Officer 1st Class
Joined
Dec 29, 2015
Messages
296
Yepper, I check CL every day. So far everything that will fit in the space below deck is too tall. Mostly aluminum is what I'm finding. I would definitely go poly if I find one. There have been a couple that would fit under deck hight but have been too wide. I really wouldn't mind building a steel tank, as long as they are kept clean they would outlast me. The stock tanks have had nasty old gas/water/sludge in them for god knows how long. That's what ruined them. I did consider sealing them but the amount of sealer they would take I and the amount of work it would require to get them cleaned out I don't believe is worth it. I can here the rust sloshing along the sides as I tip them back and forth lol. Not giving up hope yet, I've been looking in a 200 mile area.

We've been going from decently warm but threat of rain to freezing temps still. I probably could have gotten some Spar brushed on today but the wife had me busy running. Probably for the best anyway, it's supposed to get cold again tonight. Probably have the wood stove going again.
 
Last edited:

FrankenCub

Petty Officer 1st Class
Joined
Dec 29, 2015
Messages
296
I went scavenging in a salvage yard a friend of mine ownes a couple days ago and found a Sprayliner Capri that was pretty much gutted with 6" of water sitting in the bottom of the hull. A quick guesstimate looked like the tank would be close to a good fit. Today I went back with a tape measure, hammer, and wood chisel. Width and depth were going to be fine to sit in the belly of the Chief so I went to chopping away at the rotted wood and glass. After cutting through the glass at the bottom of the bilge I got a smell of gas and thought great, the bottom is corroded through. Figured I was that close I'd pull it and look anyway. Turns out some honyock did a scab repair by the front of the tank and drove two nails through the top of the tank. No big deal, it's 48" long and I plan I having a welder/fab buddy of mine stretch it to 68" long and he can weld the holes up while he's at it. That should give me about 38g, it's 20g now.
At least the gas tank search is over, I can get this done and be ready for the deck.
As it set in the belly now, makes me feel good for sure...


I like where the fittings are going to fall too, easy to route and convenient


Watermann

Starmada Splash of the Year 2014
Joined
Jan 12, 2013
Messages
13,786
Super! At least now that load is off your mind, belly tanks are the best in my book. :thumb:
 
Status
Not open for further replies.
Top