Superjet511
Seaman
- Joined
- Oct 22, 2018
- Messages
- 65
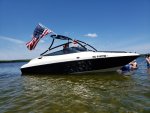
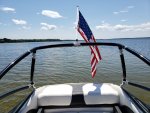
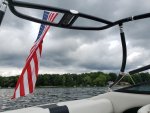
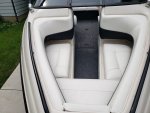
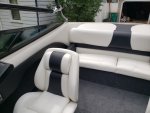
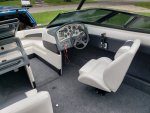
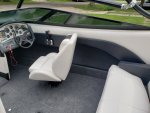
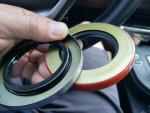
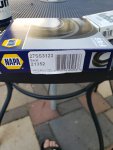
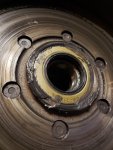
Well we took it out for a test run a couple weeks ago. Everything went well but I wished I had filled the fuel filter with fuel as it took a ton of cranking. We ended up putting some fuel down the carb and we were good. Aside from that it was all good. Last week we took it up to Manistique Lake in the U.P. which is over 10k acres. We spent a full week and it was incredible. Of course there will be more (stereo, bimini, etc.) but the majority of it is complete and we can enjoy it fpr the rest of the summer. Thanks for following along all and if there is anything I can help anyone with I would be more than happy to! Before I forget, I did have some bad luck that I forget to mention with the trailer. I put all new electric brakes on the trailer. They did not work at all after just a few miles. I discovered that the seals had come out of each drum and got grease all over the shoes. I cleaned everything up and replaced the seals. Same thing happened. I wondered if I had overfilled the hubs with grease the first time and forced the seals out since there is very little press on these seals. There is no sealant and it is a flimsy case on the seal. I found better seals that have a thicker case and have a sealant on the OD of the seal. No problems after over 700 miles. I HIGHLY recommend these seals over the standard ones that I got with the brakes. They are an axle seal from a 78-79 Blazer (2.125 ID x 3.375 OD). The third photo shows where grease actually purged between the OD of the seal and the ID of the drum. The seal has a ground surface...not sure how it was expected to seal. I have heard of people loctiting seals in but the more robust seal with the sealant on the OD seemed like the better route.
Attachments
Last edited: