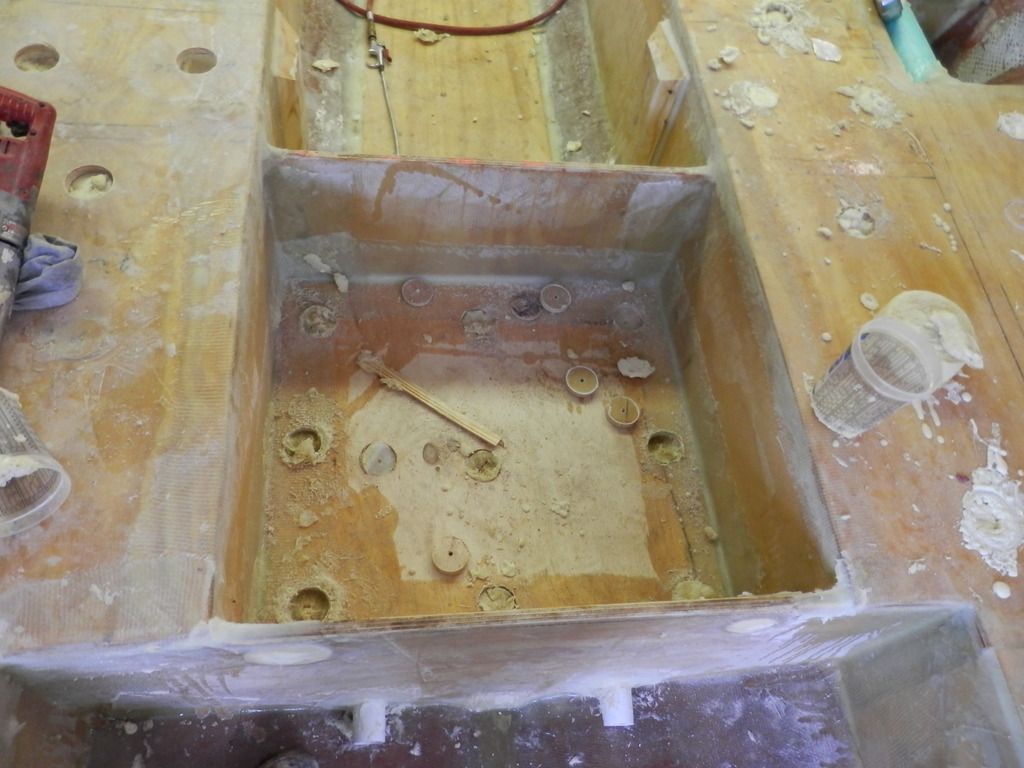
1992 Stratos 2250 here we go again

ahmincha

Lieutenant Commander
Joined
Jul 21, 2012
Messages
1,512
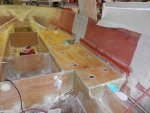
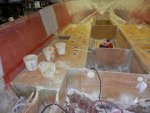
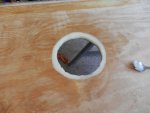
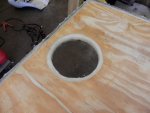
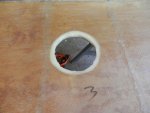
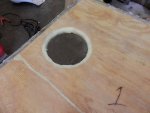
Drill my holes and started foam
j
P6250001_zpsrcegib5y.jpgP6250002_zps5qxfddoz.jpg
 
Last edited:

Woodonglass

Supreme Mariner
Joined
Dec 29, 2009
Messages
25,927
Hey, look at da size uh dat, yous cud put tree bodies in dere!!!!! Fuhgitabotit!!!!:eek::D;)
 
Last edited:

ahmincha

Lieutenant Commander
Joined
Jul 21, 2012
Messages
1,512
Oh they came sphelps Thanks Cor Wood your not lying I done screwed up on my foam calculations. I cut in half when i went to 4lb instead of doubling it back to the ordering board!!! :stupid:
 

ahmincha

Lieutenant Commander
Joined
Jul 21, 2012
Messages
1,512
Thanks kfc I'll have take your word for it floating with 2" hole. haha
Didn't do any work on boat this weekend we had to work at our city carnival which is usually fun but 3 days of rain sucked all the fun out of it.
 
Last edited:

kcassells

Fleet Admiral
Joined
Oct 16, 2012
Messages
8,720
I played around with some foam the other day. I used a 1gal bucket, placed an oversize small trash can bucket in it.
measured A and B in two seperate qt containers.
Put A in the bag/can, added B and stirred, pulled bag up and out, snipped bottom of bag when I got over to the hole that was getting filled. Squeezed everything out and tossed the bag.
Worked great and was not a mess at all.
 

ahmincha

Lieutenant Commander
Joined
Jul 21, 2012
Messages
1,512
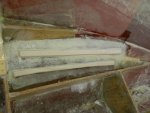
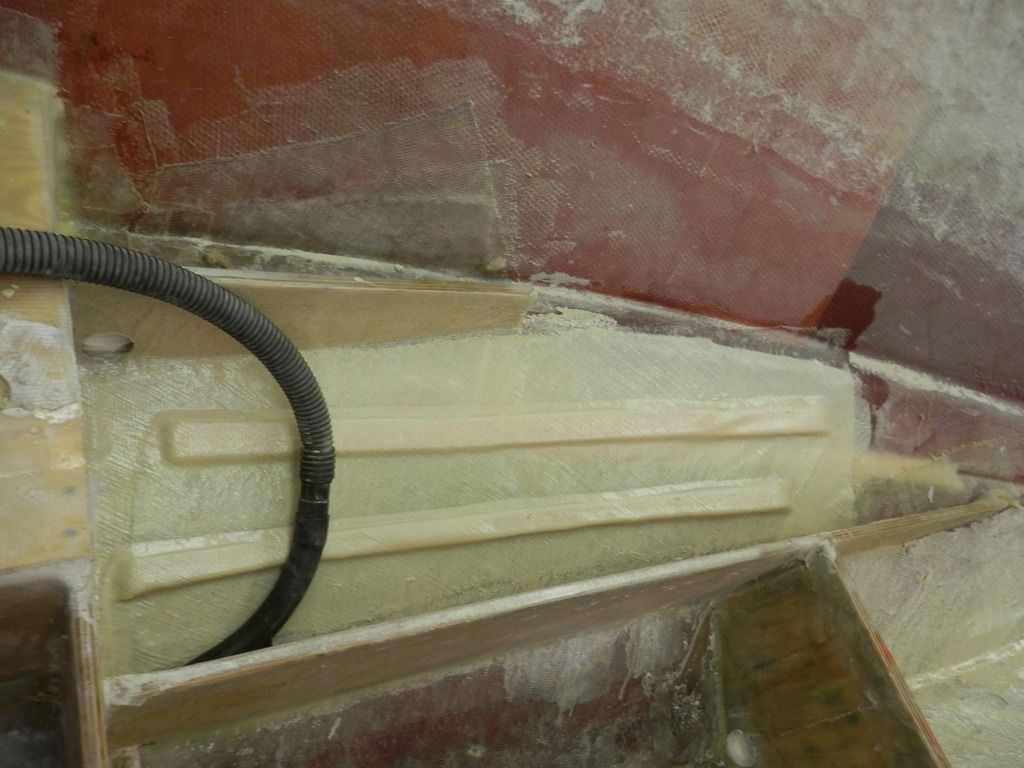
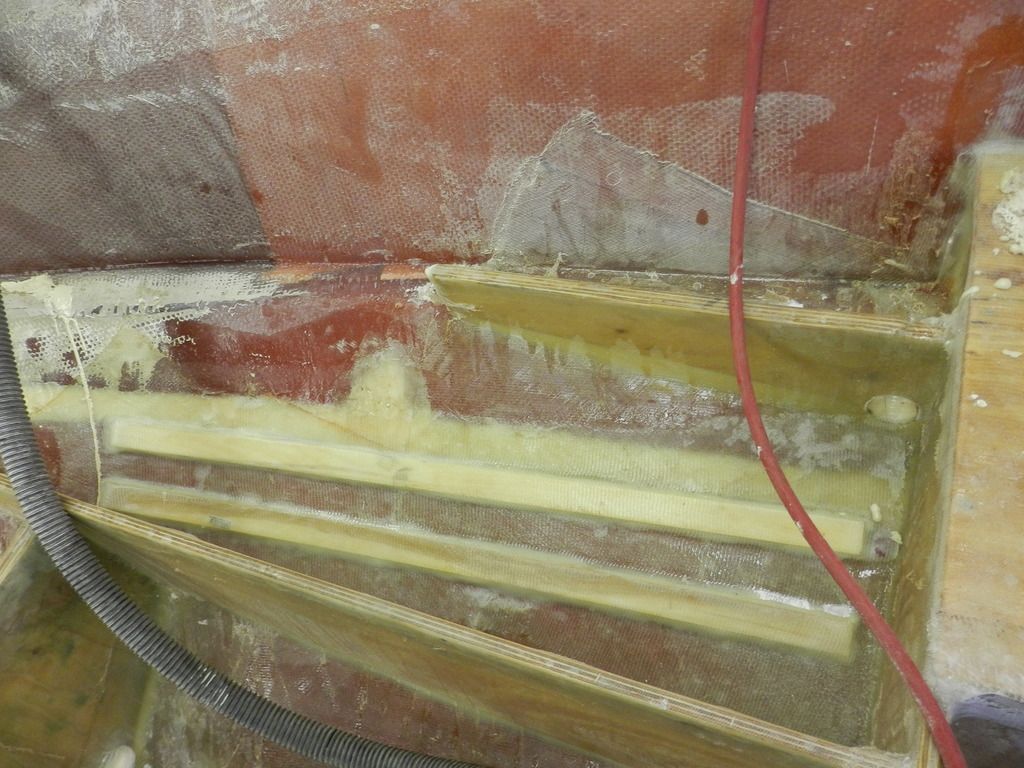
Started to add the stiffeners, I used some pink foam I had sitting around just to shape the glass. P6290001_zpsxjo3ygzp.jpg
 
Last edited:

ahmincha

Lieutenant Commander
Joined
Jul 21, 2012
Messages
1,512
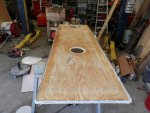
My foam should have been delivered to work., will find out later. In the mean time I pbed the bottom side of the removable fuel tank cover and 1 layer of 17 oz
j
k
k
And the 1 layer of 17oz Click image for larger version  Name:	P7060001_zpst2ri5mrn.jpg Views:	1 Size:	213.2 KB ID:	10533856Click image for larger version  Name:	P7060002_zpsxu6ogqvp.jpg Views:	1 Size:	153.2 KB ID:	10533857Click image for larger version  Name:	P7060003_zpsgrwl8ecy.jpg Views:	1 Size:	160.2 KB ID:	10533858
 
Last edited:

ahmincha

Lieutenant Commander
Joined
Jul 21, 2012
Messages
1,512
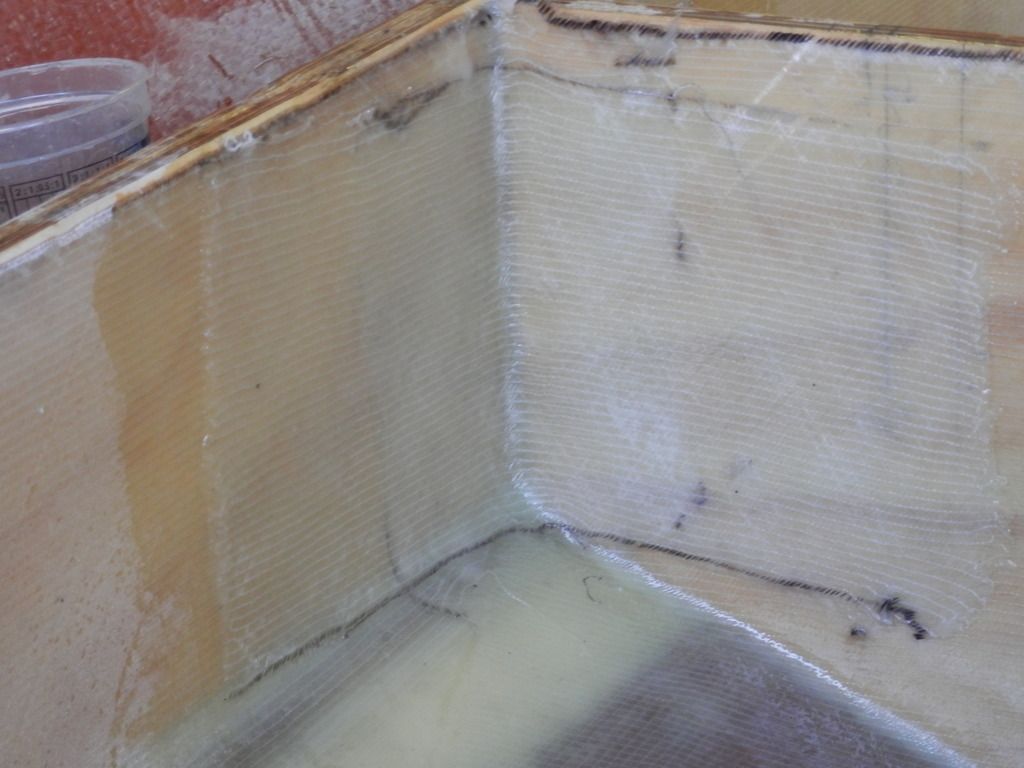
Well since I am getting close to getting the liner installed I figure I better ask the experts I have a few of these dry looking spotts mainly on the top area of my stringers. from small pimple size to quarter size just randomly here and there. Similar to whats in picture
Should I sand these out and reglass or pb them or are they harmless [h=3][/h]
 

zool

Captain
Joined
Aug 19, 2012
Messages
3,432
Just leave them Minch, basically harmless..you wont get every stitch of cloth to soak, As long as you don't have big pockets of air. You did a fine job ;)
 

Woodonglass

Supreme Mariner
Joined
Dec 29, 2009
Messages
25,927
OH NO!!! It's ruined for sure!!!!! You have to rip out the entire stringer and start ALL OVER!!!! IT"S THE LAW!!!!:eek: Well, I guess we'll let ya slide just this one time but...don't let us catch you slackin again!!!!:nono:
 

52FordF2

Petty Officer 1st Class
Joined
May 31, 2013
Messages
372
Does that mean since its an imperfection he'll have to rip it all out to the transom skin and start over :D. Since it has to be perfect :cool:.

Those marker lines has to go also, No cheat codes :laugh:.
 
Last edited:

ahmincha

Lieutenant Commander
Joined
Jul 21, 2012
Messages
1,512
Well thats good news. If cheatind isn't allowed I better start over on last years boat also haha.
 

ahmincha

Lieutenant Commander
Joined
Jul 21, 2012
Messages
1,512
Ok so I tried adding colored pigment to epoxy and paint the areas i wanted painted and it seems to thin and doesn't cover well.So what would be the next best thing I'm paiting the bilge storage areas and fuel tank area
 

ahmincha

Lieutenant Commander
Joined
Jul 21, 2012
Messages
1,512
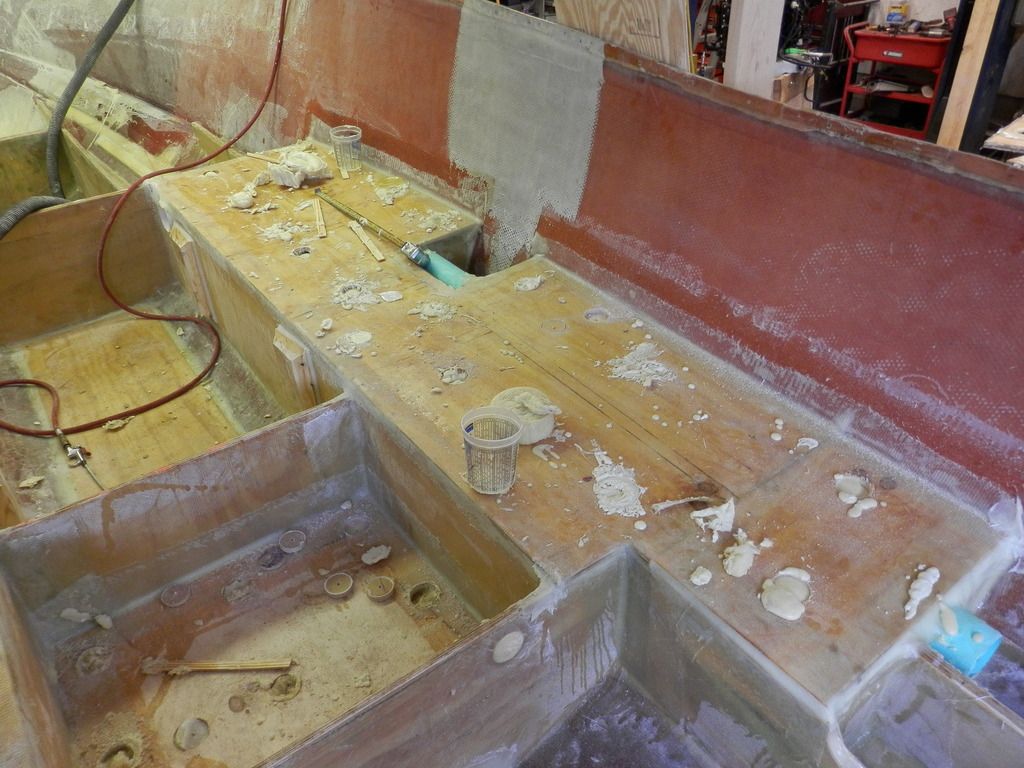
results of my pigmented epoxy and not painted
And I foamed the other side
And my bonus area I decided to foam under it also took another 6 quarts of foam
 
Top