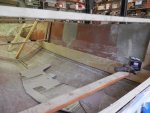
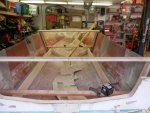
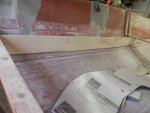
1992 Stratos 2250 here we go again

ahmincha

Lieutenant Commander
Joined
Jul 21, 2012
Messages
1,512
Ordered today 20 gals of 635 3:1 and 20 lbs of cabisol from us composits . I'll get the glass locally
 

kcassells

Fleet Admiral
Joined
Oct 16, 2012
Messages
8,720
Ordered today 20 gals of 635 3:1 and 20 lbs of cabisol from us composits . I'll get the glass locally


You are an ANIMAL! Hey just a heads up. When you go to mix the PB make your ratios for the amount of area you want to use. BUT have a larger container to pour the mix into then add the cabosil. I find it so much easier to mix it up that way instead of the small cup. Soaks up the filler faster. I do it by hand with a mix stick or pc. of whatever I have lying around. The small cup is just no way.
Don't tell the wifey but I kept a soup ladle in my cab bucket to use for the mix and have been able to determine the mix/scoops that I want to get to the texture I want.
In the beginning I made it so wet that it just wouldn't stay in place or if on a vertical fillet would run down. Trial error thing. You can make it workable so you can do complete underside approaches that stay intact.
Welcome to EEEEEEEEEEpoxy! :)
 

ahmincha

Lieutenant Commander
Joined
Jul 21, 2012
Messages
1,512
Yeah I was starting to think to hard and second guessing using epoxy. So I figured I need to get it ordered no turning back now. Thanks for the tips kc
And thanks for the link zool all in all looks easy enuff.
 

zool

Captain
Joined
Aug 19, 2012
Messages
3,432
Yeah I was starting to think to hard and second guessing using epoxy. So I figured I need to get it ordered no turning back now. Thanks for the tips kc
And thanks for the link zool all in all looks easy enuff.

It is easy, and more forgiving than poly, as long as the substrate is clean......sticks like epoxy..err, I mean glue ;)

A little goes a long way, looks like you will have plenty...Ive only used 6-7 gallons so far, and am half done..
 

Arawak

Chief Petty Officer
Joined
Aug 27, 2010
Messages
486
Nice to see things coming along since I last checked in.

As zool mentioned, epoxy mix ratio is important. I've done it lots of different ways, but these days I prefer to mix epoxy by weight, especially for small batches.

Using a food scale dedicated to the purpose, I set the cup on the scale and zero it, then I fill it to 5/6ths the desired quantity with part A. Calculator gives me the amount (18% in my case) of part B needed to add, and then I slowly add it in until I get to the right amount. Once or twice I have gone over, but it's easy to calculate how much part A needs adding to get it right.

NOTE: mix ratios by weight are slightly different than by volume. Should say on your can, or worst case call the distributor.
 

kcassells

Fleet Admiral
Joined
Oct 16, 2012
Messages
8,720
Mixing epoxy is so much easier than poly. So you already know the intricacies mix/ratio of that. Epoxy is so forgiving. No science required except a pair of glasses if you need them. Run a couple of tests and you'll go "what...no way.. too simple stupid." Except for the cost.
To get use to it, measure resin in 1 cup and then the hardener in another cup...of course they have us meas. details.
Then what I do is pour the hardener into the resin and leave a mix stick in the cup so then on an angle all of it drains into the resin. Then stir it up top to bottom side to side. If I were doing Meth or something then I might get a scale...lol!
After that you'll be measuring all in 1 cup and slapping it in.
 

kcassells

Fleet Admiral
Joined
Oct 16, 2012
Messages
8,720
The most important point is to get the epoxy out of the cup and spread it around one way or another. If not it will smoke up and harden in a bulk cup state. It's cool to use a paint pan with a liner, kinda thins it out for working it, but you have to get the load out of the cup. Work time is fast and hot when in a concentrated container.
 

kcassells

Fleet Admiral
Joined
Oct 16, 2012
Messages
8,720
wet out the areas your working on, soak and kill all the corners too. Apply the prefit glass. I use my gloved hands to work the corners where they were marked out to be. Then continue wetting out. Try to work all the areas but top areas will roll down to the bottom areas so keep working the EEEpoxy till everything is saturated. Then, have a beer, a smoke and go in with popping and moving bubbles. Always work the corners gently and don't stretch out the fabric. If you do...push it back and rework.
I used clips to hold the glass up on top of stringers/bulkheads for fit. Then remove clamps {they get in the way} and do like Zool has mentioned, use a nail or screw to hold fabric in place.
 

ahmincha

Lieutenant Commander
Joined
Jul 21, 2012
Messages
1,512
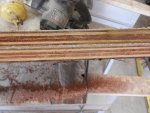
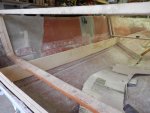
So I cut up the old transom and it seems the was fiberglass in between the 2 layers P3190001_zpsduyqwruw.jpg P3210003_zpstkoubcs8.jpg P3210005_zpsjw40xs65.jpg P3210006_zpsflnefspz.jpg P3210004_zpstfhclcrd.jpg P3210005_zps8uiysdeq.jpg P3210006_zpsyudzbee2.jpg Starting my new stringers
 
Last edited:

ahmincha

Lieutenant Commander
Joined
Jul 21, 2012
Messages
1,512
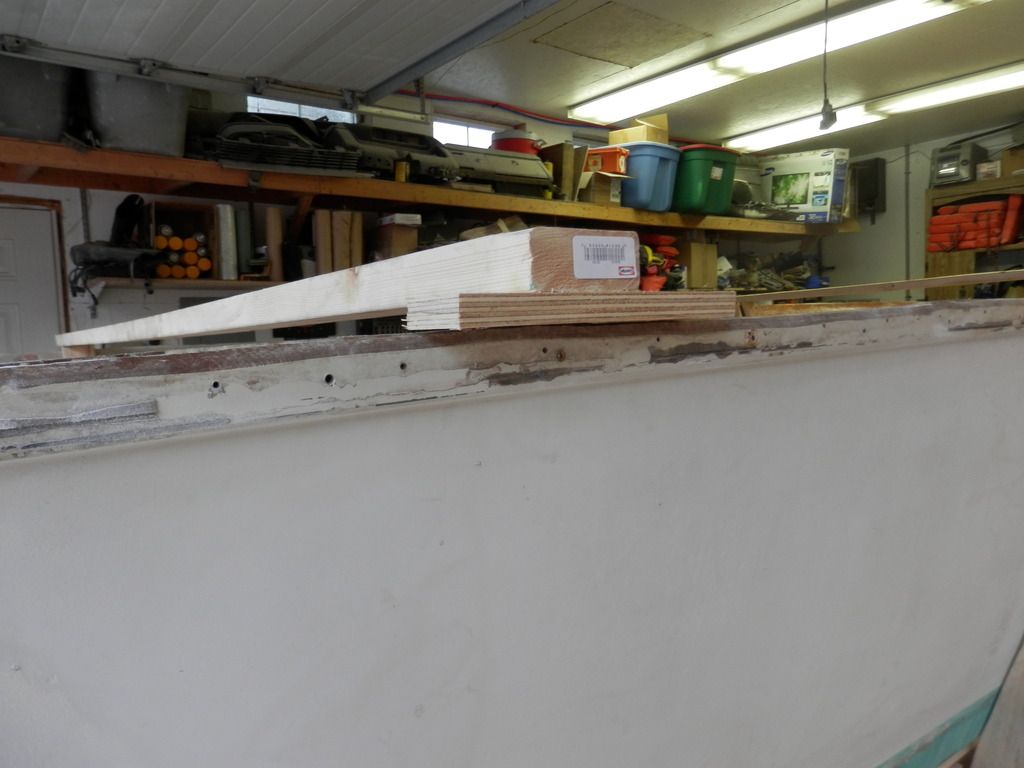
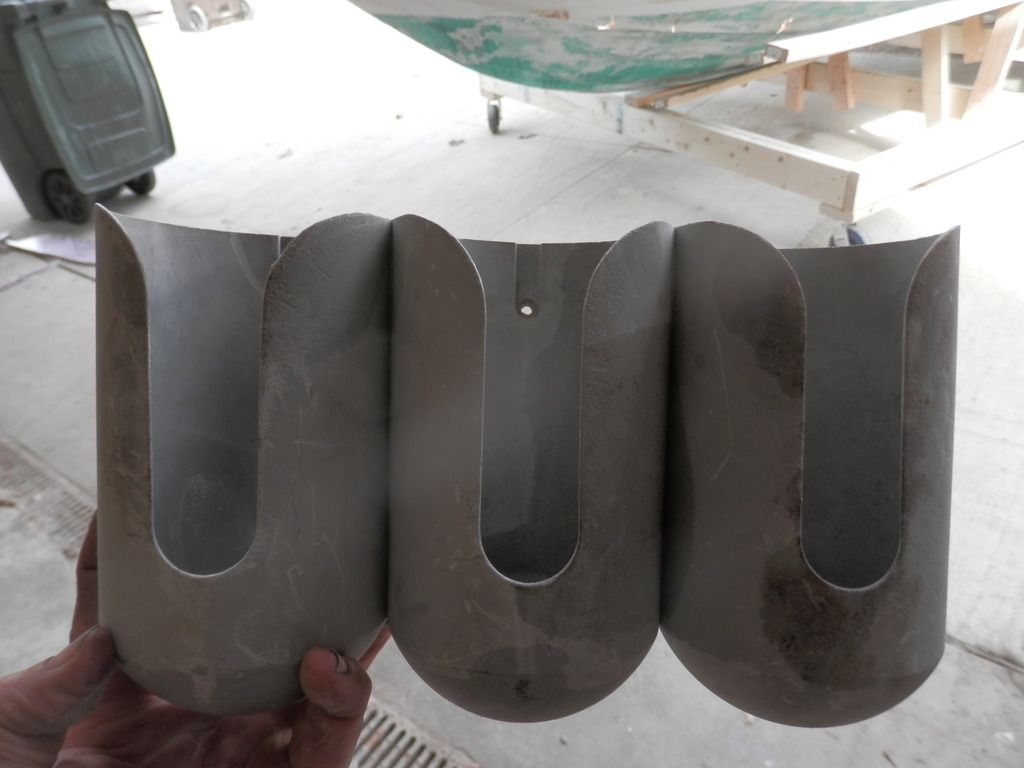
I cut my stringers a little wider then the old ones. So I place a piece of 3/4" ply under my jigs so I can scribe them to the hull Couple questions what would the max gap be between hull and stringer? And can someone tell me what this is P3210008_zpsht9tixq9.jpg P3190002_zpsqgkka8by.jpg
 
Last edited:

Jigginglow

Petty Officer 2nd Class
Joined
Dec 27, 2014
Messages
106
I cut my stringers a little wider then the old ones. So I place a piece of 3/4" ply under my jigs so I can scribe them to the hull Couple questions what would the max gap be between hull and stringer? And can someone tell me what this is

Are those buoy holders maybe?
 

Teamster

Lieutenant Commander
Joined
Nov 8, 2010
Messages
1,923
Yup, That would be a buoy holder,.............

Looks like one from Lindy Tackle,.....
 
Last edited:

kcassells

Fleet Admiral
Joined
Oct 16, 2012
Messages
8,720
Gap @ 1/4". I use pcs. of 1/4" pink foam for gauging. Just leave them in place. I've seen gaps much bigger but that can get filled with pb. I think you found in your demo some wood that was overcut and compensated with foam and shaped, then glassed over.
That thing would be a Beer quart holder.
 

sphelps

Supreme Mariner
Joined
Nov 16, 2011
Messages
11,462
Beer mug / coffee cup holder .. The slots are for the handles ... :D
 

ahmincha

Lieutenant Commander
Joined
Jul 21, 2012
Messages
1,512
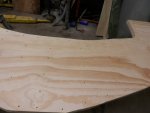
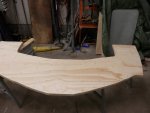
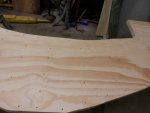
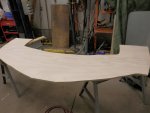
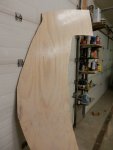
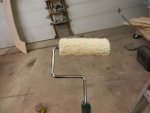
P3210004_zpse4r46nxq.jpg image_278667.jpg image_278674.jpg image_278675.jpg image_278676.jpg So I predrilled one size bigger then the screws I am using for clamping pressure Then I rolled on titebond 3 waterproof glue on both transom pcsThen screwed it off
 
Last edited:

kcassells

Fleet Admiral
Joined
Oct 16, 2012
Messages
8,720
Now you're into the thick of it! Looks GREAT! So you used the tightbond to join the 2 pcs. of the transom?
 

ahmincha

Lieutenant Commander
Joined
Jul 21, 2012
Messages
1,512
yes kc my epoxy has not come yet so I figure I might as well get some thing done. I plan on doing this to my long stringers also
 

ahmincha

Lieutenant Commander
Joined
Jul 21, 2012
Messages
1,512
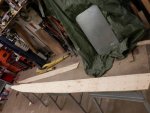
P3220001_zps5rognkg2.jpg Here are my 2 long stringers they are 14' long. I built them out of 2 layers of 1/2" arauco plywood. Staggered the seems. The transom took 1 16oz bottle of titebond 3 and the 2 stringers took them same
 
Last edited:
Top