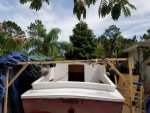
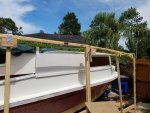
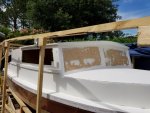
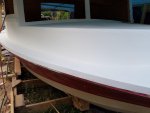
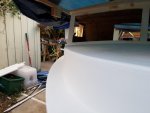
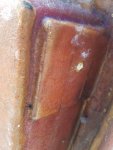
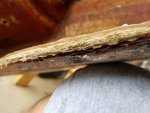
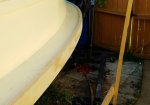
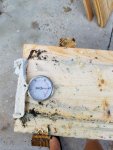
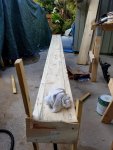
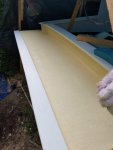
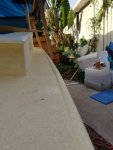
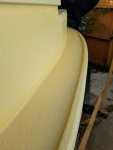
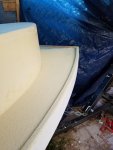
well what I did was using 1" pressure treated lattice strips, I laminated to 3/4" thickness around inside of the hull lip, after sanding with 24 grit and wiping with acetone I then took and pl premium the inside strip to hull , also I put stainless steel screws and locknuts through as well , then I took and made 2" spacers and repeated the first process making inwale all pl and screwed together using coated screws acceptable for use with pressure treated wood.At this time I took and layed 1/2" acx exterior plywood around top and got underneath and scribed the lines to cut decking inside and outside boat, I used 2x2 as bracing from floor to wood to keep it level and in place while marking up as I work alone
next I took and using 1/4" underlayment (i test soaked a piece for 5 days in water it did not peel or delaminate) wrapped 1 2ftx8 ft section around front to get that radius done and took down sides to back.
using pl premium and screws I attached to inwale then I cut it down to size I wanted for profile (probably could have precut but I was worried id not like or get it set up wrong so working by myself this was safest method.
next I laminated another 2ft sheet around and then a 3rd from front to back creating 3/4 or close to 3/4 thickness walls , made sure I had camber on walls. did it by look. next made front window openings/bulkhead and support and put that in place .
next cutting main bulkhead and placed
then I capped cabin top with first cedar planking then 2 sheets of 1/4 " underlayment laminated all and then wrapped edge with 1/4" pressure treated lattice strip for drip edge prewired cabin light between the laminations to make sure I had it hidden .
The rub rails I had to steam bend using 1/3 select pine.
now I'm in process of painting and finishing but again I'm not using anything more then restore 10x for walking deck and baehr acrylic paint for rest inside decking I haven't decided because x10 is not good for fiberglass. I will probably use a bedliner product and then paint with acrylic .
I will send pics of the inner workings as soon as I take them ,
I still have inner bracing to do , from chine to the deck they will have pb and glass to hold them in place.
but I have 2 bulkheads in place so I know its got support for now but still if it was a bigger boat I would have made them before going forward with topside replacement since this boat doesn't have ribs for support.
this is first time I ever did anything like this but I have been keeping eye on weight and thinking strength as I go right now I'm estimating I have added 450 pounds to weight of boat however subtracting the original top I guestimate I have added 100 lbs over the existing weight but when I factor in the nearly 200 lbs of rotten foam I pulled from sides and floor and replaced with good I'm feeling ok so far . I do think I will have less carrying capacity and I am fine with that because its a 17 footed that's a 2person boat imho not 6 people as capacity tag said lol.
if you see a potential problem please speak up I would greatly appreciate and look forward to imput pics to follow as soon as I upload to web
tools so far:
4 1/2grinder with 24 grit to 100 grit sander pads
sawzaw
router with facing bit and 1/2 round bit
skilsaw 7/14 with fine toothed blade
100 clamps
2" spring loaded and 10 of the Milwaukee vise grip type
laser for leveling from port to starboard
measuring tape
t square for drywall cutting ,
regular square and speed square
drill / bits for torx
large caulk gun
orbital sander
belt sander
jigsaw
materials to this point:
36 lattice strips pressure treated (hand picked knot free) went through 100 to find them lol
11 sheets of 1/4 " underlayment
4 sheets 1/2 abx exterior plywood
11 1x3 select pine 8 ft length
10 large tubes of pl premium
underlayment floor adhesive polyurethane glue for laminating use it all or throw out it keeps hardening after you open even with lid on it


