1985 Bayliner 2450 Ciera Sunbridge Restoration underway!

Status
Not open for further replies.

Ciera2450

Lieutenant Junior Grade
Joined
Apr 8, 2011
Messages
1,049
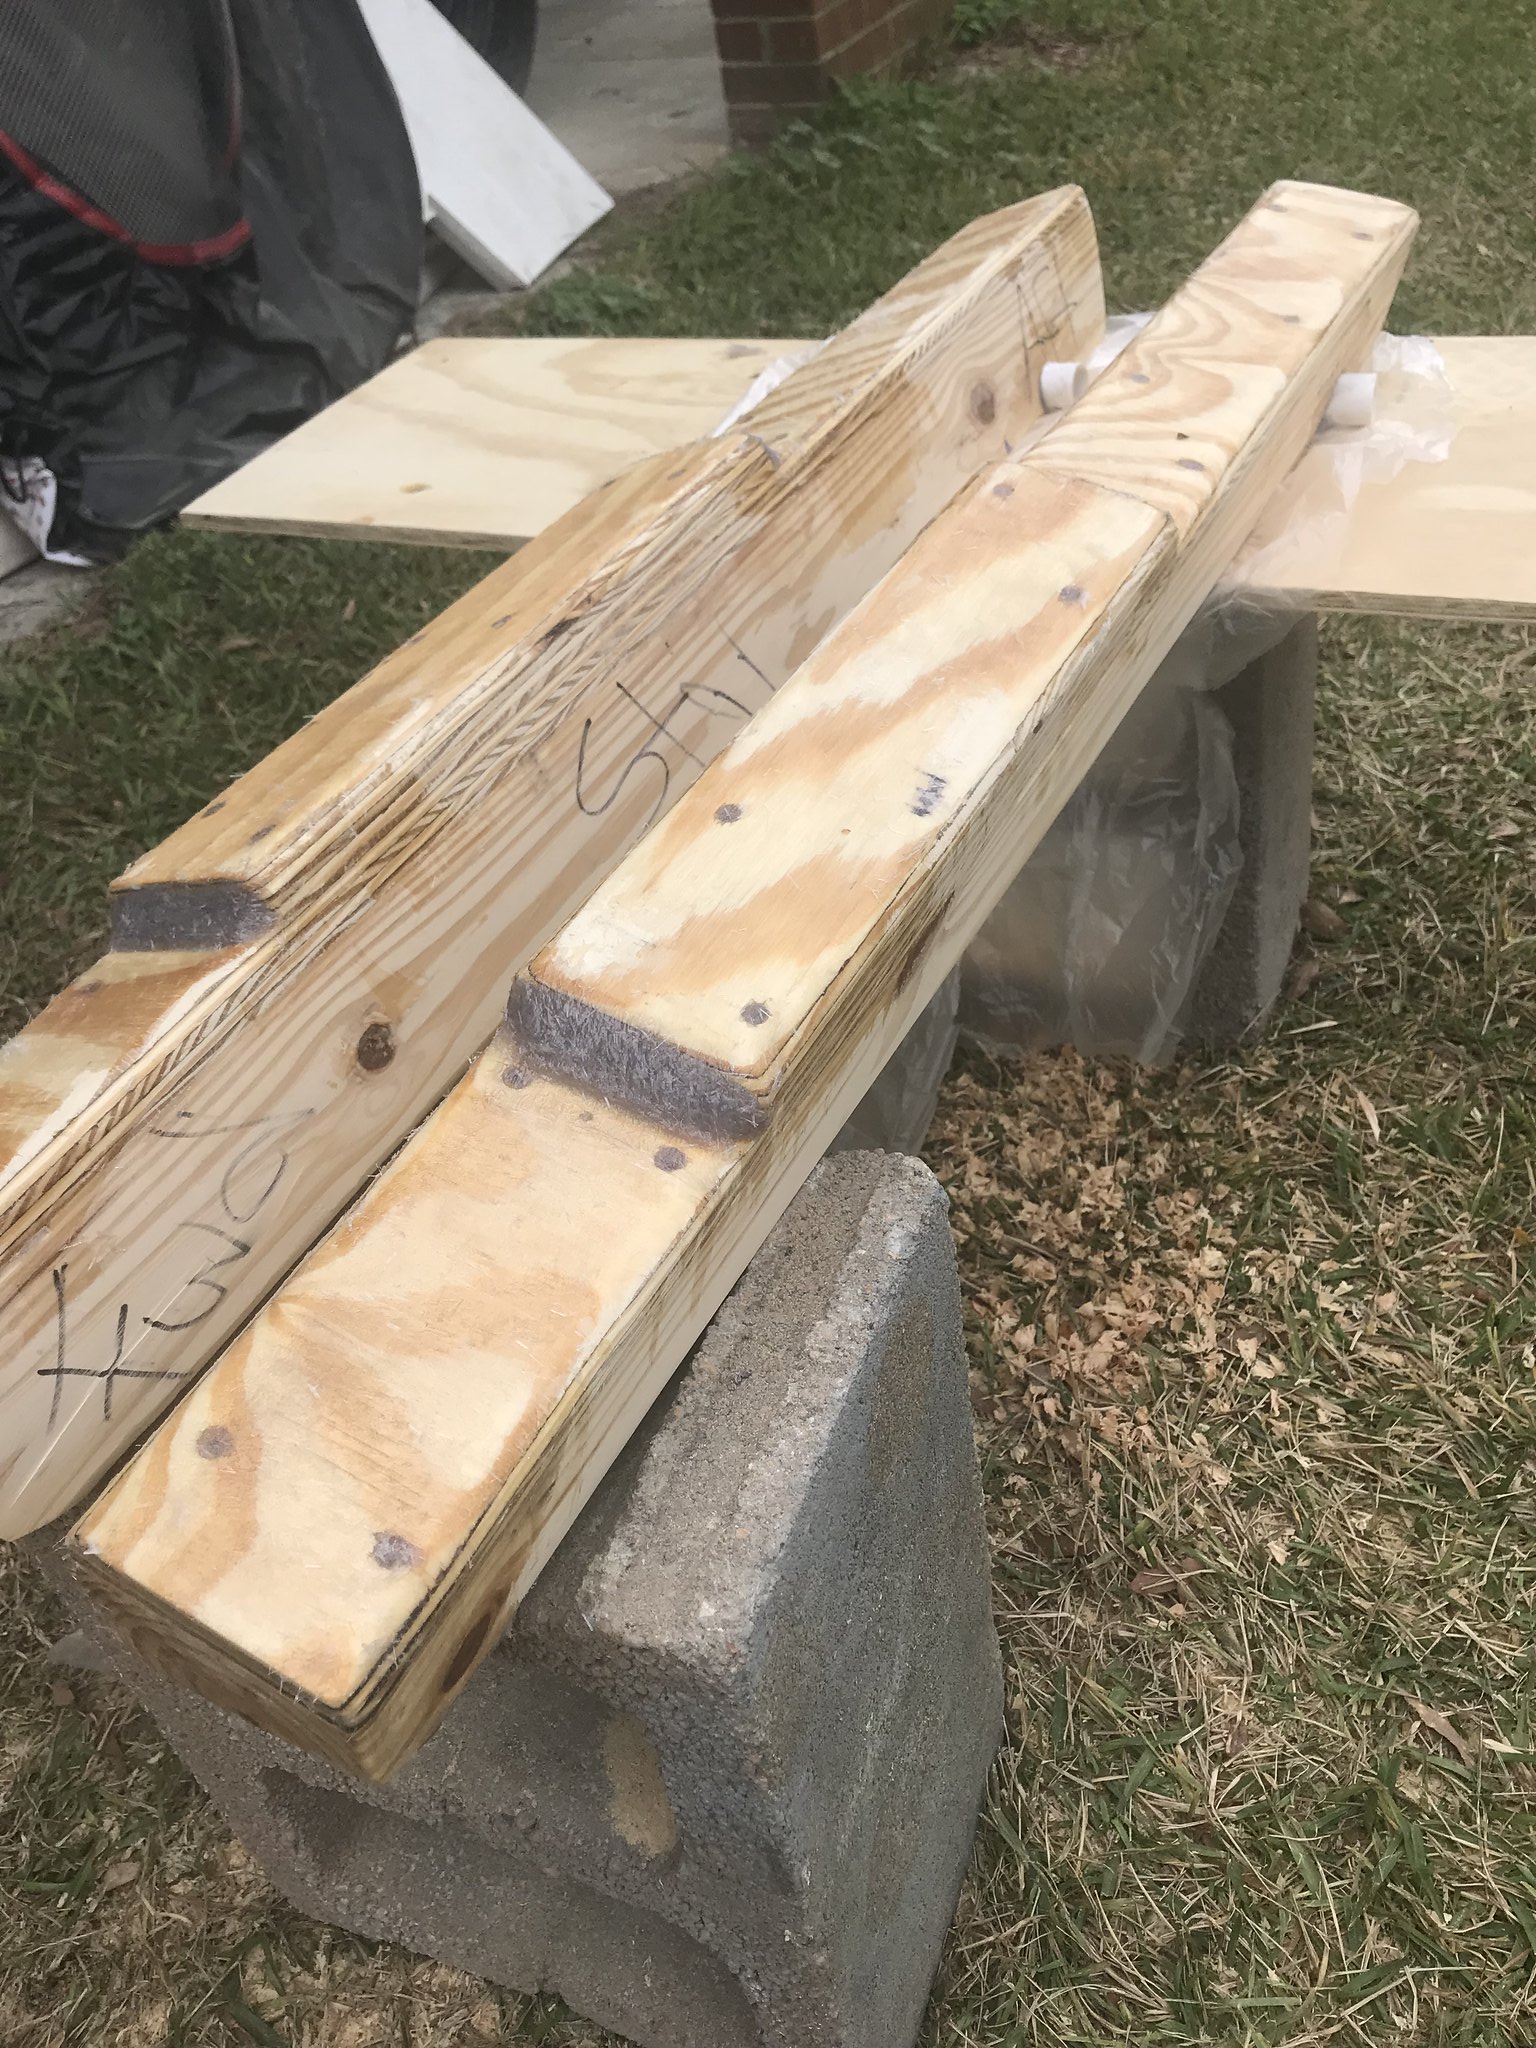
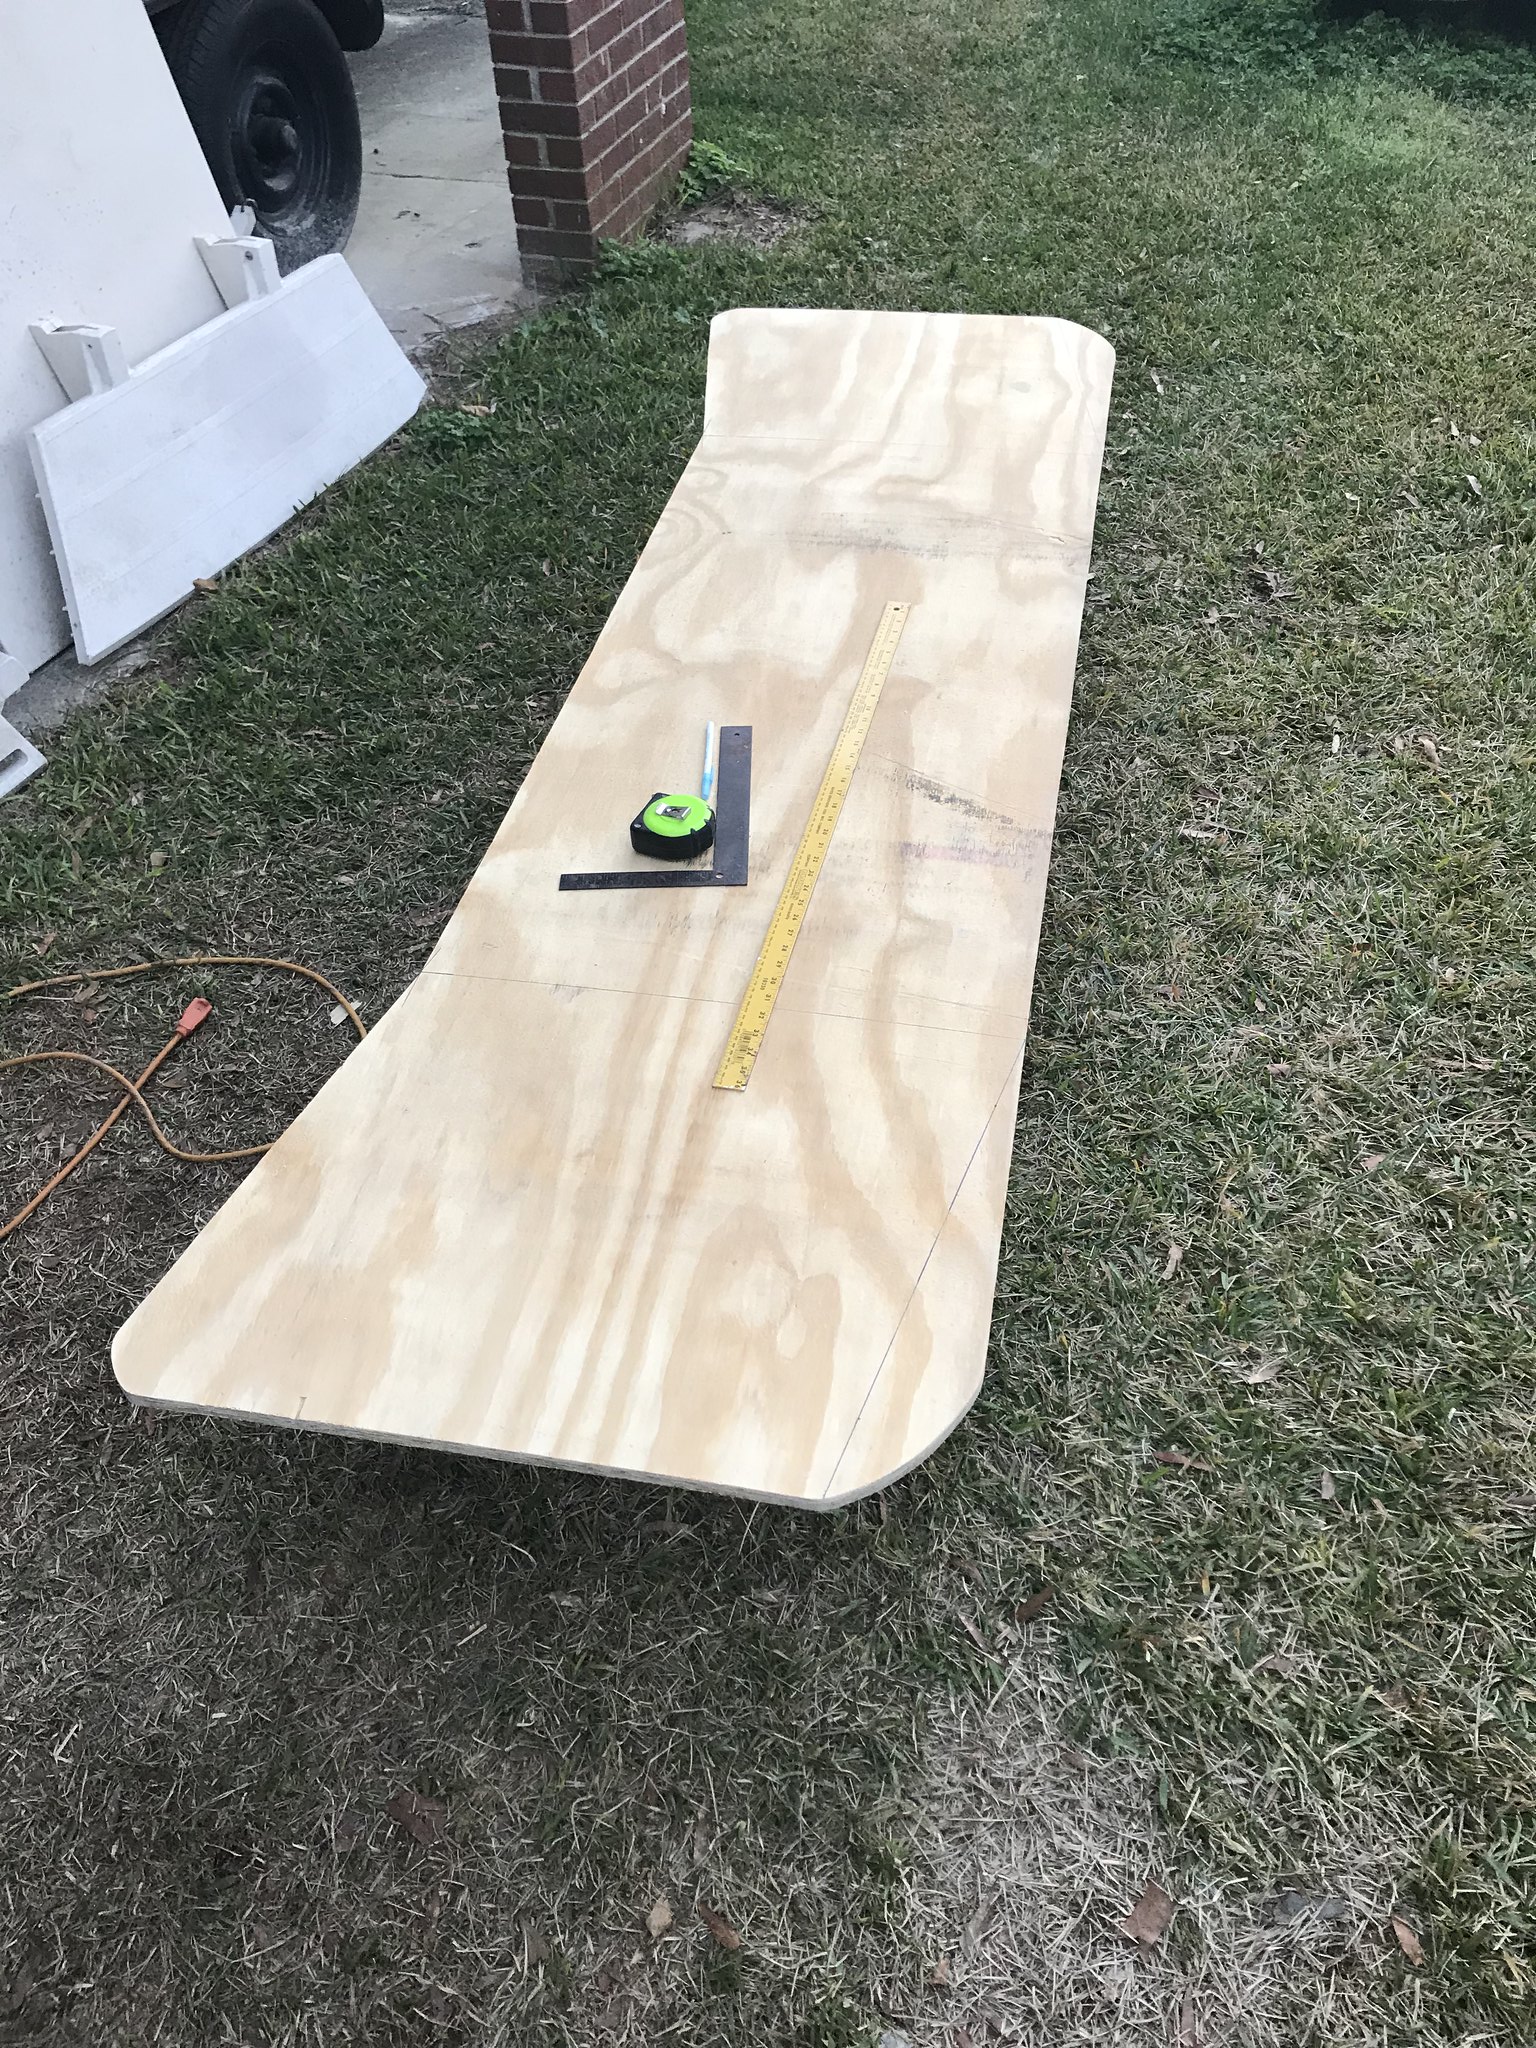
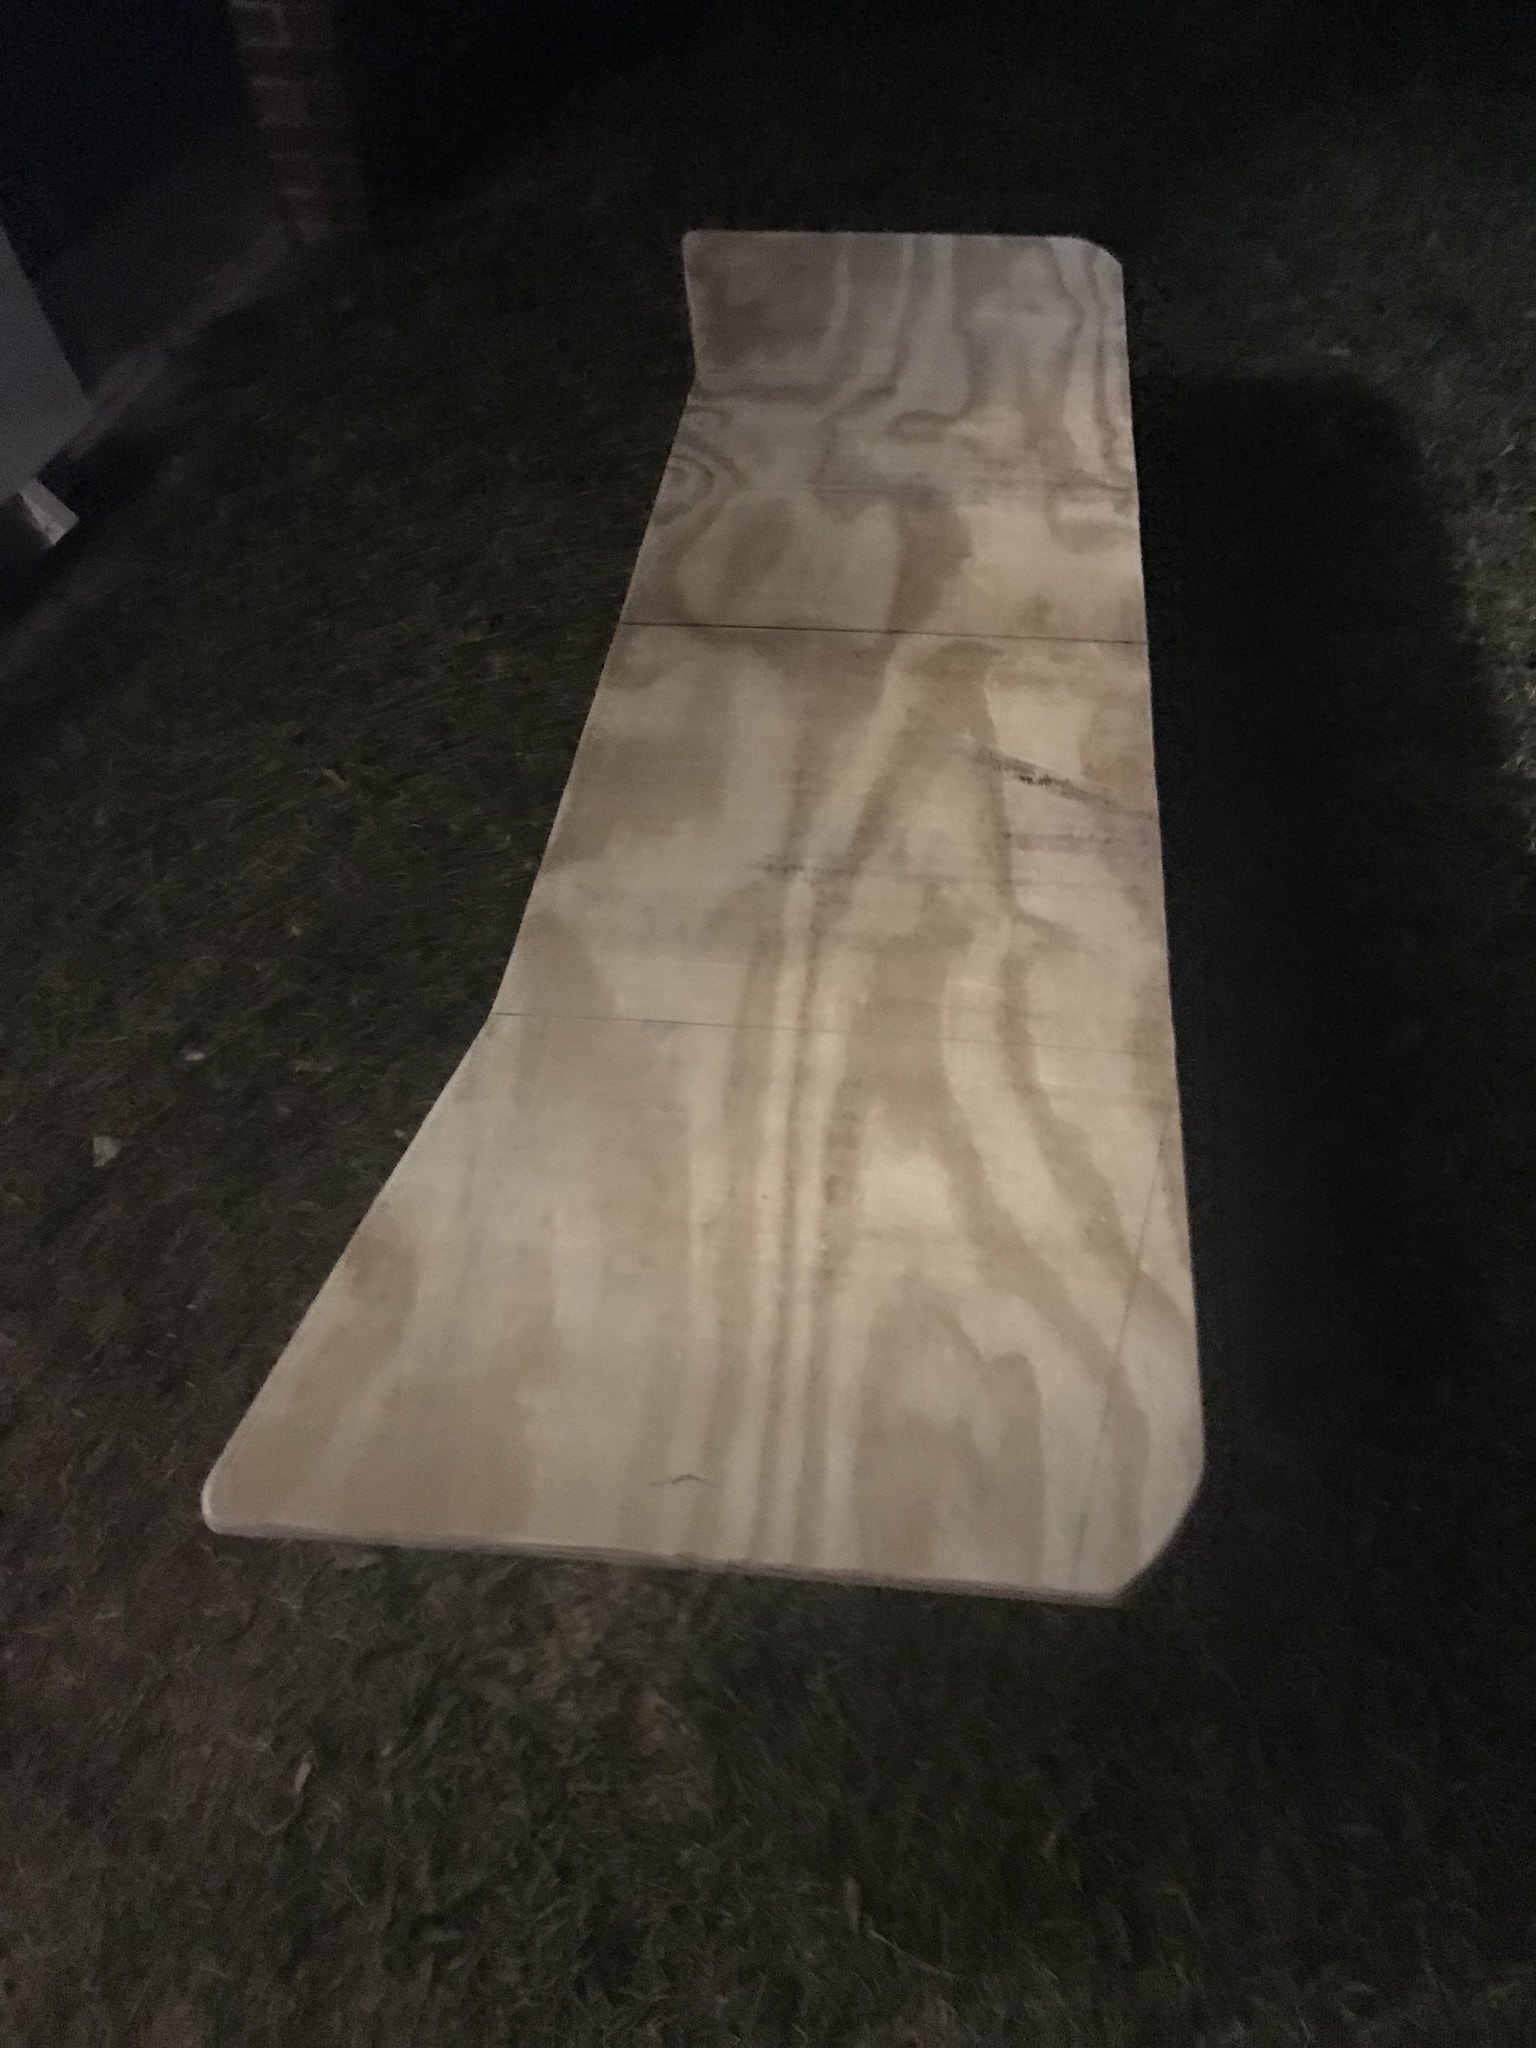
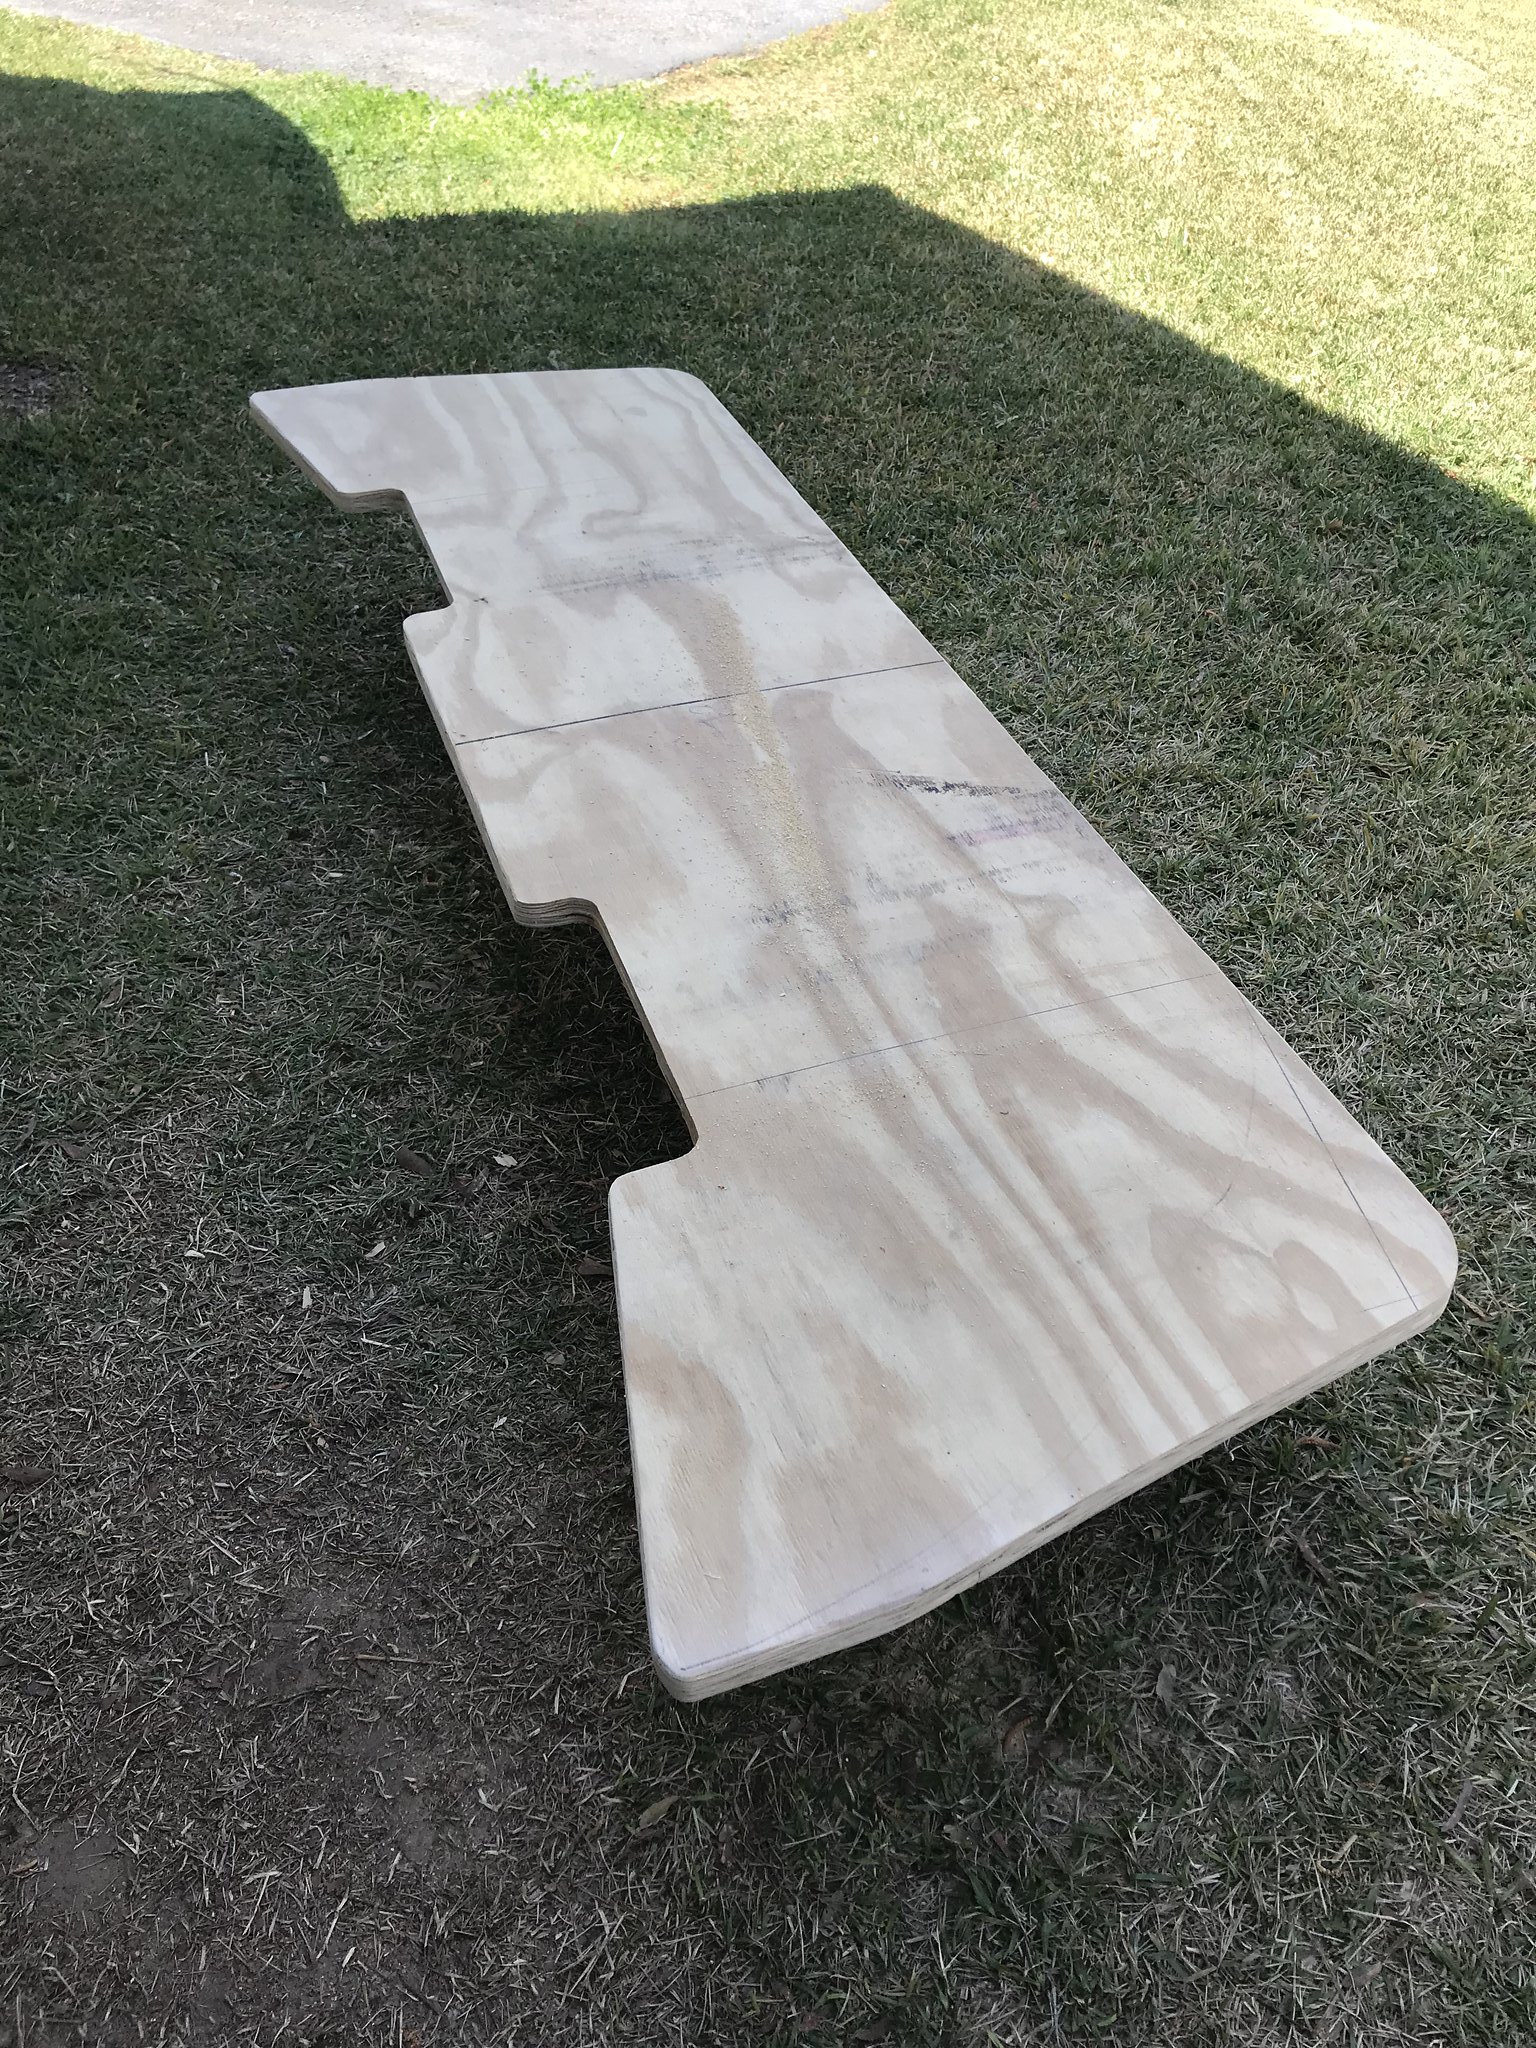
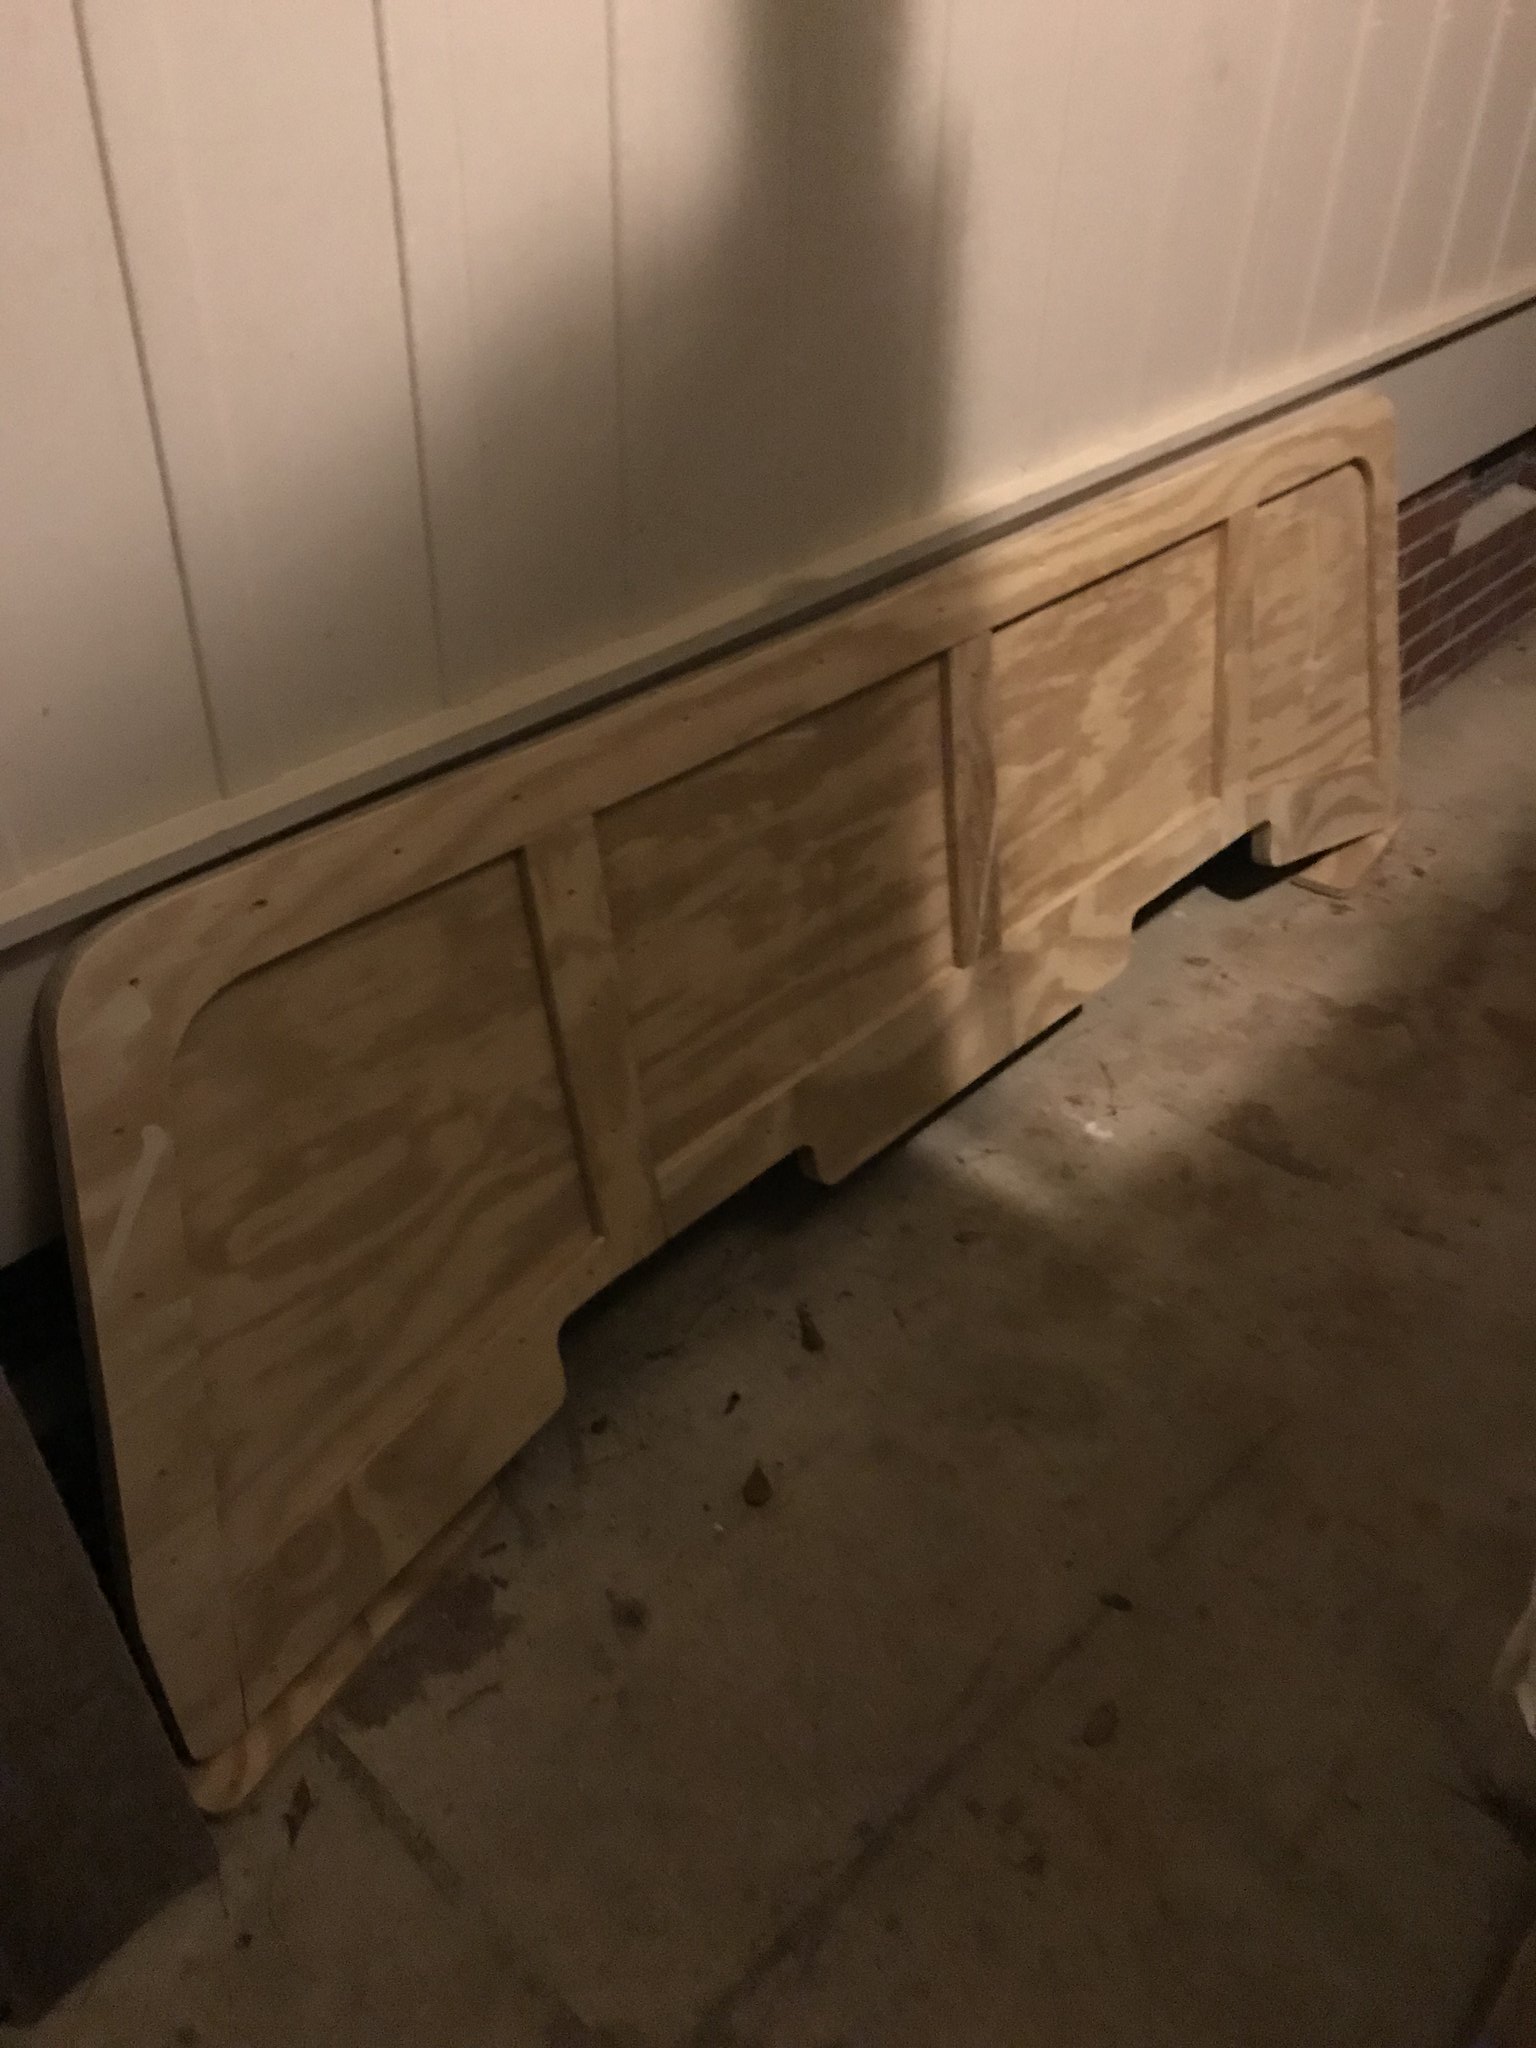
Well, a bit more sanding and the engine stringers will be ready for a coat of rain before PB’ing them in place and glassin.

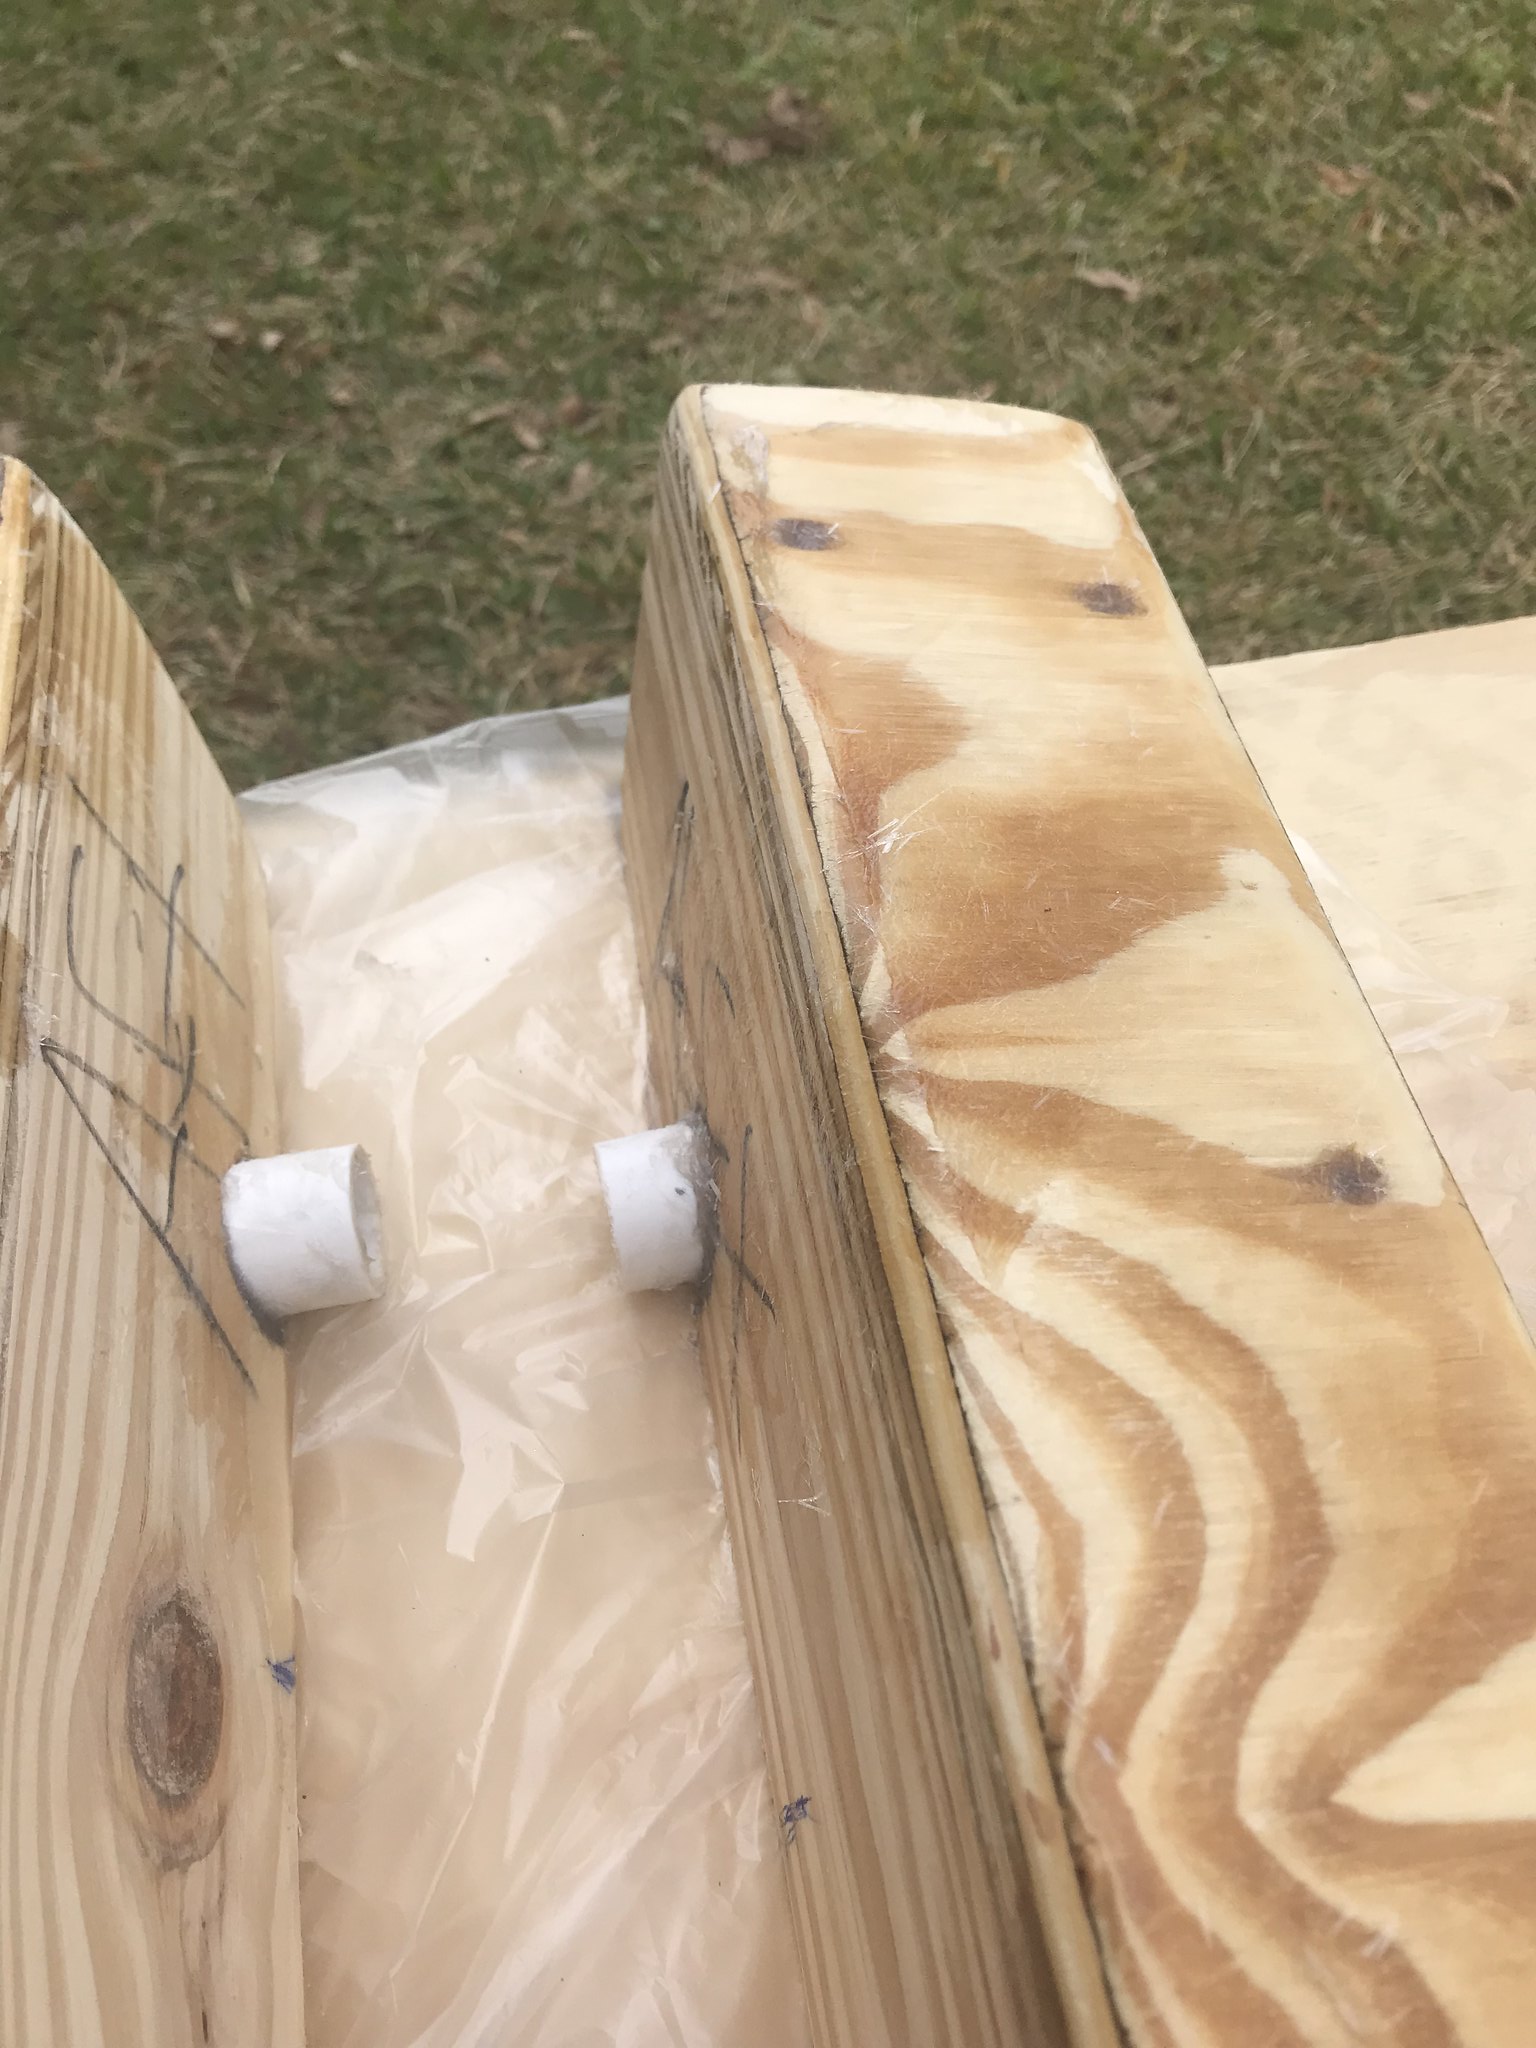
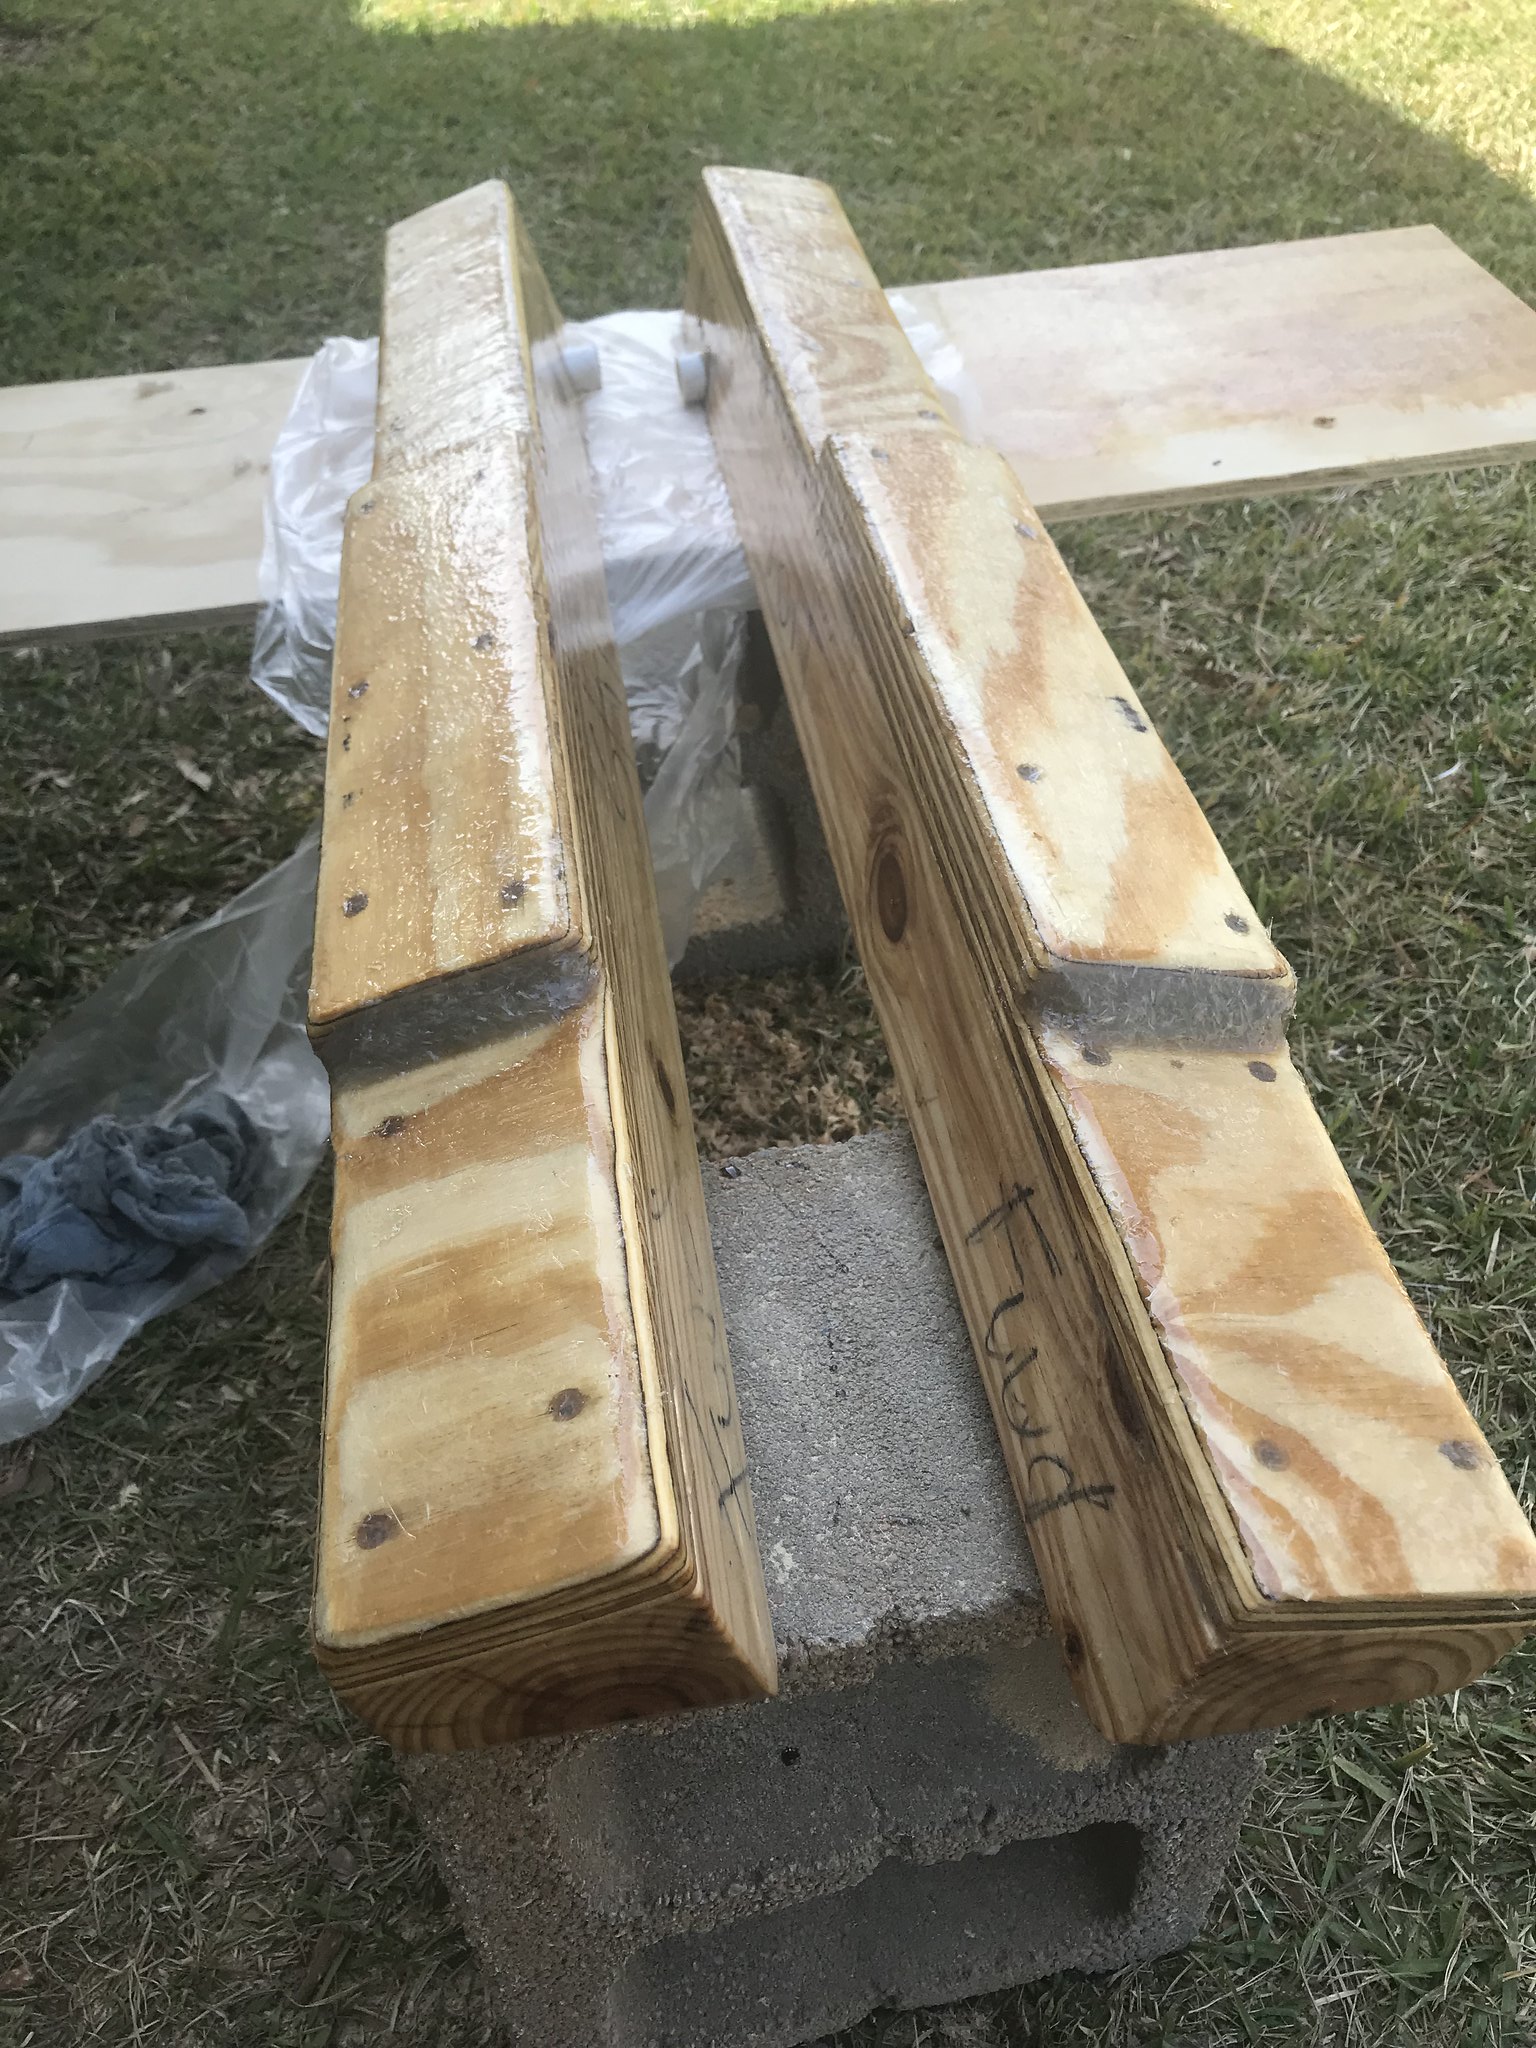
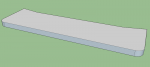
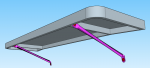
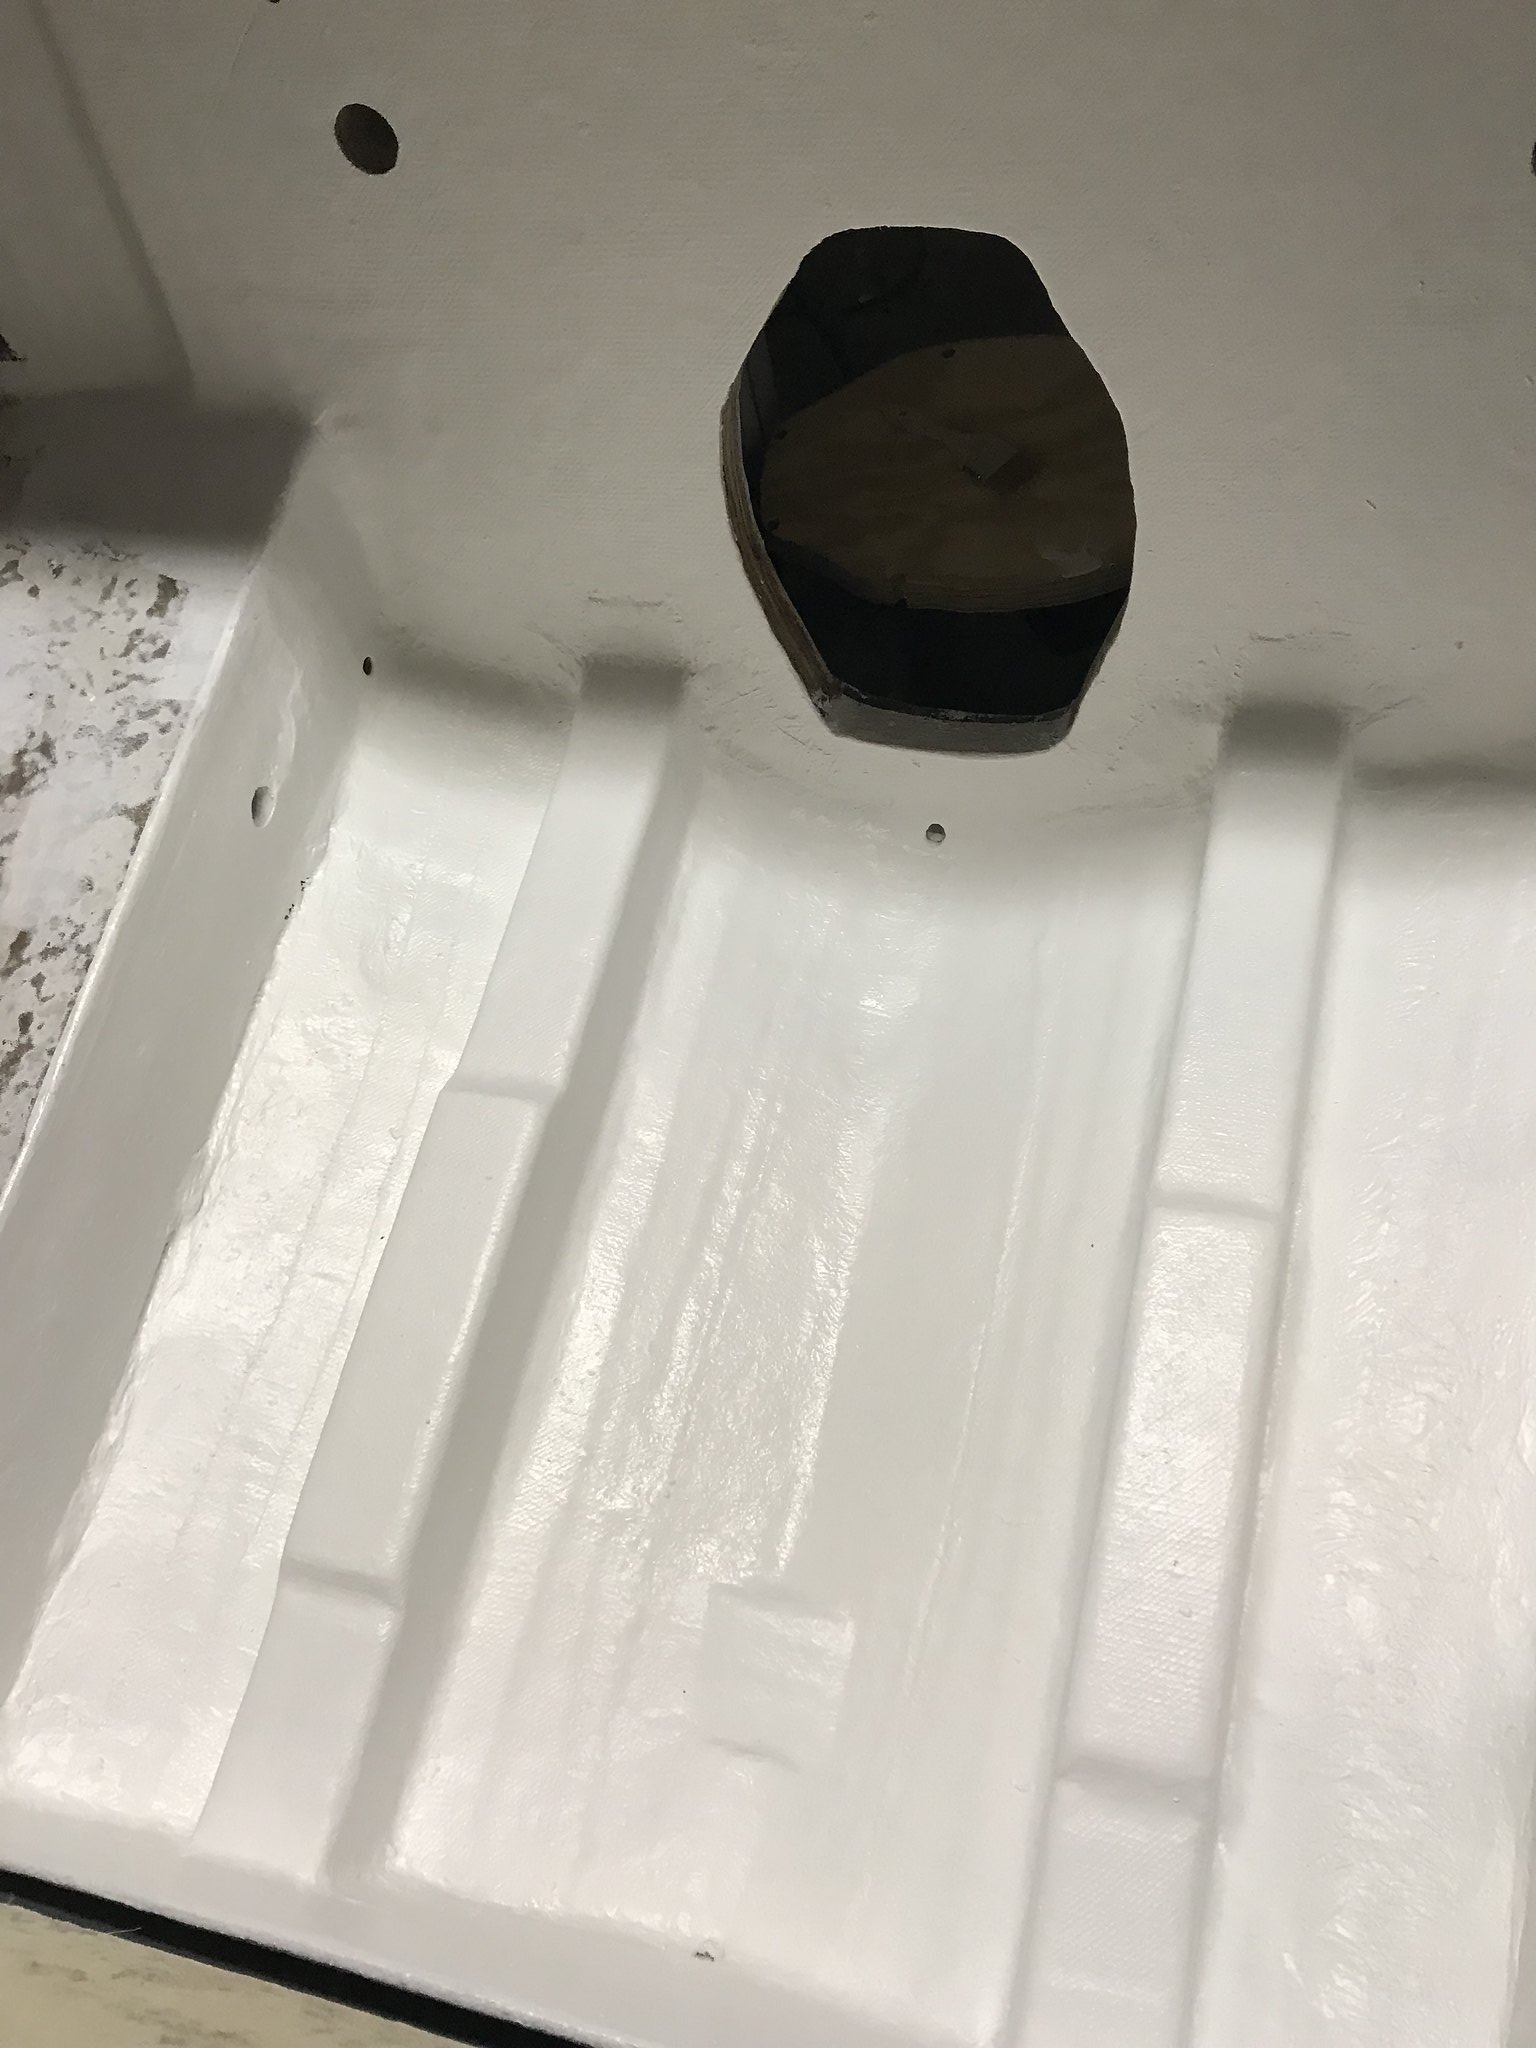
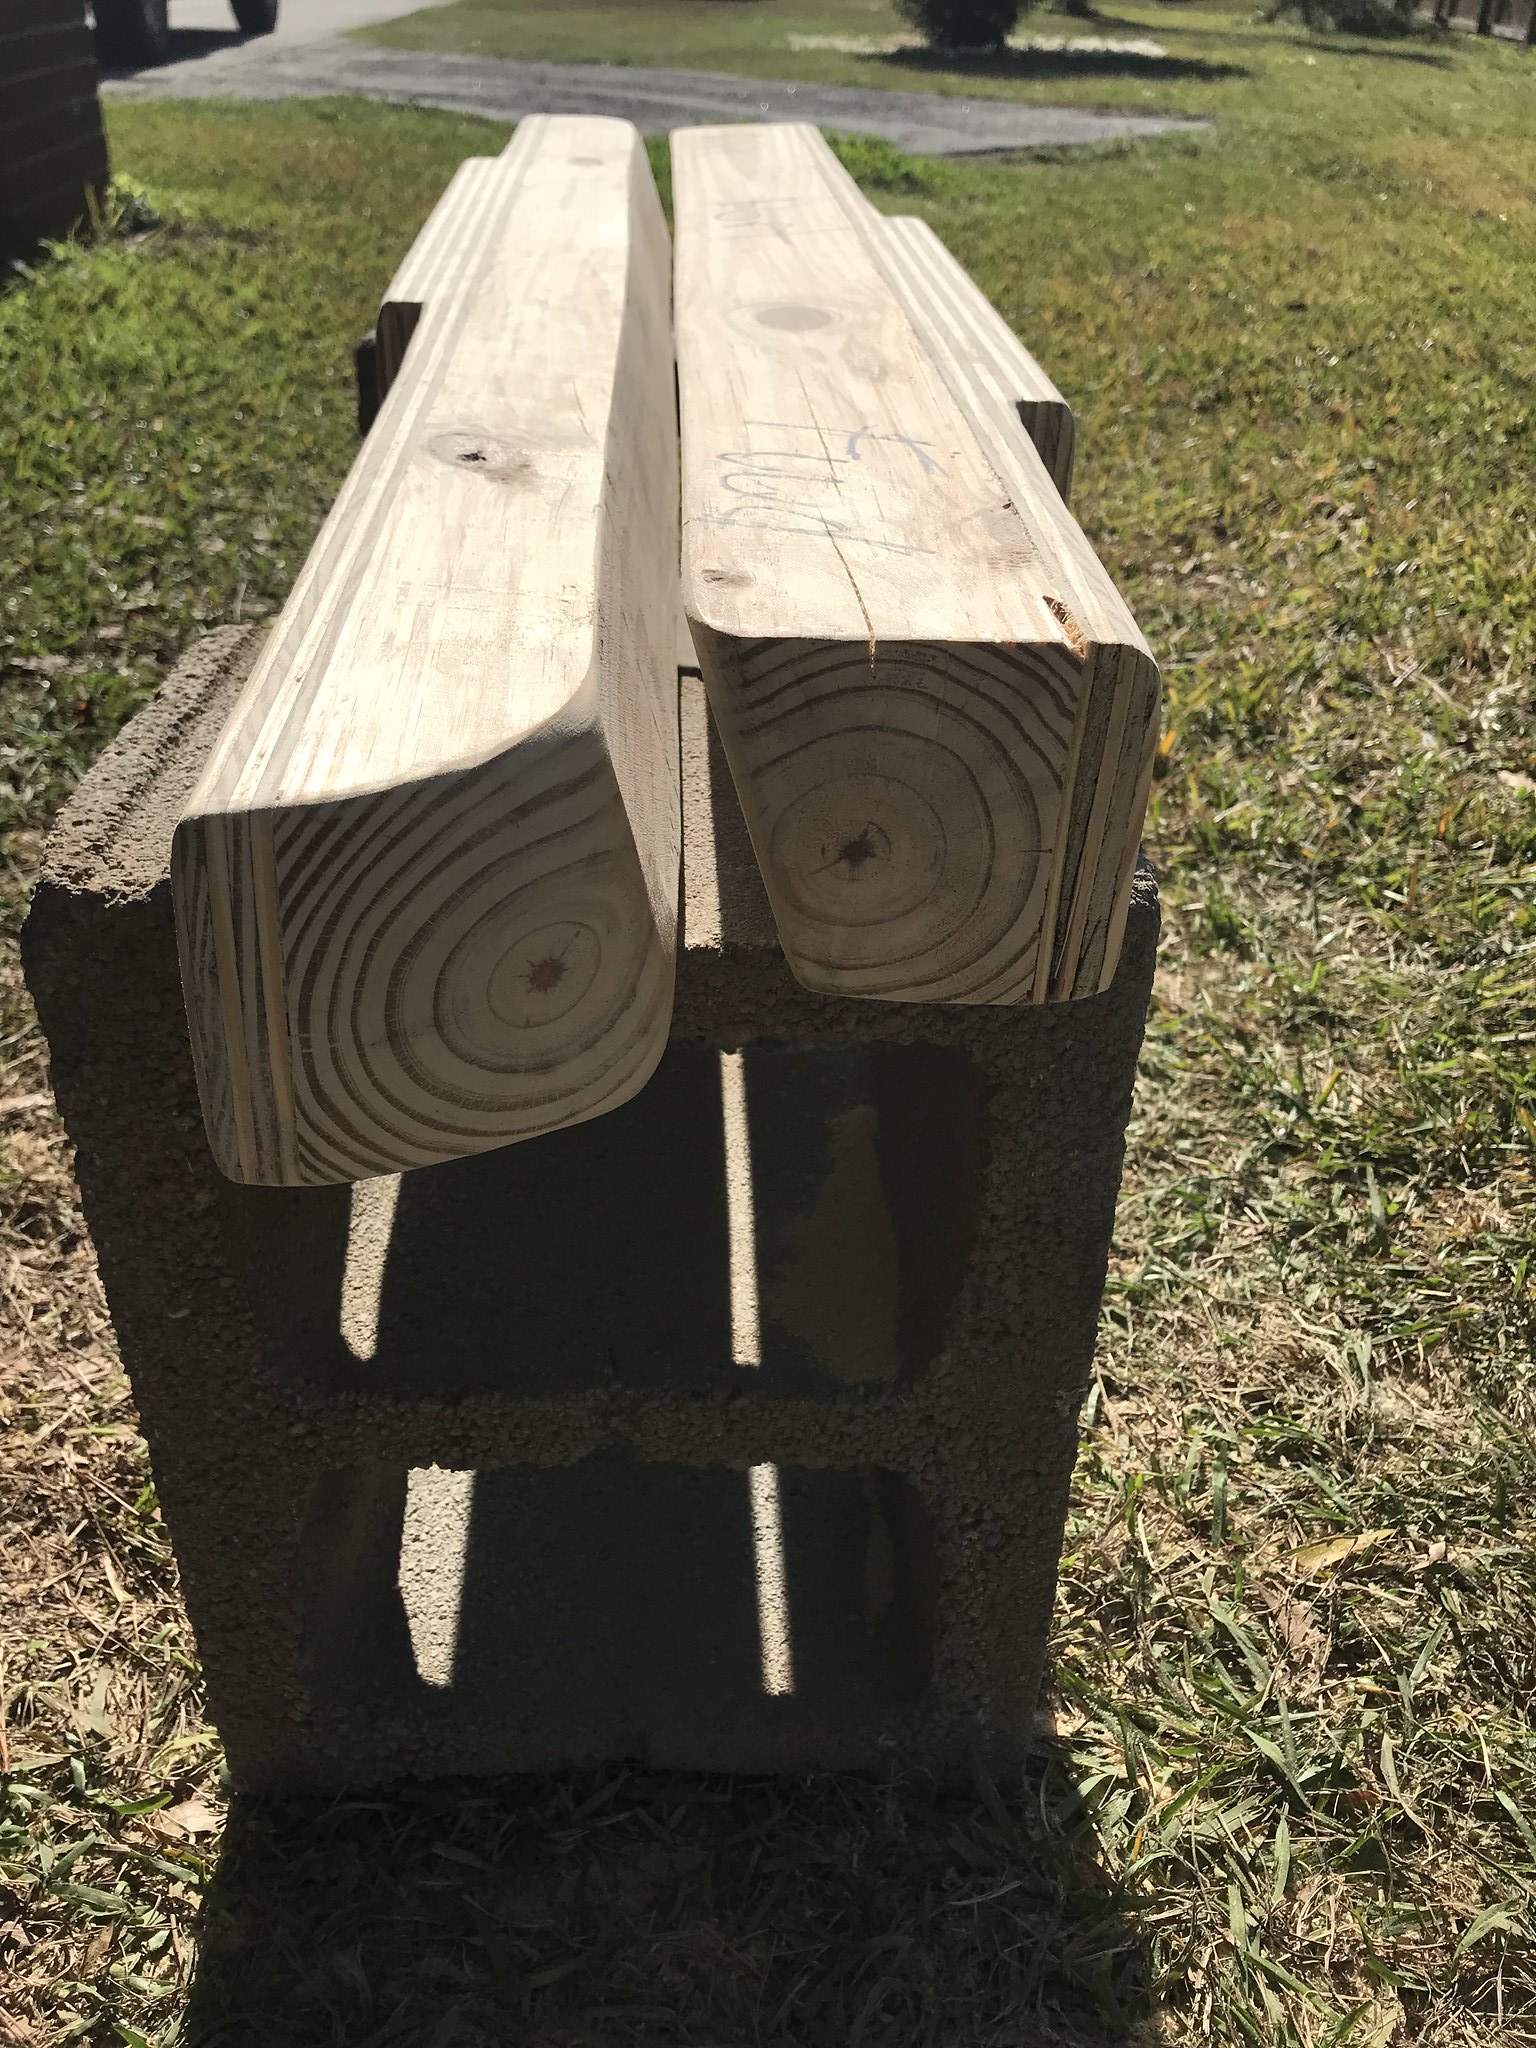
I have drilled the drain hole in each near the aft end that will hold a pvc drain tube. I took these pics before I drilled out the hole. I drilled them so the pvc pipe is flush with the bottom edge. In one of the pics below, you can really see the funky curves and angles to get them to sit right against the hull. Fwd n aft ends of them butt against the new transom and bulkhead fillet curves. I used the DA sander and just kept test fitting them through he keyhole until they sat properly. The midsections sat nice and flat once the ends were sanded to shape. I have a jig made up to hold them in place and a bit off the hull while PB’ing them in. Waiting on enough resin...

I just placed my order with USC for 3 more gallons of resin and a gallon of gelcoat. Think a Gallon should be enough gel to do the whole engine bay and floor of berth area?

After these stringers are glassed in, I will go through the entire engine bay with grinder/sander to prep for the gelcoat. . I’d also like to touch up some areas on the exterior transom and will likely need to color match.... crap, I didnt order any pigment. I know my exterior gel is not the super bright white the USC gel is.

Gonna run out and get a coat of resin on these engine mounts and maybe PB any voids if I have enough resin.


7D8A5D76-487A-4F76-8B3C-E52683A4260F by Ciera 2450, on Flickr

5D5372B5-CDBF-4C94-8BFF-FB0E0DED553E by Ciera 2450, on Flickr

B5D99558-956A-46F0-84FF-F5D30B9B1F66 by Ciera 2450, on Flickr
 

kcassells

Fleet Admiral
Joined
Oct 16, 2012
Messages
8,601
Looks like you're on a mission. I like the buffered edges. Makes the glass lay a whole lot easier.
 

Ciera2450

Lieutenant Junior Grade
Joined
Apr 8, 2011
Messages
1,049
Ya, the router with a round over bit worked well for that! I am trying to move quickly as i want to be on the water soon! I still have to sort out a swim platform build and reinstall all mechanicals. The mechanicals won’t take too long as the engine goes in basically complete. Goal is by April 1st!

Swim platform ideas:
Looking for any comments/Thoughts on on making a plywood form for the shape of the platform that will also be a core. Then wrap the entire thing with several layers of 1708 and 1.5oz csm.

the ply would also be used to create about a 3 inch “lip” all around the perimeter for strength and to serve as a mounting point against the hull. Also, squares of extra ply wherever the support brackets or ladder would mount. I believe I can reuse some of the original platform hardware for the support brackets.

Is is this even feasible? Will it be too heavy? Strong enough?
I don’t have the resources, tools, or knowledge to even attempt the level of build tpenfield is doing!

open to any and all ideas. I really don’t want to use the cracking , crappy original 3 piece bayliner one.
 

tpenfield

Moderator
Staff member
Joined
Jul 18, 2011
Messages
17,712
Swim platform ideas:
Looking for any comments/Thoughts on on making a plywood form for the shape of the platform that will also be a core. Then wrap the entire thing with several layers of 1708 and 1.5oz csm.

the ply would also be used to create about a 3 inch “lip” all around the perimeter for strength and to serve as a mounting point against the hull. Also, squares of extra ply wherever the support brackets or ladder would mount. I believe I can reuse some of the original platform hardware for the support brackets.

Is is this even feasible? Will it be too heavy? Strong enough?
I don’t have the resources, tools, or knowledge to even attempt the level of build tpenfield is doing!

open to any and all ideas. I really don’t want to use the cracking , crappy original 3 piece bayliner one.

There are days when I wonder if I have the resources, tools, and knowledge to build a swim platform :D

I think your idea will be fine. A bit heavy, but plenty strong enough. The challenge will be fully sealing all of the mounting holes so that the platform core will not absorb water. If it does . . . then the platform will surely crack at some point, as the core swells.
 

Ciera2450

Lieutenant Junior Grade
Joined
Apr 8, 2011
Messages
1,049
Got the engine stringers ready to install when I get my resin order. Filled all the clamping screw holes with PB and made a fillet on he mount pad where I couldn’t get the router. Pb’d In the drain tubes and left a bit extra on them for the fillets when installing. Then coated in resin. Now just waiting for my order....

A101618C-D3B6-40E2-BFE5-09B80D0E38B8 by Ciera 2450, on Flickr

BDF8EC73-03B5-4CFF-8E94-422187285C6F by Ciera 2450, on Flickr

7D962C56-321D-4280-B0C1-56FF4A1F8934 by Ciera 2450, on Flickr
 

Ciera2450

Lieutenant Junior Grade
Joined
Apr 8, 2011
Messages
1,049
My resin order won’t arrive until Monday. Ugh!
I plan to start on the swim platform build this weekend while waiting for the resin n gelcoat. The platform will be roughly 8’ wide and 24” deep. I’m adding 6” aft vs. the old platform for some extra room.

what thickness ply should I use for the core? How many layers of glass? I’m thinking four of 1708 and 2 of 1.5oz csm, but really have no clue how much it “should” be.... Thoughts?
I want it to be strong enough while keeping weight down if at all possible.
 

tpenfield

Moderator
Staff member
Joined
Jul 18, 2011
Messages
17,712
1/8" of glass each side will be fine. You may be able to do 1 layer of CSM and then 2-3 layers of 1708 on each side. You will use about 2.5 gallons of resin.
 

Ciera2450

Lieutenant Junior Grade
Joined
Apr 8, 2011
Messages
1,049
The beginnings.... just trying to lay out the shape that I’ll be happy with. I will be making “vent”/relief vents for water to flow through. I have several pieces of starboard I could use for that. Not sure how I can laminate it in though. Not much sticks to hdpe.... thoughts?
 

Ciera2450

Lieutenant Junior Grade
Joined
Apr 8, 2011
Messages
1,049
Whoops, pictures didn’t work. One of these below shows he old center section of the factory platform for a size comparison. How’s the shape? Th size? Any mods needed? I spent several hours just measuring and scratching my head
mind you, this is just rough shaping to get an idea what I want. Open to ideas....

B9312053-F835-4165-B29A-7D8B94C361C7 by Ciera 2450, on Flickr

EDF3A405-AF69-411F-AF82-696BB76D7174 by Ciera 2450, on Flickr

1D0C07FE-756E-4D48-A8A1-F61909A5D695 by Ciera 2450, on Flickr
81AB1D32-1B9F-463D-BA6D-0B2205513FB2 by Ciera 2450, on Flickr
 

kcassells

Fleet Admiral
Joined
Oct 16, 2012
Messages
8,601
This is for the swim platform. Ok. I'm here for the ride, will help when I can. :D That's a lot of surface. Check out tpenfield platform build. he goes thru a lot of structure and support discussions.
 

Ciera2450

Lieutenant Junior Grade
Joined
Apr 8, 2011
Messages
1,049
Thanks for hanging in there kcassels! I’ve followed along with tpenfield’s build the entire time. My platform will be nowhere near that caliber.

My platform is roughly 92” x 24” with some curves in there. Still kicking around he exact shape but I think I’m close to what I want. Obviously, it’ll clean up for th build. I’ve just been cutting curves to get he idea of what I want.


Any any ideas on the starboard inserts?? I have the material and have seen them used for vents on commercial platforms. Just dunno how to adhere he inserts in there....
 

kcassells

Fleet Admiral
Joined
Oct 16, 2012
Messages
8,601
Put up some tentative sketches. That'll help us all a lot to get a better visual.
 

Ciera2450

Lieutenant Junior Grade
Joined
Apr 8, 2011
Messages
1,049
Weather has been cool but I got my resin order. Hopefully warm enough tomorrow to get the engine stringers pb’d and tabbed in.

Ive got the platform shape I want. Will get some pics and sketches of my ideas for a few water “vents”. I’m worried it’ll be too difficult to wrap glass around the oval slits I’m thinking.
 

tpenfield

Moderator
Staff member
Joined
Jul 18, 2011
Messages
17,712
I'd be happy to lend my hand at some bracing calculations. With a flat platform, such as you are planning, you'll need some struts or other means of support.
 

tpenfield

Moderator
Staff member
Joined
Jul 18, 2011
Messages
17,712
Just checking in on your thoughts for a swim platform design. Based on the plywood that you cut out, I assume that you are thinking about something like this . . .

swimplat1.png
In terms of structural support, if you figure 1,000 lbs at the end of the platform as a worst case, then your force calc's will look something like this . . .

swimplat4.png
You will want to make sure it is well fastened (thru-bolts) along the transom.

I'm not sure what you have planned for a boarding ladder, but you will want to make sure the 'ridge' / 'flange' around the outer perimeter of the platform is 3-4" , especially in the center.
 

Attachments

  • swimplat2.png
    swimplat2.png
    43.8 KB · Views: 1
  • swimplat3.png
    swimplat3.png
    100.8 KB · Views: 1

Ciera2450

Lieutenant Junior Grade
Joined
Apr 8, 2011
Messages
1,049
Thank you for that tpenfield! I will be using the four braces from the broken factory platform. They are essentially tubing in a cleavis mount at the transom and will fit into a 90* rail fitting on the bottom of the platform. The fittings should be here tomorrow and I’ll get a few pictures of my support plans.

Tpenfield, you mention having the perimeter flange 3-4” in height. Why would this be required? I can add a flange but here’s what I’ve got so far. I and two buddies can stand on it with very little deflection and it’s not even glassed yet.

I was was planning on four SS “L” angle brackets at the transom thru bolted in the transom and the platform. The boarding ladder I’ve ordered mounts underneath and I will add supports in its mounting location and thru bolt that as well. For the thru bolts in the platform, I was planning to counter sink the heads/washer on the top side and fill with PB... making a stud more or less. Any issues with that?

ive also got the engine stringers glassed in and gelcoated the entire bilge and transom. Will grind down both side decks tomorrow and get those done too! Silly me, I forgot to drill out the 4 layers of glass covering the drain holes in the stringers before gelcoating.. luckily I still have my measurements from building them and should be able to find them easy enough. I had even marked them with a sharpie before glassing to make finding them easier.. just totally forgot.

heres where I’m at with the platform. I cut two reliefs where it meets the transom for water to go through.. Do I need more?
The factory one had oval “slots” on both sides
6B6855FA-1192-4095-B6E8-B73ED816A907 by Ciera 2450, on Flickr

DF5EFD69-CFAE-42F5-A710-250849C5D77A by Ciera 2450, on Flickr

65E24721-1DE8-4305-9E42-957E46BFA1B5 by Ciera 2450, on Flickr
 

Ciera2450

Lieutenant Junior Grade
Joined
Apr 8, 2011
Messages
1,049
Trying to find the pics of the stringer install... I mixed up a large batch of PB and glued them in place. I made a jig out of 2x to hold them in position and even/parallel with each other until the PB kicked. Then mixed up more and finished all the filleting on them. Let that cure for an hour or so and did two layers of tabbing, 4” first the. 6”. I let all that cure overnight and then Saturday I did 3 full wraps of 1708 overlapping each onto the hull. Today I sanded everything down in the bilge and transom. Washed it all down, wiped with acetone a few times and did two coats of gel. The last with 2% wax. Both coats I thinned the gel with styrene at 10%. I used foam rollers and they worked well.
 
Status
Not open for further replies.
Top