1985 Bayliner 2450 Ciera Sunbridge Restoration underway!

Status
Not open for further replies.

Ciera2450

Lieutenant Junior Grade
Joined
Apr 8, 2011
Messages
1,049
Thank you Scott! Sorry to tag ya, I knew you’d know right away. :happy:
I’ll order a 3’ length or any other order by length. I’ll Order 18” if 7” is all they are. if shipping is feasible vs two shorter ones. I appreciate it sir.

scott, do you have a link? Looked up your exact wording and can’t find 3’ length and most aren’t even close to the 95mm. I can find the individual hoses but if I can buy a length and save some$$$ I’m down for that. Thanks man.
 
Last edited:

Ciera2450

Lieutenant Junior Grade
Joined
Apr 8, 2011
Messages
1,049
Work will be picking up very soon. Temps are gonna be perfect for glassing AND I want my boat ready for the water mid March by the latest. Trip to Bahamas.... kicking around the gulf In Destin... who knows.
 

Ciera2450

Lieutenant Junior Grade
Joined
Apr 8, 2011
Messages
1,049
Progress still continues... glassing supplies came today!

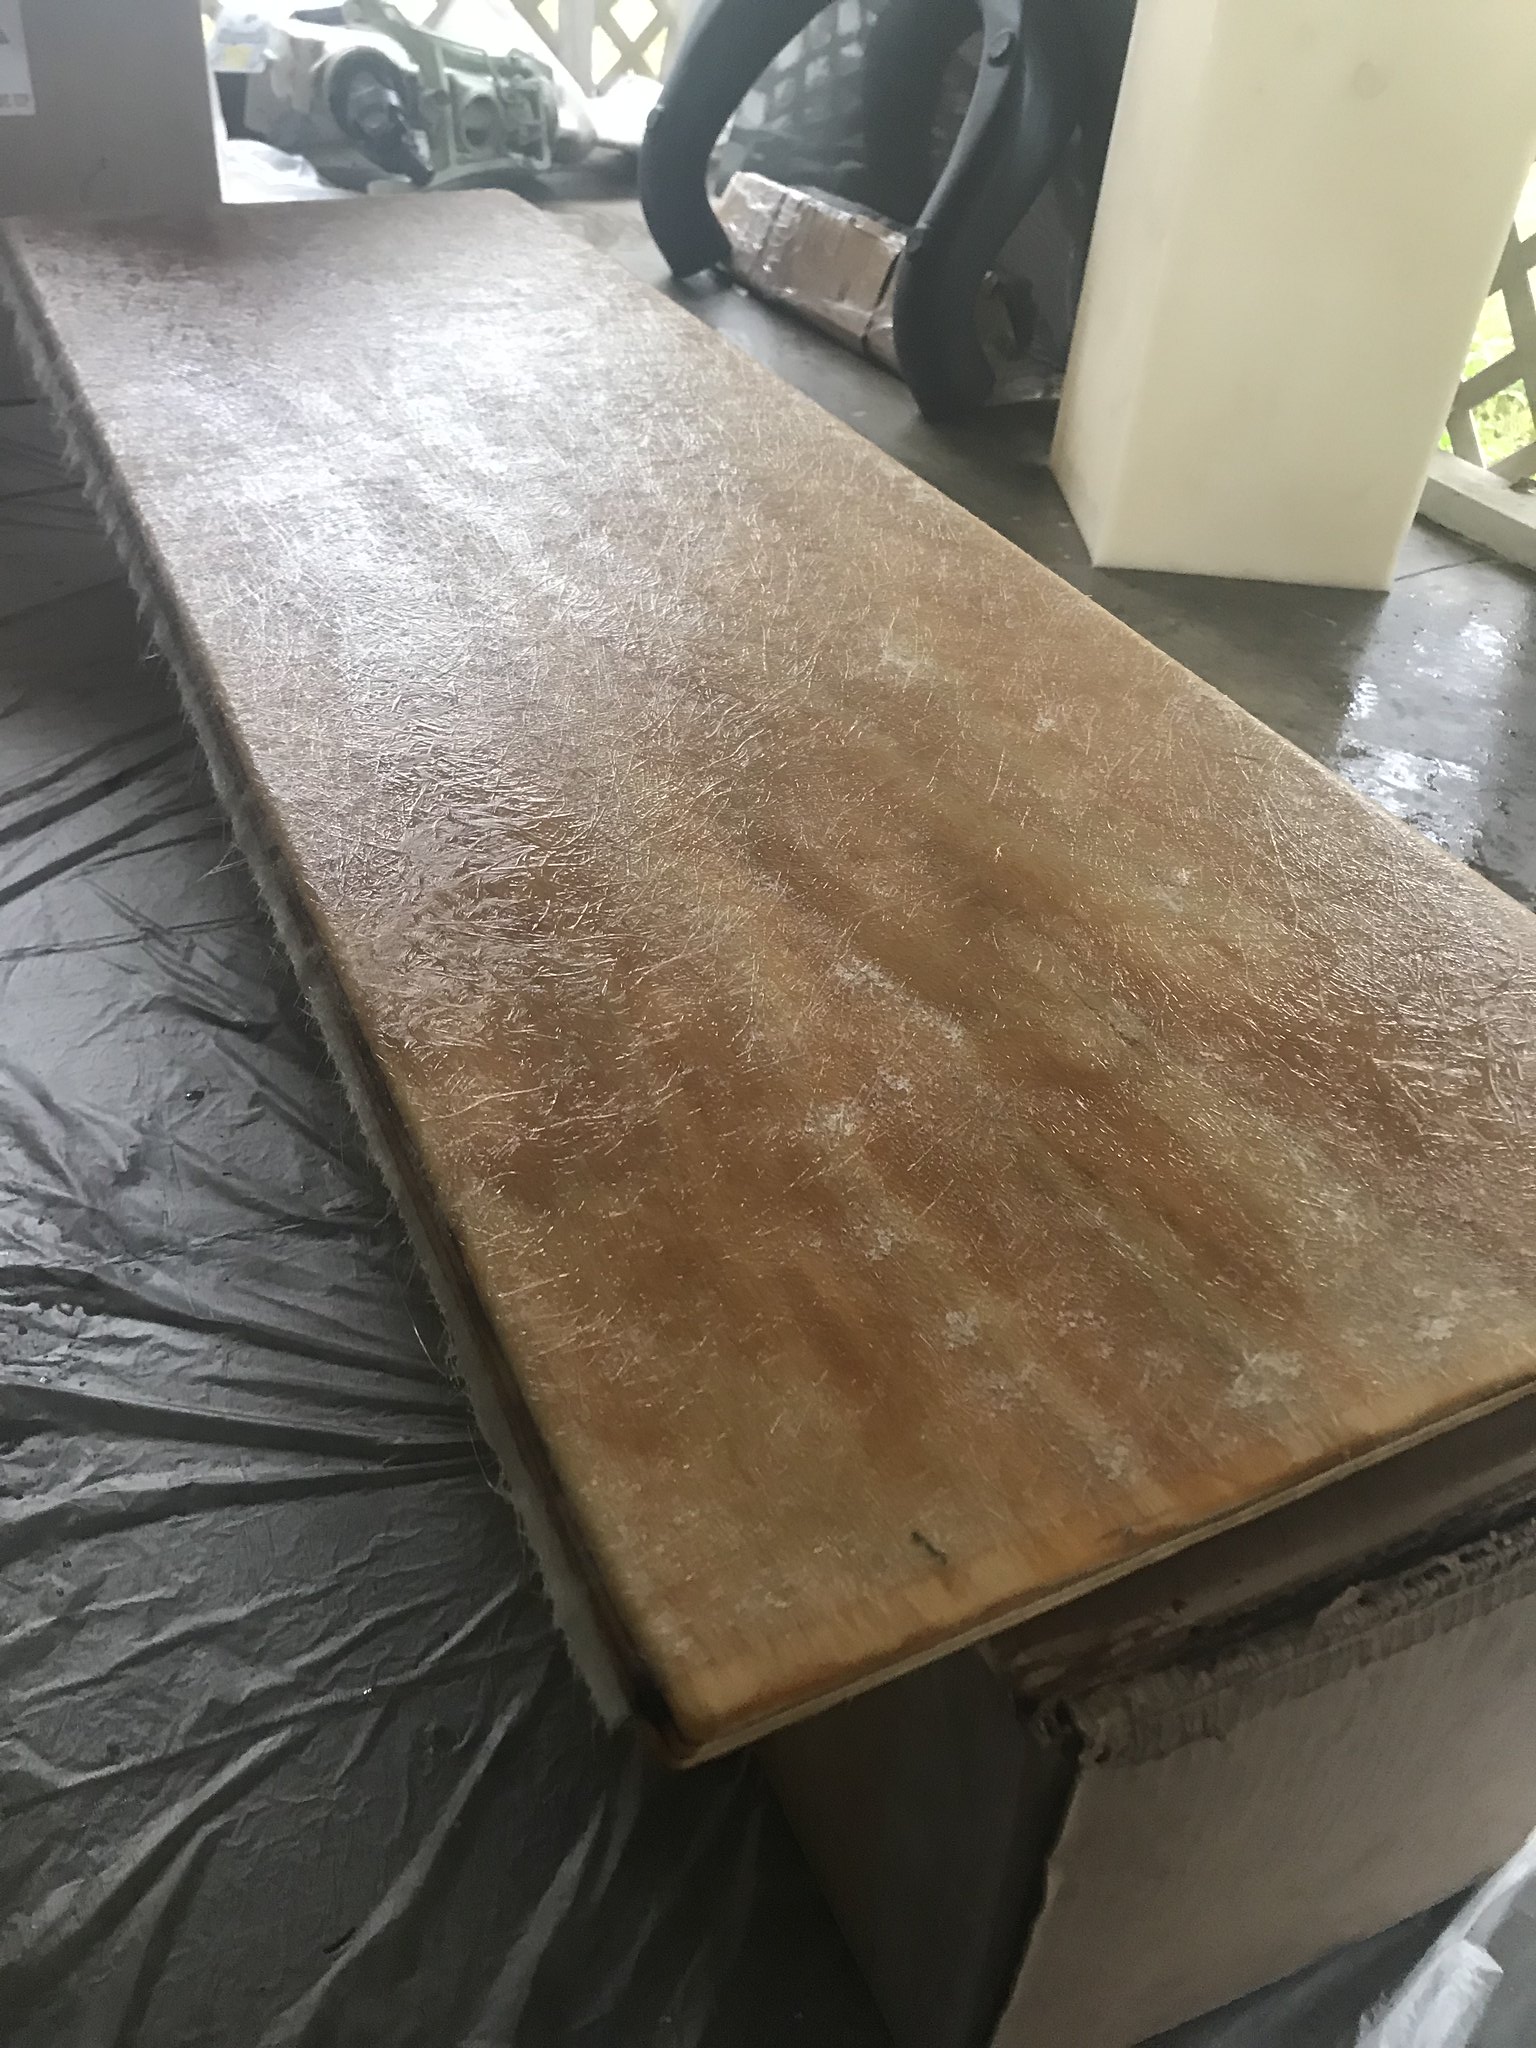
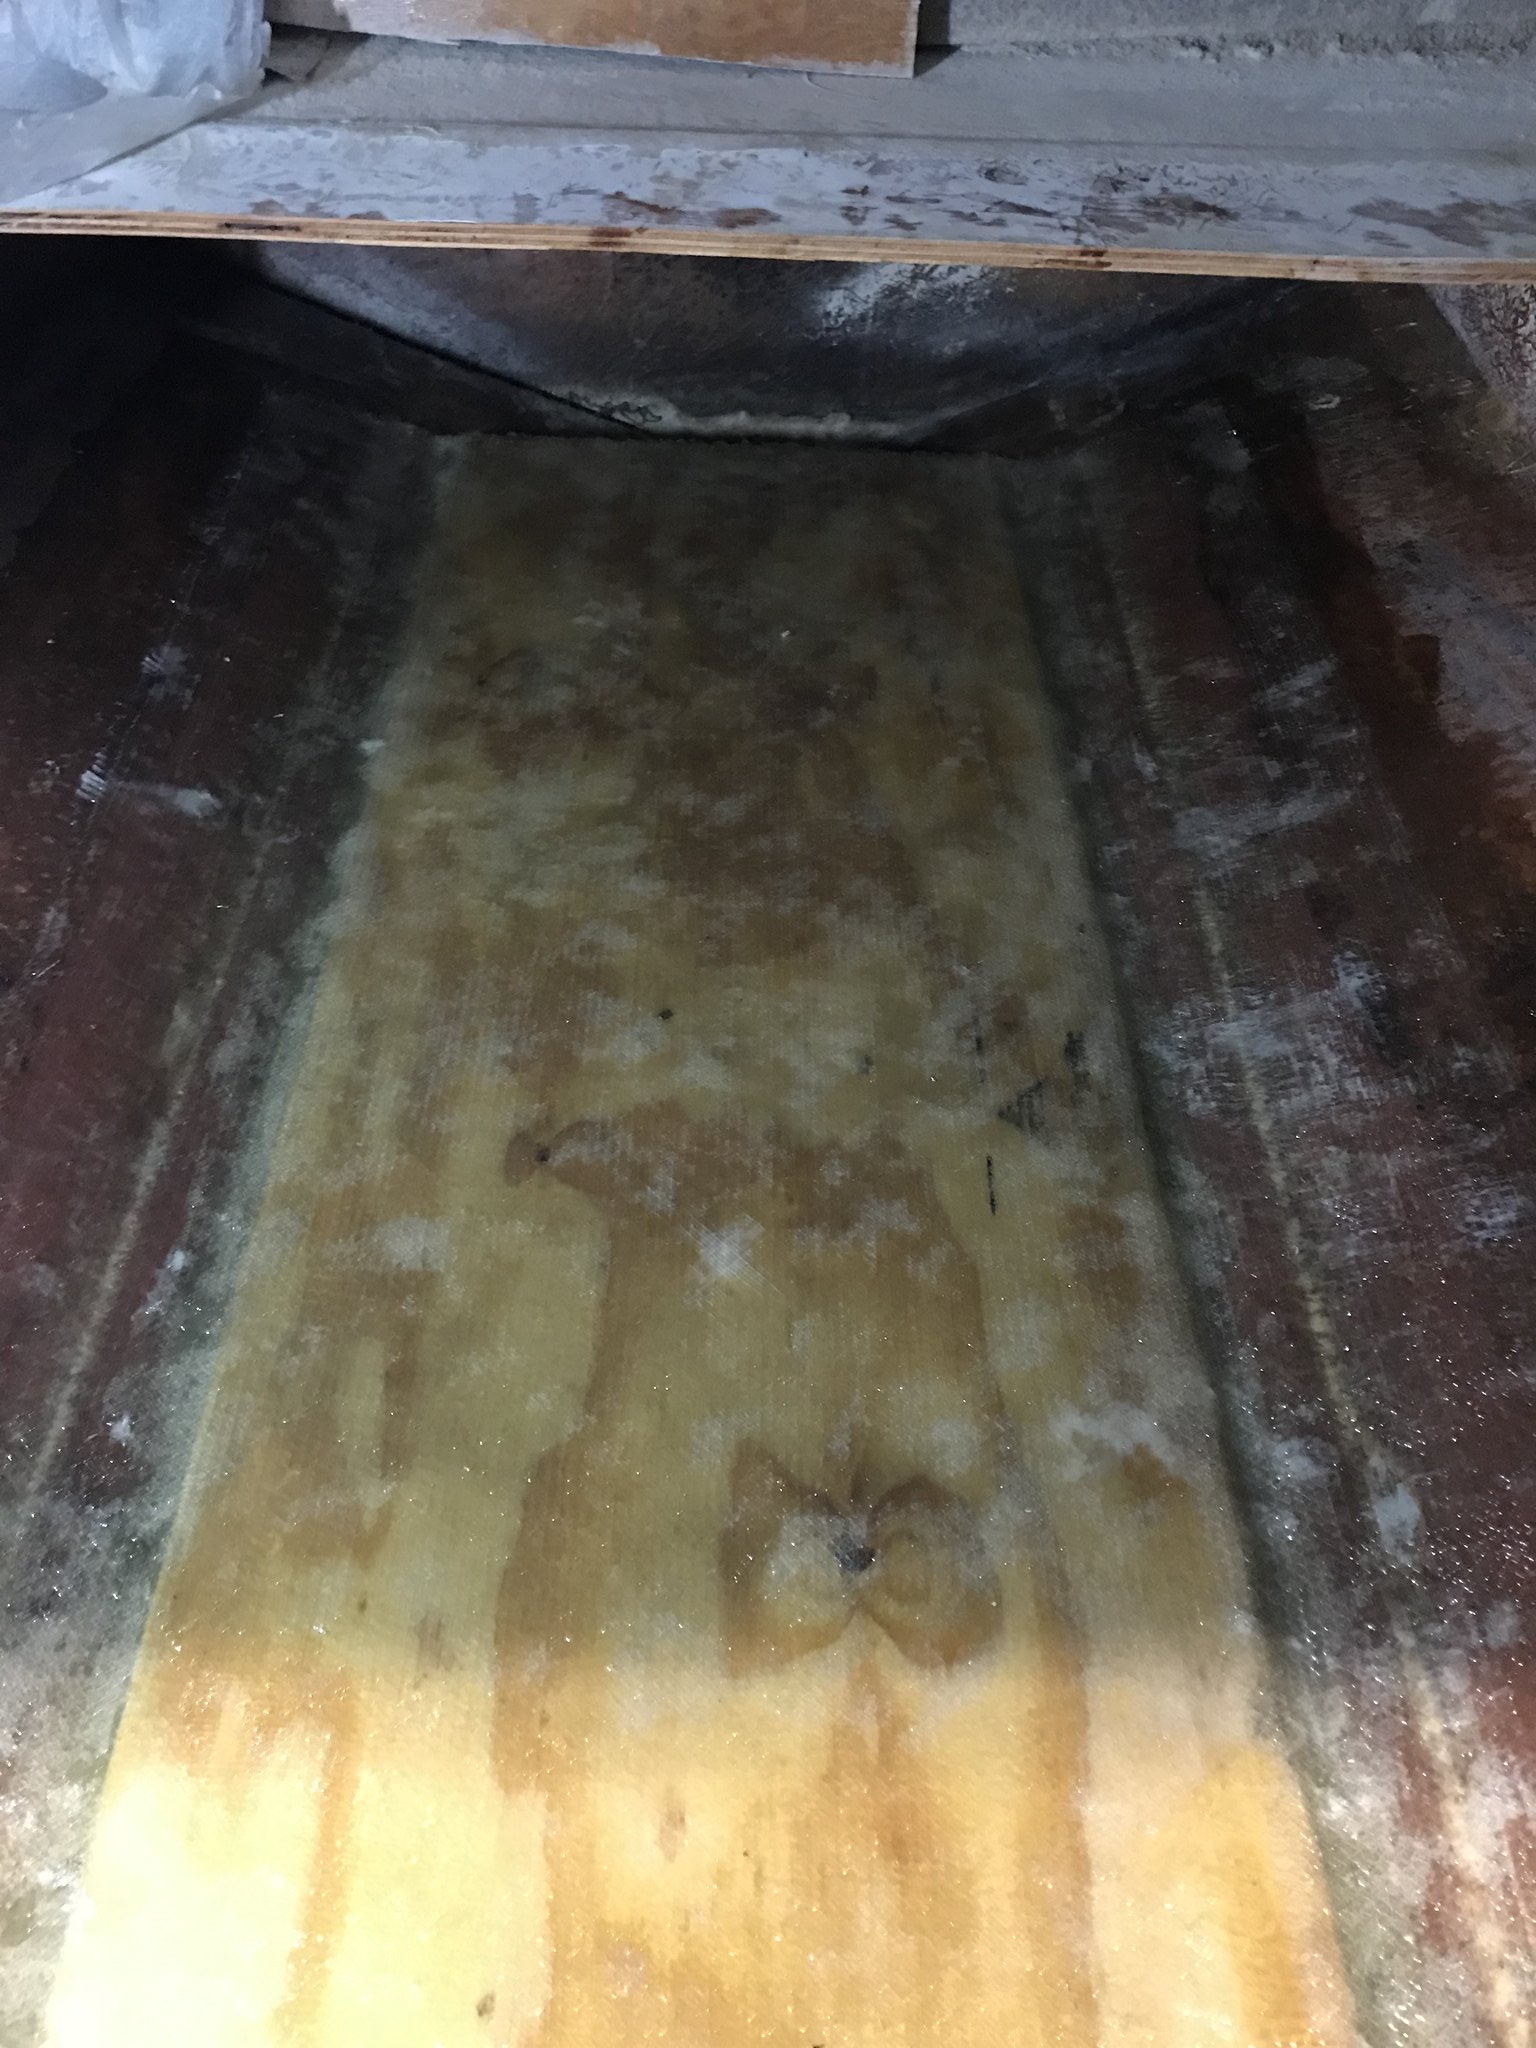
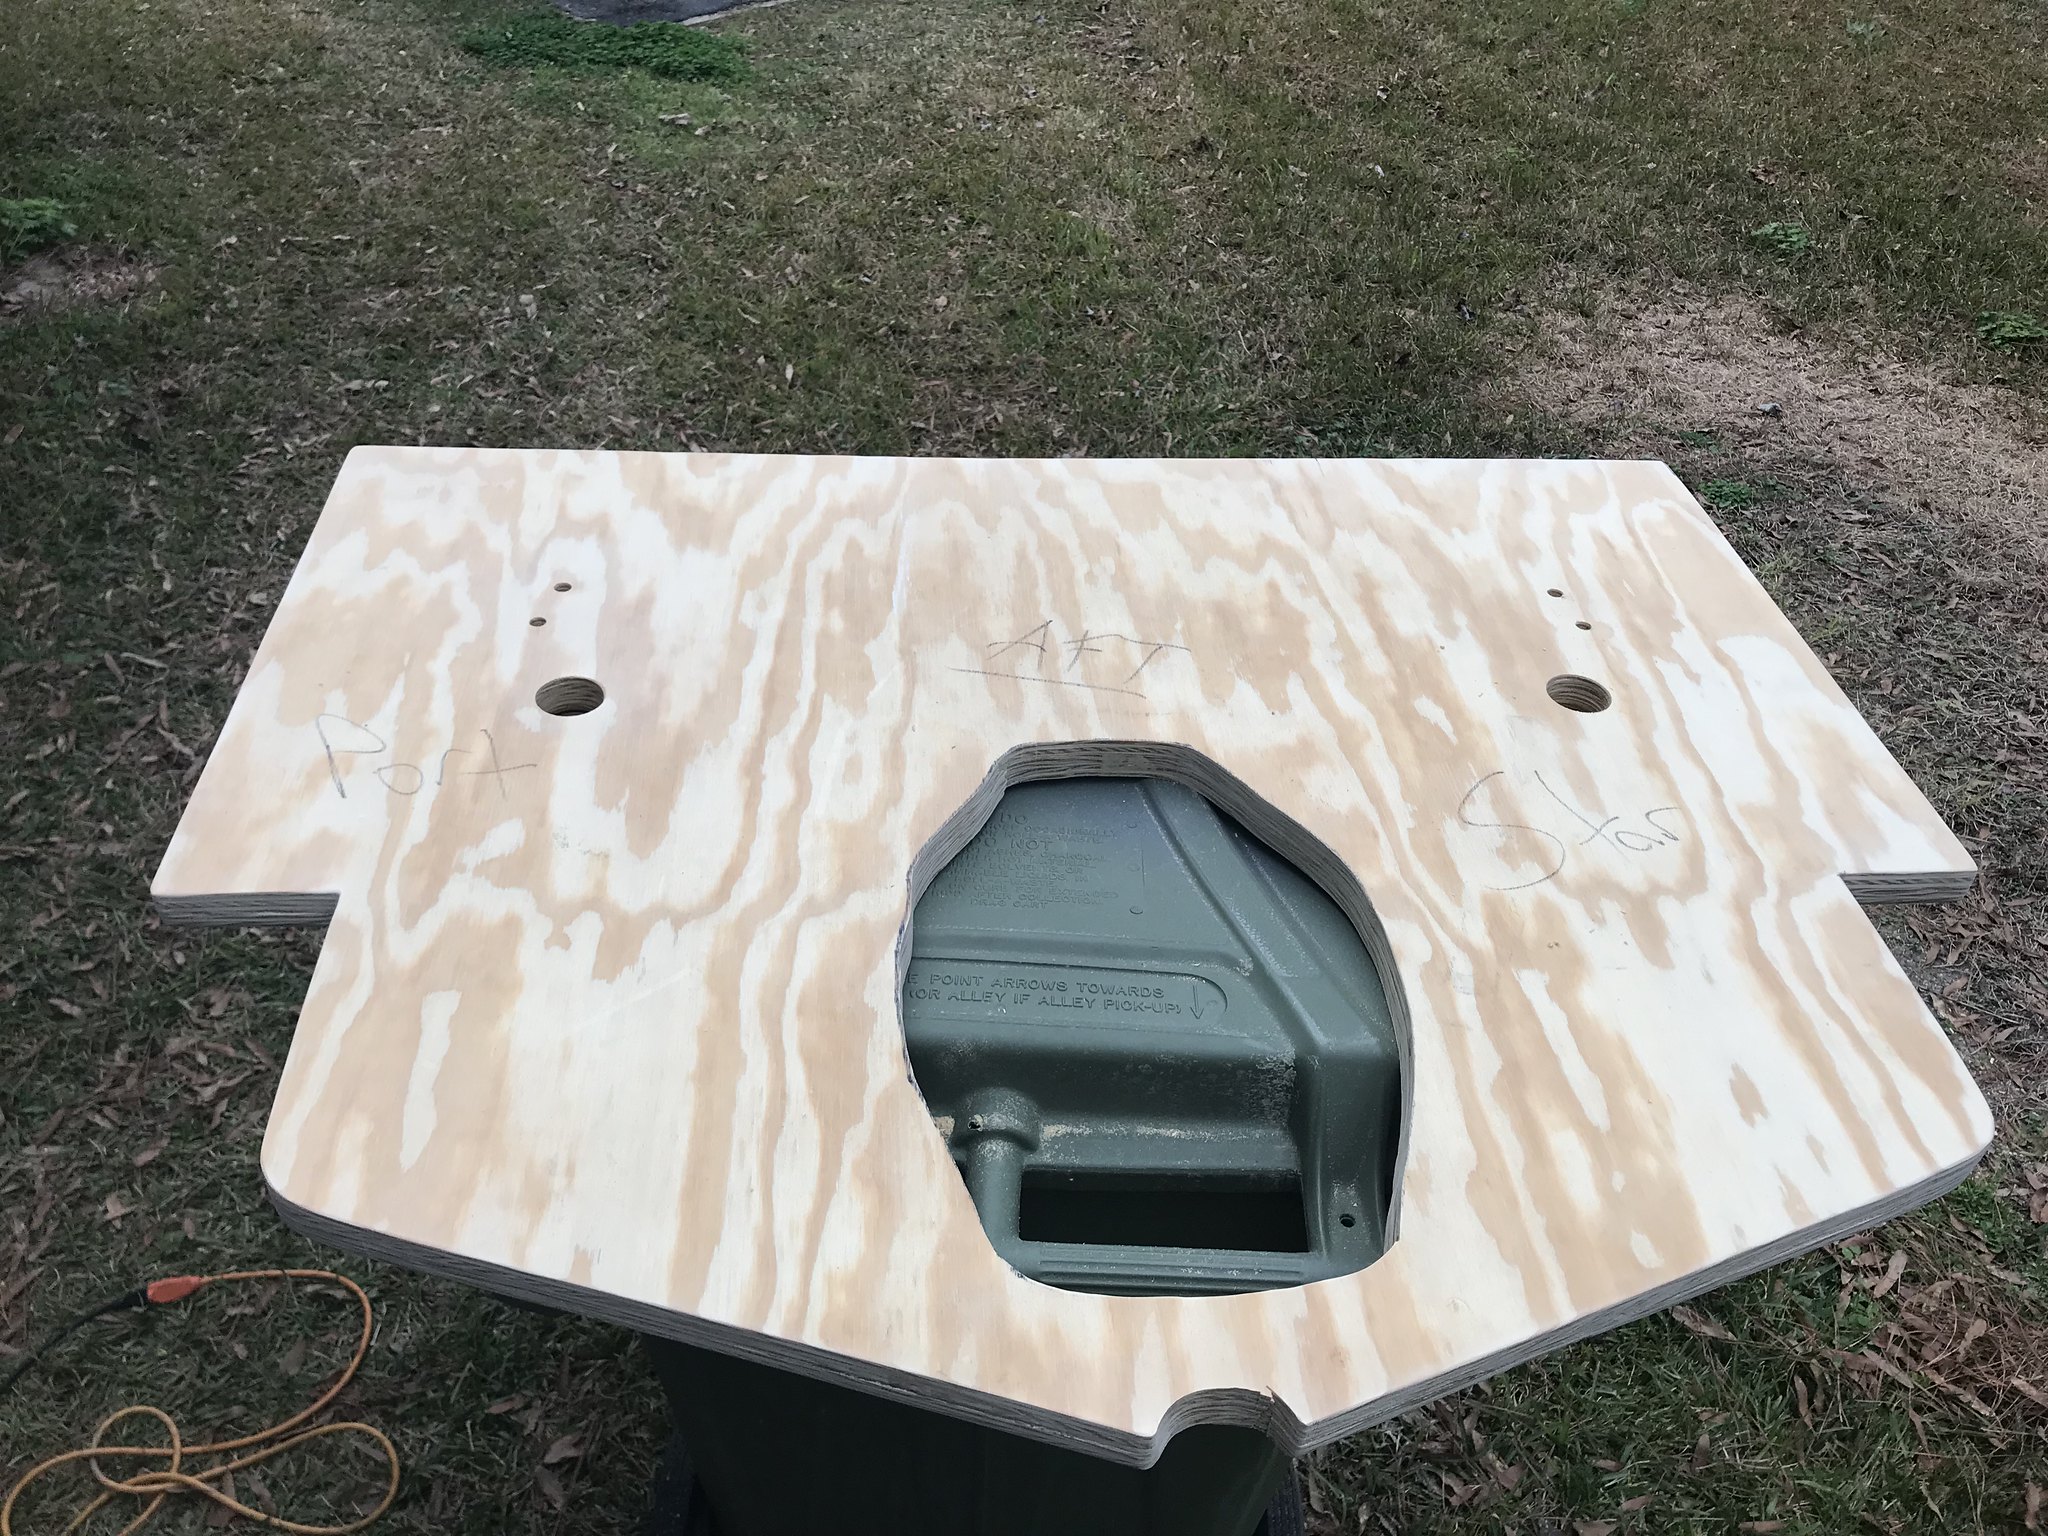
I have the deck the fuel tank sits on cut out of 1/2” ply. I need cut/router a small angle along the edge of the length where it rests on the hull each side. I’ll give it a coat of resin and a layer of csm on the back, then it’ll be ready to PB and glass in.

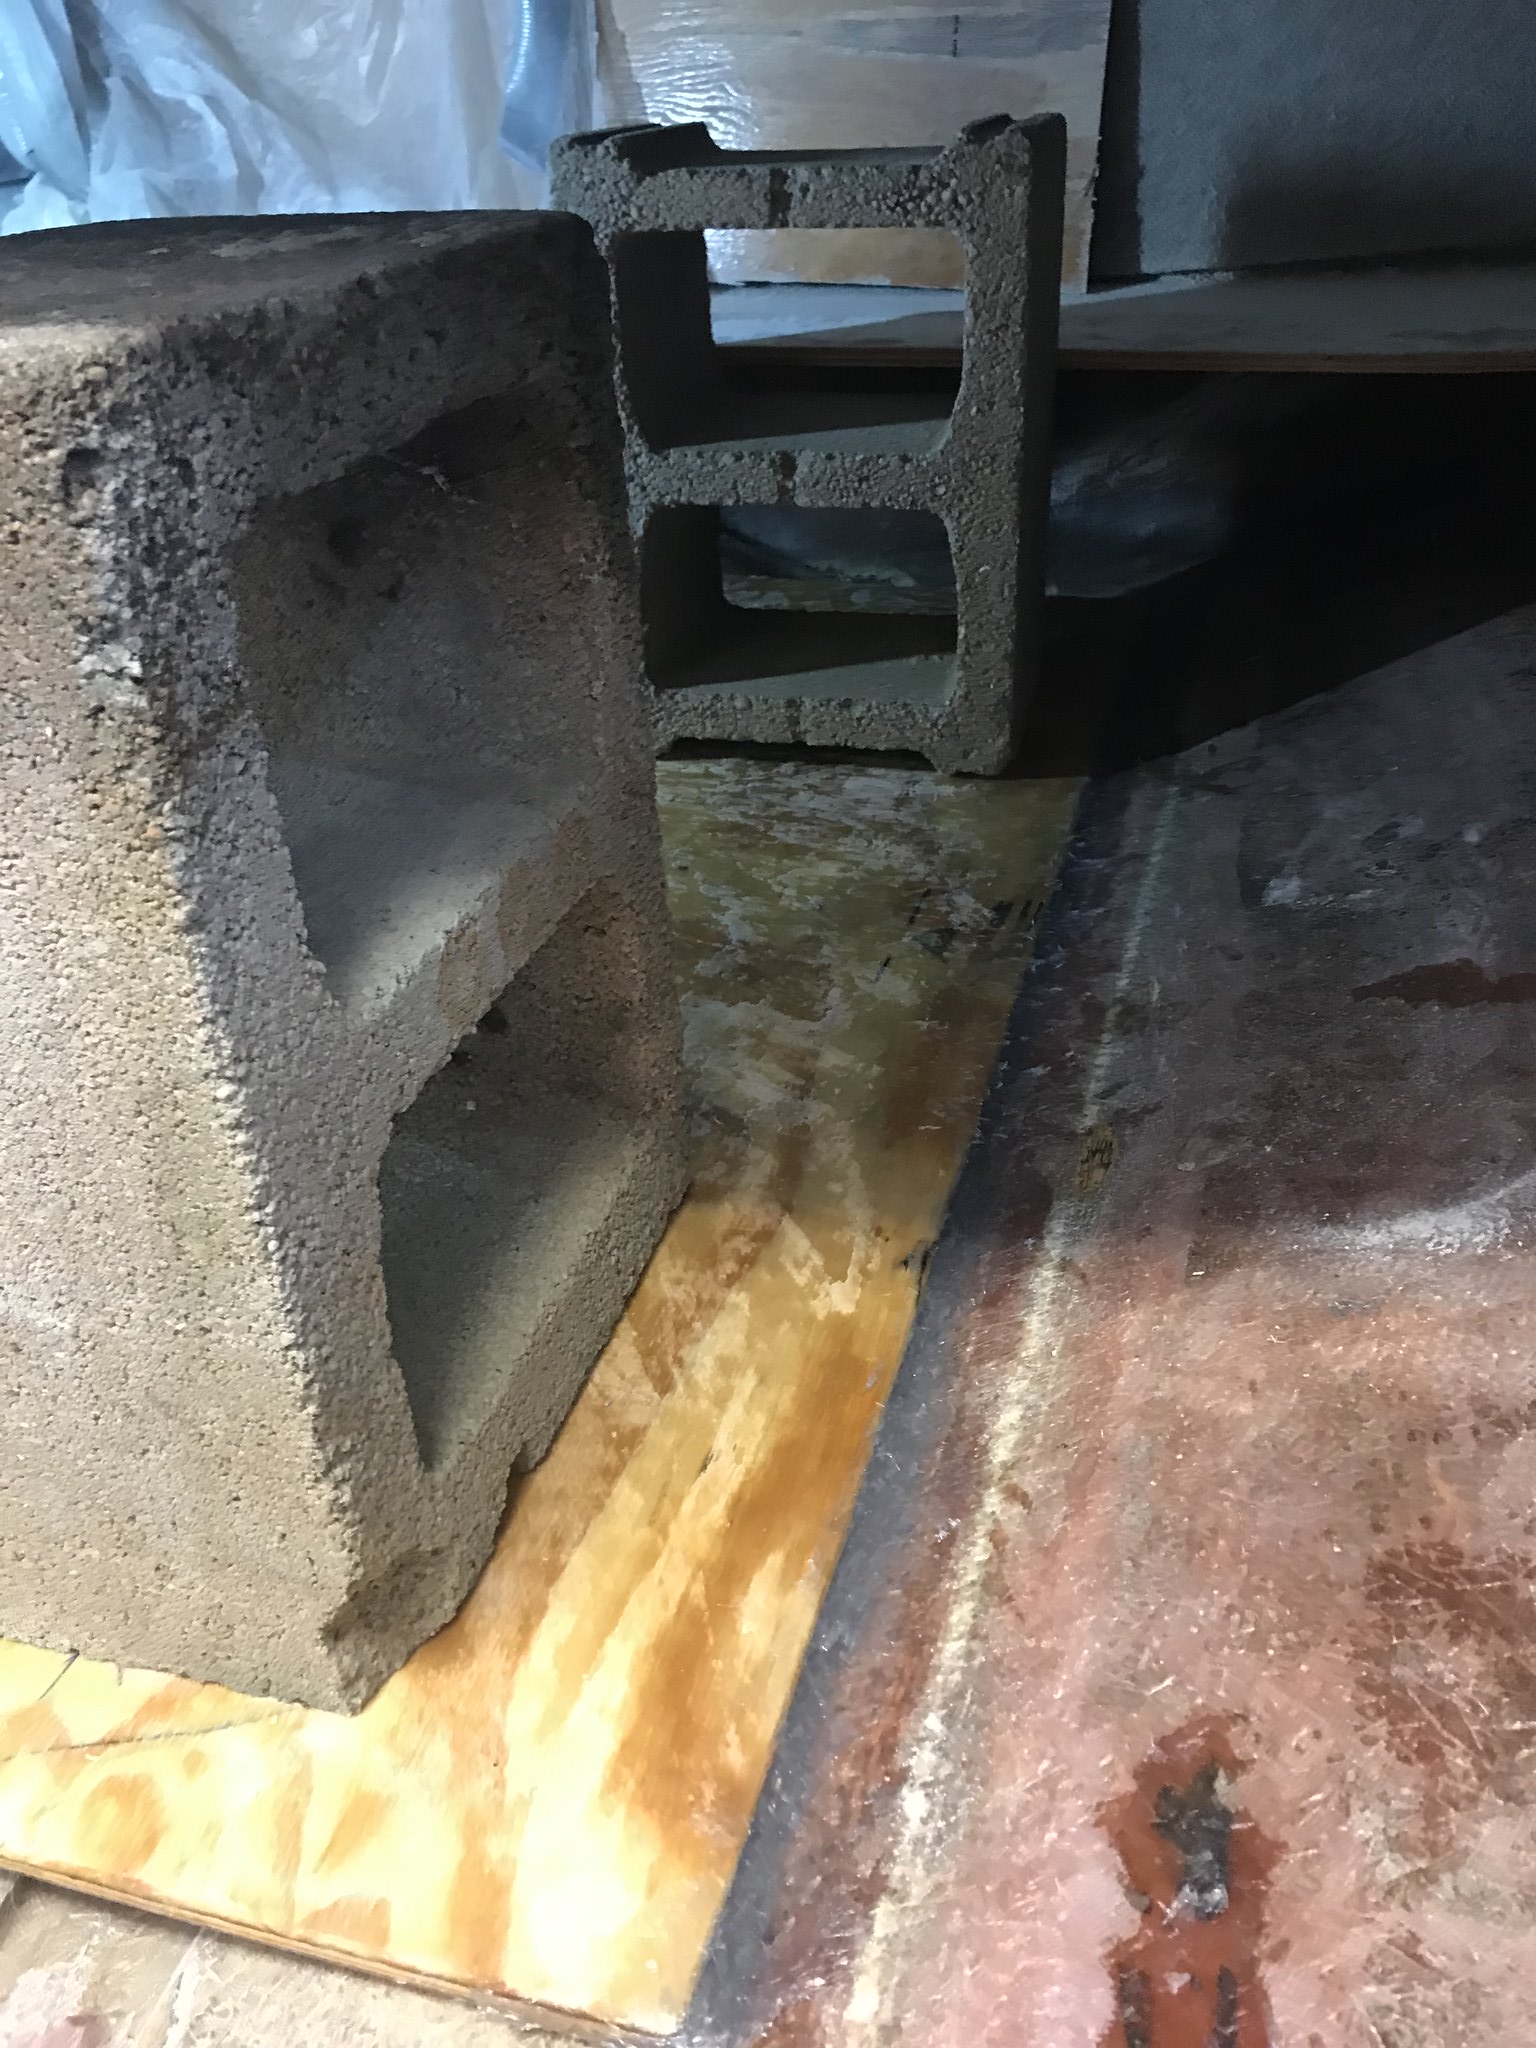
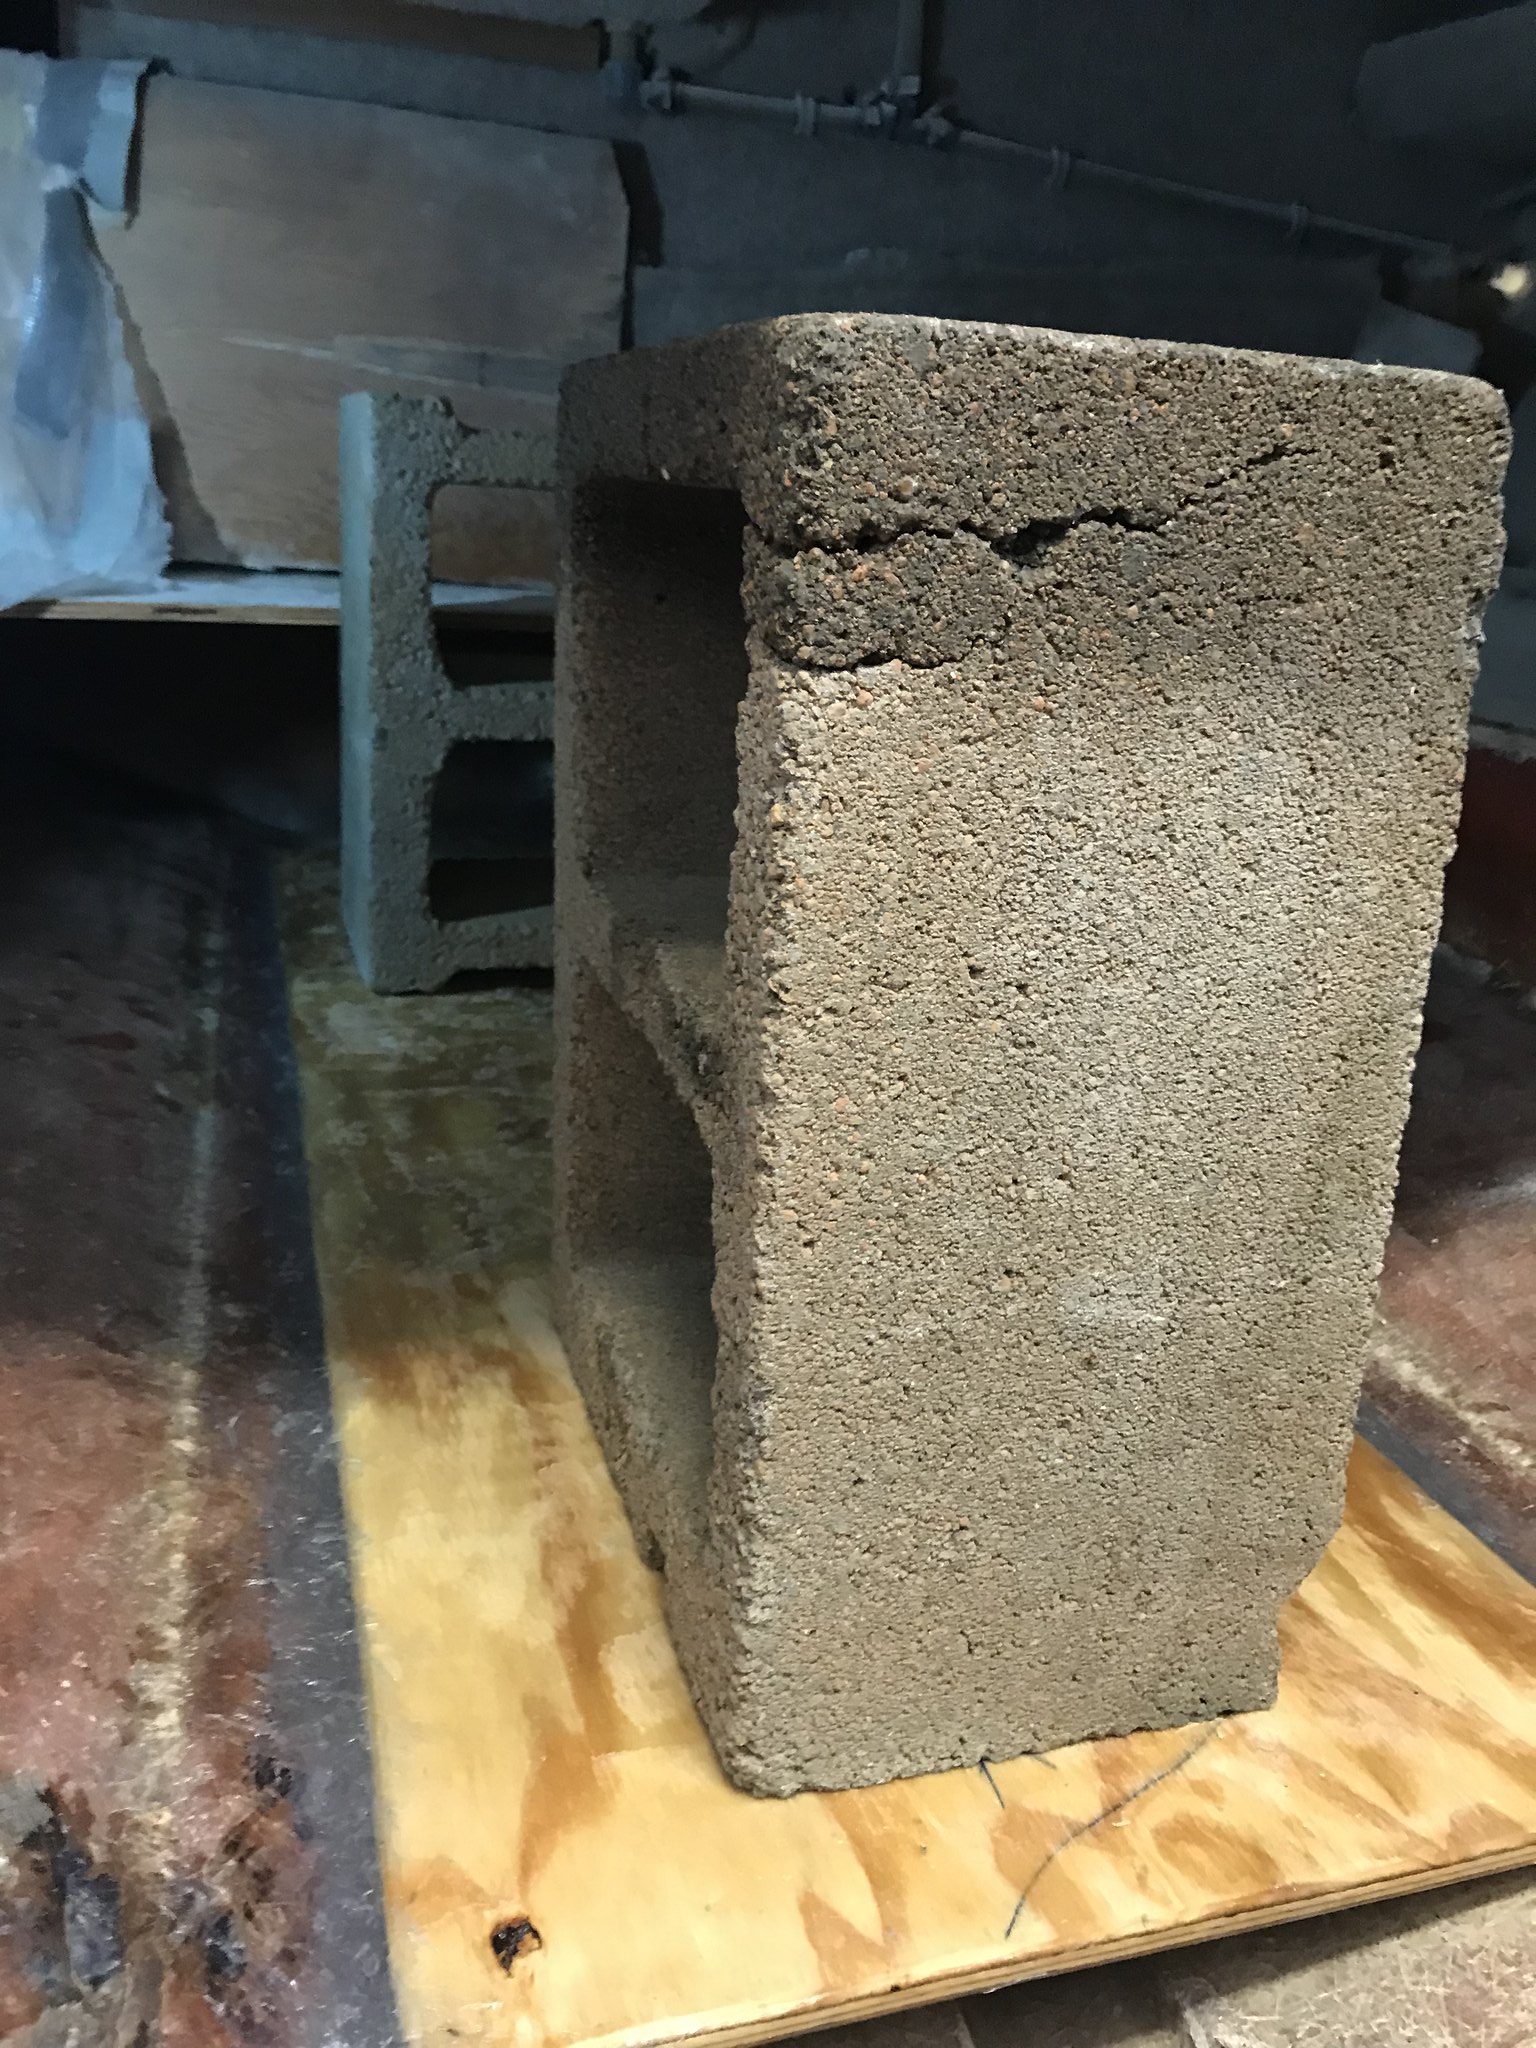
Transom core is nearly complete as well. 2 layers of 3/4” glued with tite bond III and clamped/screwed together. Let it dry overnight last night. Today I dry fitted the transom core and marks the key hole, scupper holes, and tow hook holes. These will all be great places for clamping. I need to find a 1 1/2” long straight edge router bit for a 1/4” chuck to smooth out the key hole and drain hole cuts. The jig saw isn’t cutting straight through both layers very evenly. It wants to keep cutting at a slight angle. I left extra material on both to smooth when I can find the right router bit. I guess I could just make a pass from each side but I’m kinda squirrelly with my router. :lol:
Even after templating out of cardboard, I still was in and out of the boat with the first layer 20 times to get the fit just right. Nothing is square or even. The keyhole and drain are about 1/16” to starboard from center for starters. I cut the garboard drain area out after getting the overall shap of the core right and cut the opening dead center on the core. When I put the core back in to mark up the other holes, I realized I was 1/16” off to starboard with it. No biggie, I’ll cut it slightly larger to even out and the area will be filled with PB anyways. (I could probably just leave it slightly off but it’ll annoy me.)
Glad I didn’t cut anything else! I was tired of climbing up and down out of the boat and tried saving a trip.

More progress and pics later this week! I can smell the poly resin and I’m getting excited.

Here is where I left off with he transom core. Gonna try a few places for that router bit tomorrow. Worst case, I’ll make a pass from each side with the shorter bit I have to even out the keyhole. This side in the picture is aft. The forward side edg is rounded over with a round over bit.
47142261871_d0e221047c_k.jpg
084091C0-20FA-42FC-BB65-D7354DB04558 by Ciera 2450, on Flickr
 

Ciera2450

Lieutenant Junior Grade
Joined
Apr 8, 2011
Messages
1,049
Thanks oldrem! Any progress is a move in the right direction. Kinda cool and rainy here today so likely just finish up the transom core and deck for fuel tank woodwork so they are ready for a coat of resin. Warming up in the next few days and I’ll get them installed.
 

chevymaher

Commander
Joined
Mar 29, 2017
Messages
2,915
LOL yep woke up to the phone ringing at 5 am. School closings. Oh crap get dressed run out and knock the ice and snow off of the boat house.
 

oldrem

Commander
Joined
Nov 7, 2013
Messages
2,002
Our 2-4" prediction got knocked down to less than 1" today. Temps supposed to climb to slightly above freezing the next few days :)
 

kcassells

Fleet Admiral
Joined
Oct 16, 2012
Messages
8,600
freezing rain now. wuwhoooo! Going to work.
Maybe @ 3" wet snow and sleet.
 

froggy1150

Master Chief Petty Officer
Joined
Nov 3, 2017
Messages
803
Currently got about 3/4" here from the looks of it and still falling in one of the hottest places in usa..
las vegas:noidea:
 

Ciera2450

Lieutenant Junior Grade
Joined
Apr 8, 2011
Messages
1,049
Crazy weather! It was near freezing a few days ago and now it’s 75. I got some glassing stuff done!. I’ll update later.
 

Ciera2450

Lieutenant Junior Grade
Joined
Apr 8, 2011
Messages
1,049
Alright guys... gave the transom core and deck for fuel tank a coat of resin last night. Today I put a layer of 1.5oz csm on the bottom side of the fuel tank deck. (I can access the bottom once installed). I mixed up waaaaayyyyy too much PB to fill in any voids in the wood on both pieces and screw holes from the transom lamination. 8 oz of resin worth. I probably used 1/5 of it...that stuff goes a long way.

The weather is super humid here and the poly is taking a while to cure, even at 2% mekp. So, I decided to go over everything in the boat again with the grinder. Spent a few hours and made sure everywhere new glass would go is cleaned up well. It wasn’t bad, but I found a few areas I could’ve gotten better.... so I did.
I then cleared all the tools and crap out of the boat and hosed all the dust out. I have been vacuuming while grinding and a thorough vacuum after each session. But wow! What a difference hosing it out did. Haven’t seen a non dust covered engine bay in weeks!
The interior cabin of the boat is covered in dust. That’s gonna be a pain to clean up when I get to it. The plastic surely helped minimize it getting in there but it’s still all over.

I also got got the clamps made up for the transom install with 2x4 and threaded rod. There will be four total.

Onve the humidity subsides, I hope to install the deck for the tank and transom. Then, tank will go back in and I’ll have to sort how to reattach the floor I cut out to remove it. After all that, build the engine mount stringers.

9136EAC3-517A-42D4-8C79-10D55F1EF72C by Ciera 2450, on Flickr

E28B5ACE-DE9C-41C4-88E1-808E9E8DBBB6 by Ciera 2450, on Flickr

3B71E140-4B14-41C2-BC73-BD725AA92017 by Ciera 2450, on Flickr
 

Ciera2450

Lieutenant Junior Grade
Joined
Apr 8, 2011
Messages
1,049
Looks like the weather may cooperate today! I’m going to PB and tab in the deck for fuel tank and then hopefully PB in the transom!

Anybody wanna guesstimate how much PB it’ll take for the transom? It’s 48” wide and 38” at its tallest. Wanna try and have some idea of how much PB to start with. I will make another batch readily available to mix if necessary. I’ve never done that large of an area with PB. Any ideas?
 

Ciera2450

Lieutenant Junior Grade
Joined
Apr 8, 2011
Messages
1,049
Got the deck for fuel tank installed last night. Bedded in a bead of PB and then fillets. The plastic bag with the corner cut out worked awesome for laying a bead! Plastic spoon to form the fillets. I used the little bit of excess PB to fill any little voids/pits in the original hull where the tabbing would cover.
The piece had a slight twist so I let two cinder blocks rest on it while the PB cured up. I then came back with one full layer of 1708 going 6” tab on either side up the hull. Anyone think I need more? It isn’t st uctural really....I kept working and working the white spots thinking they were dry but I’m pretty sure they are spots from sanding the precoated wood before installing and where I used the PB on the hull spots. You can see in the pics with the blocks the white spots before the 1708. I’m pretty sure there is plenty of resin. I bubbled rolled with a fin roller and tried adding resin to the spots with no change. My arms were hurting and I was sweating like crazy! It’s like a little cave in that area, no airflow.

Still hoping for some guesstimates on how much PB for the transom??? I’m heading to Atlanta today for a conference but hope to install it Monday at the latest.

47134998142_2ef30ebf61_k.jpg
FA8D3AF1-403A-4F08-B3B0-1A7B9FFF2497 by Ciera 2450, on Flickr


33311583238_2103740d96_k.jpg
56076153-3BEF-4FFD-9B57-006BFBC5157D by Ciera 2450, on Flickr

33311577268_81e63a74d1_k.jpg
E92AB36C-C1EE-4332-AB87-258E5136A94D by Ciera 2450, on Flickr
 
Status
Not open for further replies.
Top