poorboy1990
Cadet
- Joined
- May 11, 2019
- Messages
- 19

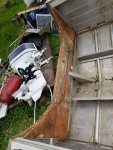
Just bought my first project boat. It is a 1981 Starcraft Super Sport 160. Now time to restore on a budget. I just bought it on May 3rd.


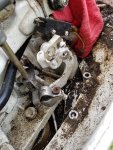
Not a good sign from the transom. When I took the aluminum top off the transom I was swarmed by a thousand ants. What is good to use for the wood of a transom when marine plywood is not available? Mine measured 1 5/8 inches thick.
assume you mean Epoxy resin with fiberglass cloth? That would be the approach I had taken on my 18' SS: #1069 ,1079 and #1102.An idea I had for the transon was to use the 3/4 exterior plywood and use fiberglass resin to seal the plywwod after gluing the sheets together. Is that a good idea or is there a better product to use to seal the wood?
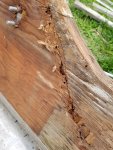
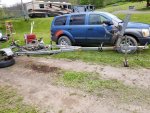
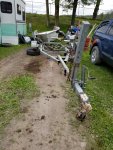
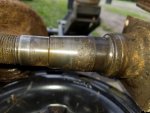


there's more good than bad in this picture.
- knee brace doesn't look cracked.
- your hull has the brackets that help support the spray rail & outer chine.
- aluminum isn't grossly pitted/corroded.