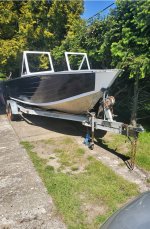
1976 Mariner Rebuild

HypnoCraft

Petty Officer 3rd Class
Joined
Aug 30, 2018
Messages
94
Really nice work!! Long post are fine with tons of pictures!!!! :lol:

You do anything to the bunks to prep them for water or just left them bare?

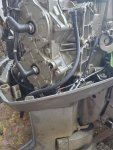
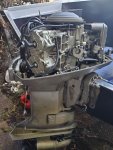
On the motor, I "rebuilt" my 1977 Evinrude 70HP. I can tell you I like the fact I can work on it vs the new ones with computers and fuel injection. Don't get me wrong, if I had one gifted to me I would be ecstatic. With that said, the price of a new motor... So I got to really know my OB, and don't dread if I get stuck out with engine problems. I have been able to quickly diagnose most issues pretty quick (Except for not tightening the manifold bolt to spec.... :facepalm:). Either way, as long as she keeps running and I can fix her without breaking the bank, don't see any reason to change.

SHSU

For the bunks I left them completely natural. I expect them to last a few seasons. I didn't feel like painting them all up. If they last 10 years then great, if they last 1 then I will do it properly next time.

I feel the same way with the old motors. I can work on them without a computer which is nice.

It takes some stones to drill into your powerhead but adding a tell tale is no big deal, I put one in a 55 hp Johnny.

https://forums.iboats.com/forum/eng...aq/228380-johnson-evinrude-adding-a-tell-tale

Thanks a lot! I am going to be putting one of those on my cylinder #1 in the near future for sure!

That was one of the threads I used when I did mine. Will say that after knowing how the engine works and having the head off makes it a breeze.

SHSU

Great to know its easy! Would you say I can do it without taking the head off? or is taking the head off mandatory? I think if i grease the drill like the post says than the shaving will stick with the bit? even if some shavings find their way into the cooling system they should be ejected right?


Not much to update today, just small things like working on the console and getting the motor controls all hooked up. I will post an update soon though!
 

HypnoCraft

Petty Officer 3rd Class
Joined
Aug 30, 2018
Messages
94
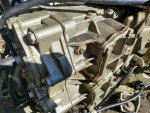
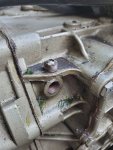
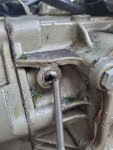
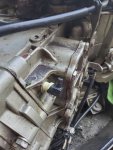
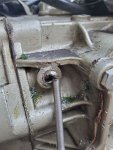
I looked at the powerhead today... great news. Looks like it was either done in the factory because its painted or someone did it for me. There is a plug in the water jacket for a tell-tale!

Click image for larger version  Name:	20200828_094825.jpg Views:	1 Size:	1.13 MB ID:	10923595

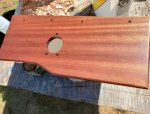
It looks really good, here it is just coated. It looks even nicer now. the spar laid down with no imperfections and looks like a professional finish.

Click image for larger version  Name:	20200827_122821.jpg Views:	1 Size:	1.35 MB ID:	10923594

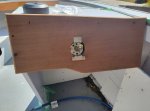
I extended the top of the console to go above the dash. That way I have a little 1/3-3/4" lip that will stop things from rolling into my lap while underway.
 

Attachments

  • 20200825_081354.jpg
    20200825_081354.jpg
    1.2 MB · Views: 9
  • 20200828_094825.jpg
    20200828_094825.jpg
    1.1 MB · Views: 6
Last edited:

Watermann

Starmada Splash of the Year 2014
Joined
Jan 12, 2013
Messages
13,787
Nice glad you got to looking at the powerhead and found that, 2/3rds the tell tale battle is out of the way.

Helm dash panel looks great, should be plenty strong too. Some of us have had to add a brace form the helm to the front panel to keep from flex working our gauge/switch panel hole filled dash panels.
 

SHSU

Lieutenant Junior+Starmada Splash Of The Year 2019
Joined
Mar 8, 2017
Messages
1,725
Such a pretty wood!!

So glad you are clear coating it. I was worried for a sec you might paint over it. Such a pretty wood shouldn't be hidden.

SHSU
 

HypnoCraft

Petty Officer 3rd Class
Joined
Aug 30, 2018
Messages
94
Nice glad you got to looking at the powerhead and found that, 2/3rds the tell tale battle is out of the way.

Helm dash panel looks great, should be plenty strong too. Some of us have had to add a brace form the helm to the front panel to keep from flex working our gauge/switch panel hole filled dash panels.

Unfortunately... the thing was nice and seized in there. I had to drill it out to a bit under an 1/8th NPT drill size and then mash it up and spin it out. Also, thanks for the tip on the brace. I jiggled it and the bottom corner that's unsupported moves, so I will be fixing that.

Such a pretty wood!!

So glad you are clear coating it. I was worried for a sec you might paint over it. Such a pretty wood shouldn't be hidden.

SHSU

I could never!


Sorry its been so long since an update.

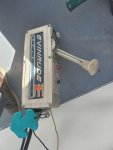
I took apart and the controls and made sure that the safety stop was functioning properly as it was not. this means that at full throttle you could press the button and ram it into neutral or reverse.

20200830_134314.jpg20200830_164457.jpg

20200831_123733.jpg20200910_152215.jpg

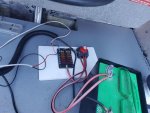
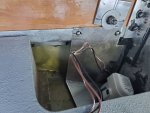
I also started doing a bit of wiring

20200909_174613.jpg

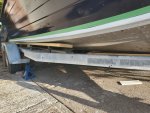
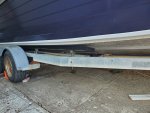
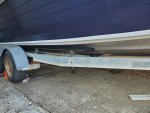
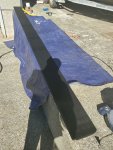
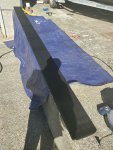
Got the bunks covered and back on, which made them look way nicer. I still need to get some new wheels for the trailer, but they do roll for now.


20200910_144613.jpg20200910_145752.jpg
20200910_150300.jpg
Success! It spits out water!

One issue that I have found with this motor is that the port side cylinders get a little warmer than the starboard cylinders. It seems like the water loop runs the port and starboard cylinders in parallel which seems a bit wacky because if there is a higher resistance to flow in one side than that side gets less water. I ran water through both cylinder sets and water had no trouble flowing so I am not too sure whats going on.

Sorry for the rather short explanation on everything but I have just been doing small odd jobs and some are half done or barely started like the wiring.
 

Attachments

  • 20200910_145755.jpg
    20200910_145755.jpg
    46.7 KB · Views: 6
  • 20200830_114121.jpg
    20200830_114121.jpg
    108.4 KB · Views: 6
  • 20200831_143704.jpg
    20200831_143704.jpg
    134.4 KB · Views: 7
  • 20200901_152701.jpg
    20200901_152701.jpg
    151.2 KB · Views: 8
  • 20200831_130916.jpg
    20200831_130916.jpg
    171.1 KB · Views: 8
  • 20200910_145148.jpg
    20200910_145148.jpg
    181.8 KB · Views: 8
  • 20200910_144420.jpg
    20200910_144420.jpg
    191.8 KB · Views: 6
  • 20200910_144420.jpg
    20200910_144420.jpg
    191.8 KB · Views: 6
  • 20200910_150446.jpg
    20200910_150446.jpg
    212.1 KB · Views: 5
  • 20200910_150446.jpg
    20200910_150446.jpg
    212.1 KB · Views: 6
  • 20200830_131534.jpg
    20200830_131534.jpg
    341.4 KB · Views: 7
  • 20200830_131534.jpg
    20200830_131534.jpg
    341.4 KB · Views: 7
  • 20200906_110109.jpg
    20200906_110109.jpg
    271 KB · Views: 6
  • 20200906_110109.jpg
    20200906_110109.jpg
    271 KB · Views: 5

Watermann

Starmada Splash of the Year 2014
Joined
Jan 12, 2013
Messages
13,787
Nothing is ever easy is it? :lol:

On the difference in head temps, did you replace the T stats and at least clean up the poppets? Use an IR gun to see what the temps are exactly. Also running on muffs doesn't give the best water flow compared to being in the lake.
 

SHSU

Lieutenant Junior+Starmada Splash Of The Year 2019
Joined
Mar 8, 2017
Messages
1,725
Very nice work!!!

I think most of the rebuilds should also include a good tear down of the engine and controller. Gives you a great understanding of how it works and confidence you can trouble shoot if you ever get stuck out on the water.

As for my temp on my Evinrude, I found that even after a WOT run the outer casing was still at about 125 - 130 F. My temp gauge though shows the internal wall climbing to what I believe to be closer to 150-160 F. As for different temps on the sides, agree with Watermann to check your thermostat. Also if you haven't look at it, pulling the water jacket to see if there is any clogging occurring may be a good idea too.

SHSU
 

HypnoCraft

Petty Officer 3rd Class
Joined
Aug 30, 2018
Messages
94
Well, it's been a very long time. I don't know how I forgot about IBoats, but I am back again. I have been taking some pictures along the way.

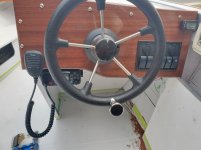
Put a nice little console panel in, as well as a radio.
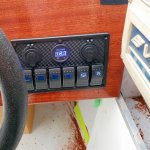
20200916_184048_05.jpg
20200917_160001.jpg

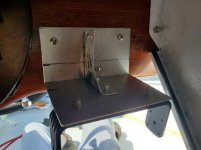
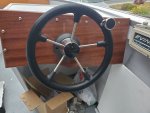
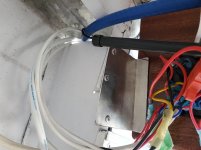
Reinforced the pilots steering console. I also had to make a little mount for the radio.


20200922_122116.jpg


20200922_122140.jpg

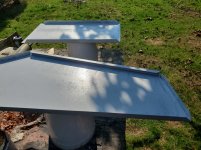
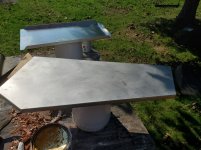
I drew up the mirrored version of the pilots station and had it lasercut/bent out of aluminum.
20201003_133716.jpg20201003_135151.jpg

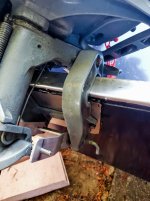
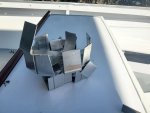
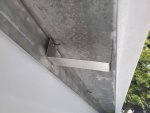
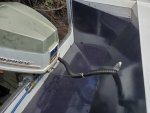
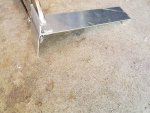
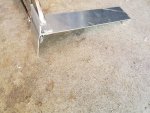
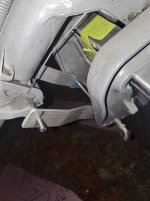
I made a bracket to hold my kicker in the up position that wont fall when trailering.
20201121_181811.jpg20201128_111444_01.jpg

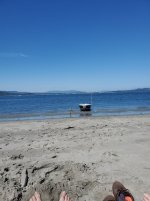
Took the boat to a nearby island this last summer.
20210516_113017.jpeg
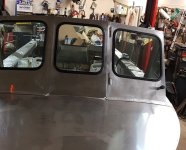
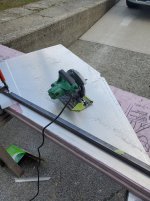
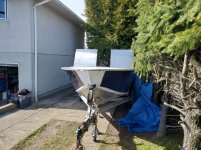
I also started constructed the windshield from 0.100" 5052 aluminum. Scrap sheet stock that I had on hand.
20210226_152817.jpg
20210306_132519.jpg

I cut out the window areas using a jig saw.20210514_112826.jpeg

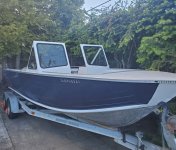
To put the windows in, I used the rubber locking product. I happened to design my window off of a specific size and was given the incorrect rubber. Which caused me to break a glass panel during install, so I took it to a shop and payed them $200 to install it. When I picked it up they let me know my glass was about 0.25 inches to big and they had to grind it down a ton to fit.


20210520_172450.jpeg

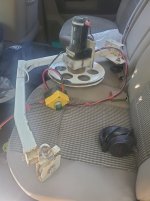
Somewhere around the same time as the windows, I managed to find a trap puller for 50 bucks!
20210825_111621.jpeg

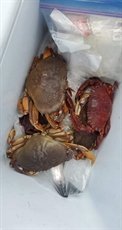
I also managed to find a government posting for 14 commercial crab traps. They were about 42" in diameter. I used them a few times (only 4) and realized they are just way to big, So I sold them for a profit (+400ish$).

Picking them up was fun... Luckily I had recently purchased a truck.
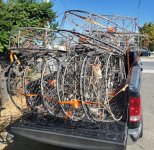
20210902_145017.jpeg

received_157010833247038.jpeg

But yeah, not much else has happened.

I recently put an order in for a cheap bimini cover. I am going to make side and a back from it so that its an enclosed soft cabin that can be heated. Winter fishing gets pretty cold!

I will try to post more regularly again.
 

BOYS & TOYS

Petty Officer 2nd Class
Joined
Mar 1, 2008
Messages
146
That windshield is nice. I made a similar one for my Holiday and started getting corrosion under the rubber gasket soon after being put in service.
I cleaned all the corrosion spots and greased the contact area with brake lubricant(silicone grease) and it seems to be better.
I'm curious if you will see the same thing.
 

Attachments

  • 20180621_092218.jpg
    20180621_092218.jpg
    160.6 KB · Views: 1

HypnoCraft

Petty Officer 3rd Class
Joined
Aug 30, 2018
Messages
94
That windshield is nice. I made a similar one for my Holiday and started getting corrosion under the rubber gasket soon after being put in service.
I cleaned all the corrosion spots and greased the contact area with brake lubricant(silicone grease) and it seems to be better.
I'm curious if you will see the same thing.
I haven't seen any corrosion as of yet. the windows have been installed for about 6 months or so. I did paint the whole window frame before installation, so I don't think I will see corrosion. If I do I will know what to do now. Thanks, haha
 
Top