1974 Chieftain 25 "Adventurer" Restoration

Gibbles

Commander
Joined
Nov 14, 2009
Messages
2,027
and that's still something I need to figure out, how the engine separates from the drive.

I'm thinking I just un-bolt and slide the engine forward?
Or did you need to slide the drive from the transom/back?
 

IslandExplorer

Chief Petty Officer
Joined
Oct 21, 2019
Messages
460
and that's still something I need to figure out, how the engine separates from the drive.

I'm thinking I just un-bolt and slide the engine forward?
Or did you need to slide the drive from the transom/back?
On mine the drive unbolted as a complete unit pretty easily from the back of the transom and when removed it had a universal and splined shaft that slid right out with it from (presumably) the flywheel that's inside that bell cover on the back. The engine just lifted right out after taking the 2 nuts and 2 mounting bolts out. Not bad at all!
 

Gibbles

Commander
Joined
Nov 14, 2009
Messages
2,027
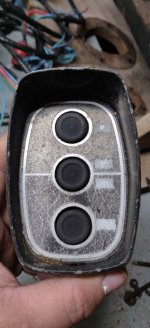
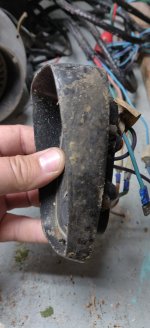
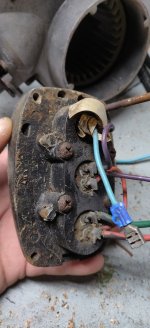
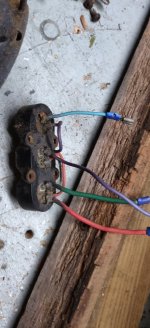
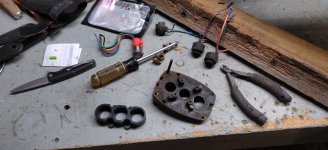
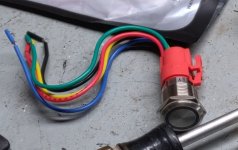
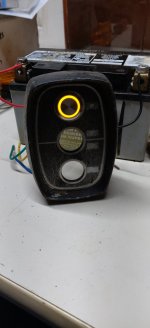
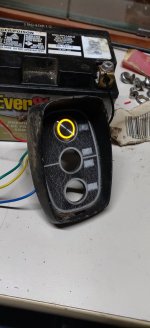
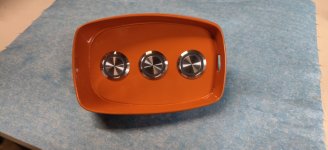
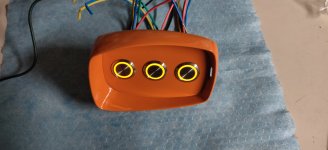
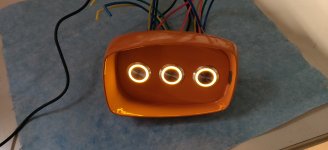
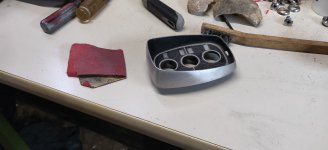
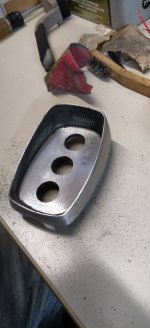
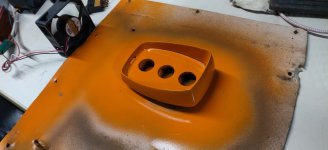
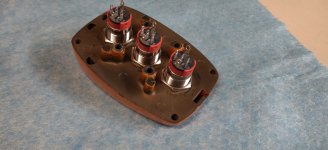
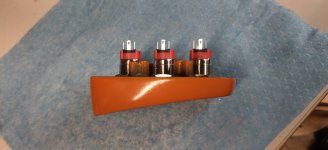
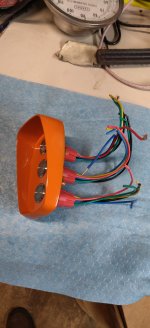
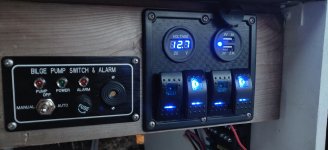
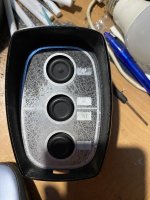
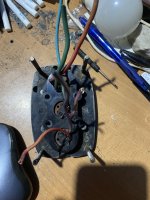
Started messing with console build, starting with the old Mercruiser 3 button switch. Found a stainless light up button that is a great match, 2 more on the way...
View attachment 390444View attachment 390441View attachment 390446View attachment 390445View attachment 390443
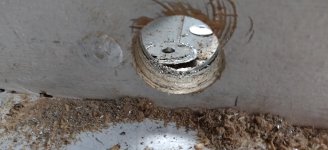
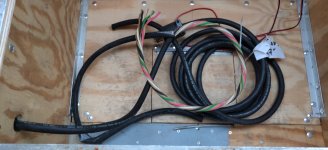
View attachment 390448View attachment 390447View attachment 390442

Very nice solution, classy!

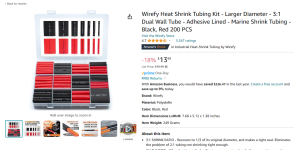
Amazon sells marine grade shrink tube in various sizes and in a little handy case.
I find them to be very handy.

One example of a quick search,

1697476850999.png

For some of the larger sizes that I used for heat shielding for other projects I have full rolls of it.
but those little ones are pretty handy.

Then I just buy the connectors without the plastic connector end so I can crimp, solder, and then use that stuff to seal it up nicely.

Amazon also sells that stuff in handy little boxes with adjustable spacers.


I just try and wire and build this stuff like it's going to get wet, and it's going to get beat on by the boat rising and falling.
 

IslandExplorer

Chief Petty Officer
Joined
Oct 21, 2019
Messages
460
Very nice solution, classy!

Amazon sells marine grade shrink tube in various sizes and in a little handy case.
I find them to be very handy.

One example of a quick search,

View attachment 390459

For some of the larger sizes that I used for heat shielding for other projects I have full rolls of it.
but those little ones are pretty handy.

Then I just buy the connectors without the plastic connector end so I can crimp, solder, and then use that stuff to seal it up nicely.

Amazon also sells that stuff in handy little boxes with adjustable spacers.


I just try and wire and build this stuff like it's going to get wet, and it's going to get beat on by the boat rising and falling.
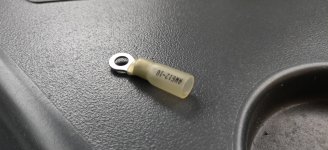
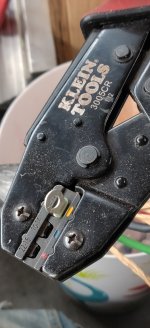
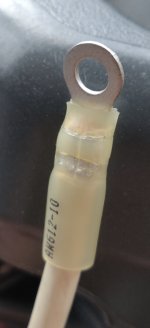
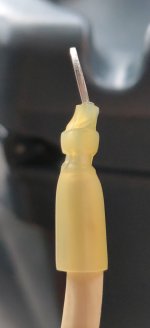
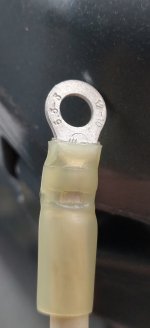
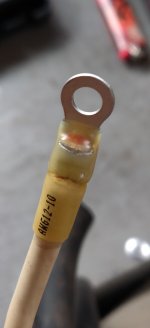
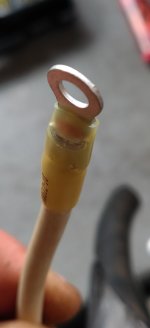
Thanks! I was trying to come up with something to keep the classic Mercruiser style. And I totally agree 100%. I wire things like they will be part of a submarine when I can. I do like the shrink tube stuff but lately for small connections I have been using a kit of terminals that have transparent shrink plastic on them and this heat activated glue stuff inside. Really like these. Once crimped you heat it and it shrinks just like the shrink tube but you can also see melted clear glue stuff squeezing out a little and displacing the air space that was inside. I'll be posting some pictures as this stuff gets connected and you'll see em. I like how they seem to have zero airspace inside. Have had good luck with them so far. I'm definitely going to have to get some shrink tubes for when I do the big battery cables though so I'll check out that kit. Ever use liquid electrical tape with any success? My last set of battery cables I did I tried something new and doped them up with that stuff after crimping the cable to the ring terminals, then slid the shrink tube over it and heated it. Made a bit of a mess squeezing out the excess but it worked! This did basically the same thing as the connectors I was talking about but on a much larger scale.
 

IslandExplorer

Chief Petty Officer
Joined
Oct 21, 2019
Messages
460
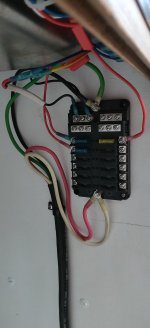
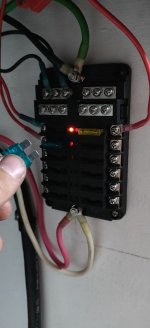
Got the wiring started. First established power from house battery 1 in bow compartment to the main 12 circuit fuse panel by the sink. Close-ups of the heat shrink connectors I like with the glue inside. Was great to be able to turn the water pump on with the flip of a switch.IMG_20231017_144316.jpgIMG_20231017_173454.jpgIMG_20231017_163202.jpgIMG_20231017_163739.jpgIMG_20231017_163828.jpgIMG_20231017_163839.jpgIMG_20231017_163833.jpgIMG_20231017_163954.jpgIMG_20231017_164008.jpgIMG_20231017_163801.jpgIMG_20231017_175628.jpgIMG_20231017_175655.jpgIMG_20231017_175515.jpg
 

IslandExplorer

Chief Petty Officer
Joined
Oct 21, 2019
Messages
460
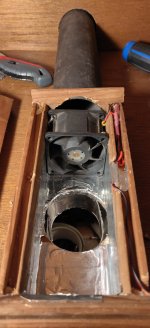
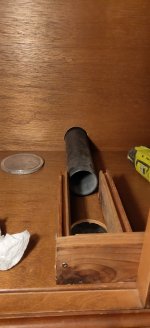
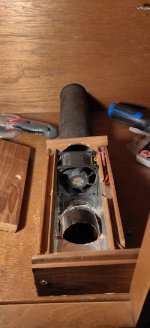
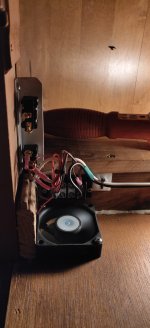
IMG_20231017_220311.jpgIMG_20231017_183356.jpgIMG_20231017_183925.jpgIMG_20231017_184826.jpgIMG_20231017_185038.jpgIMG_20231017_195601.jpgIMG_20231017_220305.jpgIMG_20231017_220318.jpgIMG_20231017_220335.jpgExhaust vent fan for stove built into the oversized cupboard. Take out from a powerful blade server. This thing is like a leaf blower outside lol so going to need to get a dimmer switch for it.
 

IslandExplorer

Chief Petty Officer
Joined
Oct 21, 2019
Messages
460
Man I was going to say, I have a computer fan that can self-hover!
It sure looks a lot like that fan. :love:
Yeah, I'm guessing maybe 9000 rpm?... lol So might be self hover capable, didn't flight test. But now I have a starboard-only docking thruster!
 

1975oday22

Chief Petty Officer
Joined
Sep 2, 2022
Messages
598
your movin along very well , love the color of the 3 way. i coulda sent you mine as i still have it. lol... and its in great shape too. never know i might just send it to you ... especially love the ceder ..... great job..... now onto the next project.... The Console. lol or the Engine...... whatever one you choose.
 

Attachments

  • IMG_3195.JPG
    IMG_3195.JPG
    2.2 MB · Views: 2
  • IMG_3196.JPG
    IMG_3196.JPG
    1.9 MB · Views: 2

IslandExplorer

Chief Petty Officer
Joined
Oct 21, 2019
Messages
460
your movin along very well , love the color of the 3 way. i coulda sent you mine as i still have it. lol... and its in great shape too. never know i might just send it to you ... especially love the ceder ..... great job..... now onto the next project.... The Console. lol or the Engine...... whatever one you choose.
Thanks! I've always really liked cedar. The look, smell, resistant properties. There was a bunch of cedar in the boat that previous owner installed. I've been recycling the original ceiling and wall panels for stuff like this, the bathroom, dining area ceiling. It was some of the only wood in it that survived the neglect when it went out of use.

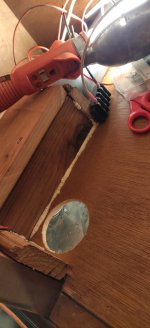
I wanted to start the console yesterday but the cupboard floor was getting pretty hot once testing it with both burners wide open and no pan for extended periods of time so had to fix that before moving on. Now it can run wide open indefinitely without issue but it was a little tricky to get it right.
 

IslandExplorer

Chief Petty Officer
Joined
Oct 21, 2019
Messages
460
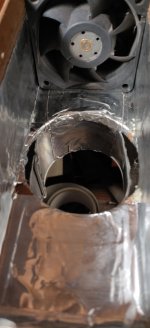
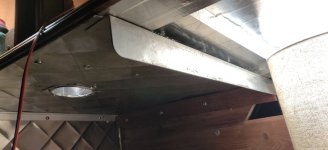
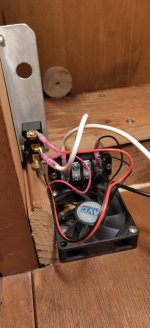
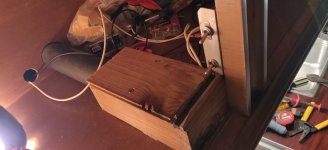
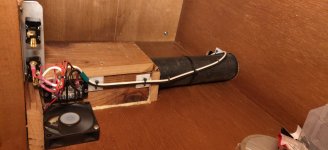
Cupboard with range hood details:
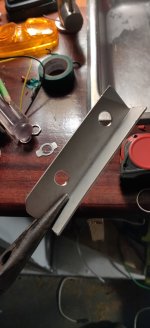
The fan switch is a 3 position toggle and can select Exhaust, Off, or Cool. The high power exhaust fan pulls out smoke while about 10% of its flow/suction is allowed to pull air from behind the shroud, cooling it. The other fan is for less smokey occasions and is nearly silent and keeps the whole thing cool very effectively by feeding all of its air between the cabinet and the stainless heat shield but without any exhausting outside. This passive fan came with a bonus surprise! It is from an old computer and apparently has a thermal regulator built in. If I turn it on when cool it runs super quiet. If you crank up the burners heating the shroud up it picks up rpm in steps to compensate until it cools back down! I couldn't believe it, I choose this fan out of a dozen + random 12v ones I have and it's perfect.
 
Top