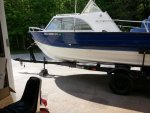
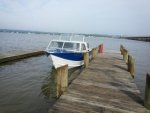
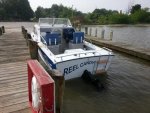
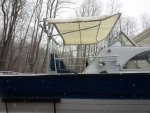
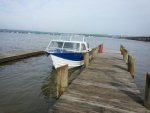
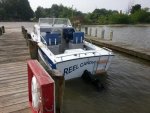
1974 21' Chieftain 165 Mercruiser Restoration

Status
Not open for further replies.

cj8mule

Senior Chief Petty Officer
Joined
Apr 7, 2012
Messages
660
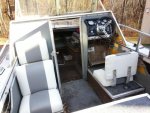
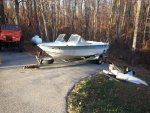
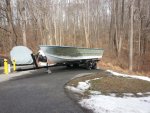
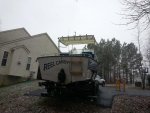
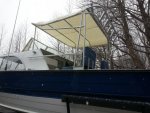
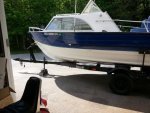
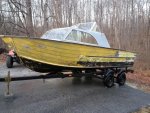
Margaret Wolfe Hungerford (1878) once wrote that "beauty is in the eye of the beholder". Well, here she is complete with a rotten floor and transom, a crappy paint job, and water in the oil.
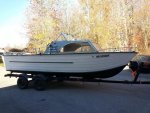
20131111_091108_zps4cab2d7c.jpg


I agree she isn't that easy on the eyes, but she'll be seaworthy again by the end of this thread. I promise!

My goal was to purchase a big enough boat to fish the Chesapeake Bay safely with a budget of only $5000. From dry dock to splash time took a little more than 6 months and around $4200 with electronics. I didn't keep track of labor hours, but would estimate them to be around 500.

I would never become a rich man restoring these old boats, but I do gain a lot of pleasure making them useful again. I also gain a dependable boat that I know every square inch of. If something does break out on the water, my chances are pretty good that I can fix it. Or, at least know who to blame. LOL


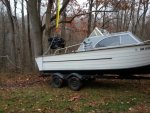
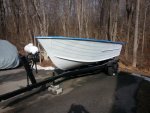
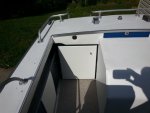
So, lets get started with some before pictures:
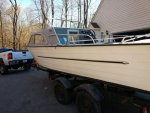
20131111_091141_zps3f9609d1.jpg


Here's a close up showing the truck bed liner paint the previous owner used for bottem paint. I'd rather deal with wet, fuel soaked pour in foam than have to get this stuff off.
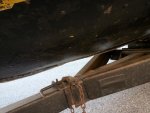
20131111_091208_zps21ded869.jpg


20131111_093810_zps9c4997ca.jpg


20131111_093820_zps990981dc.jpg

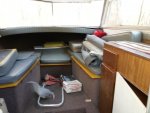
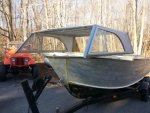
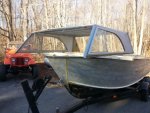
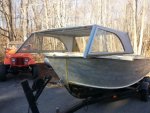
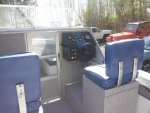
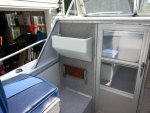
Nice little cabin... even has a sink.
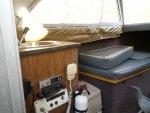
20131111_093824_zpsb00483ed.jpg


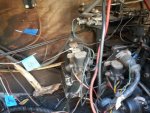
Probably need a complete re-wire, huh?
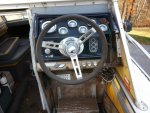
20131111_093832_zps771cf7f3.jpg
 
Last edited:
cj8mule

Senior Chief Petty Officer
Joined
Apr 7, 2012
Messages
660
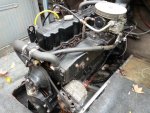
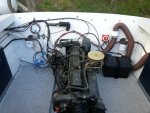
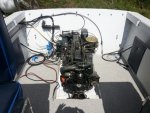
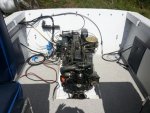
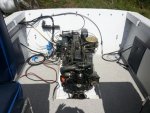
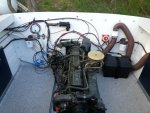
This is the original 1974 I6 250ci 165hp mercruiser.
20131112_095653_zps0524cdab.jpg

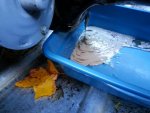
The next photo was taken with just an old phone. No extra quick shutter... the oil / water / sludge was really that thick. 20131113_150726_zpse17eea79.jpg


I knew this engine had some problems when I purchased this boat, but that's the worst I've ever seen. Since I'm building on the cheap, I spent the next few weeks on craigs list looking for a suitable replacement donor boat. I found this beauty for $300 and included a very good engine for the Chief! 20131124_154945_zpsda2553f7.jpg


Time to pull the engine. One thing I've learned over the years is to lable wires, bag bolts and take plenty of pictures before you start pulling engines. Painters blue tape and a permanent marker is great for marking wires and zip lock bags. 20131115_114708_zps5090c9a6.jpg


Pulling a boat engine isn't that hard, but getting it up and out the boat can be difficult with a large transom. I found it easier to use a chain hoist tied to a suitable tree limb. 20131116_161439_zpsabbf7bb5.jpg
 
Last edited:

cj8mule

Senior Chief Petty Officer
Joined
Apr 7, 2012
Messages
660
If a picture is worth a thousand words, this next one must be worth a few thousand:
20131116_142524_zps19bab4cc.jpg


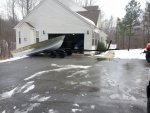
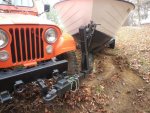
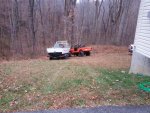
Like I told the Admiral... accidents happen. Luckily, she didn't have any iron skillets on her person. After 30 years of marriage, I know this look says... I'm not happy you just messed up my yard.
20131116_144625_zps253b3372.jpg


It's a little embarassing, but the jeep died on that steep grade and the boat pushed it down the hill. I got it started just in time and turned the wheel. It could've been a lot worse.

A quick tug from the truck and on to the engine removing tree:
20131116_144053_zps2ca87650.jpg


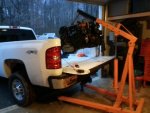
Once the engine is out of the boat, I pulled the boat out of the way and lowered the engine into the truck. Then used my engine hoist to pull it out of the truck.
20131116_165233_zpsc8731b59.jpg
 
Last edited:
cj8mule

Senior Chief Petty Officer
Joined
Apr 7, 2012
Messages
660
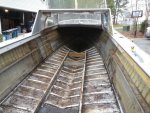
Getting it all cleaned out and ready to strip some paint. Notice the 2 perpendicular floor stringers inside the cabin? I removed the most forward one so the step down into the cabin has a little more headroom around the bow cap. I'm an older guy and didn't like contortions you have to go through to get out of the bow hatch. 20131117_160305_zpsf204860f.jpg


Filled the hull with water to find any leaky rivets. Once repaired, the inside of the hull got the rivets and seams coated with gluvit epoxy.
20131119_093317_zps87659db4.jpg


Paint striping and sanding time with lots of layers of paint. Paint stripper and a pressure washer was the only way that truck bed liner will come off. Have some patience and prepare yourself if your boat needs to be stripped. I have at least 100 hours in this prep. 20131203_155611_zps97eea67c.jpg


The cabin top removal only required a few rivets to be drilled out. I screwed the top to a couple of 2X4's which made it easy to move around. The 2X4's also kept the cabin top from racking or bending. 20131219_135505_zpseb2f3876.jpg


Removed the Chief from the trailor and continued prepping and painting. The empty hull doesn't weigh much and only took a few people to turtle the boat. 20140117_150033_zpsb675562a.jpg


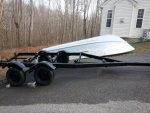
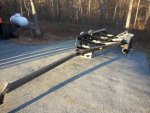
Before the Chief can go back on the trailer, I had to weld a new tongue. This trailer was a tilt type, but I felt it would be stronger if I welded it solid.
20131231_155725_zps761e5140.jpg


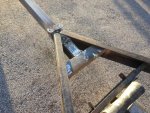
I drilled some plug holes to weld up and have a solid tongue now.
20131231_155735_zpsf2ca86fd.jpg


Going back on the trailor after the trailer got some new rollers, bunk boards, brake lines, tongue, and paint. 20140127_123851_zps6ea73dfa.jpg


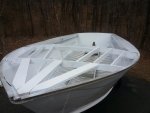
The bare aluminum needs a zinc chromate etching primer, and a primer before paint. An acid wash is needed before the etching primer and a light scuff between each coat. 20140202_110702_zpsc029e5b1.jpg


I chose a Rustoleum white primer.
20140202_121434_zpse3a07264.jpg
 

Attachments

  • 20131219_135505_zpseb2f3876.jpg
    20131219_135505_zpseb2f3876.jpg
    54.3 KB · Views: 19
  • 20131219_135505_zpseb2f3876.jpg
    20131219_135505_zpseb2f3876.jpg
    54.3 KB · Views: 24
Last edited:
cj8mule

Senior Chief Petty Officer
Joined
Apr 7, 2012
Messages
660
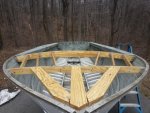
Rebuilding the bow supports using 3/4" plywood and stainless hardware.
20140220_141911_zps5a192358.jpg


The wood got 2 coats of spar urethane varnish and a coat of Rustoleum primer and paint. Each coat has to be lightly sanded. I used a green scotch brite pad.
20140221_091543_zpsa34bf208.jpg


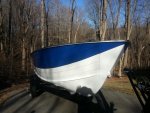
Finally, it's time to get some color on her. The blue paint is PPG automotive single stage. The white is Rustoleum Gloss White with hardner and reduced with acetone.
20140222_155114_zps19b4e015.jpg


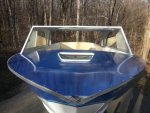
Bow and cabin lids going back on.
20140309_171730_zps2ae35651.jpg


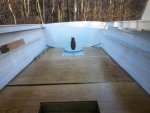
New transom is in and floor being installed. The transom and floor recieved 3 coats of spar urethane varnish.
20140315_182112_zpscbf23779.jpg


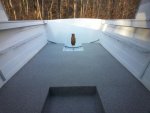
New floatation (pink closed cell insulation board from Home Depot) was installed under the floor. The floor was installed to the aluminum stringers with large flange pop rivets. Backer boards were installed along the seams with 1 1/4" exterior decking screws.

Nautolex vinyl was then installed on the floor.
20140320_180917_zpseb3960d5.jpg


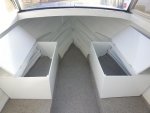
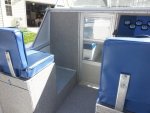
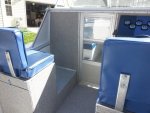
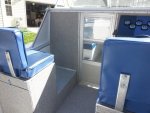
New storage / seat boxes installed. If you look close, you'll notice the cabin floor is level up the middle which makes it alot easier to access the bow hatch.
20140401_173509_zpsd0a92817.jpg


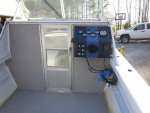
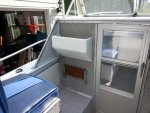
Cabin bulkheads and retro dash installed.
20140410_172131_zps79551db0.jpg
 
Last edited:
cj8mule

Senior Chief Petty Officer
Joined
Apr 7, 2012
Messages
660
Seat boxes are done. Since I'm on a pretty tight budget, I decided to try sewing marine vinyl. 20140424_161419_zpsea65c28e.jpg


The engine found it's way home. 20140504_183853_zps6605e2f2.jpg


Some finishing touches inside. 20140520_161346_zps641118ea.jpg


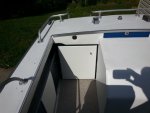
Doghouse cover, side boards, and back transom doors. 20140520_161401_zps2d5c0df4.jpg


Almost ready for a splash. 20140520_161504_zps7e641517.jpg


And.... splash!! 20140522_082629_zpse0326fe7.jpg


20140522_082645_zps37ab76b7.jpg
 
Last edited:
cj8mule

Senior Chief Petty Officer
Joined
Apr 7, 2012
Messages
660
I'm not sure if the Chief will ever be finished. After a successful season of fishing, it's time to change a few things to make the Chief better. I've decided to do away with the retro blue vinyl dash and seats. I thought it would be cool to have the interior look like the time period of the boat, but it's time for the disco ball to just go away.

I've also added a custom built rocket launcher. 20150121_134009_zpsf0baa0cf.jpg


(Yep, it's snowing... again) 20150121_134028_zps1118c301.jpg
20150121_134056_zps2de964dc.jpg


I want to thank iboats and the starmada for their support. This resoration was easier because of this forum and the ones who have gone before.

If you would like to see some more pictures, you can visit here:

http://forums.iboats.com/forum/owner...mercruiser-i-o

Here's a short youtube video of the first splash. I appologize the video is not very good as I was by myself.

https://www.youtube.com/watch?v=8iVZYOPKgEA
 

Attachments

  • 20140424_161411_zpsb4198714.jpg
    20140424_161411_zpsb4198714.jpg
    46.9 KB · Views: 28
  • 20140424_161419_zpsea65c28e.jpg
    20140424_161419_zpsea65c28e.jpg
    45.1 KB · Views: 25
  • 20140424_161419_zpsea65c28e.jpg
    20140424_161419_zpsea65c28e.jpg
    45.1 KB · Views: 29
  • 20140503_125233_zps505aeed8.jpg
    20140503_125233_zps505aeed8.jpg
    56.4 KB · Views: 28
  • 20140503_125233_zps505aeed8.jpg
    20140503_125233_zps505aeed8.jpg
    56.4 KB · Views: 25
  • 20140503_125233_zps505aeed8.jpg
    20140503_125233_zps505aeed8.jpg
    56.4 KB · Views: 21
  • 20140504_183853_zps6605e2f2.jpg
    20140504_183853_zps6605e2f2.jpg
    52.7 KB · Views: 22
  • 20140520_161346_zps641118ea.jpg
    20140520_161346_zps641118ea.jpg
    49.2 KB · Views: 22
  • 20140520_161401_zps2d5c0df4.jpg
    20140520_161401_zps2d5c0df4.jpg
    29.7 KB · Views: 22
  • 20140520_161504_zps7e641517.jpg
    20140520_161504_zps7e641517.jpg
    48.7 KB · Views: 21
  • 20140522_082629_zpse0326fe7.jpg
    20140522_082629_zpse0326fe7.jpg
    36.4 KB · Views: 25
  • 20140522_082645_zps37ab76b7.jpg
    20140522_082645_zps37ab76b7.jpg
    50.7 KB · Views: 37
Last edited:
Status
Not open for further replies.
Top