BajaRon
Petty Officer 3rd Class
- Joined
- Aug 23, 2015
- Messages
- 85
Here is a quote try...my first effort.
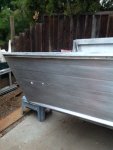
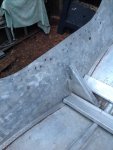
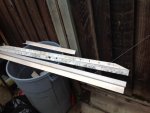
Waterman, I have the rub rail off...but the rivets look ok. Is the problem with the steel mandrels? I will send a picture with my other computer. Thanks, Baja Ron

One suggestion is to remove the rub rail channel so you can replace the 5/32 blinds holding the gunnels on. My Chief had AL blinds with rusted out steel mandrels so needless to say they were in desperate need of replacement. There's only about 100 of them under there. :joyous:
Waterman, I have the rub rail off...but the rivets look ok. Is the problem with the steel mandrels? I will send a picture with my other computer. Thanks, Baja Ron
Last edited: