LibertyBill
Cadet
- Joined
- Jul 17, 2013
- Messages
- 9
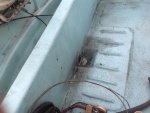
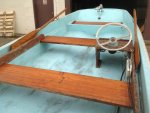
Hi all! New here and recently acquired an old hand me down that I'm looking to fix up. I'm entirely inexperienced with boats and repairs of this nature but why not, free boat! Anyway, I'm a little lost on what exactly it needs. I knew some sanding would be involved so I've stripped it of most of the parts and now I'm not sure where to go from here. Hopefully the pics will post with no problems and I look forward to any help. Thanks!
~Bill


~Bill
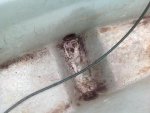
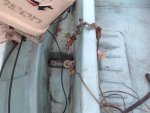
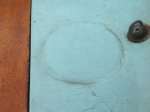

") I can post additional pics if necessary. It should probably also be noted that it leaves hands very chalky so there is some oxidation going on as well.
I can post additional pics if necessary. It should probably also be noted that it leaves hands very chalky so there is some oxidation going on as well.