1959 Lone Star El Dorado "Project Texas Tornado" - Winner 2016 Resto SOTY Award

jigngrub

Fleet Admiral
Joined
Mar 19, 2011
Messages
8,155
That transom may seem solid, but there's no telling what's on the back side of it. I'd go ahead and remove and replace it since you already have the boat torn down so far, it'll never be easier to do than now.

You may have galvanic pitting on the inside of the aluminum skin that could use filling/fixing... and it's always better to paint the inside skin to prevent this from happening in the future when you remove the old transom.

That old transom will last a few more years, but it won't last nearly as long as a brand new one will.
 

Luke000

Restoration Forum Splash of the Year 2016
Joined
Aug 19, 2013
Messages
346
That transom may seem solid, but there's no telling what's on the back side of it. I'd go ahead and remove and replace it since you already have the boat torn down so far, it'll never be easier to do than now. You may have galvanic pitting on the inside of the aluminum skin that could use filling/fixing... and it's always better to paint the inside skin to prevent this from happening in the future when you remove the old transom. That old transom will last a few more years, but it won't last nearly as long as a brand new one will.
I am on the fence about doing the transom, It is in good shape and dry with no soft spots. The biggest thing keeping me from replacing it is the fact that I would have to drill out about 40 rivets that are very structural in nature to be able to remove the transom; and I am nervous that new ones would never be as strong or provide as good of a seal as the OE ones.
 

jigngrub

Fleet Admiral
Joined
Mar 19, 2011
Messages
8,155
Bah, those 40 rivets shouldn't be no step for a stepper like you Luke. I'm sure you'll find a craftsman-like solution to their removal and installation.
 

Luke000

Restoration Forum Splash of the Year 2016
Joined
Aug 19, 2013
Messages
346
Bah, those 40 rivets shouldn't be no step for a stepper like you Luke. I'm sure you'll find a craftsman-like solution to their removal and installation.
One more question, where would I find 1-3/4" marine plywood to replace the transom with?? Or what dimension plywood would I need to laminate?
 

jigngrub

Fleet Admiral
Joined
Mar 19, 2011
Messages
8,155
Transoms are usually 1-1/2" and will measure 1-3/4" when swollen... but if you need 1-3/4" you can use two pieces of 1/2" and a piece of 3/4".
 

Watermann

Starmada Splash of the Year 2014
Joined
Jan 12, 2013
Messages
13,798
What a super boat for a resto project! Can't wait to see how she comes back to life and skims the waves once again. :thumb:

I agree with Jig on the transom, since it was underwater (high water mark inside) one would think the wood got soaked and is most likely in the process of rot and or delamination. Most of all there's going to be galvanic corrosion eating away at the transom skin that won't stop on it's own. Are all of the rivets that need removed to get the transom cap off? Air hammer, rivet set and bucking bars all make for great fun and the neighbors really enjoy the wonderful symphony! :lol:
 

jigngrub

Fleet Admiral
Joined
Mar 19, 2011
Messages
8,155
since it was underwater (high water mark inside) one would think the wood got soaked and is most likely in the process of rot and or delamination.

Good eye WM, I missed that high water mark on the inside on the first go-round with those pics.

... but you can clearly see that boat has sat with water, rain, snow, ice...


...or all 3. If the water froze on the inside and expanded into ice it would be a good explanation for those 25-50 loose, leaking, and missing rivets.

Even cleaned up, you can see water intrusion/damage on the transom:


I'd say without a doubt your transom is made of 2 pieces of 3/4" plywood that have swollen to 7/8" thick giving you an 1-34" thick transom.

Even though that transom may seem solid now, it's on a speedy road to rot. Here's a story about a guy that replaced his deck and stringers 2 yrs. ago and now he has the boat torn apart again replacing his transom:
http://forums.iboats.com/forum/boat...-186-eclipse-stringer-and-deck-restore/page16
 

Luke000

Restoration Forum Splash of the Year 2016
Joined
Aug 19, 2013
Messages
346
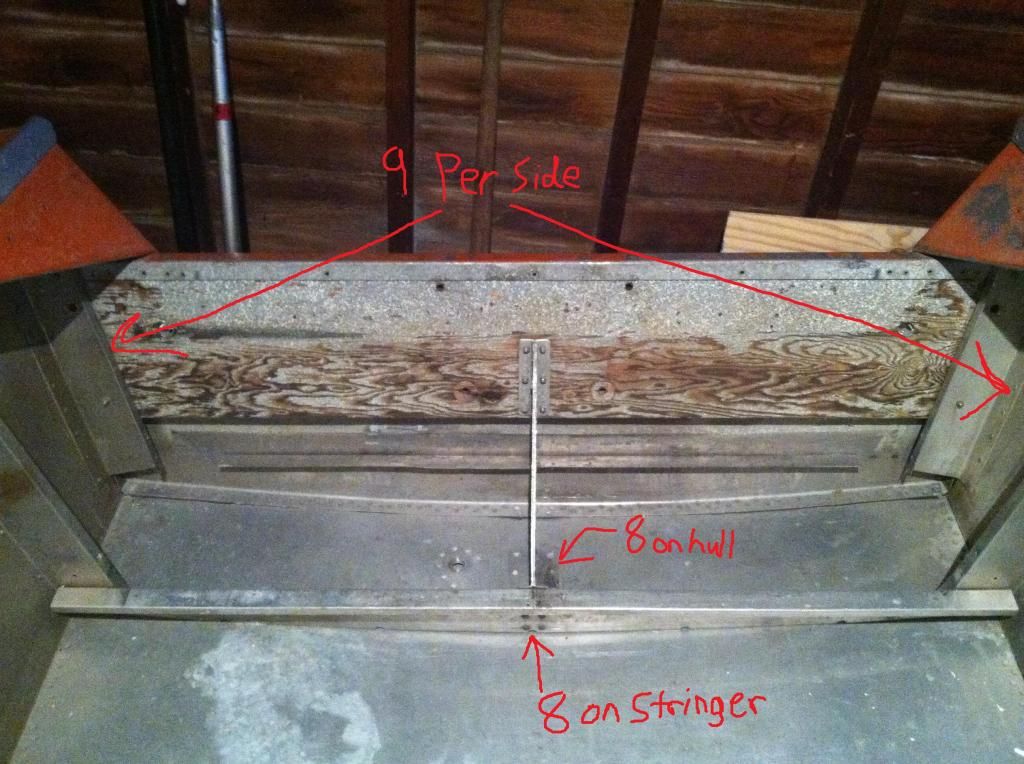
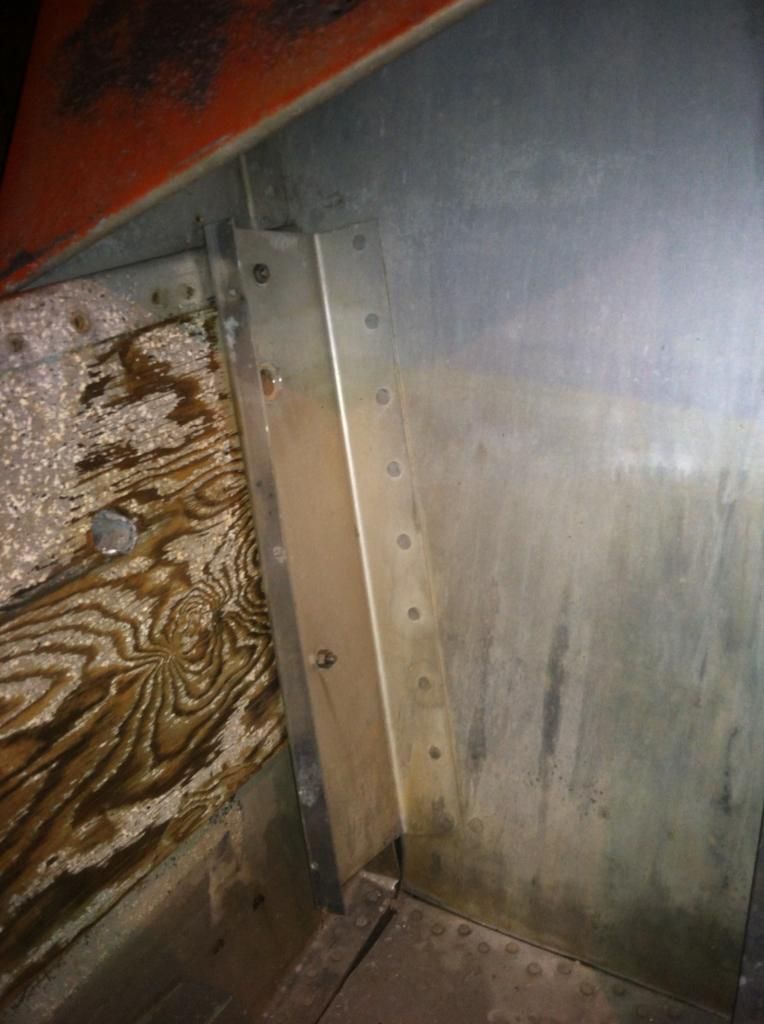
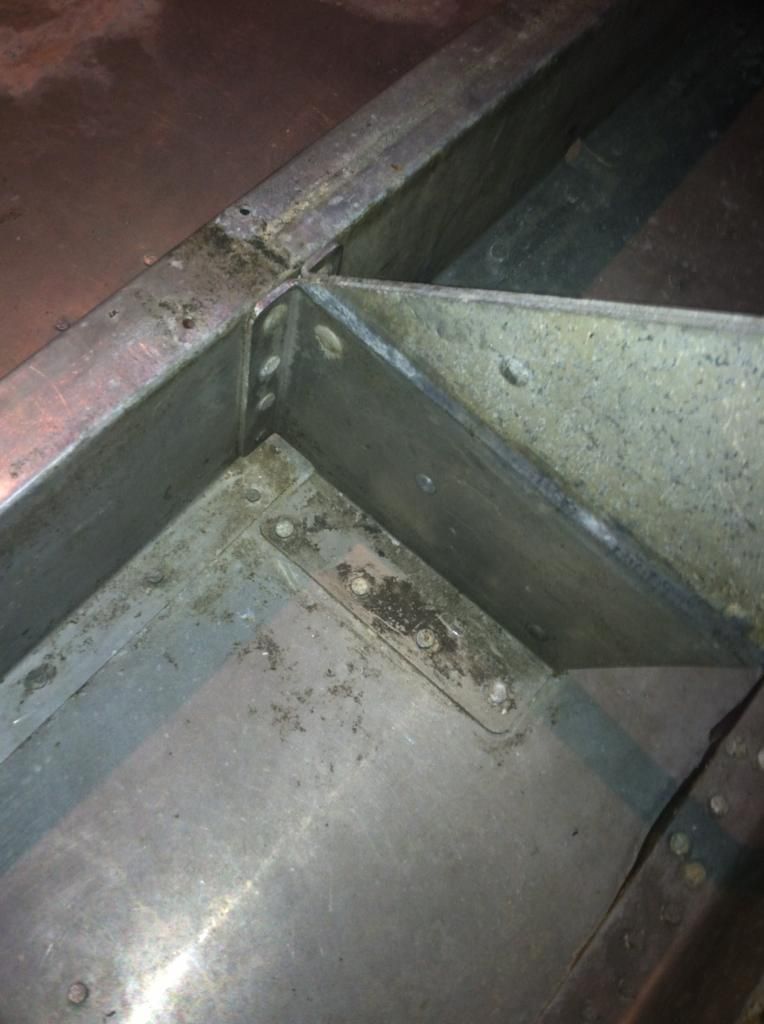
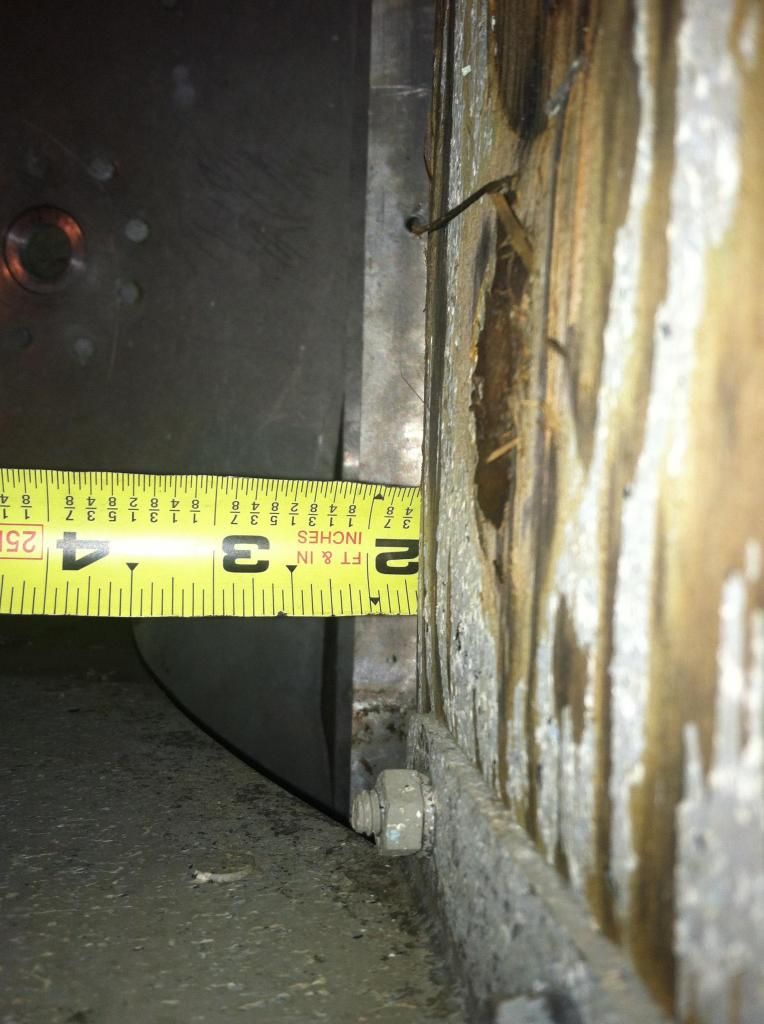
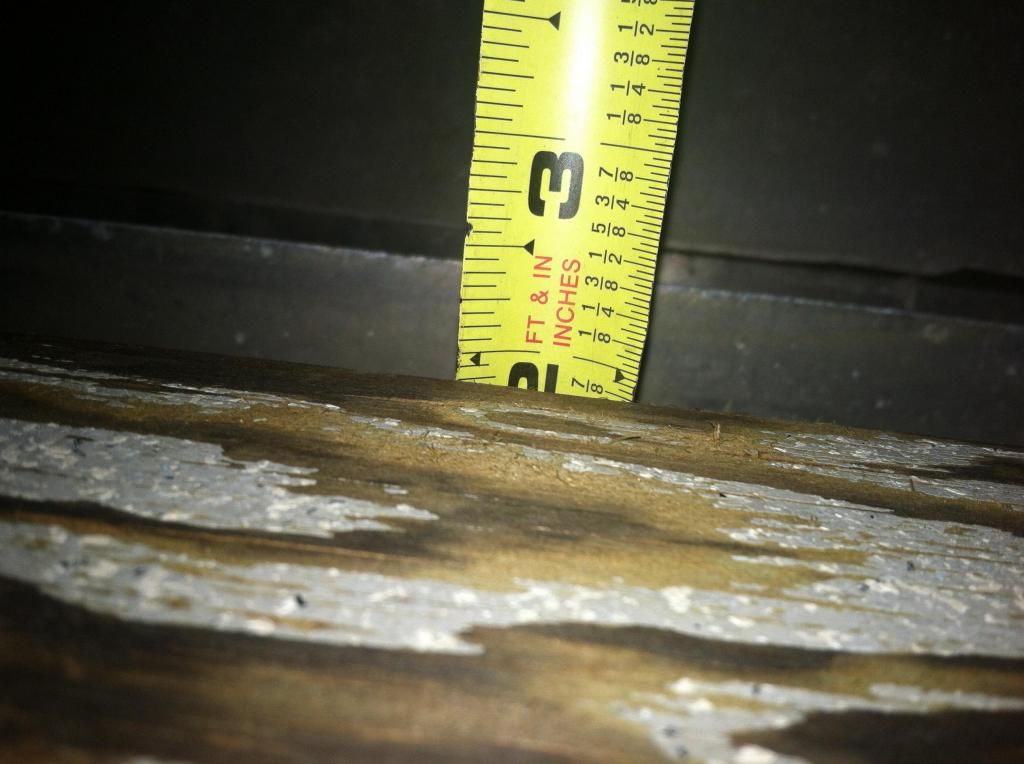
Alright, you guys have convinced me to do my transom... I should still be able to get this done before I graduate college in two years haha! I can confirm how high the water was in the boat, and to think all the PO had to do was remove the drain plug before letting it sit idle. The transom I believe is 1-3/4 thick from the factory because the cap, brace, and side braces are all to those dimensions and show no signs of distortion, I did find that in some spots the transom has swollen to 1-7/8. for the transom job it will be 34 rivets, and of those 34- 5 of them needed to be replaced no matter what.


1-3/4 inch right next to a brace and showes no signs of swelling


1-7/8 inch between two braces-showing some swelling
 

Luke000

Restoration Forum Splash of the Year 2016
Joined
Aug 19, 2013
Messages
346
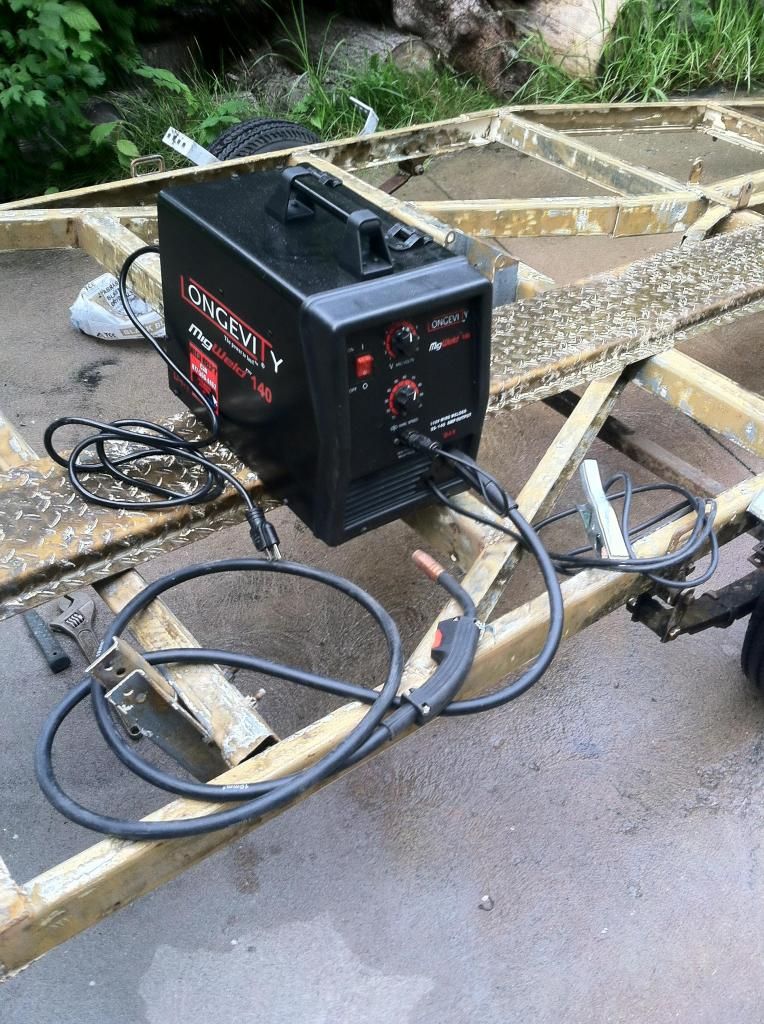
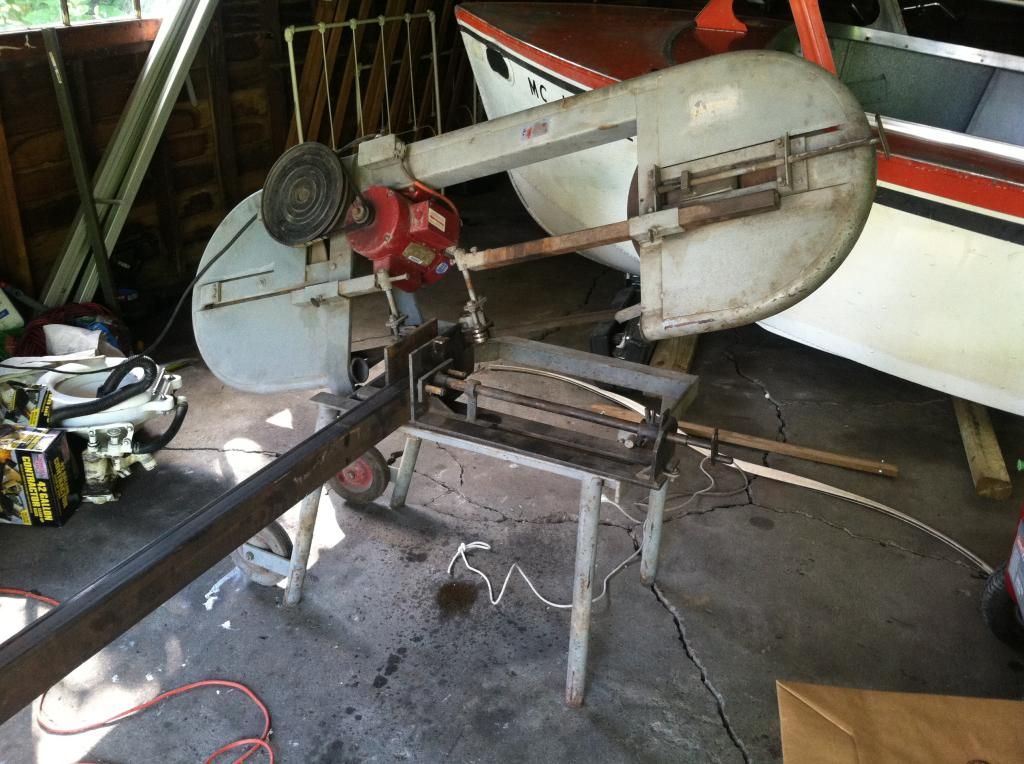
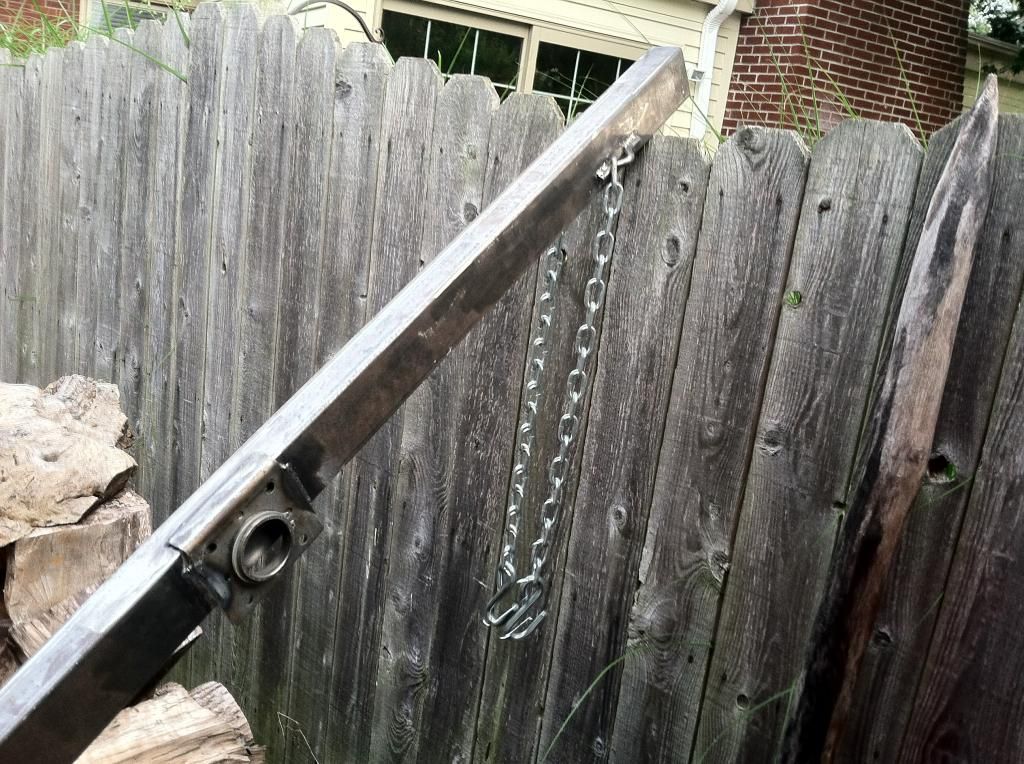
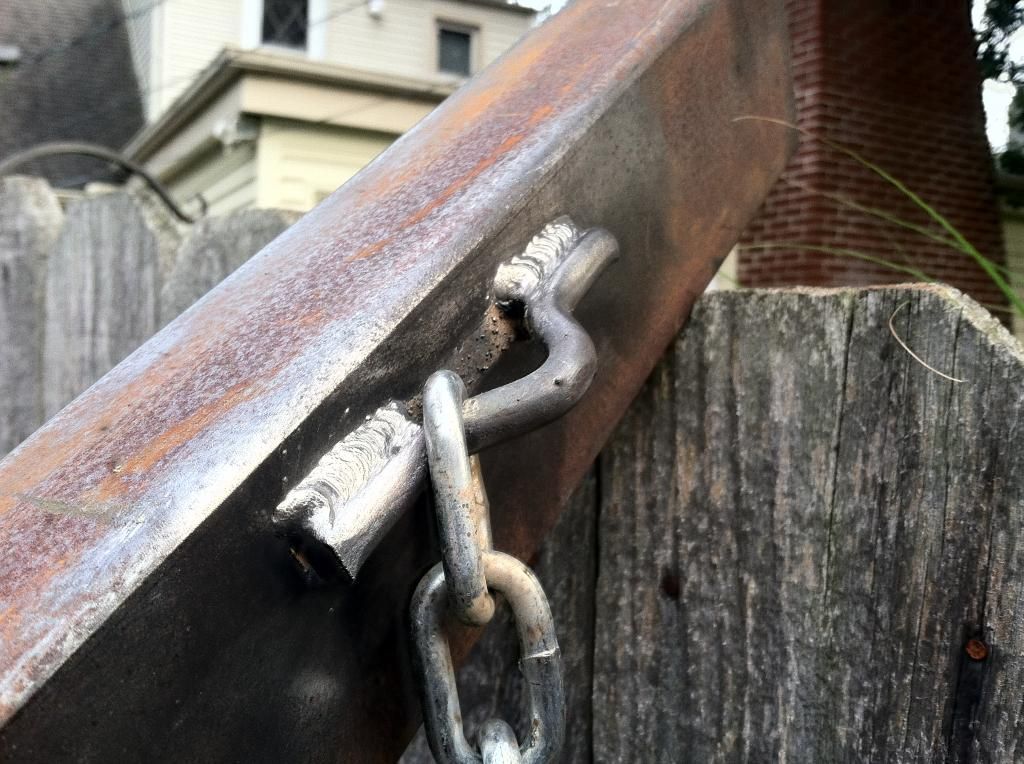
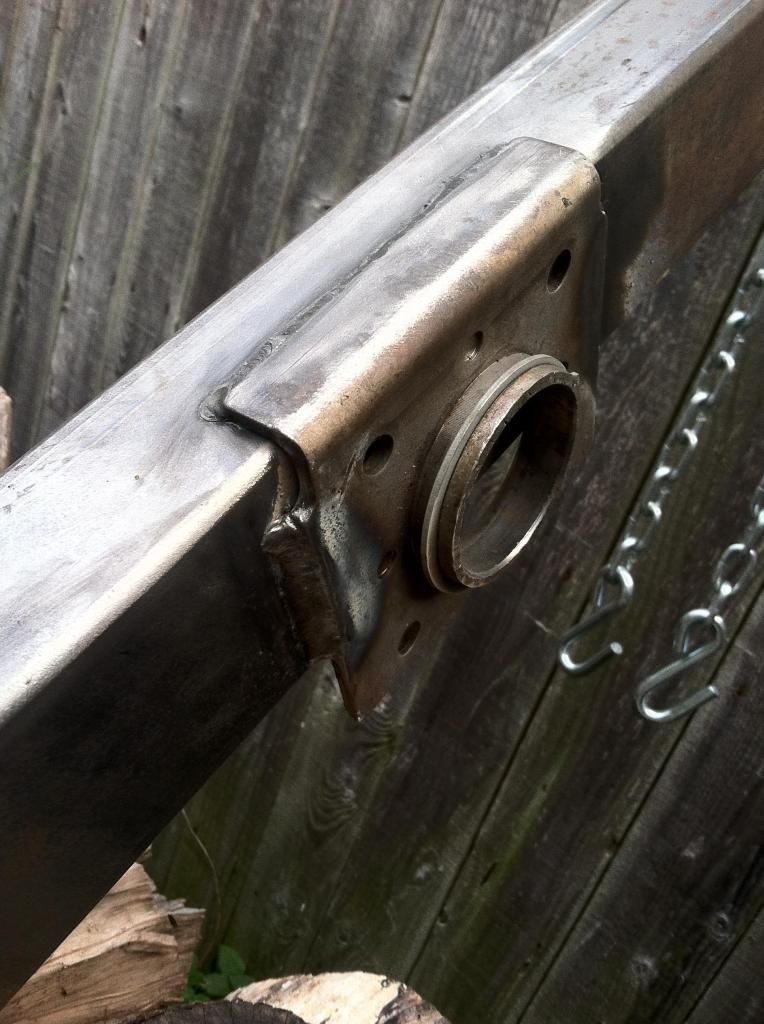
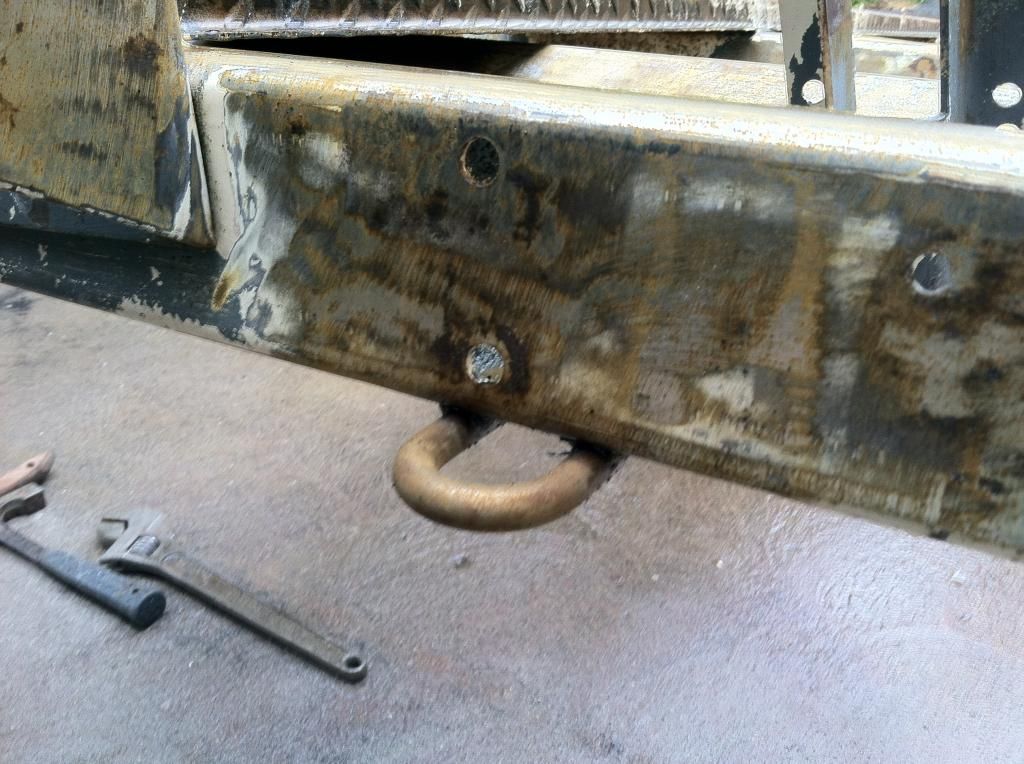
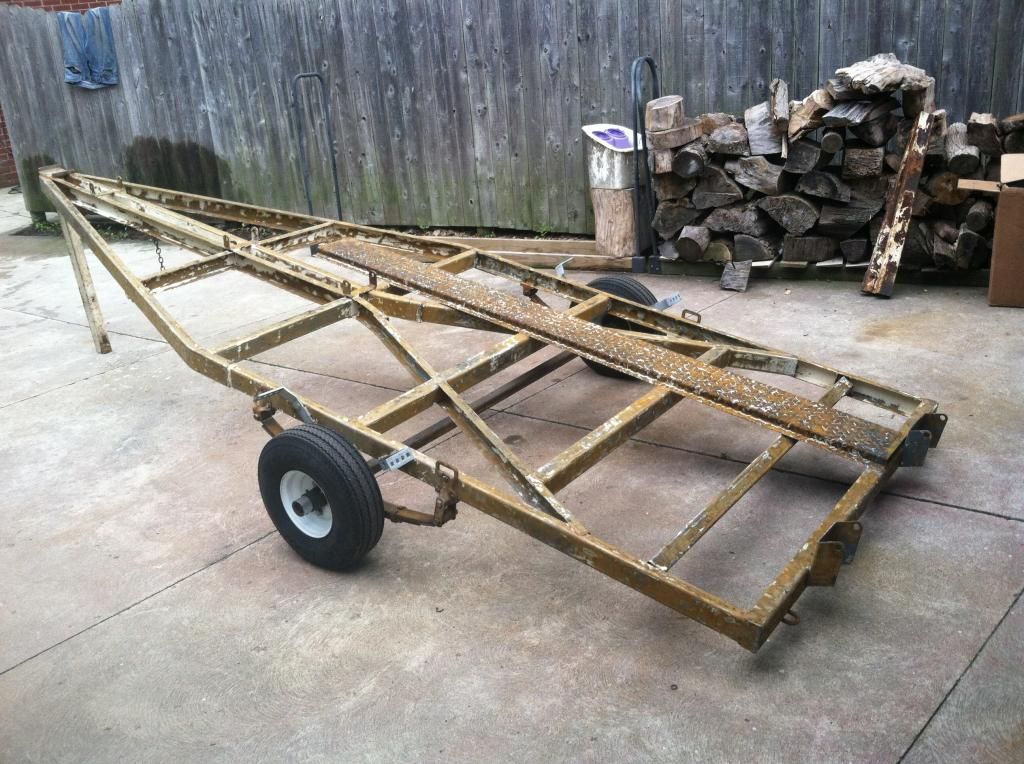
Last week, I started doing some of the work on my trailer, specifically making the new tongue. I had cut out the old pivot sleeve from the old one, drilled the 1 inch hole in the new metal and welded it in. It is now a much more secure interface than what it was. After , I cut the 10 foot tube to length on my horizontal band saw I picked up on my last project in a package deal with a wood saw and started to weld on the new safety chains and about halfway through- My Harbor Freight welder died on me :( (more my fault than the welder unfortunately) Rather than spending the time to fix the busted wire feed or dropping $100 on a new one, I bit the bullet and bought a nicer welder- Longevity Migweld 140. It is a 110v Mig machine that can also do flux core and has input for a spool gun to do aluminum with. I got it yesterday and today I set it up with some .35 flux core and went to work and boy is it nice! It took no time at all to get dialed in. The other safety chain bracket welded right up as did the mount for the jack, some tie-down anchor points I wanted to ad on the back end of the trailer and some modified fender mounts.

Tomorrow is some more tear down, drilling holes, adding a second set of supports for longer bunks and maybe start paint stripping and wet sandblasting.

New unit!


Cutting Tongue tube to length:


Safety chains and jack mount:


One of the tie-down points I added:
 

Luke000

Restoration Forum Splash of the Year 2016
Joined
Aug 19, 2013
Messages
346
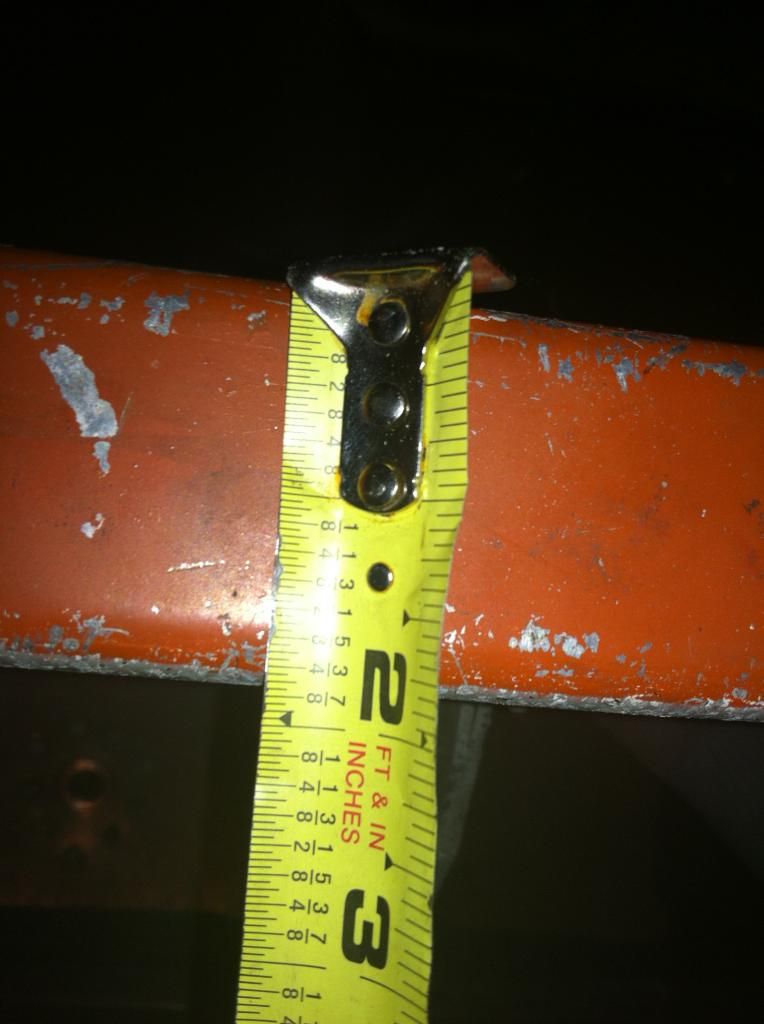
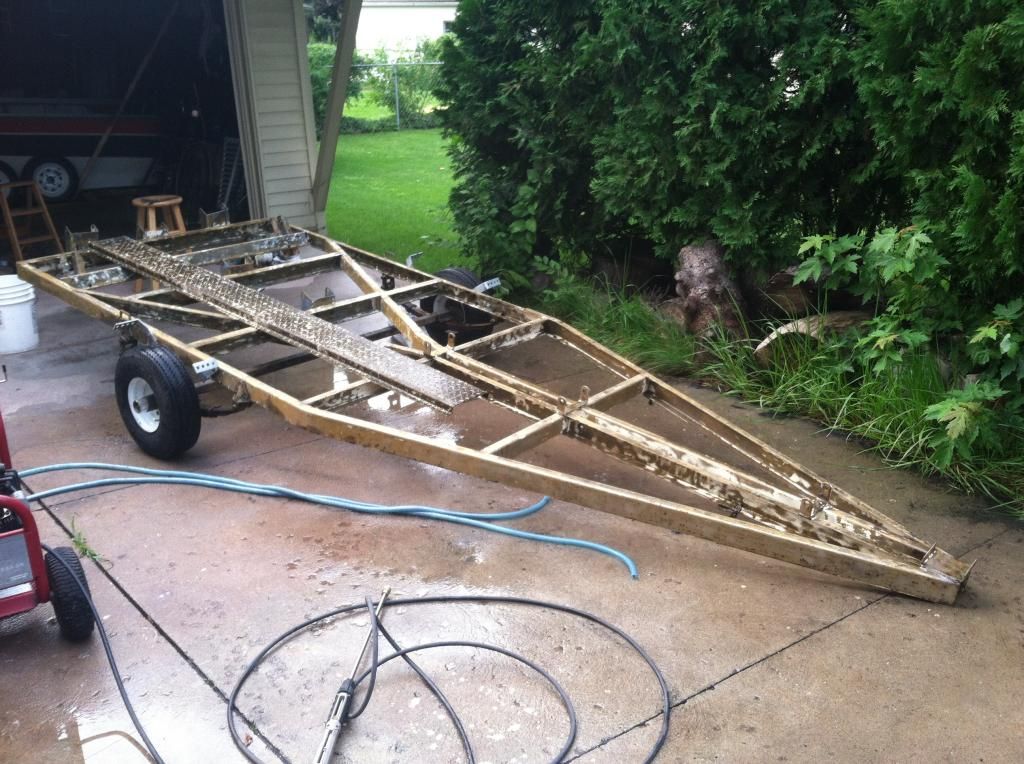
Got the trailer closer to being ready for paint. I removed as much of the paint as I could with reasonable effort, between a flap disc on an angle grinder for the large sections and a wet sandblasting unit for the hard to reach areas. The wet sandblaster unit is one that attaches to a power washer and has a siphon feed for the media (coal slag) in a 5 gallon pale. I used the sandblaster for about %30 of the trailer and used about 350 POUNDS of media...it made a bit of a mess :lol: As you can see from the pictures there is a fair amount of flash rush so I got some metal prep solution to convert the rust and pre-prime the fresh metal. The only other thing I got done was making two new bunk mounts, the new ones I made are just some angle stock with 1/4in backing plate, they are about 2x as heavy compared to the stock ones.
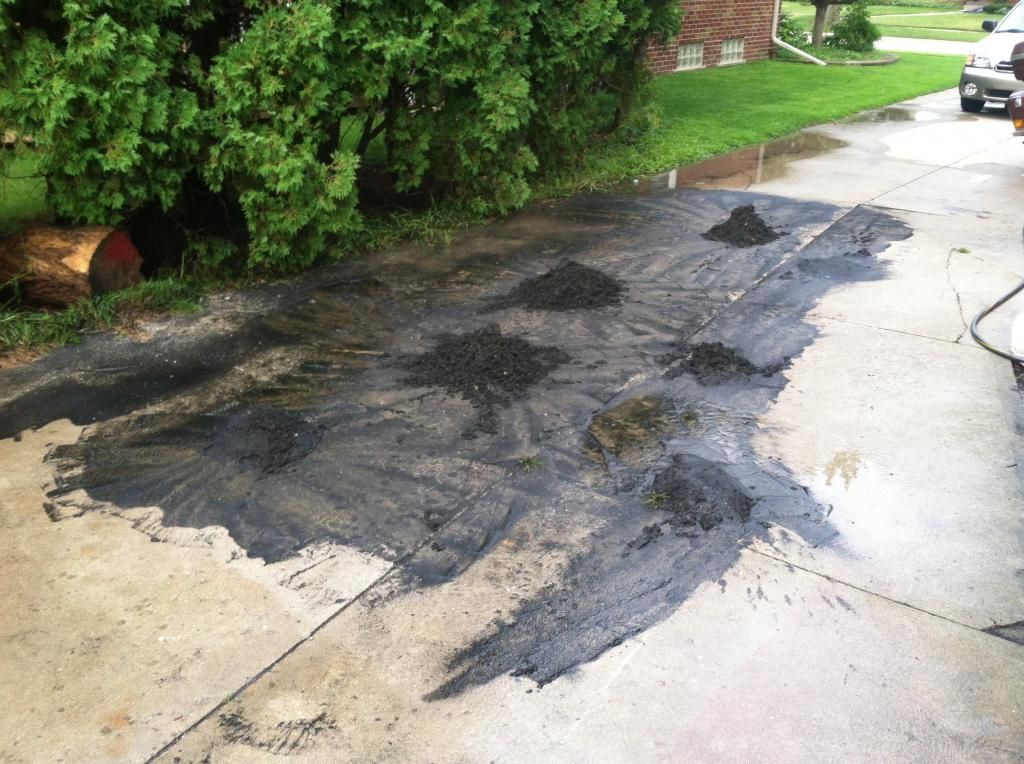
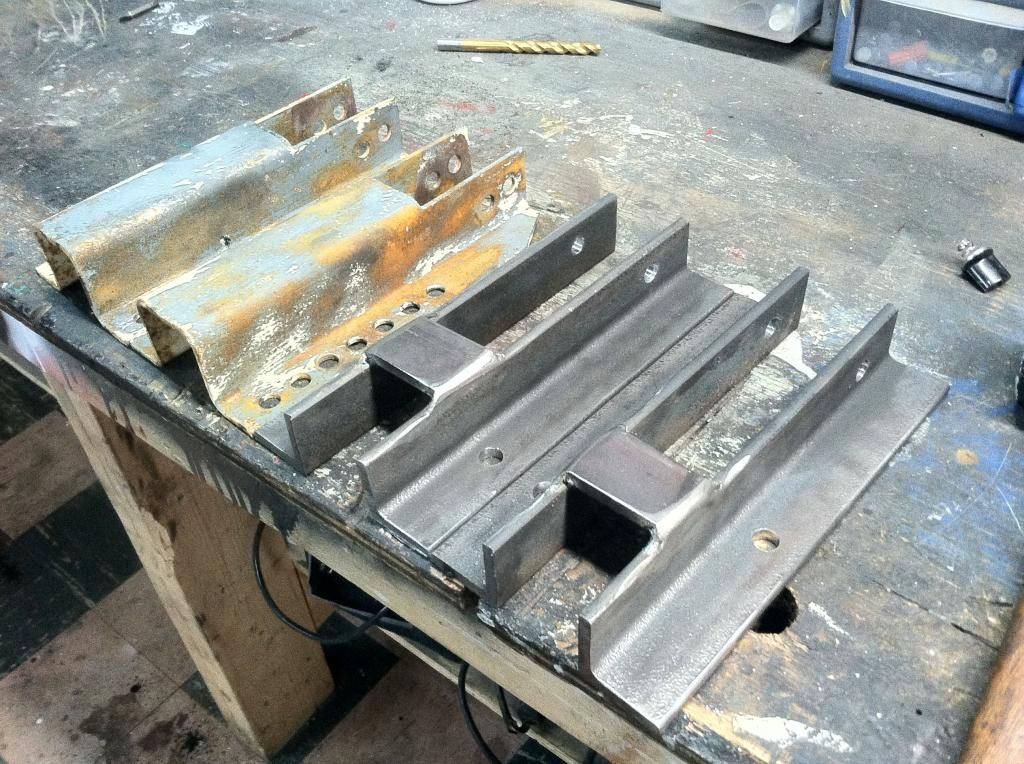


What #250 of wet coal slag looks like


2nd set of bunk mounts next to the old ones
 

Watermann

Starmada Splash of the Year 2014
Joined
Jan 12, 2013
Messages
13,798
Trailer work, it's right there with stripping paint in my book but a necessary evil to have a solid chariot for the tin. Those are some nice looking beads you laid down too. :thumb:

Never heard of a coal slag blaster before, sounds messy and fun. :lol:
 

gddavid

Petty Officer 2nd Class
Joined
Jan 4, 2010
Messages
193
My family had one of these boats growing up. The high sides and hard top made it an awesome family boat for young kids to keep us contained and a place to get out of the sun. Ours was powered by a 55 hp johnson (hydro-electric shift) that was mounted on a bracket off of the back. The bracket was made out of sheet aluminum, was about 2/3 the width of the boat and had a bottom to it but it was not water tight, it was flooded at rest and drained when on plane. We slalom skied behind that boat with the 55hp all of the time. We also had the original tilting trailer. The nicest thing about that trailer was being able to keep the axles out of the water when launching and retrieving. Keeping the hubs dry saved the bearings from alot of abuse and I don't recall ever having a wheel bearing issue. My memories of the boat aren't super clear as it was in the family before I was born and we replaced it with a new fangled fiberglass and i/o rig when I was about 9. I'm sure we have alot of old pictures of that boat taken on 110 film around somewhere.

It did ride rough as hell and was best for protected water but there has to be some trade off for a boat of that size built to run with the small outboards available at the time.
 
Last edited:

Luke000

Restoration Forum Splash of the Year 2016
Joined
Aug 19, 2013
Messages
346
Thanks everyone for the kind words! The trailer is so far turning out good, there are only a couple more holes that need to be drilled and it will be painting time! This is my first week of classes for the fall semester so it is a little hectic and busy- hopefully next week the painting gods will smile down on me with good conditions so I can spray.

Gddavid, I bet the old pics of your families boat bring back some memories, I hope to have some of my own with this one!
 

Luke000

Restoration Forum Splash of the Year 2016
Joined
Aug 19, 2013
Messages
346
It has been a busy month of less than prime weather and a few weekends fixing my motorcycle so I could list it for sale. But the paining gods are feeling generous this week. Starting tomorrow I am going to start the final prep work on the trailer, including rigging up a way to suspend the frame. The air compressor will start humming and paint will fly on Thursday. I will keep the updates coming!
 

Luke000

Restoration Forum Splash of the Year 2016
Joined
Aug 19, 2013
Messages
346
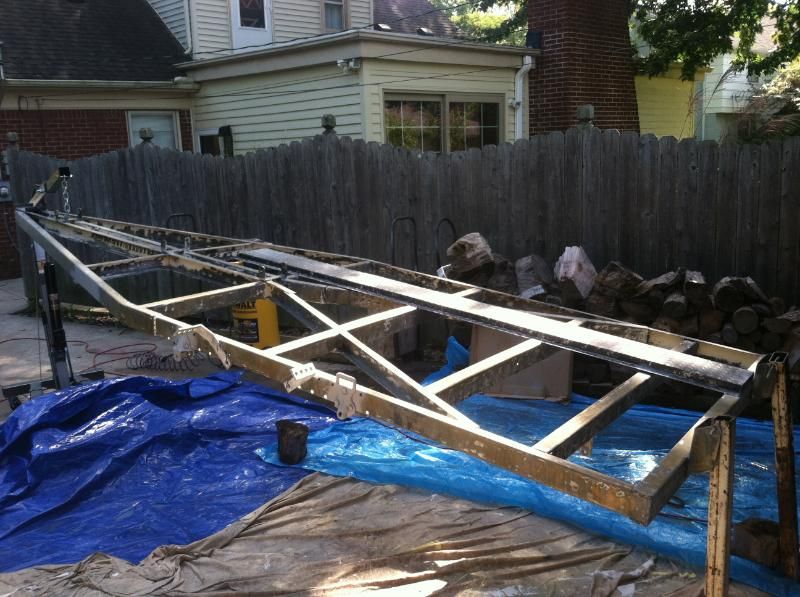
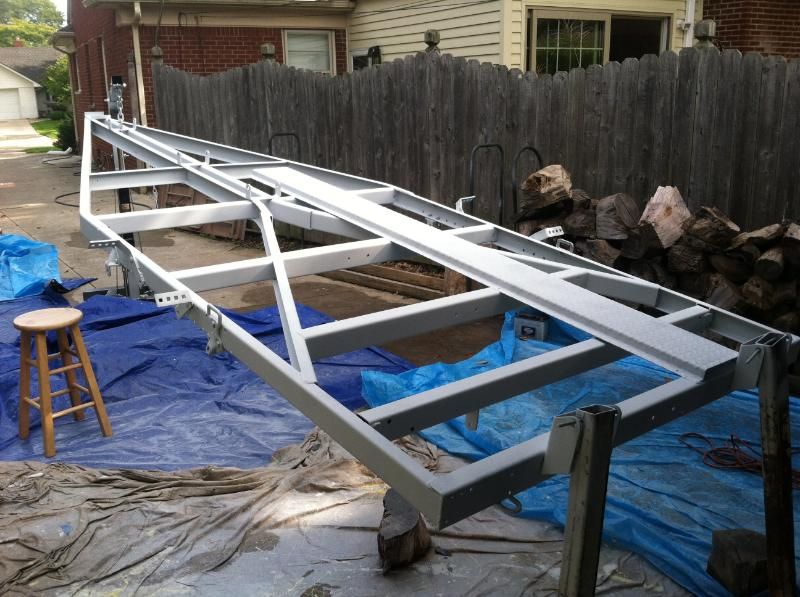
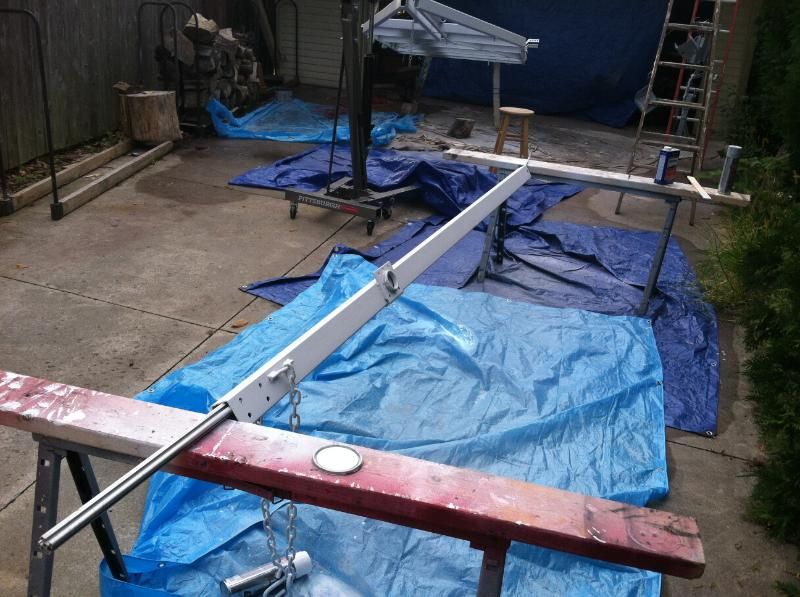
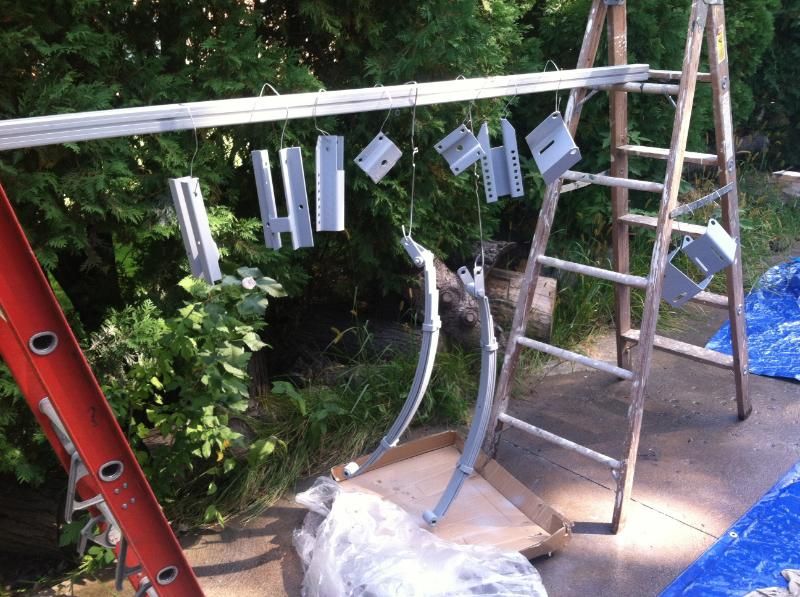
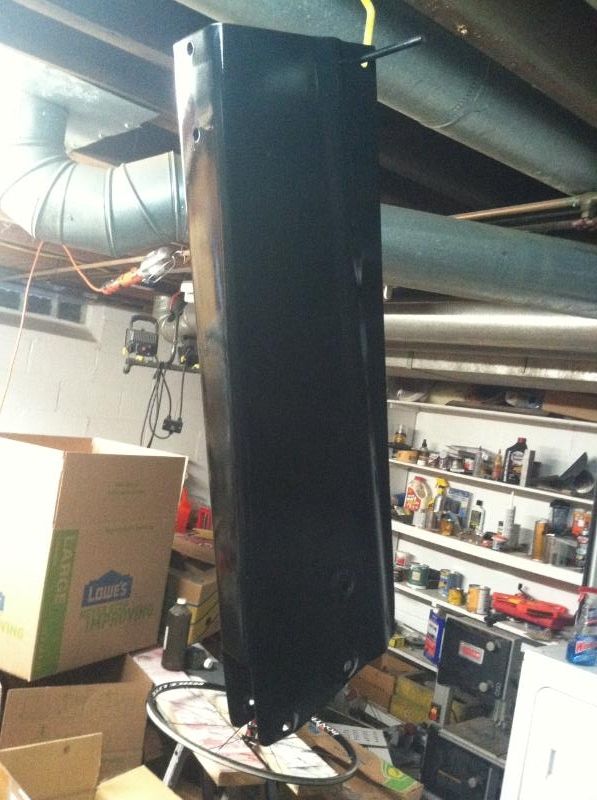
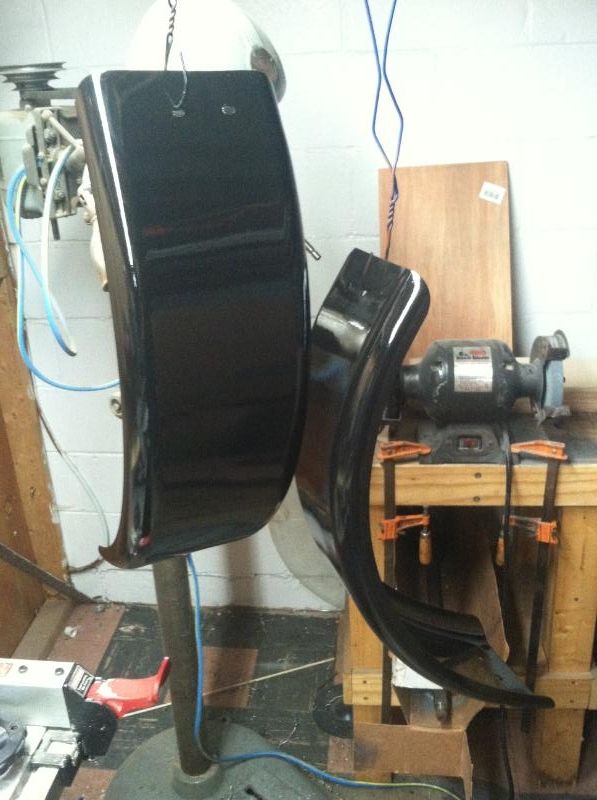
Well it has been a long two days of work on the trailer but the painting gods have smiled and the weather is perfect over the next few days. I got the trailer all striped down and the raw metal/ rust was all treated with a phosphate solution. Got the trailer up in the air and I went to work with the spray gun. Some of the pieces were painted a few days ago so the first coat of color went on, the other pieces like the frame just got primered. Tomorrow is going to be the first coat of white for the frame.

The original color of the trailer included the diamond plate walkway down the center being black. I am tossing around the idea of doing the walkway in bed liner- both to keep with the original color scheme and to give it a durable and non-slip surface. I have some (sealed) bead liner left over from another project too. What do you guys think? Yea/ nea?

Striped down and suspended, with phosphate treatment.


Primer shot


Top coat on the new fenders and winch mast:
Still need a final coat of paint


Derekxj

Petty Officer 2nd Class
Joined
Oct 20, 2012
Messages
100
Im obsessed with the design of this boat. god i love the 50's!!! When they actually thought about the design of things. Good lucky with the resto, and sweet work on the trailer!!!! are you going to be using the boat in fresh water? Why not have the trailer hot-dipped?
 

Watermann

Starmada Splash of the Year 2014
Joined
Jan 12, 2013
Messages
13,798
Looking good so far, with the attention to detail the trailer should hold up really well over the years. Bed liner is good for trailer step areas, I used it on my trailer step pads.
 

Luke000

Restoration Forum Splash of the Year 2016
Joined
Aug 19, 2013
Messages
346
Im obsessed with the design of this boat. god i love the 50's!!! When they actually thought about the design of things. Good lucky with the resto, and sweet work on the trailer!!!! are you going to be using the boat in fresh water? Why not have the trailer hot-dipped?
Thanks! This boat will be a fresh water princess. The reason i didnt go with a hot dip was mostly a choice of aesthetics- I wanted to match the original looks as much as possible- being the OE trailer.
 
Top