1958 Delcraft project

Woodonglass

Supreme Mariner
Joined
Dec 29, 2009
Messages
25,924
I cut the wood for the transom and did a test fit. I then drilled the bolt holes to make sure everything fit well into place. After that I took the wood out and coated it with the 3 coats of spar varnish and made sure to coat the edges and bolt holes very well. When I installed the bolts I coated them with the Loctite marine sealer. I will go with it the way it is and if I ever need to change the board its right there. Just take out 10 bolts and change it. I will have to change it anyway whether I am changing it now or if I have to change it down the line. I greatly appreciate your knowledge and help. By the way, what kind of wood should I have used? Marine grade plywood?

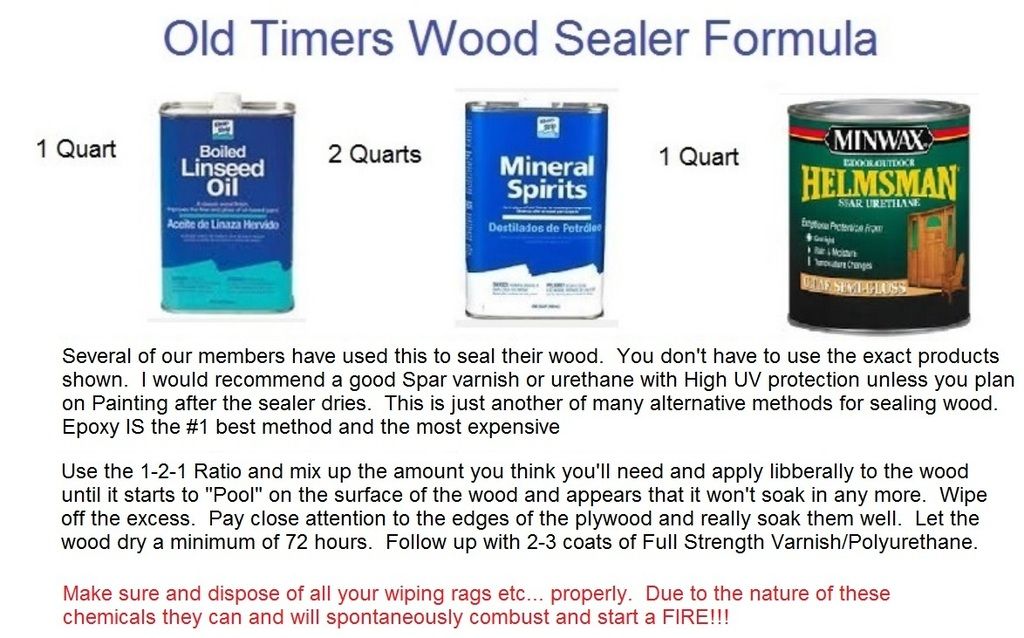
The majority of members and the consensus of most is to use ext. Grade plywood. It's designed for use in a wet environment. The glues used to make it are water proof and the wood used in its laminations are also better suited for a wet environment. The OSB is not. 3M 4200 is a really good sealant to use for bolts and holes. This is another good method to use to seal your wood.
 

Daniel97

Cadet
Joined
May 23, 2015
Messages
25
I guess I'm going to stop being hard headed and replace the transom board... I started this thread to get help from y'all so I'm not going to go against what you say. When I go to the home depot on Monday I will look for exterior grade plywood. I will use the same sealer I used on this transom board to seal the new transom. I guess these are the kind of things that happen when you try to cut corners and save money.
 

MTboatguy

Fleet Admiral
Joined
Jul 8, 2010
Messages
8,988
Well one nice thing about doing it the right way the first time, is you save money in the long run and you have piece of mind when you are on the water, I watch a guy a couple of weeks ago, loose the motor off the back of his boat because the transom broke.
 

Woodonglass

Supreme Mariner
Joined
Dec 29, 2009
Messages
25,924
I guess I'm going to stop being hard headed and replace the transom board... I started this thread to get help from y'all so I'm not going to go against what you say. When I go to the home depot on Monday I will look for exterior grade plywood. I will use the same sealer I used on this transom board to seal the new transom. I guess these are the kind of things that happen when you try to cut corners and save money.

I like your Attitude!!! The ability to recognize a mistake and correct it is one the ways to judge the character of a man!!! I'd say, you've shown yours!!!;)
 

Daniel97

Cadet
Joined
May 23, 2015
Messages
25
One thing that I did on this transom is buy one sheet of half inch plywood and double it up to make an inch. I don't have anything to use the remaining sheet of plywood for so can I do that and have 50% waste instead of 75% waste?
 

jigngrub

Fleet Admiral
Joined
Mar 19, 2011
Messages
8,155
For what your boat is and what you're doing to it, that OSB transom won't hurt a thing and will actually help you by being a good learning tool for you. The OSB will show you how cheap wood sealers don't save you any money because they don't last as long as the good sealers and you have to repair and replace a lot sooner with the cheap sealers.

That OSB transom will also show you that the transom wood in aluminum boats doesn't go all the way down to the bottom of the boat, they hold up about 6 or 8 inches from the bottom so the wood isn't submerged if the aluminum boat leaks or accumulates water in the bottom. The OSB will swell and delaminate when your sealer fails and water intrusion occurs making it easier to see when you have a problem.

Removing the bench seats wasn't in your boats best interest, each one of those benches was an integral structural member of your boat and they supported your hull sides... your boat is now considerably weaker since they've been removed. Modifications done to a bench boat are better done with the benches intact and incorporated into the mods. Whether or not this is important depends on how many people and how much weight you plan to put in the boat and how much horsepower you intend to drive it with.

The floatation foam you removed from the benches was important. Your boat needs a required number of cubic feet of floatation foam to keep it from sinking, not enough foam is just like none at all and I doubt you'll be able to fit the amount of foam you're going to need under the decking.

The good thing about all of this is that your boat is small and inexpensive and you will gain experience through trial and error while working on it... and if you find that you like boats and working on them you will be able to use what you learn on this one for your next one.
 

Daniel97

Cadet
Joined
May 23, 2015
Messages
25
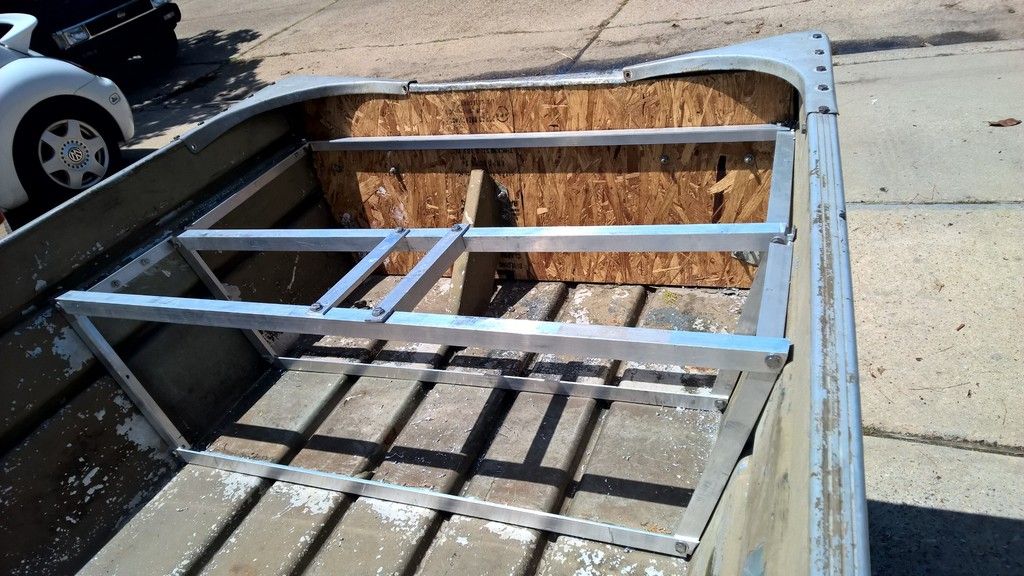
I removed the bench seat and installed 2 ribs to where the bench seat only acted as one. I have talked to a few people who built their own aluminum boats and they said they would go about getting the support back into the boat the same way I did.

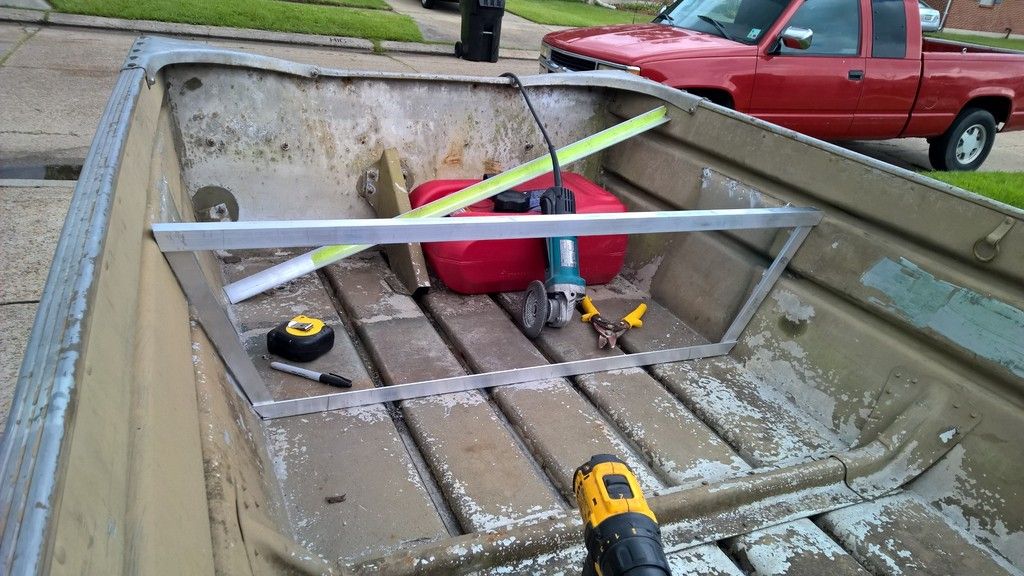
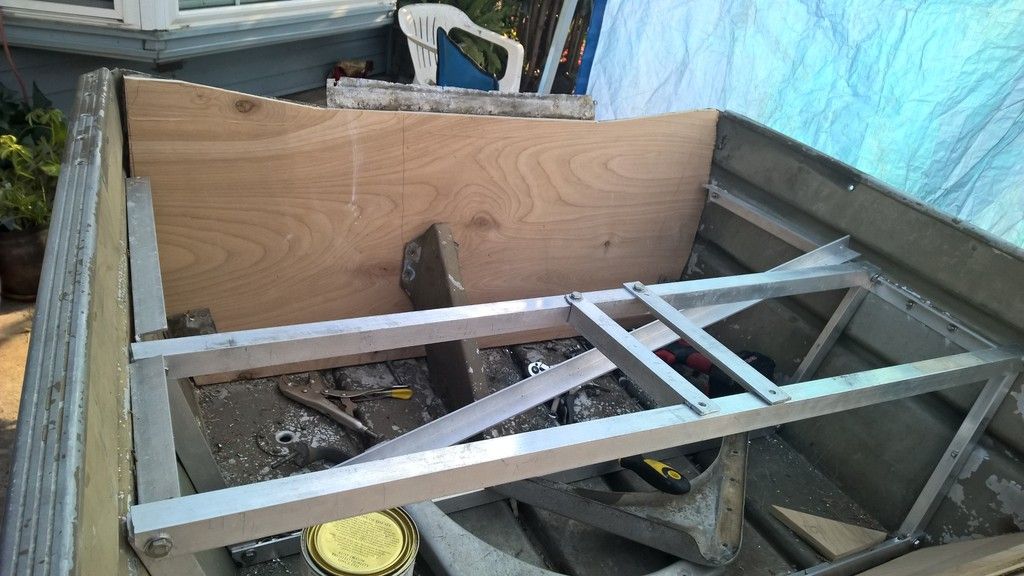
As you can see by my pictures, I made two ribs. I ran a piece of aluminum angle across the bottom and attached two pieces on each side. the two pieces go up the side of the boat to the same height that the seat went to. I used a ratchet strap and sucked the sides of the boat into each other and drilled the side pieces in which sucked the side the boat into the aluminum angle. With the ratchet strap in place, I ran the piece along the top and connected it. I did another rib just like that about 11 inches behind the first one. I believe my hull is just as strong if not stronger than before.


This picture shows the very first rib support that I built and the other rib I built about 11 inches back.

The other pieces of aluminum angle are only there to support my deck I plan on building.

Only two of the seats had foam under them and I am very confident that I can get that much foam back into the boat but we will see when the time comes.
 

Woodonglass

Supreme Mariner
Joined
Dec 29, 2009
Messages
25,924
Dan, With the new Transom wood and the new design, I don't think you'll have any worries with the structure of your boat OR the flotation. Based on what I'm seeing and your stated plans IMHO your boat will "Pass the Test" on both counts. Keep posting pics and asking questions and we'll be here to help you ensure it's a good safe and sound build.;)
 

Daniel97

Cadet
Joined
May 23, 2015
Messages
25
When I go get the plywood for the new transom, I need to not get pressure treated plywood. I am suppose to get a good exterior grade plywood. I have no need for a full sheet 1 inch thickness, so can I get a half inch and cut out 2 pieces and double it up to make 1 inch, or would I be better off getting 1 inch?
 

Tnstratofam

Commander
Joined
Aug 18, 2013
Messages
2,679
I used one sheet of 3/4 inch plywood ( My transom was thicker than yours will be, but 1/2 inch plywood will give you your thickness.) Cut out two transom pieces then glue and clamp them together, like a sandwich, with a good waterproof glue like Titebond III. Then after the glue dries seal it up with your sealer paying particular attention to the ends.

Also you are correct no pressure treated wood anywhere in the boat. Exterior grade plywood is fine. Pay attention to the edges of the piece you purchase. You want a sheet that has few or no voids showing in the lamination on the ends.
 
Last edited:

Woodonglass

Supreme Mariner
Joined
Dec 29, 2009
Messages
25,924
What's the thickness of that aluminum cap on the back there?? that should dictate the thickness of the transom wood. Most transoms are 1 1/2" thick but Not always. That cap should give you a good idea of how thick to make the wood. You want it to fit nicely over the wood.
 

Daniel97

Cadet
Joined
May 23, 2015
Messages
25
Update: I have been busy trying to get the boat registered with W&F. Its a lot harder when the boat hasn't been registered in 23 years, but I got it done (also have the title in the mail). Tomorrow I will be heading to the hardware store to get the materials needed to finish the back of the boat.

By the way... I got the terrible boat fixing fever. I came across this guy on craigslist giving a fiberglass boat away with the trailer. Its about 20-22 feet long and in terrible shape, but I can't wait to finish the little boat so I can start on the big boat.
 

Tnstratofam

Commander
Joined
Aug 18, 2013
Messages
2,679
Congrats on getting the paperwork cleared up. Nothing like being in limbo waiting on boat registration when you're ready to be on the water.

By the way boat resto work is somewhat addictive. It usually leads to more boats in the yard. We here call that MBS. Or multiple boat syndrom. Most of us have caught it.:facepalm:
 
Last edited:

jbcurt00

Moderator
Staff member
Joined
Oct 25, 2011
Messages
24,873
Free boats maybe the most expensive kind. When the time comes, start a topic on it too..

Congrats on the paperwork, its often a big hurdle many neglect to consider.
 

Daniel97

Cadet
Joined
May 23, 2015
Messages
25
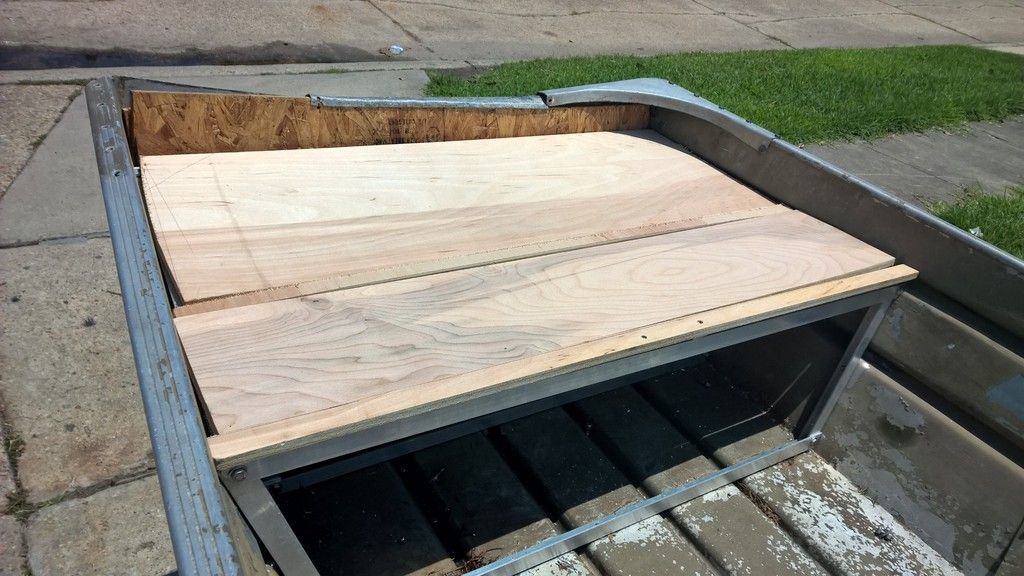
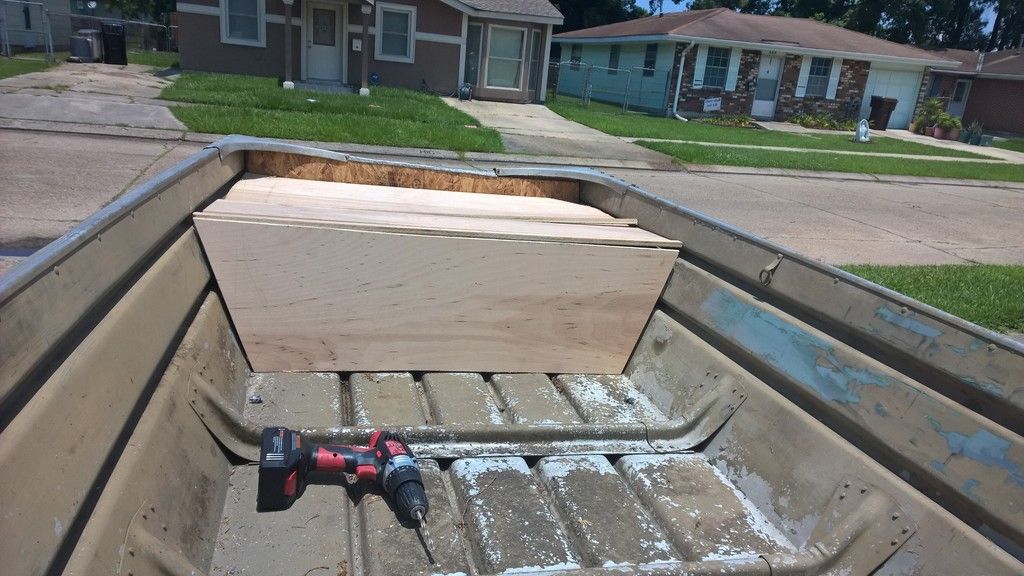
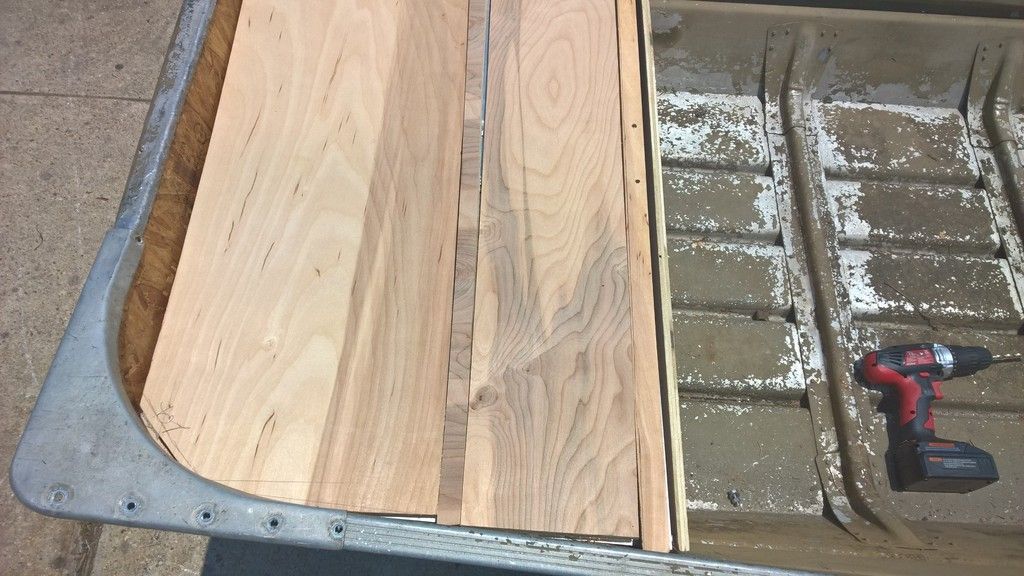
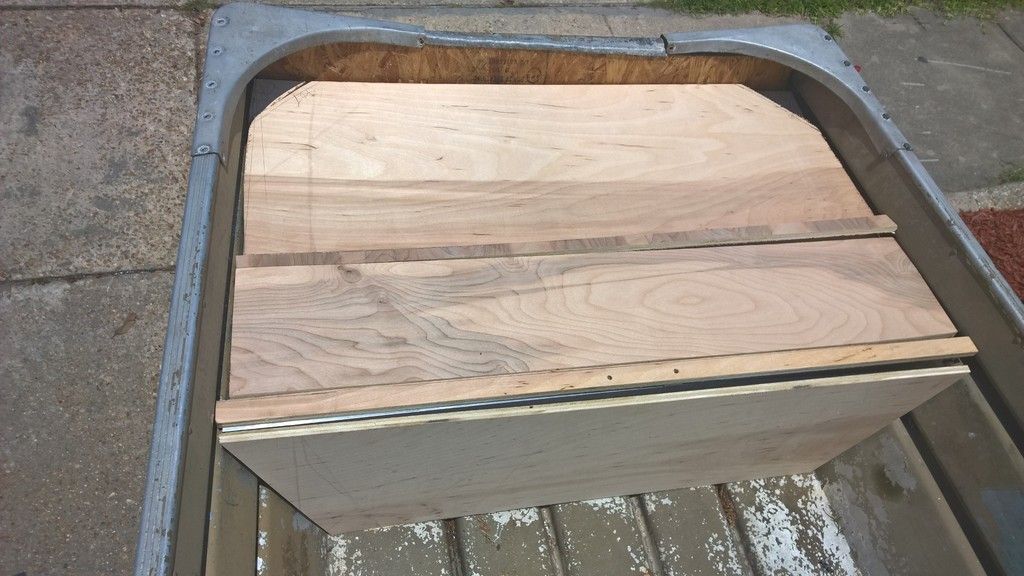
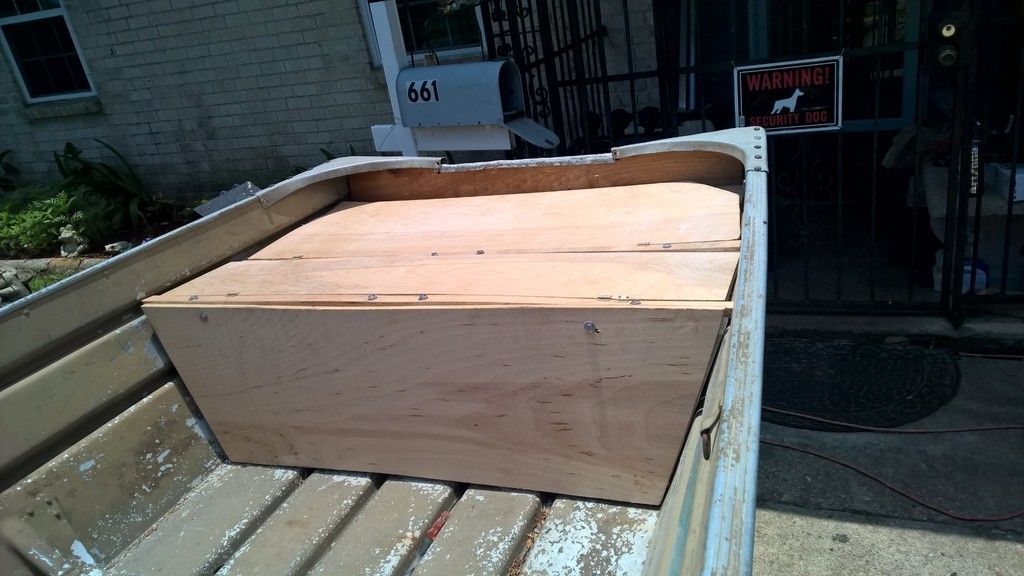
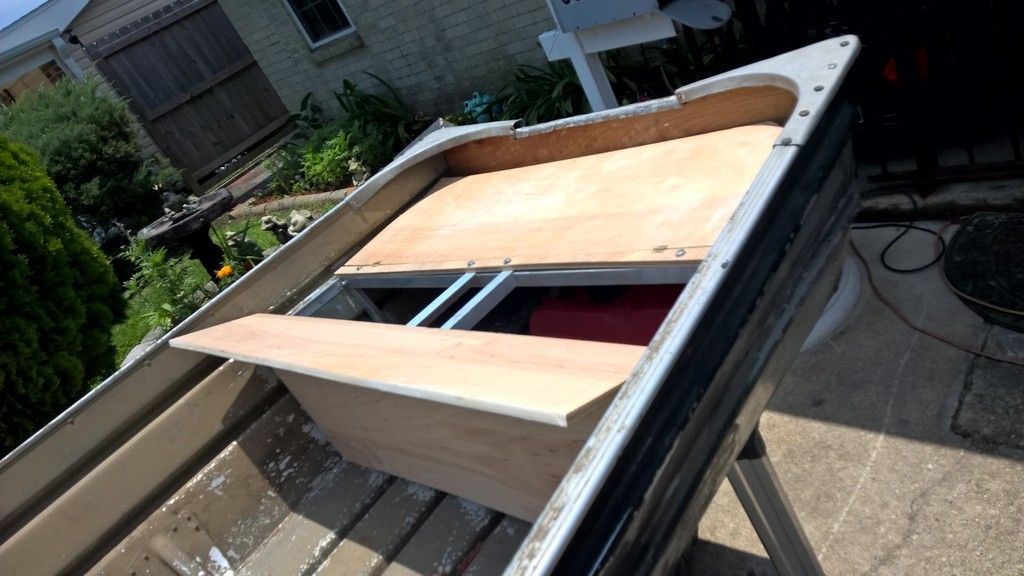
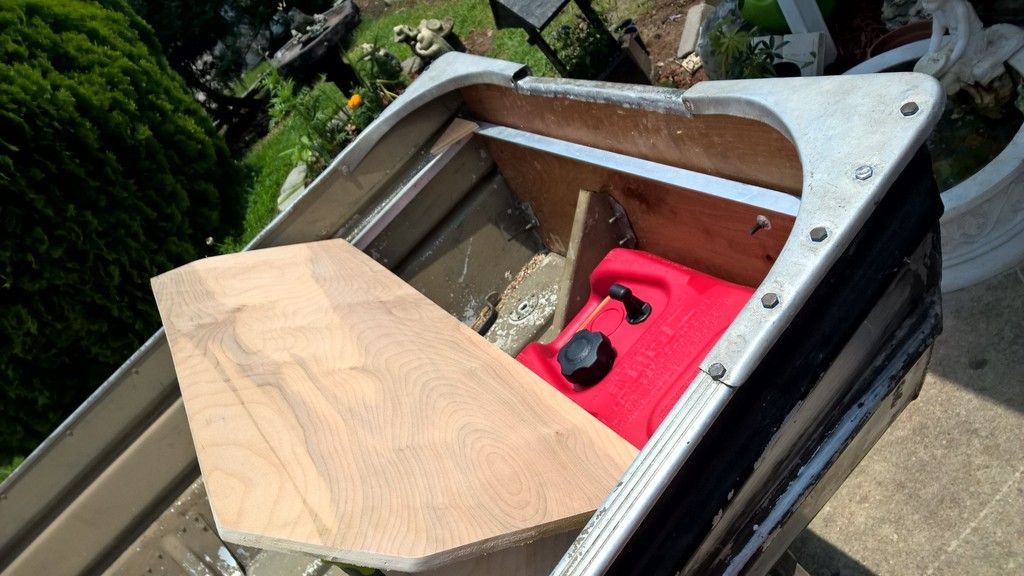
I got to get outside in the wonderful Louisiana sun and get some work done before it got too hot. I got to build the deck cut-outs for the storage and everything. Its just sitting in place. Nothing will be permanently secured until I get the transom replaced.


MTboatguy

Fleet Admiral
Joined
Jul 8, 2010
Messages
8,988
Well the old saying goes when it comes to "Free Boats" There is a sucker born every minute!

:D
 

Daniel97

Cadet
Joined
May 23, 2015
Messages
25
Lets not get too carried away with the other boat. I will start a topic on it when I finish the Delcraft.
 

Daniel97

Cadet
Joined
May 23, 2015
Messages
25
I got outside today and got the back deck fully completed. Now I am just waiting for my vinyl max-5 wrap to come in the mail to get the deck covered.

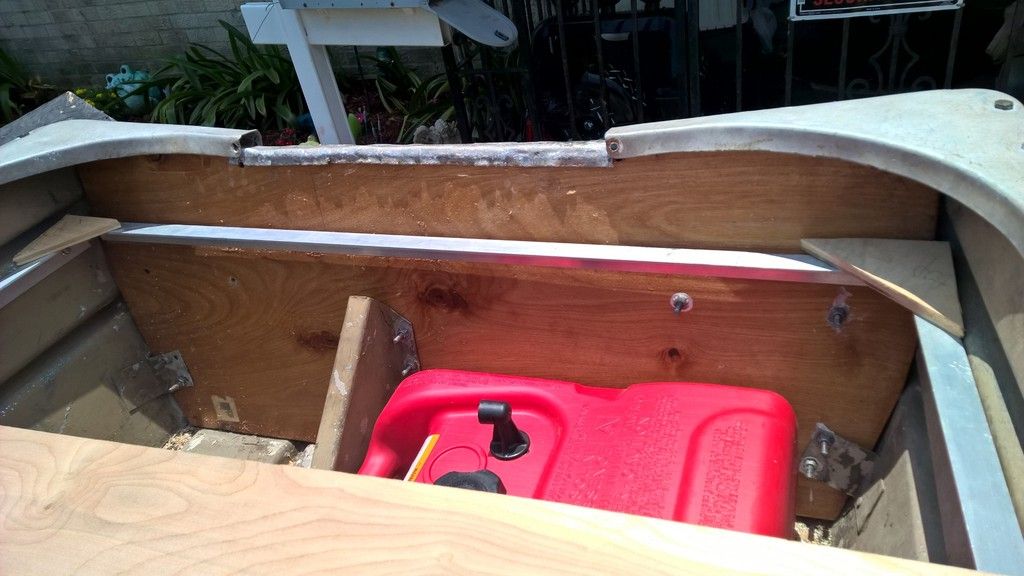
New transom in place:


New transom sealed and bolted in:


The back deck looks uneven but it is just the way the plywood sits. I have to get the zinc plated slide bolt lock things to keep the latches secured.
Back deck is completed:


First hatch:


Second hatch:


I feel like I have done a very well job with the back deck knowing I don't have any woodworking experience.
 
Last edited:

MTboatguy

Fleet Admiral
Joined
Jul 8, 2010
Messages
8,988
Make sure you have some kind of venting on that rear hatch area to help with any fuel vapors that might accumulate, I know you are not sealing it tight, but it never hurts to be safe when it comes to fuel. Other than that, looks good.
 
Top