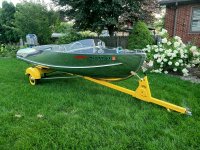
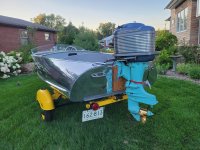
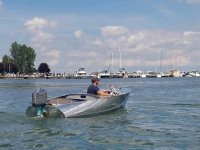
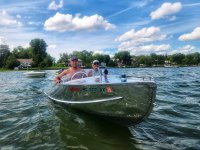
1956 Feathercraft Vagabond II

Luke000

Restoration Forum Splash of the Year 2016
Joined
Aug 19, 2013
Messages
346
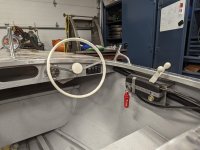
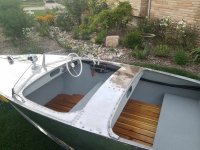
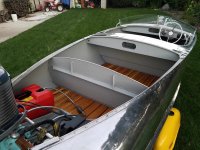
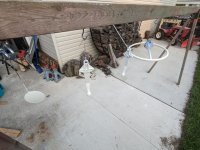
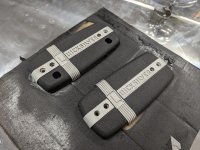
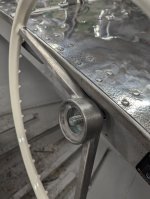
It was finally time to start getting the controls installed, I am using an aluminum steering wheel from my parts bin, it was part of a dash mounted cable and pulley steering system, but the taper on the steering wheel is the same as a modern teleflex-style system, so I opted for a rotary helm with a 20 degree mounting kit and transom mounted clamp. For the throttle, I pieced together a Mercury Quicksilver control with the best parts from 3, I painted the housing with VHT wrinkle black and the handles (and steering wheel) with Sherwin Williams SeaGuard Enamel left over from a LoneStar restoration.
PXL_20230521_234256004.jpg

PXL_20230521_230946134.jpg


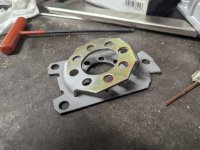
Installation did not go as smooth as I was hoping, the 20 degree mount sat too far back behind the dash and caused the steering wheel to hit the deck and the trim bezel that came with was too big for the dash. So I decided to cut up the 20 degree mount, reduce the angle and offset, then weld it to the 0* mount that came with the rotary helm. I turned a new trim piece for behind the steering wheel since the plastic trim bezel was too big for the spot.
PXL_20230525_203446392.jpg

PXL_20230525_210533149.jpg

PXL_20230529_143418976.jpg
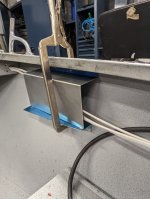
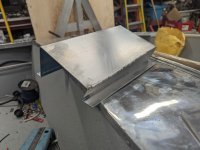
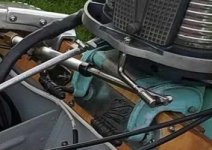
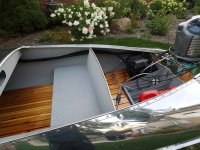
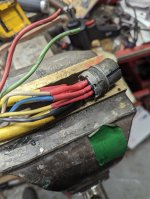
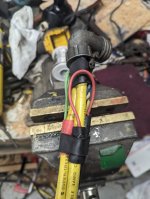
As for the controls, the largest roadblock I hit was my motor is a very early Mercury Mark 55, with the old screw on aviation style electrical connector, but the controls had the newer style cable with a molded push on plug. I spent some time with a meter and traced out each wire on the controls and plug and eventually figured out how to splice the old connector onto the newer style wiring harness, as well as add 2 new battery cables. Soldering the connector was not a fun process whatsoever, but i was able to get it done with lots of flux and the big soldering iron. I also fabricated a proper mount for the controls out of .100" 5052 aluminum. It is 2 pieces that i was able to mock up for a proper angle and then weld together, and rivet onto the hull.
PXL_20230528_003217744.jpg

PXL_20230528_133856911.jpg

PXL_20230521_144315639.jpg

PXL_20230521_151221965.jpg

PXL_20230530_223309605.jpg
 

Luke000

Restoration Forum Splash of the Year 2016
Joined
Aug 19, 2013
Messages
346
A post on a few of the pieces I made for the project:
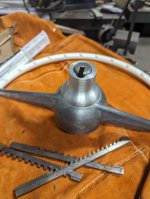
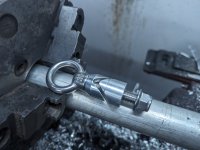
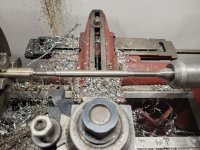
The first is an aluminum bushing set to adapt a 10mm stainless bow eye. This one proved difficult to make as once I turned the outside on a lathe, the v-cut was free-hand cut with a hack saw and final fit with a file.
PXL_20230618_184950657.jpg


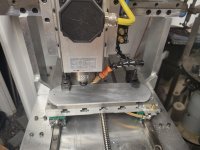
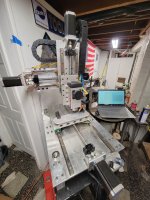
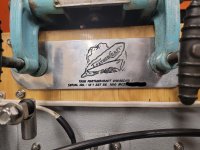
Then came a transom plate for the motor mount. This is simply 1/4" aluminum plate cut out on the bandsaw. But I wanted to go one step further and decided to engrave it with the F/C logo, year/model, original S/N, and newly issued HIN. I made the design on Microsoft paint and engraved it on my home-built CNC machine. Then it was a quick polish and color-filled the engraving.

20230715_130358.jpg

20230715_135949.jpg

20230715_181032.jpg

<iframe width="560" height="315" src="
" title="YouTube video player" frameborder="0" allow="accelerometer; autoplay; clipboard-write; encrypted-media; gyroscope; picture-in-picture; web-share" allowfullscreen></iframe>


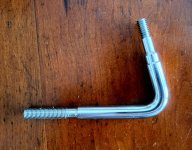
The steering system linkage took a little bit of fab work as well, I used some 316 stainless bar and turned it down and cut a 7/16-20 thread on the teleflex end to fit a stainless ball joint and a 5/16-18 on the motor side. After that I gave it two bends and assembled. It seems to work OK, but I might re-design this in the future, possibly a little shorter or double ball joints.

20230716_193419.jpg

20230717_154655.jpg

367365715_249523577906762_8734319183819980391_n1.jpg


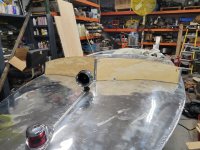
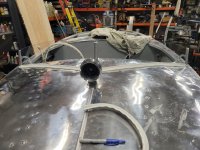
Final part to be made is the windshield "glass". First I made a rough cardboard template, then transferred it to 1/4" plywood for a proof of concept, did some final fitting to match the asymmetric bow, and finally made it out of 1/4" polycarbonate sheet. I cut it using a jigsaw with a special polycarbonate/plastic blade then polished the edges using a belt sander and scotchbrite.

20230720_181242.jpg

20230720_194855.jpg
 

Luke000

Restoration Forum Splash of the Year 2016
Joined
Aug 19, 2013
Messages
346
Drum-roll please.....

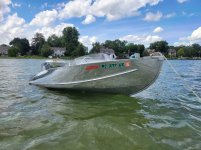
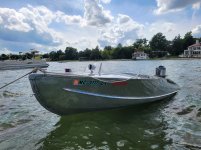
WE HAVE A SPLASH!!

365314589_684834203490511_1657394249031008284_n.jpg

367400731_1221360605128410_7513732356131403196_n.jpg

367410993_239315965733646_5934210499279149678_n.jpg

I struggled with getting the rebuilt motor running, it would start but not idle and die after a few minutes of running, not wanting to restart for a while. Also had issues with the carbs leaking fuel and the recoil starter not playing nice. After scratching my head, rebuilding the carbs one more time and walking away for two weeks to repair two of my other watercraft, I came back and decided to build up a magneto using the best parts from 3 and that turned out to be the ticket! The magneto I had in the boat was not very healthy. I also rebuilt the recoil starter using the same "3 to make 1" approach.

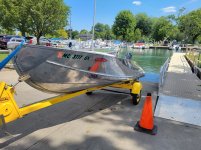
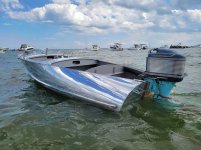
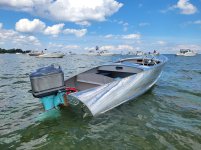
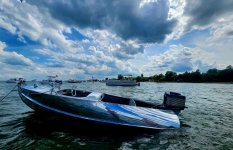
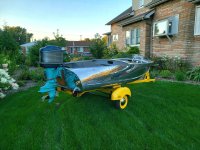
I added the decals, installed the fenders on the Tee Nee, and gave it one final polish with Mothers. I kept it clean enough for a set of beauty shots before getting dunked.

20230812_201439.jpg

20230812_201559.jpg

20230812_201745.jpg

367363903_866803521480958_1666395435748451985_n.jpg

367365715_249523577906762_8734319183819980391_n.jpg

367389336_1319742001969502_7089568066067520298_n.jpg

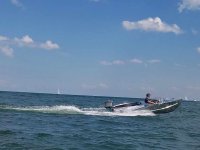
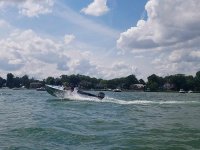
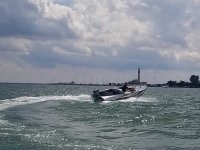
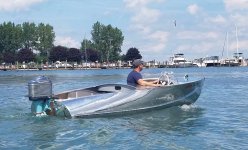
The launch had a false start, the rebuilt recoil starter broke on me at the launch ramp, the new rope I used was smaller than OE and pulled right out of the handle. I was able to rebuild it quickly in the parking lot, then we were off to Lake St. Clair! I had my mom as photographer and in her jet boat as a tow boat if needed. Thankfully it ran great and a tow was not needed. The boat was a hit with MANY people coming up and asking about it/ giving thumbs up/ etc. Even more than my Lone*Star El Dorado got!

I've had it out a few times now and recently fit a Bimini top for comfort. The top is on quick releases mounts so I can quickly pull it and go back to the sexy FC lines. I plan to use it like this for the few remaining weeks of nice weather up in Michigan, and hopefully over the winter teach myself Upholstery and make some nice cushions.
 

Wildey

Petty Officer 1st Class
Joined
Nov 24, 2021
Messages
202
Quite nicely done !
The upholstery job might prove to be easier than you think.
With your skills / attention to detail, it should be a breeze.
Sailrite has some excellent video tutorials .... (and tools)
Again,
VERY NICE !
 
Top