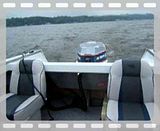
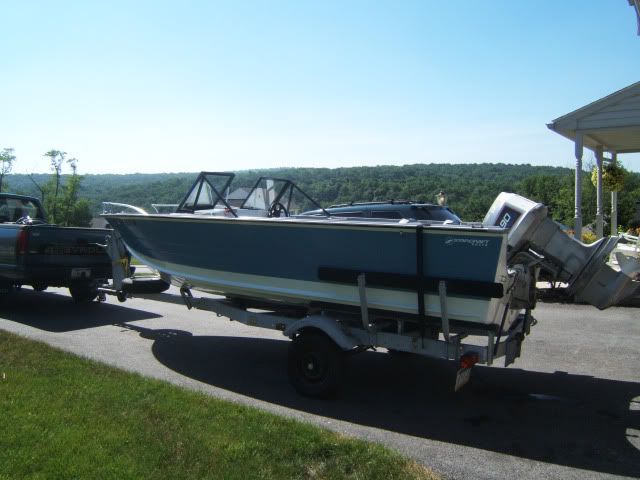
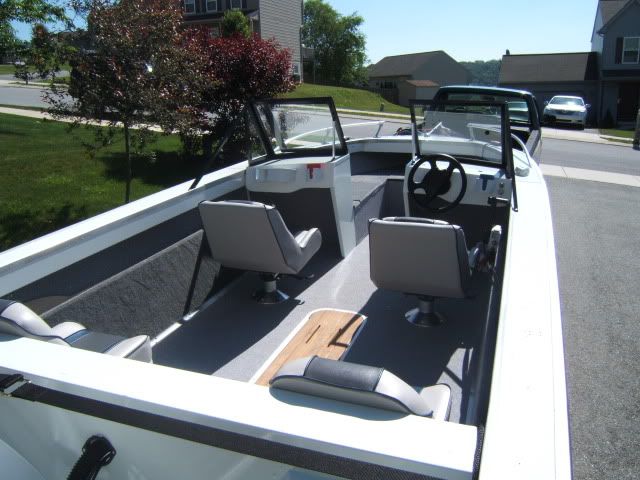
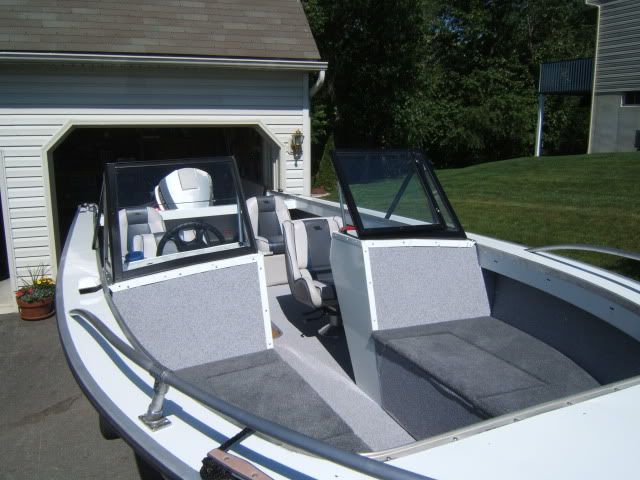
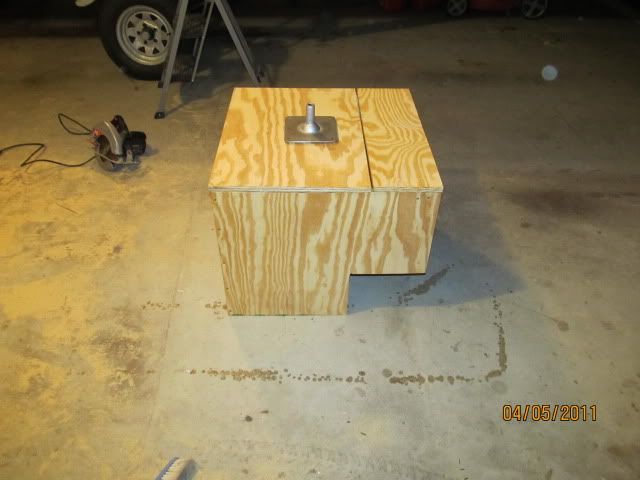
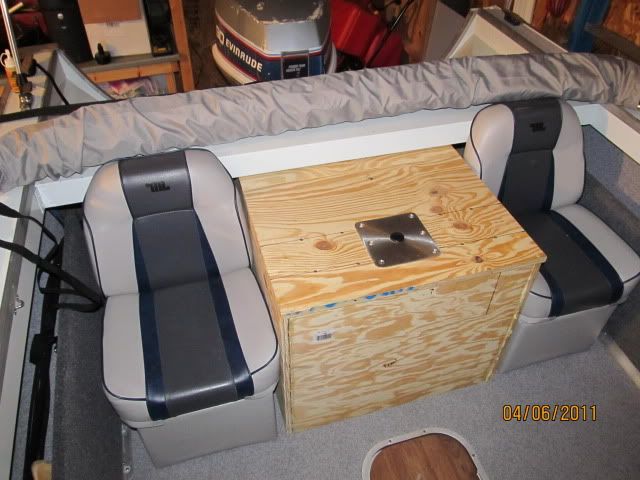
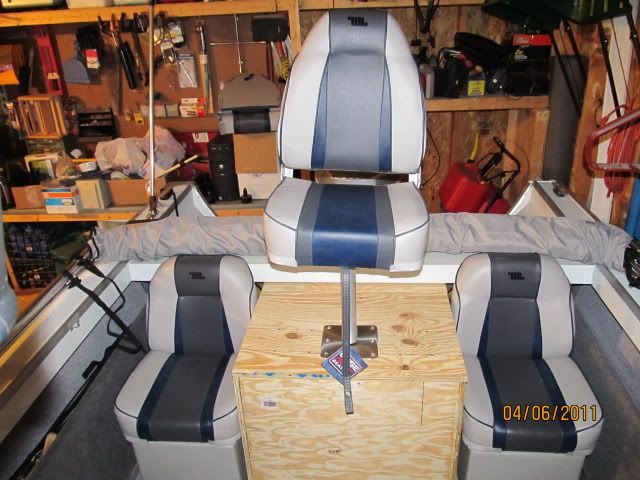
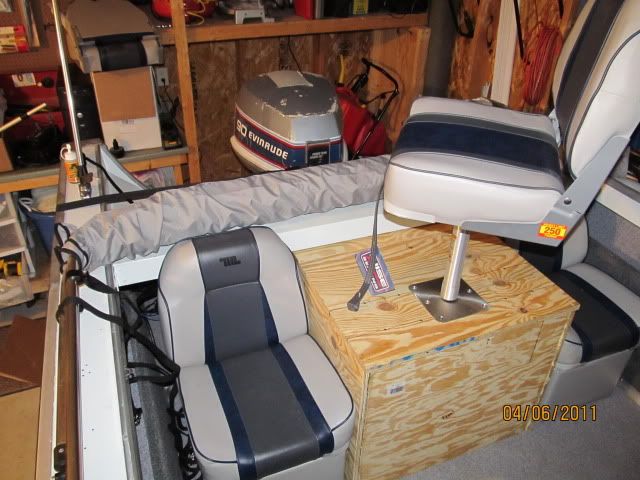
Re: 18' Starcraft SuperSport restoration
UPDATE: So we're taking the boat to Ocean City, MD with us on vacation tomorrow. I had still not replaced the impeller in my motor and I knew I was pushing my luck too much. So I ordered one and went to install it last week. Well I was stymied pretty much right off the bat. The bolt that holds the shift rod on up in the powerhead under the carbs was pretty well buried under a bunch of hoses and other such things. As I had no interest in turning my running motor into a non-running motor....I decided to call up this mobile mechanic I had found on CL a few months ago and has corresponded with about some of my running issues. He told me that he would go over the whole motor for me but that he like to do the thermostats when he does the impellers. He told me to order them and call him when they came in to set up a time for him to come out.
The t-stats come in on Monday and I called him to see when he could come out. No good, he says he's real busy and wouldn't be able to make it till Friday or perhaps Saturday. Well that's no good as I'm leaving tomorrow. So I said I would just run it as-is and take it in when I get back. He says that if I can bring it to his house he could work on it much sooner. So I took a real gamble, the week before vacation, and took it out there. Well the gamble paid off. This guy is a GURU on all things that power boats, particularly outboards and older jet skis. He said he's one of the last people in the area that still works on the older Merc inline 6's and he was even working on an old '71 Evinrude electric shift model.
So I dropped it off on Monday evening, by Tuesday around lunch time he was already calling me to tell me what was wrong with it (he was troubleshooting my hot-restart stalling issue). Turns out some dumb PO had tried to hop the motor up by slapping some 140HP carbs on it. Much too big for it. He said with 115 carbs he could make my 90 an honest 115 and does that often, but he said anything bigger, like the 125, 135 and 140 carbs are all just too big without other modifications. He said I should try to find some 115 carbs. In the meantime, he rejetted the 140 carbs and made numerous other adjustments so the motor would run as good as could for me in the meantime.
They also replaced the impeller, installed new fuel pump and carb kits, t-stats, plugs, and even changed the lower unit oil. He put a used starter bendix on as mine was real beat up and tested out my charging system (which was great). He put 7 hours of labor into it and charged me $60 an hour, total of $420. While cripplingly expensive

I thought it more than fair. I'm caught up now on all periodical maintenance.
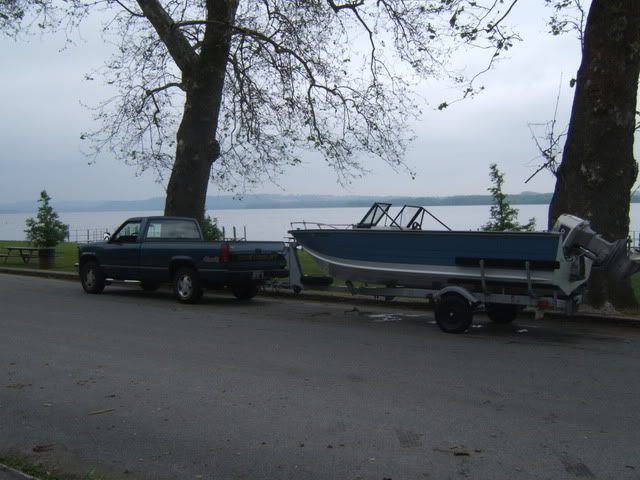
I wanted to run it before I dragged it 4 hours away on vacation so I called up Scott, coolbikeguy, to see if he was interested in coming to the lake with me. He was, which turned out to be really great because the water level was low and I think I would have had a heck of a time retrieving by myself. The motor ran much better. Not perfect, but much better. We drove around a while and then let it sit for a few minutes and restarted it. Typically it would have given me fits and stalled a number of times before I could have kept it running. This time, with a little warm up lever applied, it started right up and stayed running. My mechanic, knowing I was taking it out, actually called me to see how it ran. He gave me some suggestions on how to get a little more idle speed out of it and assured me that with the right carbs he could get it running perfect.
So it sucks I have the wrong carbs and I did have to drop some cash but at least I'm all caught up maintenance-wise, my issues have been diagnosed, my motor runs better and I found a heck of a mechanic. It was also a beautiful night last night which Scott and I enjoyed for our short sea-trial.