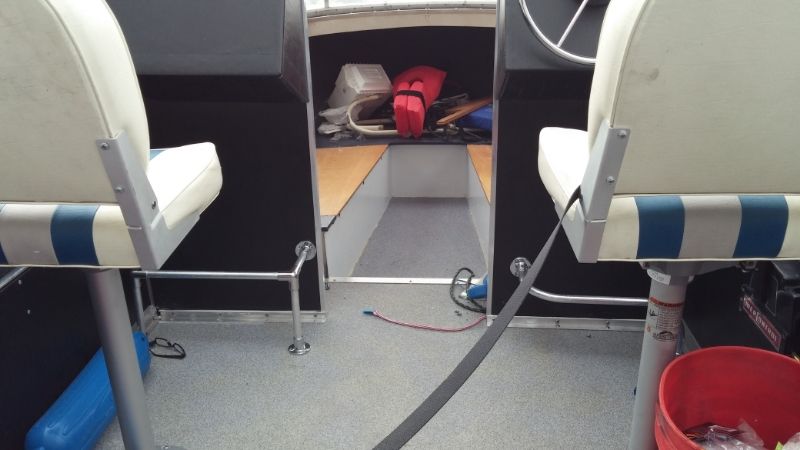
18' Starcraft Starchief OB Rebuild

BigJoe843

Cadet
Joined
Jul 9, 2013
Messages
11
She turned out great gibbs! Hope to have mine looking that good one day. Just have to get this title situation taken care of. I hate dealing with the dnr on things they don't want to help you on.
 

Gibbles

Commander
Joined
Nov 14, 2009
Messages
2,027
Thanks, She turned out better than i hoped. My trim tabs come monday, if all goes well ill try and install them that day or tues, hopefully give the 5200 some time to cure before the next outing.
 

Gibbles

Commander
Joined
Nov 14, 2009
Messages
2,027
Working on the boat this weekend and i feel dumb. I found the prop is loose! So i bet what i noticed is a spun prop... Oh well trim tabs will help with oher issue's and overall performance.
 

Gibbles

Commander
Joined
Nov 14, 2009
Messages
2,027
And i was in need of a new rivet gun this weekend, headed to HF and found the air rivet gun i would like was on sale for $35, and i had a 20% off coupon..so wth i figured. I have to say i love the thing. So quick and easy, it also gets the rivets tighter than with the hand tool.
 

GA_Boater

Honorary Moderator Emeritus
Joined
May 24, 2011
Messages
49,038
Well just reevit that prop on, Gibs. :lol:

Was the nut not tight or is the prop spinning on the hub? If it's spinning on the hub by hand, I'm surprised the boat even moved.
 
Last edited:

Gibbles

Commander
Joined
Nov 14, 2009
Messages
2,027
The nut was way loose, i could spin the cone collar thang by hand...
 

dozerII

Admiral
Joined
Oct 25, 2009
Messages
6,527
Hey Chris just popped in from being a away for a week, lots o f progress here, the Fridge sounds real good.
 

Watermann

Starmada Splash of the Year 2014
Joined
Jan 12, 2013
Messages
13,794
So it was a spun prop hub the whole time then... :facepalm:

Yeah you won't regret spending on those smart tabs, they are awesome in my book when you're a bit stern heavy.
 

Gibbles

Commander
Joined
Nov 14, 2009
Messages
2,027
And yeah i can't believe how well the boat moved with the prop that loose.

One of those things where I'm thinking about it while on the water, then i totally space checking while at home.

I think the only thing keeping the prop on was the presence of the cone and the cross pin holding it in place.
I only checked after noticing the paint on the cone was coming off all the way down to the metal.
 
Last edited:

Gibbles

Commander
Joined
Nov 14, 2009
Messages
2,027
And trim tabs, i think it will help a ton.

At low speeds the nose really sticks up making it hard to see.
 
Last edited:

Gibbles

Commander
Joined
Nov 14, 2009
Messages
2,027
Trying this on chrome in hopes i get line spacing..

I'll put the spare prop in the boat incase i killed the hub by running it so loose.

i also need a dedicated prop wrench/socket to keep in the boat, So I'll head over to HF today...
 

Gibbles

Commander
Joined
Nov 14, 2009
Messages
2,027
Well just reevit that prop on, Gibs. :lol:

Was the nut not tight or is the prop spinning on the hub? If it's spinning on the hub by hand, I'm surprised the boat even moved.

yeah the prop was just loose, the hub only started to spin when i wanted to go fast :lol:

I just hope i did not damage the hub to badly...
 

Watermann

Starmada Splash of the Year 2014
Joined
Jan 12, 2013
Messages
13,794
Man that's wild, I would think forward thrust would keep the prop on tight and that reverse would cause it to loose bite. I'm not sure about the Chrysler prop nut set up and how that would happen? Castle nut with cotter pin like my Johnny has? The MC stern drive has a 1 1/6th" nyloc with a tab washer that locks into the prop center after being torqued to 55 FT LBS. Now you got me curious about the dorm fridge prop set up. Cone and pin? hhhhmmmmm

Be sure that the thrust washer didn't get banged up although they are pretty dang tough compared to the AL prop.
 

Gibbles

Commander
Joined
Nov 14, 2009
Messages
2,027
My guess is when i winterized her i did not torque the prop nut down, and i just assumed i did with out checking. I took my impact and got her good and tight. And the chrysler has a cone on the end of the prop like an old 1960's Johnson. There is a threaded pin that holds the cone on the end.
 

Gibbles

Commander
Joined
Nov 14, 2009
Messages
2,027
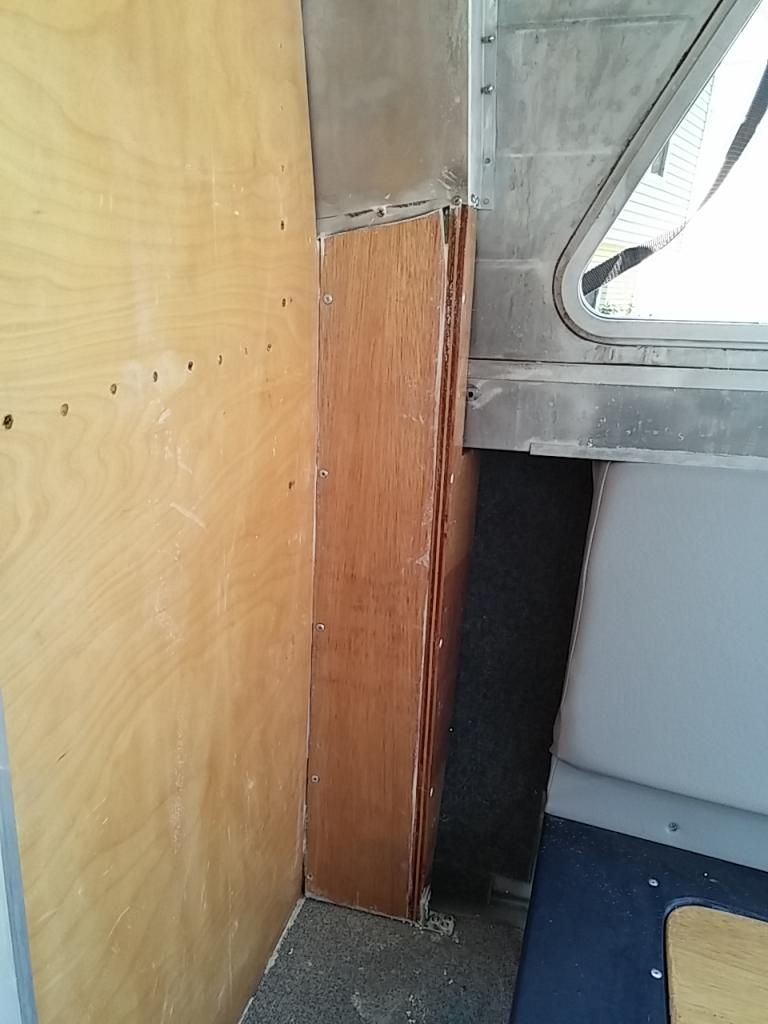
And this weekend im working a lil in the cabin. This is my solution to the empty space from where the console use to be... Filled full of floatation foam.
20140810_133626_zpsoyqzeq4i.jpg
 

Gibbles

Commander
Joined
Nov 14, 2009
Messages
2,027
A few pictures I had taken
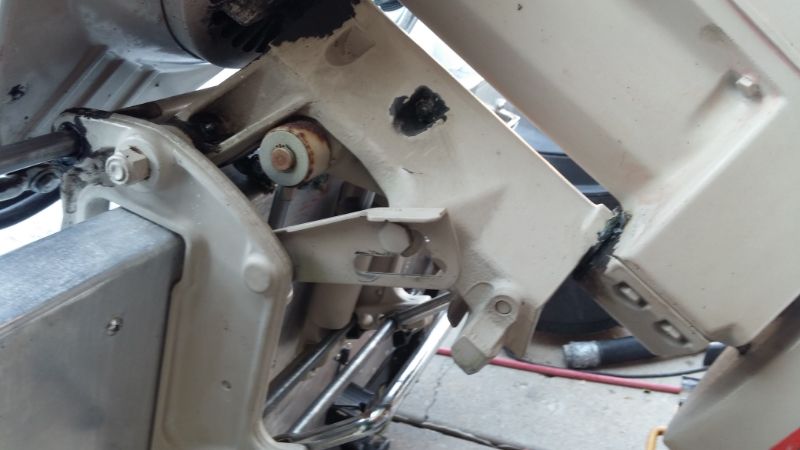
20140809_173521_zpsximiyjw_edit_1407690072210_zpsh9bhtxiq.jpg


My modification of the tilt lock in order to clear the splash well
20140809_173442_zpskqvrhlev.jpg


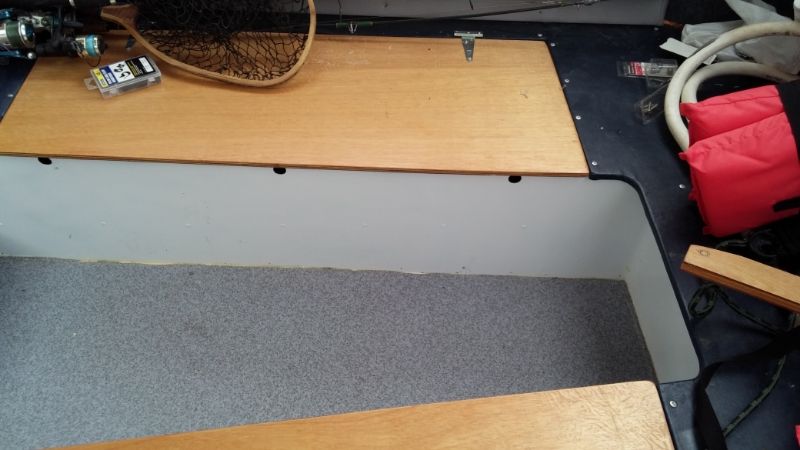
Nautolex layed down on the front cabin floor, I used contact cement (used on counter tops), got that trick from another thread and decided to give it a go.
20140720_172408_zpsm4emglxu.jpg


I'm still working on the trim pieces, since I had done such a good job sealing the floor panel down (really stuck down there lol), I had even used a bunch of 5200 to prevent rattles and decided it would be best to just trim around It like it was originally.
Hard part is the trim pieces got crushed by the Nova, so I have been working on some new pieces, hard part is the curves at the front...
 

Gibbles

Commander
Joined
Nov 14, 2009
Messages
2,027
20140720_172342_zpsrtijyivh.jpg


And I got the trim tabs installed last night, I used maybe a bit to much 5200, and I ended up using the stainless screws alone.

I drilled the holes a tad smaller than suggested, and oiled a few screws up, then using a screwdriver that was a perfect fit for the head I worked the screws into t he holes, elongating the holes just a tad as I worked them in.

Resulting in what I felt was very solid, then after degreasing and using my aluminum cleaner to ensure the 5200 stuck as solid as possible I coated the tab mounts with lots of 5200 and installed.

My idea that even if the screws are stressed, that 5200 will add bit of adhesion to the mix, once complete I noted the instructions stated to use only a small amount of sealant to the holes. :lol:

Once complete it was pretty much straight to bed, so I'll get some pictures later...

I also noted that the prev owners install of the trim tabs were closer to the middle of the boat, the instructions I had said to keep them more towards the outside edges.

So I ended up just drilling the top off of the two outside rivets I used to seal his holes, noting what I great job I did of sealing those rivets, I just knocked the head off for a flush surface, the rivets were still in place and well sealed, however I doubt very strong.
The new trim tabs covered the holes nicely, and the extra 5200 I used in the installation should prevent any leakage.
 
Last edited:

Watermann

Starmada Splash of the Year 2014
Joined
Jan 12, 2013
Messages
13,794
Looking good Gibbs, using ingenuity on these old boats is key to getting the job done. :thumb:

So you don't mind those cheap blemish tabs? :lol:
 
Top