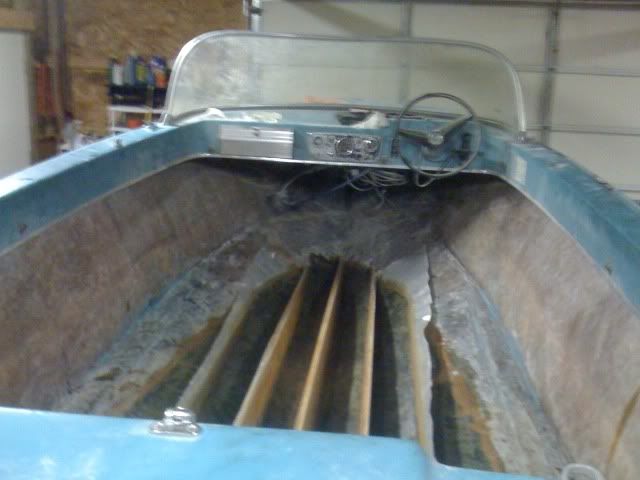
16' 1967 Silverline Rambler Restoration

tdrudd87

Petty Officer 1st Class
Joined
May 28, 2009
Messages
288
Hi guys,

Starteed reading this forum back in June, and happened upon a boat to restore in August!

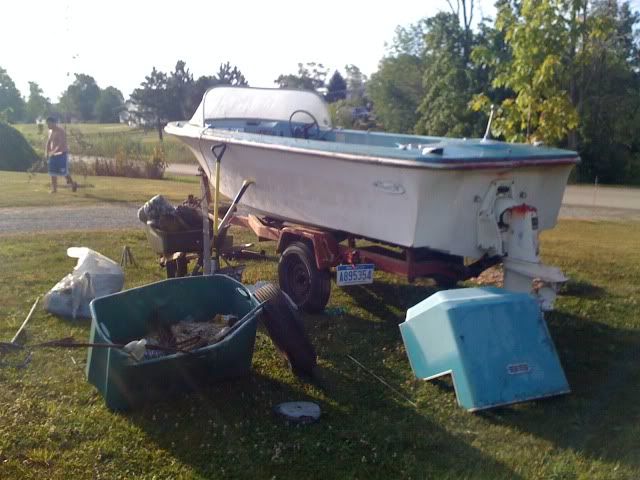
Purchased for $75 dollars w/ trailer.

Here's some pics!

Boat038.jpg


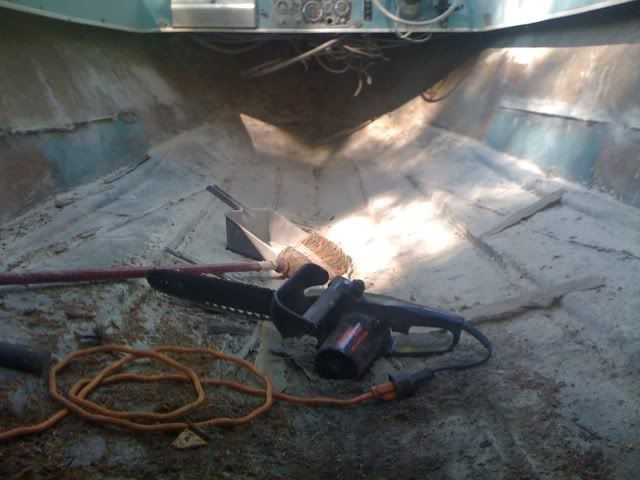
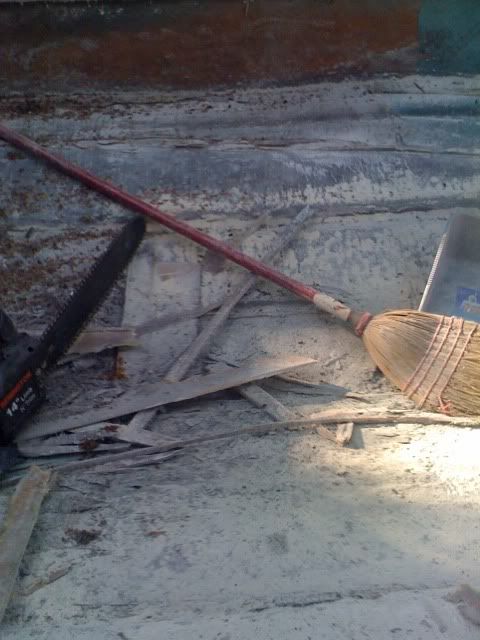
Full of Crap!!!
Boat033.jpg


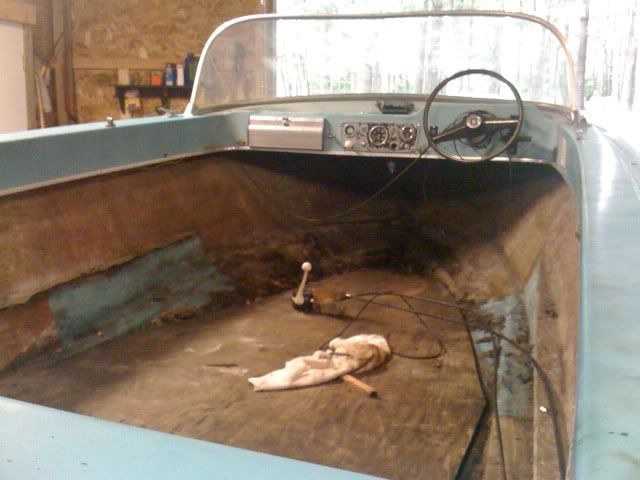
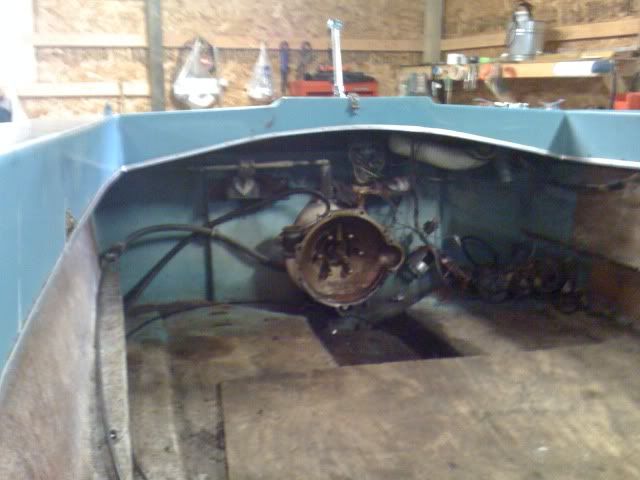
Inside after cleaning out
Boat050.jpg


More on the way, that was only the first few weeks worth!
Terry
 
Last edited:

tdrudd87

Petty Officer 1st Class
Joined
May 28, 2009
Messages
288
Re: 16' 1967 Silverline Rambler Restoration

ANd now for the fun parts!

The plywood on the floor in the last pictures was strictly for walking on, just a cut to size sheet laying on the original floor to cover the 2 foot hole looking at rotted stringers.

So time to tear in!

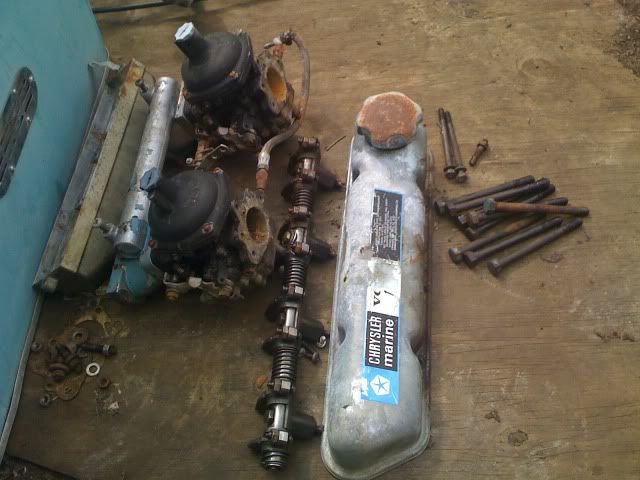
Spent one weekend de-rigging:
Boat016.jpg


Boat043.jpg


Boat039.jpg


Boat007.jpg


Boat014.jpg
 
Last edited:

tdrudd87

Petty Officer 1st Class
Joined
May 28, 2009
Messages
288
Re: 16' 1967 Silverline Rambler Restoration

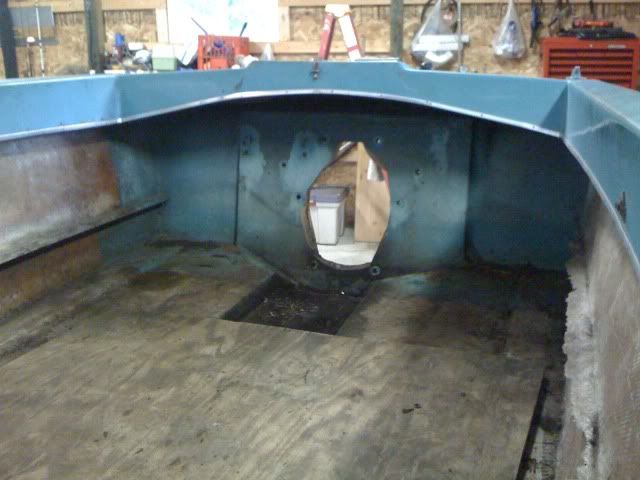
And took last weekend to get it down to fiberglass inside!

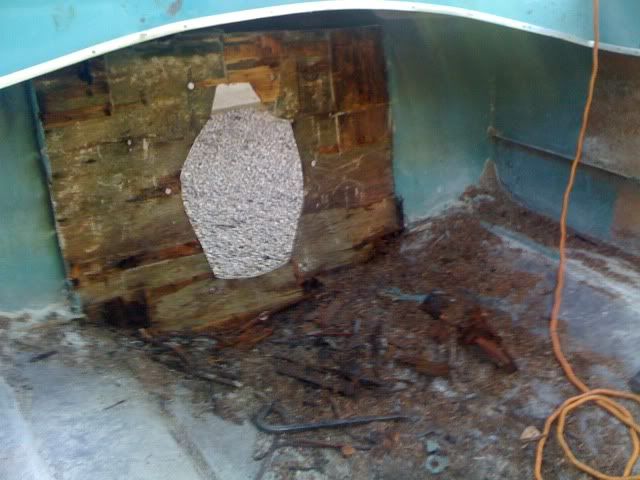
the stringers and floor were 90-100% rot, and the transom was wet everywhere and swollen at the bottom.

Started by lifting the boat off the rollers and building 2x6 bunks for it to rest on while i do the structural work:
Boat020.jpg


Before:
Boat047.jpg


Boat018.jpg
 
Last edited:

tdrudd87

Petty Officer 1st Class
Joined
May 28, 2009
Messages
288
Re: 16' 1967 Silverline Rambler Restoration

During:
Boat041.jpg


Boat051.jpg


Boat003.jpg


And when I had to head back to school:
Boat001.jpg


Boat029.jpg
 
Last edited:

tdrudd87

Petty Officer 1st Class
Joined
May 28, 2009
Messages
288
Re: 16' 1967 Silverline Rambler Restoration

I am figuring 5-6 hours of grinding left, and then onto rebuilding! I was working with a metal grinding disk last weekend, finally found a sanding attachement for the grinder to have a go this weekend.

This weekend I am planning on bedding the stringers. I haven't decided on PL or resin-PB yet, I have 7 gal of poly and a whole mess of stuff from US Composites waiting for me.

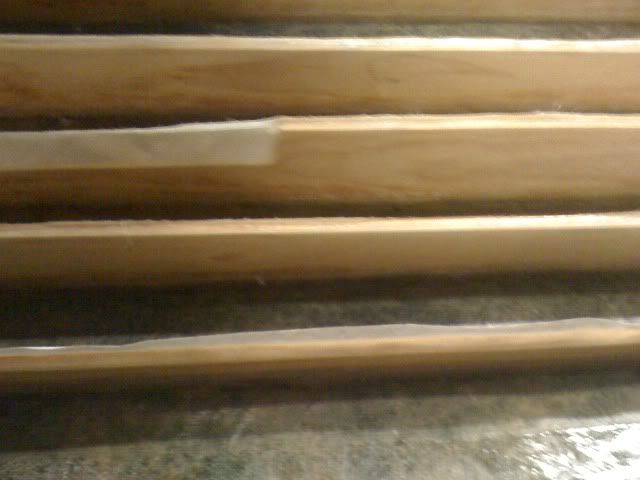
Once I get them bedded and filleted, what is the best tool for wetting out the 1708? I only have about 8" between stringers, so was planning on cutting a tape to lay in a U shape between each 2 stringers and then capping with a narrow tape I have left over from a Kayak. The stringers are dimensional, so I have Select pine to 1x's to replace them with, beautiful wood.

Thanks for any feedback!
Terry
 

chrishayes

Senior Chief Petty Officer
Joined
Apr 9, 2009
Messages
691
Re: 16' 1967 Silverline Rambler Restoration

You are really doing a good job of the tear down. Keep up the good work! Also about the wet out tool, I use a chip brush exclusively. 1.5" most of the time but if the work is large use a 3" brush. I just cant stand the waste that a roller creates. So much resin is left in the nap...Oh and also, if you have ANY place to grind that you intend to just do later, reconsider and do it now! Also, I hope you saved the stringers to use as a template later. It will save you a ton of time and effort. That and whatever wood you are using, I suggest getting everything now and get it in the house or garage to start the drying process. Again, keep up the good work and check out my resto if you feel the need for any pointers or just to say hello:D I can truly say now, ive been there, done that! It isnt too bad and it looks like you are moving quickly.
 

chrishayes

Senior Chief Petty Officer
Joined
Apr 9, 2009
Messages
691
Re: 16' 1967 Silverline Rambler Restoration

Also, if you havent ground the lip of the old deck yet, dont. That is if you didnt keep the stringers for templates. It is the easiest way to know how high your stingers need to be because no matter how many pictures or measurements you took, it just is harder than you imagine trying to get it back to the right height.
 

tdrudd87

Petty Officer 1st Class
Joined
May 28, 2009
Messages
288
Re: 16' 1967 Silverline Rambler Restoration

Thanks for the advice, I'll get a bundle of brushes at harbor freight when I get there. I have the old stringers as well as a set of offsets every 6" for each one, measured before they came out.

Anyone have any experience with PL and how long it takes to firm up so you can't push the stringers over as well as how long until its safe to put resin over it?
 

chrishayes

Senior Chief Petty Officer
Joined
Apr 9, 2009
Messages
691
Re: 16' 1967 Silverline Rambler Restoration

Thanks for the advice, I'll get a bundle of brushes at harbor freight when I get there. I have the old stringers as well as a set of offsets every 6" for each one, measured before they came out.

Anyone have any experience with PL and how long it takes to firm up so you can't push the stringers over as well as how long until its safe to put resin over it?

I have used it for my stringer job and it is a healthy product! Very strong stuff! I have applied resin over it in 24 hours time but when I left it for a week due to hurting too bad to glass I found that it reaches its maximum cure in 3-4 days. Also when using it, I found that you should shape it every 3'. You will want to appliy the amount needed to bed then once you get that stable I mean you want to lay a 3' bead like caulk next to the stringer where it meets the hull then use a rounded over paint stick to put the curve to it. If you go any further than this like trying to lay down a beed the entire length of the stringer then go back and fillet(round it over) it you will get lots of bubbles and a not very good surface once it cures. You will find that anywhere that there is a pocket of air under it that the PL will expand and create a hollow bubble. I personally found that using PL just for bedding then switching to thickened epoxy for the fillet was the way to go.
 

tdrudd87

Petty Officer 1st Class
Joined
May 28, 2009
Messages
288
Re: 16' 1967 Silverline Rambler Restoration

Once again Chris, thanks for the advice.

Update!...

Didn't make as much progress last weekend as I hoped. The sanding atachment wouldn't fit my grinder, and I think I have to much of the grinding complete to justify buying a new grinder. SO it was a lot more of grinding bad spots with the metal cutoff wheel. Did about 8 straight hours friday, hands still feel funny today.

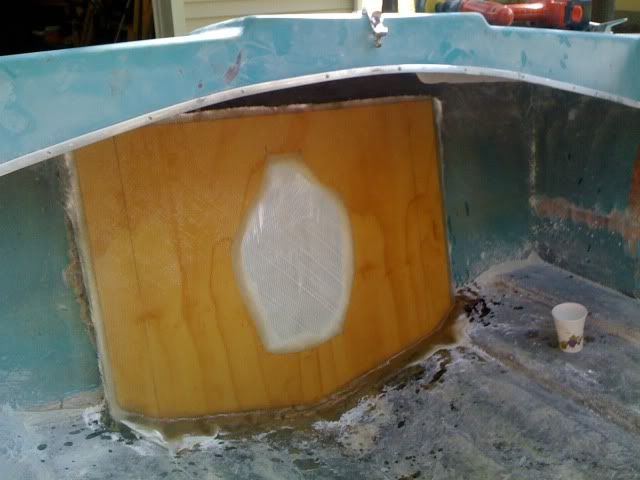
Saturday I cut out the stringers using the old ones as templates, definatly the easy way. Checked the pattern against my table of offsets at it was all good. I also cut out the the new transoms and laminated them. In the picture that piece of wood isn't magically levitating, just the girlfriend being photo shy whle she helped.
photo2.jpg


Sunday was a play day, so not work on the boat. Went to Lake Michigan with my girlfriend and parents, then just me and her for a quick canoe paddle/goose hunt that evening. They were flying high so no dice there.

Monday I worked on bedding the transom. Had to grind/sand a few bits to get it to sit flat, then it was puttied up and clamped. I made the plate on the outside of some scraps to keep from getting any waves from uneven clamping.

IMG_0192.jpg


photo.jpg


Hopefully this weekend bring better progress on bedding the stringers. Like Chris said, I am planning on bedding in PL and filleting with resin putty. Should hopefully have the hull grinding whipped friday evening, then start with some more of the reconstruction.

It sure felt good to see the transom inand sitting flat, nice to put something back in!!!!

Terry
 
Last edited:

tdrudd87

Petty Officer 1st Class
Joined
May 28, 2009
Messages
288
Re: 16' 1967 Silverline Rambler Restoration

Started to feel a little "boaty" the last few weeks...

Work stopped at bedded stringers last.
Engine is to the machine shop on Thursday.

Pics coming!

EDIT: The pics!
Got the transom skinned last fall, 2 layers of 1708
312e950b.jpg


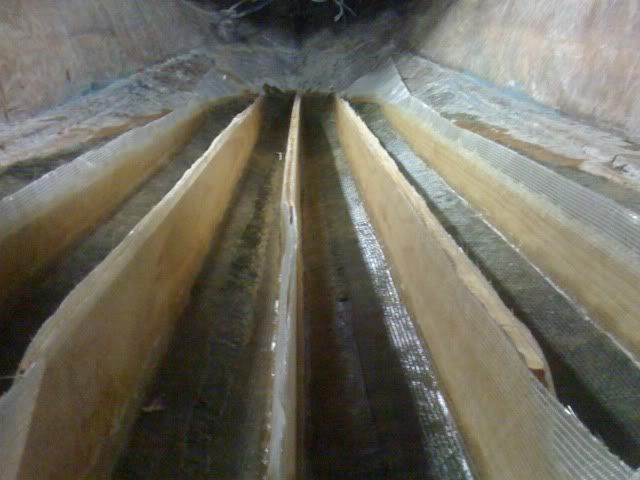
And the stringers going in, bedded in PL:
048.jpg


050.jpg
 
Last edited:

tdrudd87

Petty Officer 1st Class
Joined
May 28, 2009
Messages
288
Re: 16' 1967 Silverline Rambler Restoration

Soooo.....

I lied when I had pics coming last time. Sorry:redface:!

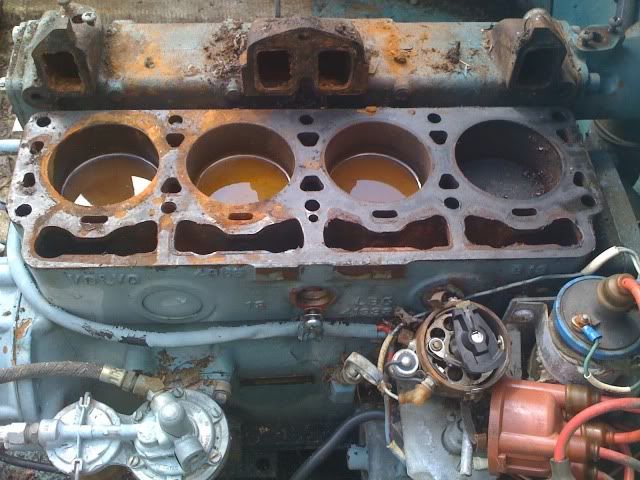
The engine has been a can of worms, had to have the block bored about .180 over to make it a 2.0L. Building the bottom end I found the front two pistons to be lower and pushed back in the bores, and found the conrods were bent beyond repair. Trying to source those now...fun!!!

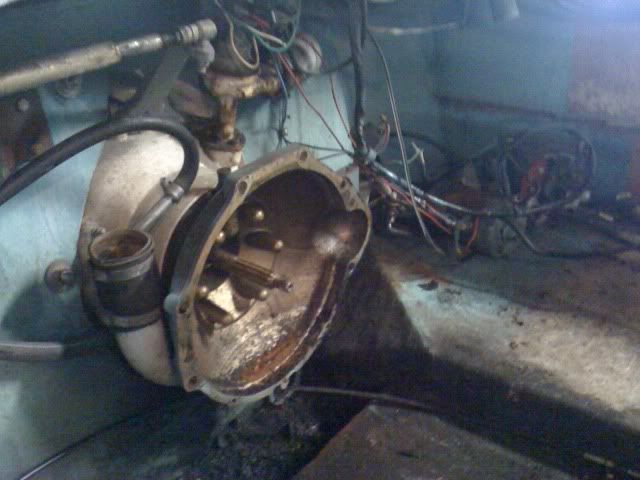
I have made some forward progress on the drive, got the old u-joints out, cleaned up the bellhousing and painted it for reassembly with new seals and a bearing.

On to the hull! Yesterday I got two of the six pieces of stringer glass put in. I used 1708 lain up against the hull and up the stringer. I didn't try to wrap the top, no room for a radius on 1x dimensional and still have a good contact patch for the deck. I plan on putting whatever scrap tape I have on the tops of the stringers once I do all the sides.

I have found the joy of working with the proper materials! I had been limping along with 1/4" fibers and talc for fillers, just got some 1/32" milled and aerosil from UScomposites. It is awesome! No resin runnout from the filler, and so much smoother and lighter!

I know my pics are broke, that is a rainy day project to clean up, and hey, its rainy!

Pics when I get em!
Terry
 

tdrudd87

Petty Officer 1st Class
Joined
May 28, 2009
Messages
288
Re: 16' 1967 Silverline Rambler Restoration

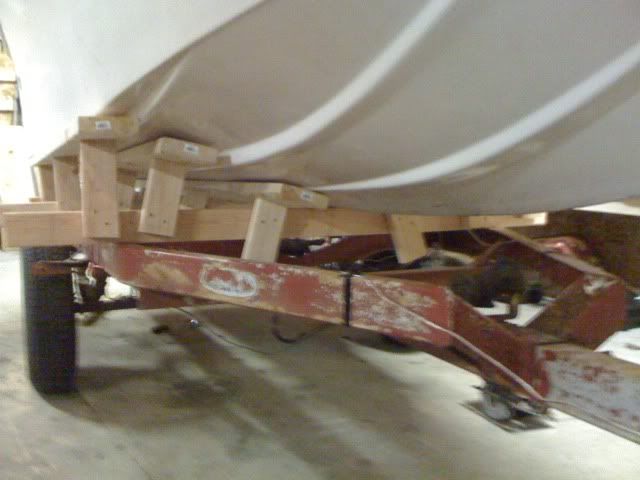
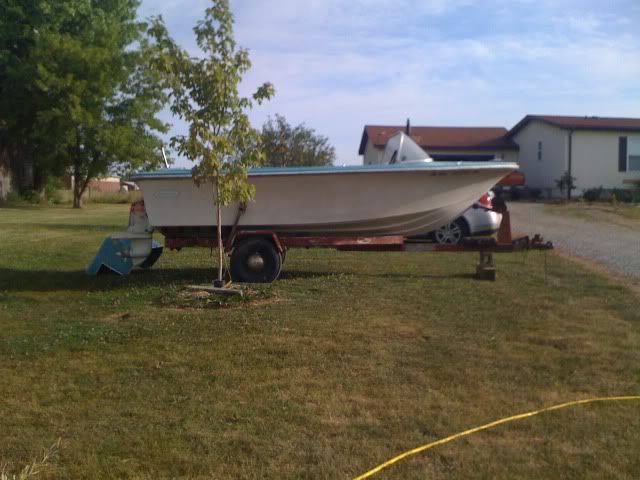
Also did some trailer work a few months back,

More framing under my frames, and up on jack stands:
171.jpg


And the trailer off to the side to get some work done:
173.jpg


Painted it with Rustoleumn Hammered silver, but my pics stop here. Once it was painted I got the boat back over it and set back down.
 

tdrudd87

Petty Officer 1st Class
Joined
May 28, 2009
Messages
288
Re: 16' 1967 Silverline Rambler Restoration

Can anyone suggest places to look for work areas?

My boat is currently in my parents barn in MI while I work the weeks in OH. I go home to work o it, but it would be nice to have it here to work on at night. BTW I live at a apartment w/ no trailers allowed.

I'm planning on calling the local self-store, but expect to be told they are not friendly on working on projects.

Any ideas?

Thanks,
Terry
 

tdrudd87

Petty Officer 1st Class
Joined
May 28, 2009
Messages
288
Re: 16' 1967 Silverline Rambler Restoration

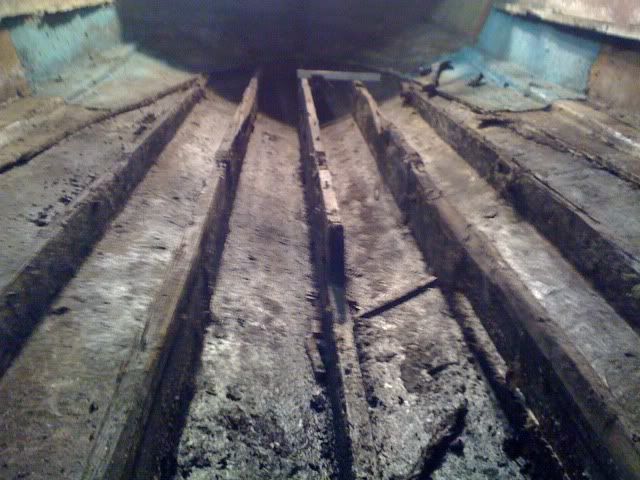
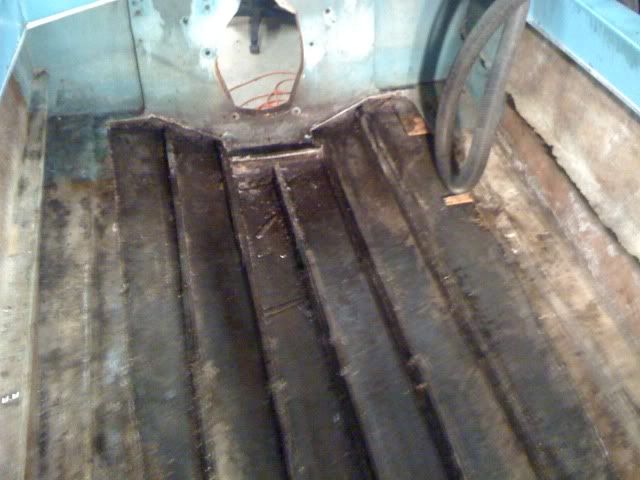
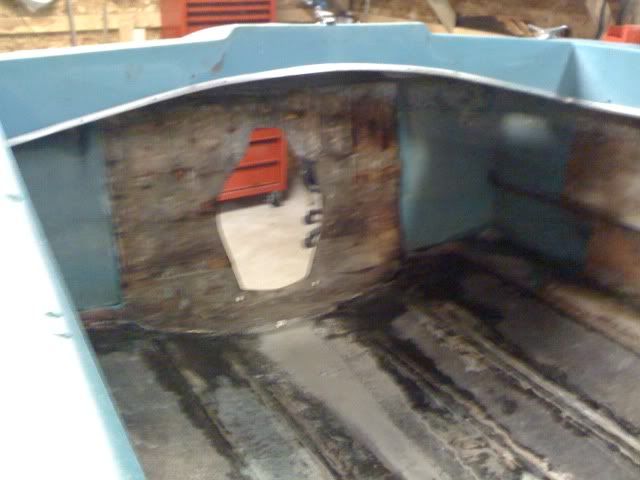
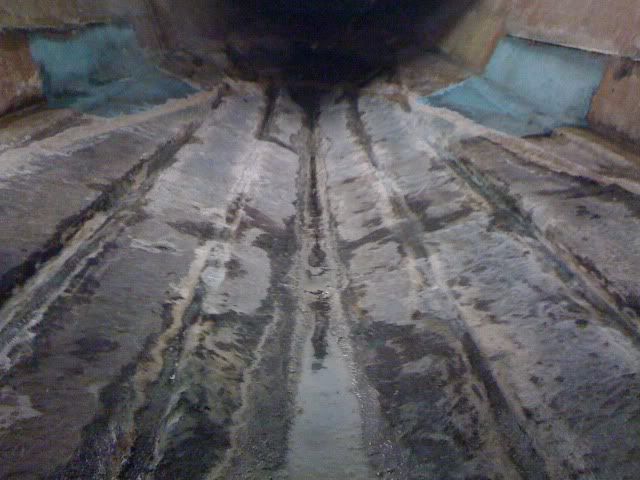
Good forward progress this weekend!!!!!! and a little setback...the first two stringer glasses I did were way dry, and will be ground out and redone. I was using a chip brush, and just couldnt get enough material on the sides of the stringers. Oh well.

Got the first layer of glass on the rest of the stringers, using a 4" foam roller. Went really well, standard fillet/roll coat on base/lay glass/ wet out. Really got the hang of it on the last few sections. I had got a seal coat on everything friday night, so I also wasn't worried about the wood drinking resin from the glass, another suspect from the first sections. Any ways, some pics!

From the drive hole, it is the portmost 2 sections that will be redone:
53198aea.jpg


Over the transom:
8978ec2e.jpg


And over the side:
314b5392.jpg
 

tdrudd87

Petty Officer 1st Class
Joined
May 28, 2009
Messages
288
Re: 16' 1967 Silverline Rambler Restoration

Now a few questions:

What cartridge do you use in your respirator, and how often do you replace it?

The Cartridges for my old respirator are no longer available, so I got a 3M one, using the 6001 cartridge. Wasn't able to smell anything while working, and it was real strong in the barn when I took the mask off. I'm thinking about a new cartridge every weekend, but I'm curious what others do when working poly.

Am I on the right track planning 2 layers of 1708 on the stringers? It is laid in each channel in a U shape.

Will a layer of 1708 on each side of the 1/2 aruco ply be a waste of resin? I have 6oz cloth available for at least one side as an altenative.

Thanks!!!!!!
Terry
 

tdrudd87

Petty Officer 1st Class
Joined
May 28, 2009
Messages
288
Re: 16' 1967 Silverline Rambler Restoration

tap, tap, tap...this thing on?

I'm really curious about the cartridges, I'd like to order some online for the weekend, but want to know what everyone is using.

Thanks!
Terry
 

SnowHunter

Petty Officer 1st Class
Joined
Apr 4, 2010
Messages
285
Re: 16' 1967 Silverline Rambler Restoration

Looks a lot like my ol blueberry :D She'll be sweet when ya get 'er good for a splashdown!!!

Not sure on the cartridges, I used the ones mine (3M respirator) came with, and am looking to change them out now too, since they got wet. The refills at the local hardware store should do, IIRC, they're for painting and something else? *shrug*
 

tdrudd87

Petty Officer 1st Class
Joined
May 28, 2009
Messages
288
Re: 16' 1967 Silverline Rambler Restoration

Thanks Snow! I can't wait to splash her! Hopefully this summer!

The 3M 6001's are what came in my new respirator, probably the same as yours. They are OV, or organic vapor, rated, which I'm figuring is about right for poly work. The literature with them says to replace when you can smell the resin, so I think I'm just going to have a few on hand a switch when I notice the smell.

Terry
 

redfury
Commander
Joined
Jul 16, 2006
Messages
2,655
Re: 16' 1967 Silverline Rambler Restoration

Cartridges need to be replaced every month whether you use the mask or not...they will just keep absorbing atmospheric chemicals. You can get more life out of them if you seal them in a plastic bag, but only an extra week if that. I mark my filters with the date that I pull them out of the sealed bag and then replace them a month later.
 
Top