kcassells
Fleet Admiral
- Joined
- Oct 16, 2012
- Messages
- 8,601
A copy/paste. You should be fine.
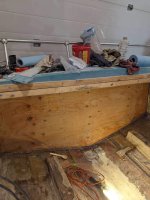
The thickness of a boat transom depends on the type of boat and the engine it uses. According to a boat repair forum, the standard thickness of a transom for an outboard motor is between 2 and 2.25 inches1. Another source suggests that the coring alone may be 1 to 2 inches thick, with two sheets of 3/4” material for a total thickness of 1-1/2” being the most common2.
More;
 forums.iboats.com
Mercruiser Sterndrive;
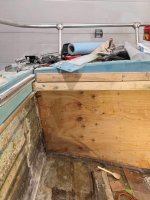
The recommended transom thickness for a Mercruiser Sterndrive is between 2 to 2.25 inches 123. However, it is important to note that the driveshaft length is a critical factor in determining the minimum thickness of the transom 1.
 www.manualslib.com
Look for specs for the engine on the internet. I think they also have a template you can download to use.
The thickness of a boat transom depends on the type of boat and the engine it uses. According to a boat repair forum, the standard thickness of a transom for an outboard motor is between 2 and 2.25 inches1. Another source suggests that the coring alone may be 1 to 2 inches thick, with two sheets of 3/4” material for a total thickness of 1-1/2” being the most common2.
More;
Transom Thickness
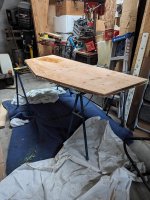
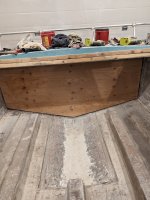
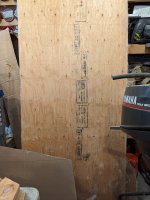
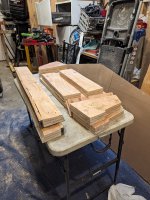
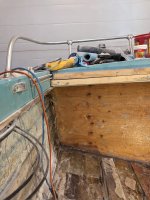
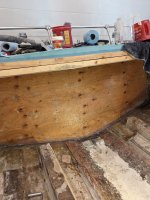
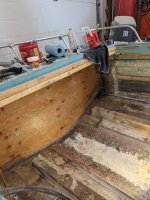
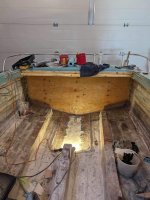
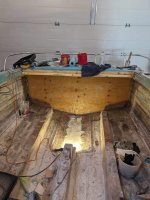
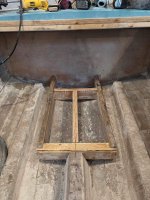
Does anyone know what the transom thickness is supposed to be on a 1982 Stingray 17 foot open bow with a Mercruiser Strendrive? I want to make sure I make it the correct thickness as the other wood was rotten and swollen. Thanks
forums.iboats.com
Mercruiser Sterndrive;
The recommended transom thickness for a Mercruiser Sterndrive is between 2 to 2.25 inches 123. However, it is important to note that the driveshaft length is a critical factor in determining the minimum thickness of the transom 1.
Boat Construction; Transom Thickness And Surface - Mercury Alpha Installation Manual [Page 10]
Mercury Alpha Manual Online: boat construction, Transom Thickness And Surface. Transom Thickness And Surface Important: Transom Thickness And Surface Plane (Flatness) Must Be Controlled Where The Sterndrive Unit Mounts. Thickness Parallelism Flatness Angle A A - B - C - D - E - B A - B...
Look for specs for the engine on the internet. I think they also have a template you can download to use.
Last edited: