Second Chance 248
Petty Officer 2nd Class
- Joined
- Dec 28, 2014
- Messages
- 132
Hello Fellow Boaters
I haven't posted a thread here yet but I've been reading this forum for years. I'm currently involved in a restoration of a 1984 Wellcraft 248 Sportsman that I have owned going on 10 years. I have been fishing and boating Lake Erie my entire life due to my father being an avid boater. He has owned numerous boats of all sizes but this was the last one he owned before retiring from boating. The boat has been absolutely awesome on Lake Erie for tournaments and over nighters but the time has come and you all know why I'm here. I have no intentions of selling the boat which is why I've decided to go all out and restore her all the way. I'm going to bring you up to speed on what I've done and where I'm at but here is a pic of her October 2014 at the Fish Huron Tournament that was cancelled due to weather.

I had a trailer built from Loadmaster Trailer and got stuck in the water during the polar vortex waiting for the trailer to be finished. The marina that I dock at pulled all there docks and winterized all there equipment prior to this happening. My intentions were to pick up the trailer when it was done and pull her out at the launch ramp but mother nature had other plans. In the matter of 3 days this happened.


Lucky for me my marina had some sympathy of what was going on and unwinterized there carry all to get me out when the trailer was done. There would have been no other way of getting on the trailer if they would have blocked me up prior to this happening.


I knew it was time for some TLC and had negotiated a place to do the transom and stringers and was waiting for the spot to open up so I started the mechanical deconstruction


https://www.youtube.com/watch?v=RFAeMj5YxBM

After waiting 3 weeks for the spot and already into mid December I decided maybe I should start exploring other options on where to perform the work. After looking for 2 weeks with no luck I started getting worried when fate stepped in. A very good friend for years called me up and told me he has been on a waiting list for 2 years for a small commercial building that he had planned to set up as a mobile weld shop and offered me the use if I split the rent while I was there. At first I was skeptical if the building was big enough and it might be farther then I would want to commute daily since I am only able to work on it in the evening or days I didn't have jobs scheduled but as soon as I walked in I turned around to get my check book

It was PERFECT!!!!!!!!!!
I got a key and on January 9 2015 the electric was turned on


And on January 10 the stage was set even better then I imagined


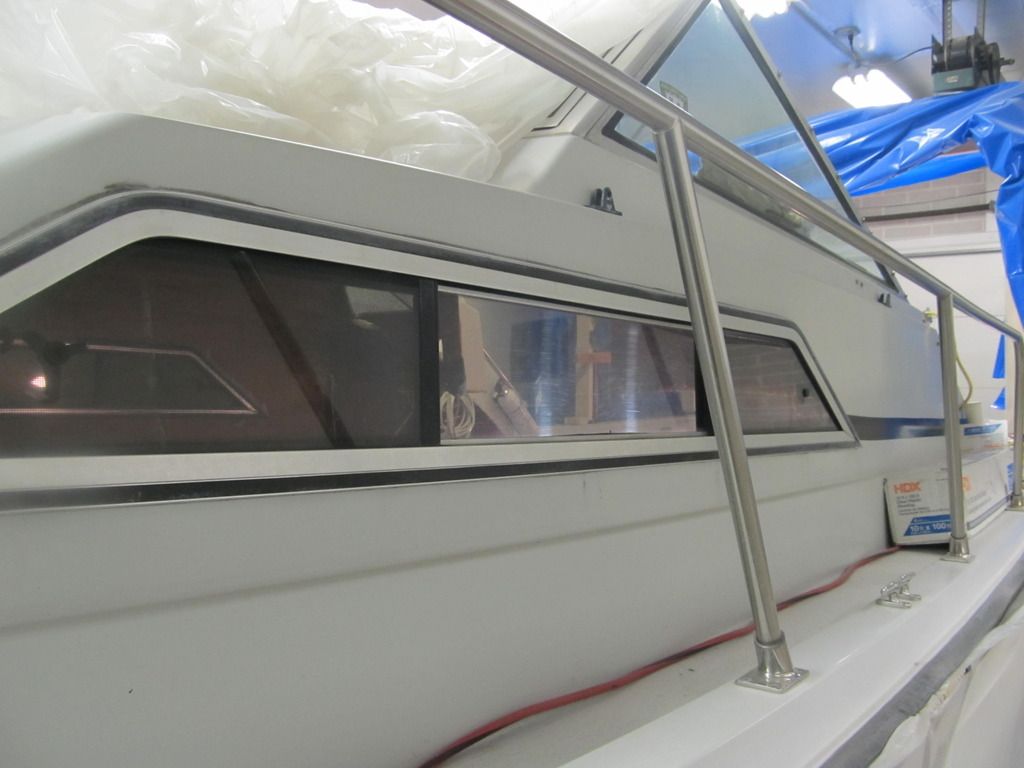
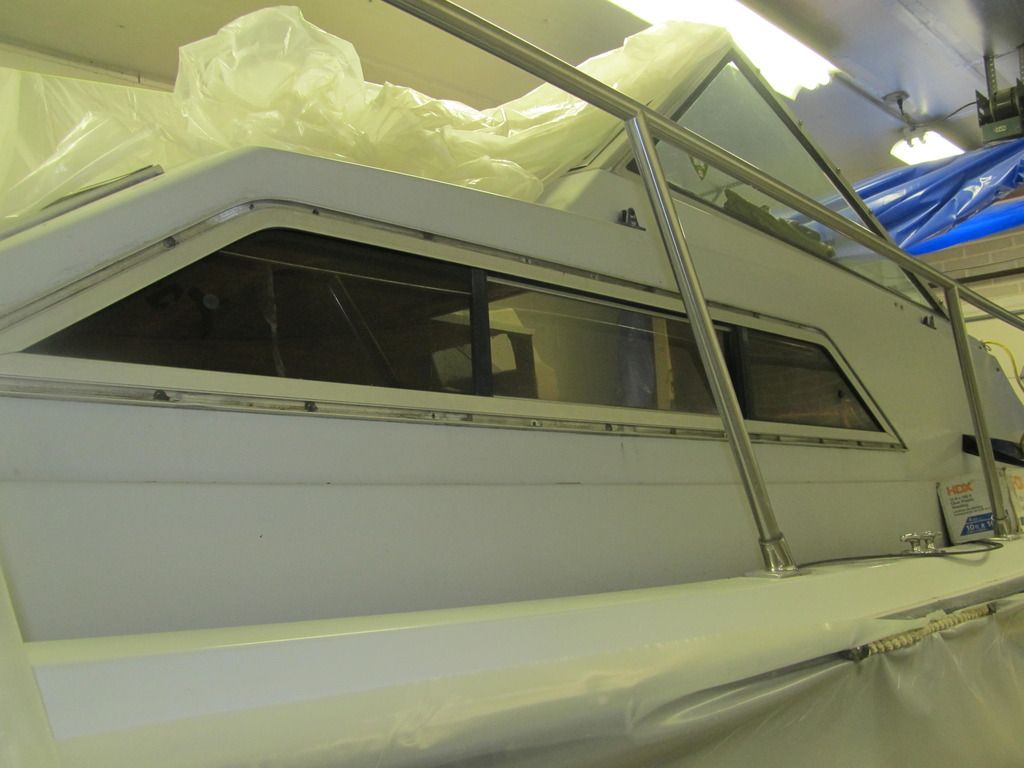
Once the snow got cleared and I was able to drive out the back I got the boat turned around and setup shop


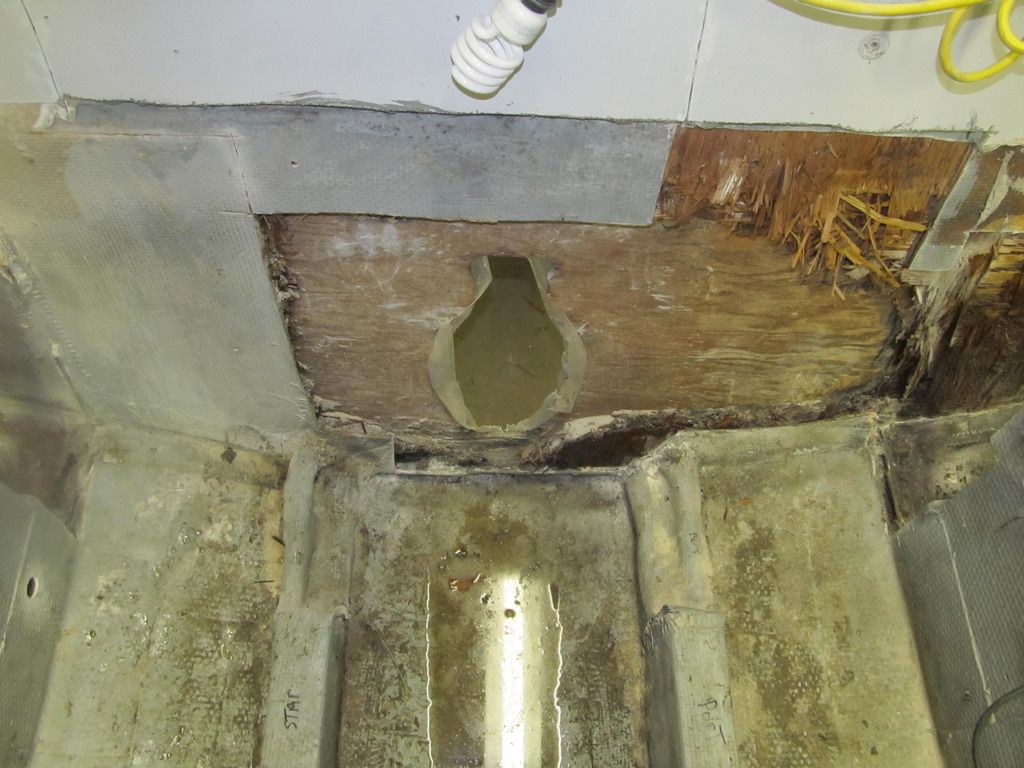
Once again fate stepped in when I spoke with a boat mechanic I use when I get stumped and told him my intentions, after meeting at the boat he was very interested in helping out and offered to work at a reasonably hourly rate which couldn't have been better timing because I was getting slammed with jobs and working 8 days a week with zero time to get anything done on the boat for a month. I really wanted to pull the cap and liner right off the rip but he talked me into waiting and see how bad it was. The floor was shot so I told him to have at it.


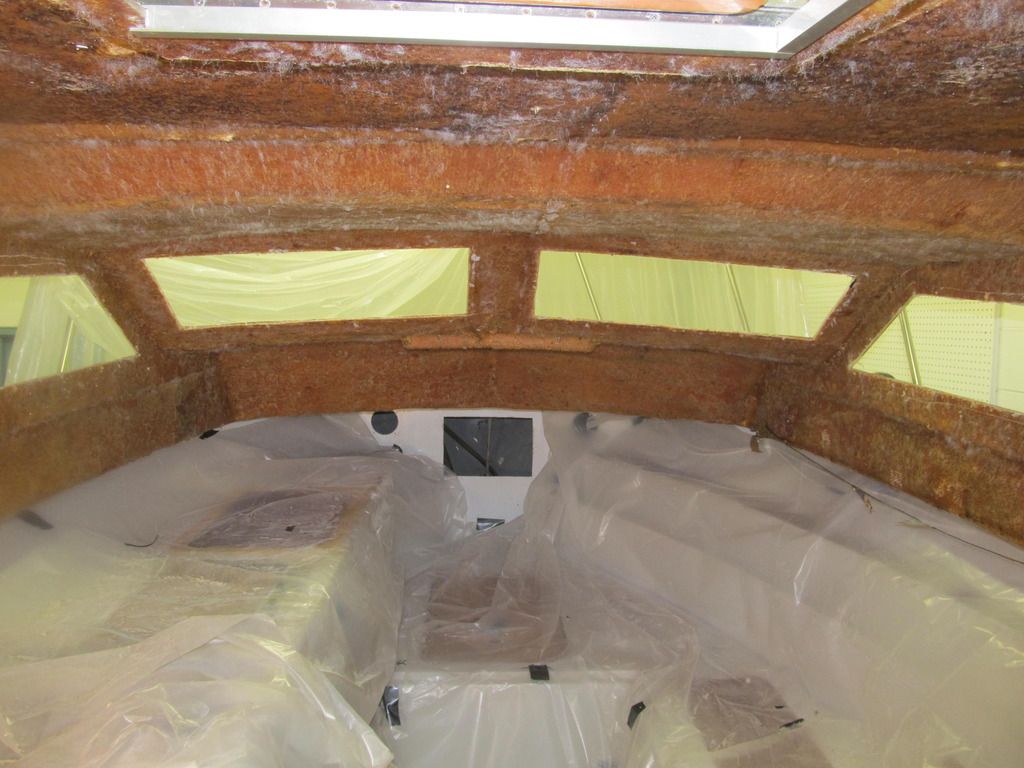
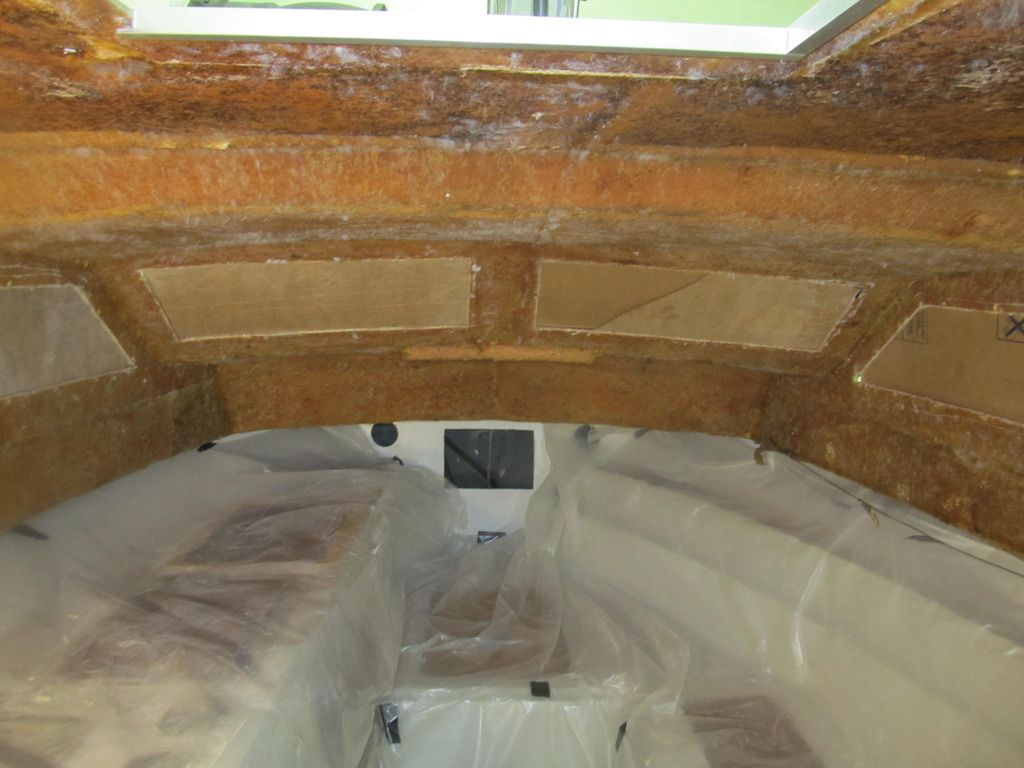
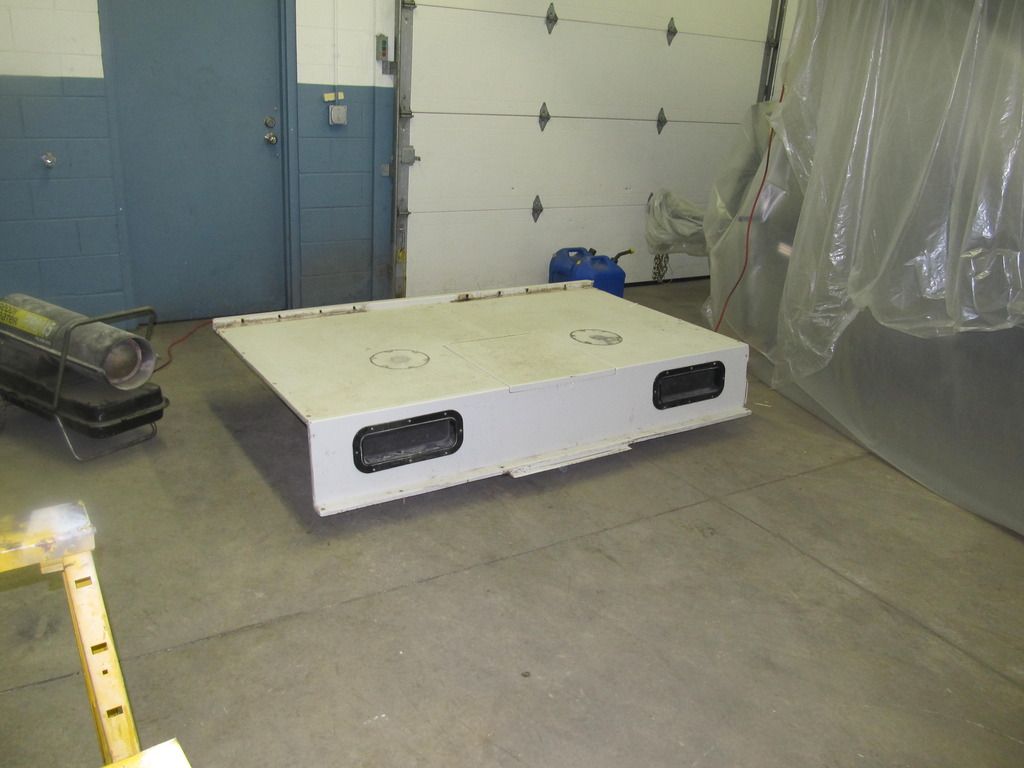
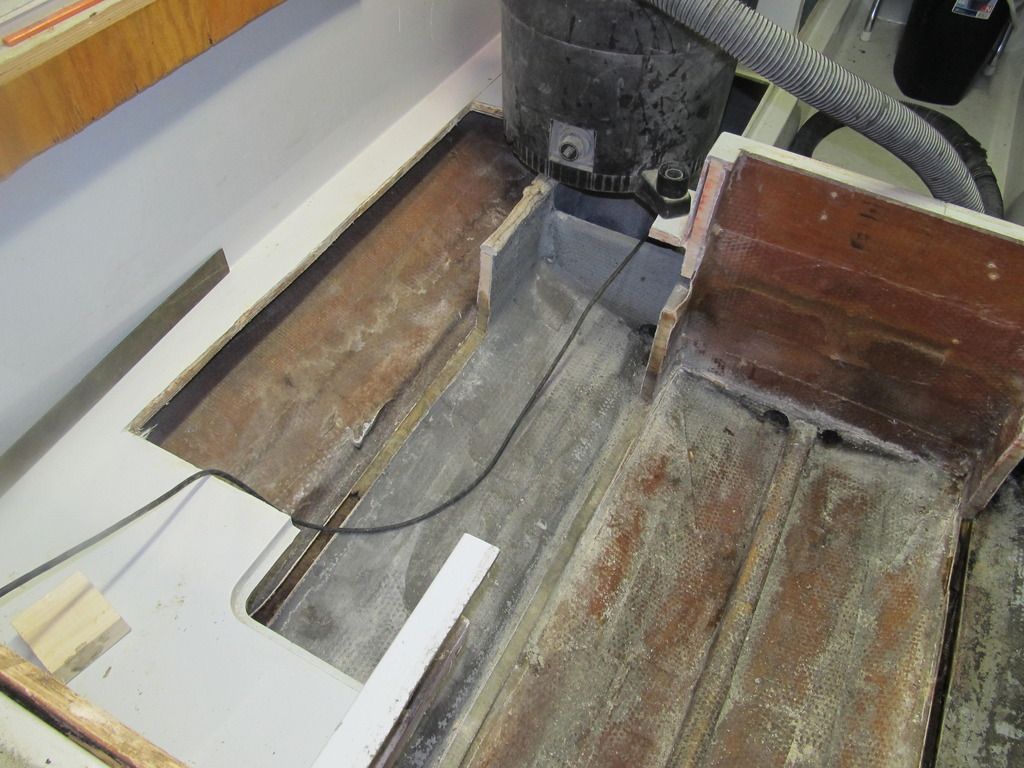
Then the demo went full speed ahead


Im done for the night but I'll finish recapping and get to current status in the next couple days
I haven't posted a thread here yet but I've been reading this forum for years. I'm currently involved in a restoration of a 1984 Wellcraft 248 Sportsman that I have owned going on 10 years. I have been fishing and boating Lake Erie my entire life due to my father being an avid boater. He has owned numerous boats of all sizes but this was the last one he owned before retiring from boating. The boat has been absolutely awesome on Lake Erie for tournaments and over nighters but the time has come and you all know why I'm here. I have no intentions of selling the boat which is why I've decided to go all out and restore her all the way. I'm going to bring you up to speed on what I've done and where I'm at but here is a pic of her October 2014 at the Fish Huron Tournament that was cancelled due to weather.

I had a trailer built from Loadmaster Trailer and got stuck in the water during the polar vortex waiting for the trailer to be finished. The marina that I dock at pulled all there docks and winterized all there equipment prior to this happening. My intentions were to pick up the trailer when it was done and pull her out at the launch ramp but mother nature had other plans. In the matter of 3 days this happened.


Lucky for me my marina had some sympathy of what was going on and unwinterized there carry all to get me out when the trailer was done. There would have been no other way of getting on the trailer if they would have blocked me up prior to this happening.


I knew it was time for some TLC and had negotiated a place to do the transom and stringers and was waiting for the spot to open up so I started the mechanical deconstruction


https://www.youtube.com/watch?v=RFAeMj5YxBM

After waiting 3 weeks for the spot and already into mid December I decided maybe I should start exploring other options on where to perform the work. After looking for 2 weeks with no luck I started getting worried when fate stepped in. A very good friend for years called me up and told me he has been on a waiting list for 2 years for a small commercial building that he had planned to set up as a mobile weld shop and offered me the use if I split the rent while I was there. At first I was skeptical if the building was big enough and it might be farther then I would want to commute daily since I am only able to work on it in the evening or days I didn't have jobs scheduled but as soon as I walked in I turned around to get my check book

It was PERFECT!!!!!!!!!!
I got a key and on January 9 2015 the electric was turned on


And on January 10 the stage was set even better then I imagined


Once the snow got cleared and I was able to drive out the back I got the boat turned around and setup shop


Once again fate stepped in when I spoke with a boat mechanic I use when I get stumped and told him my intentions, after meeting at the boat he was very interested in helping out and offered to work at a reasonably hourly rate which couldn't have been better timing because I was getting slammed with jobs and working 8 days a week with zero time to get anything done on the boat for a month. I really wanted to pull the cap and liner right off the rip but he talked me into waiting and see how bad it was. The floor was shot so I told him to have at it.


Then the demo went full speed ahead


Im done for the night but I'll finish recapping and get to current status in the next couple days


