Kyle's Starcraft Kingfisher Restoration

mindgaim

Cadet
Joined
Mar 2, 2013
Messages
18
Hey guys,

After trolling the forums for well over a year, I've finally decided to make a thread about my restoration of my 1970 ish Starcraft Kingfisher. Hopefully my pictures and processes will help some poor guy who decided to redo an aluminum boat and realized, wow i have no idea how to renovate a boat :confused: (exactly what i did). I cant say thanks enough for all the help I've gotten from reading the Starcraft Resto thread as it truly is an AMAZING source of inspiration and motivation.

After falling in love with fishing only a few short years ago, i decided very quickly that i needed a boat. After purchasing a boat that was in some what usable condition I feverishly started tearing the boat apart, fixing little things here and there and ended up totally gutting the boat. Thats when i turned to iboats... I could ramble on and on in my first post ever but i figured id post a few pics first so you guys know my starting point.

Thanks for checking out my thread guys, i hope you enjoy it!

PS i started the reno last april and currently im about 95% of where i want it to be so most of these pictures are from a while back
 

redneck joe

Supreme Mariner
Joined
Mar 18, 2009
Messages
10,284
Re: Kyle's Starcraft Kingfisher Restoration

i'm hoping you have lots of pics saved up for us.....
 

mindgaim

Cadet
Joined
Mar 2, 2013
Messages
18
Re: Kyle's Starcraft Kingfisher Restoration

I definitely do joe, just trying to figure out how to imbed them instead of thumbnails...:confused:
 

duke33

Petty Officer 1st Class
Joined
Apr 2, 2012
Messages
353
Re: Kyle's Starcraft Kingfisher Restoration

:spy:
 

mindgaim

Cadet
Joined
Mar 2, 2013
Messages
18
Re: Kyle's Starcraft Kingfisher Restoration

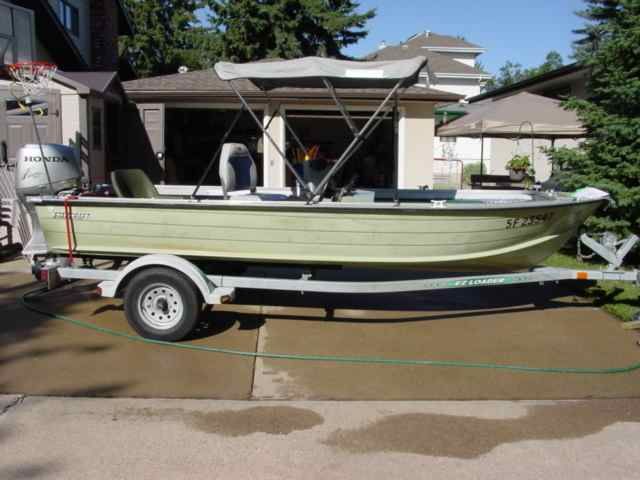
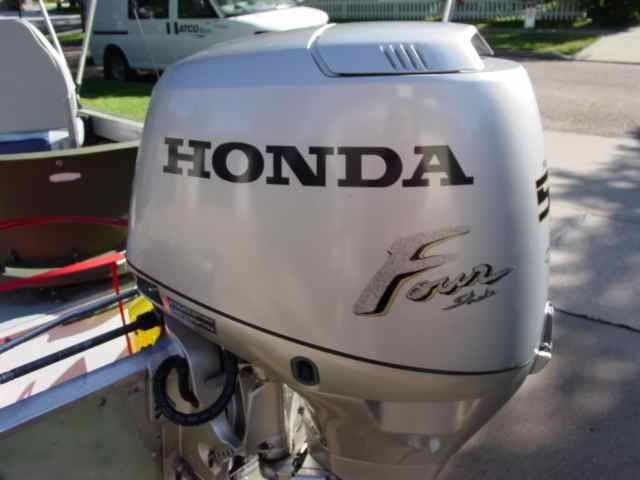
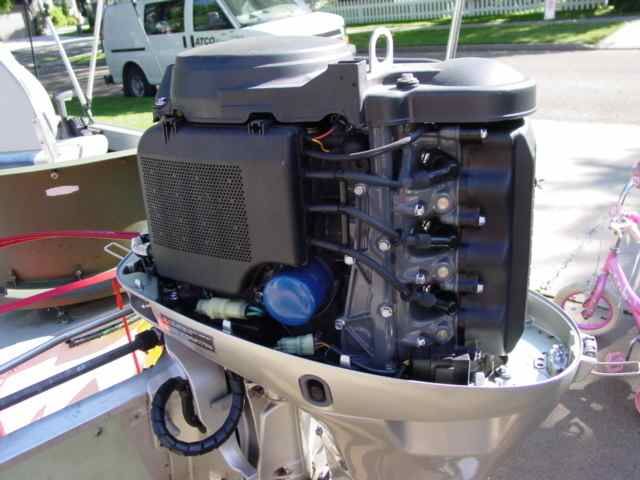
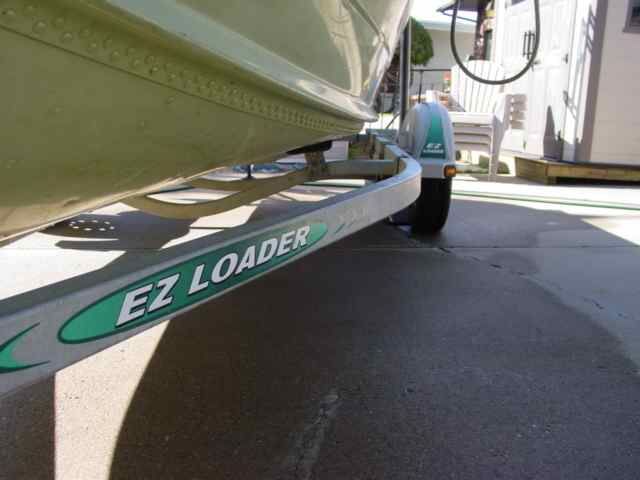
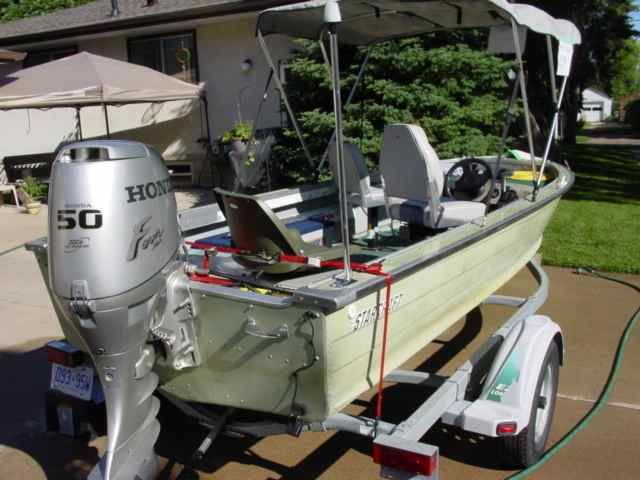
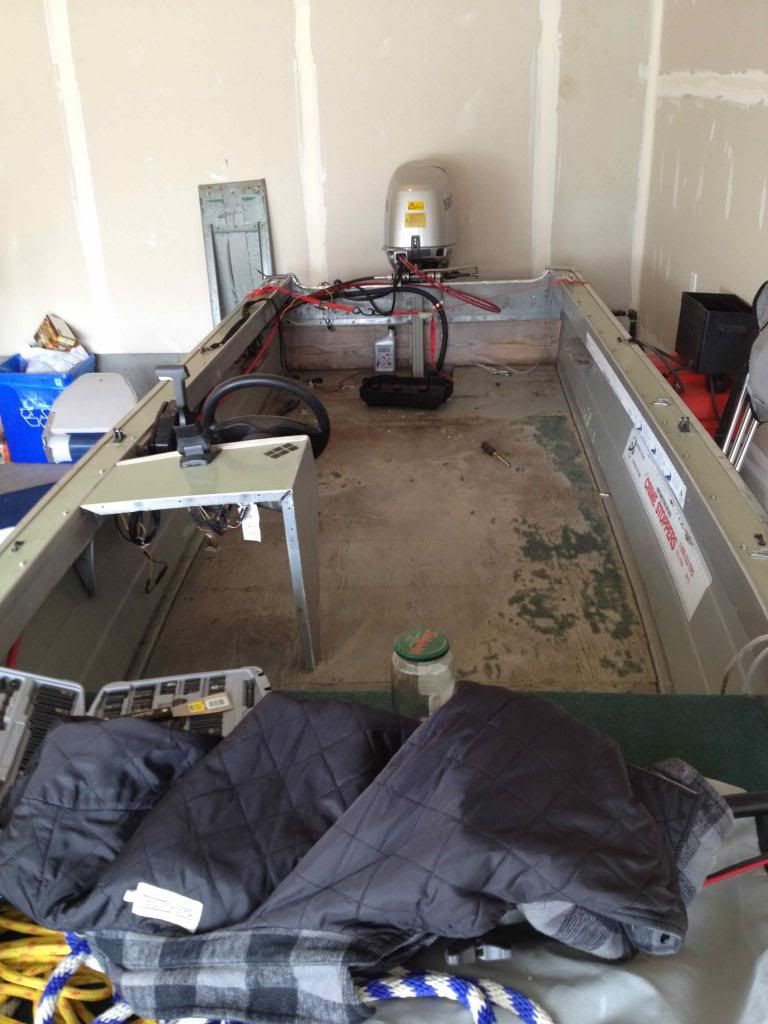
As you can see the boat was in decent shape. The hull is sound with no gouges or big dents I could see. The motor is a 50HP 2000 Honda in immaculate condition. I will admit that i impulse bought the boat. I hardly knew a thing about boats and this was the first boat in decent shape id gone to look at. It was April and most guys weren't willing to run their motor on muffs for me, how ever this guy seemed pretty stand up and the deal was pending on an inspection from the local Honda marine dealership. Inspection went flawless and the deal was done.

I had never planned on making a thread, so in hindsight i wish i had taken more pictures of the interior debauchery I came across after a more in depth inspection. Ill highlight those in the next post


Last edited:

mindgaim

Cadet
Joined
Mar 2, 2013
Messages
18
Re: Kyle's Starcraft Kingfisher Restoration

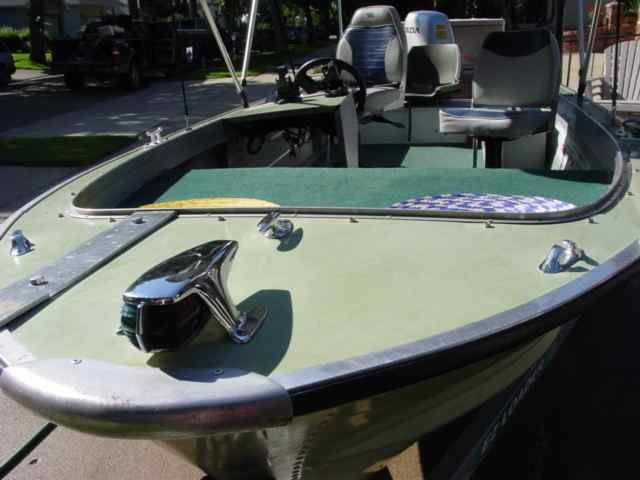
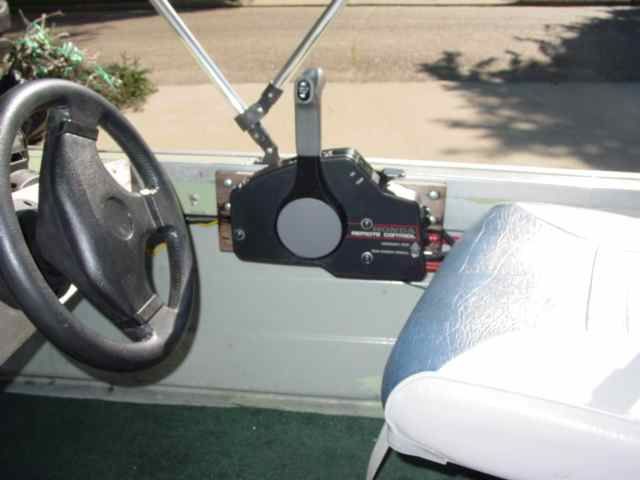
Here are a few more as i know you guys love your pictures. From the pics the boat looks in pretty good shape. Ill say again, the boat was usable but ill go into the list of deficiencies soon...


Last edited:

pckeen

Commander
Joined
Jun 20, 2012
Messages
2,067
Re: Kyle's Starcraft Kingfisher Restoration

Mindgaim - open up a free photobucket account, and upload your photos onto it. Then click onto each photo, and right click the textbox to the right of IMG - then you can paste them directly into your text - you'll get larger and easier to view photos.
 

pckeen

Commander
Joined
Jun 20, 2012
Messages
2,067
Re: Kyle's Starcraft Kingfisher Restoration

Nice boat - looks great!
 

mindgaim

Cadet
Joined
Mar 2, 2013
Messages
18
Re: Kyle's Starcraft Kingfisher Restoration

Thanks pc, that makes things a heck of a lot easier for everyone!
 

mindgaim

Cadet
Joined
Mar 2, 2013
Messages
18
Re: Kyle's Starcraft Kingfisher Restoration

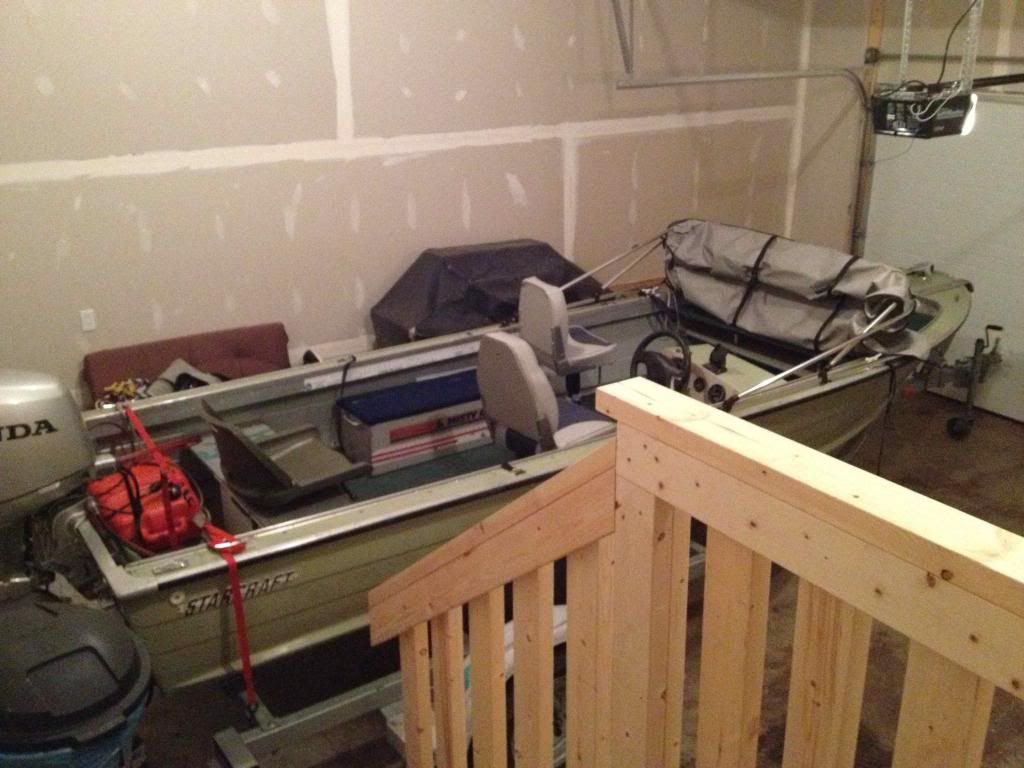
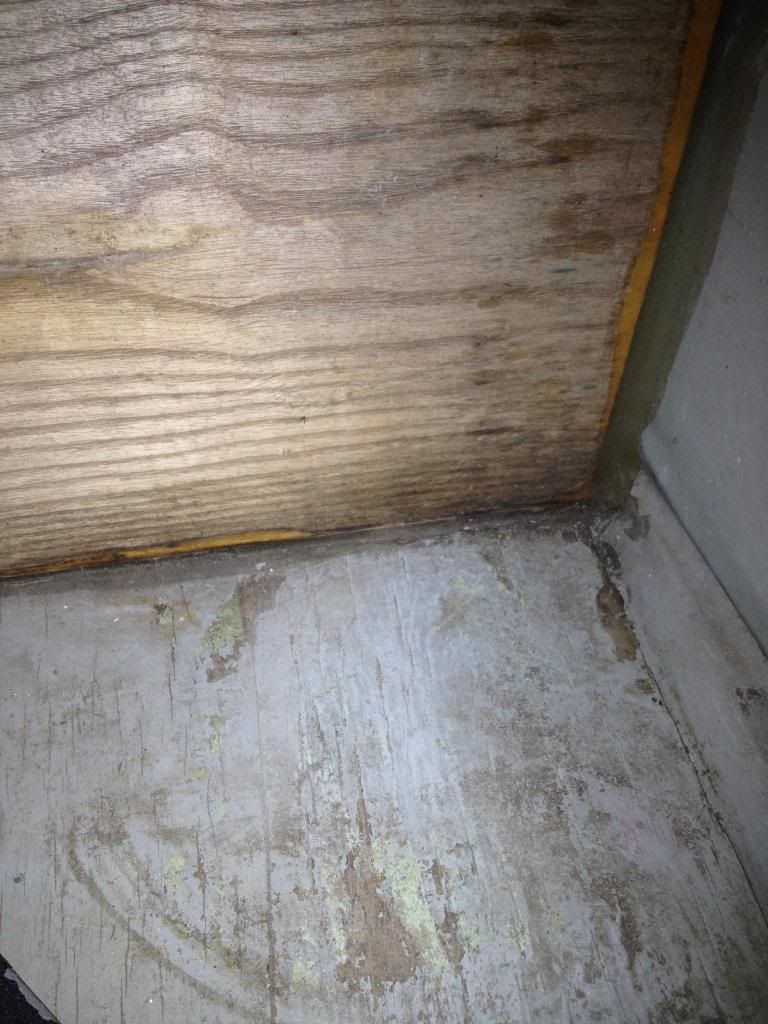
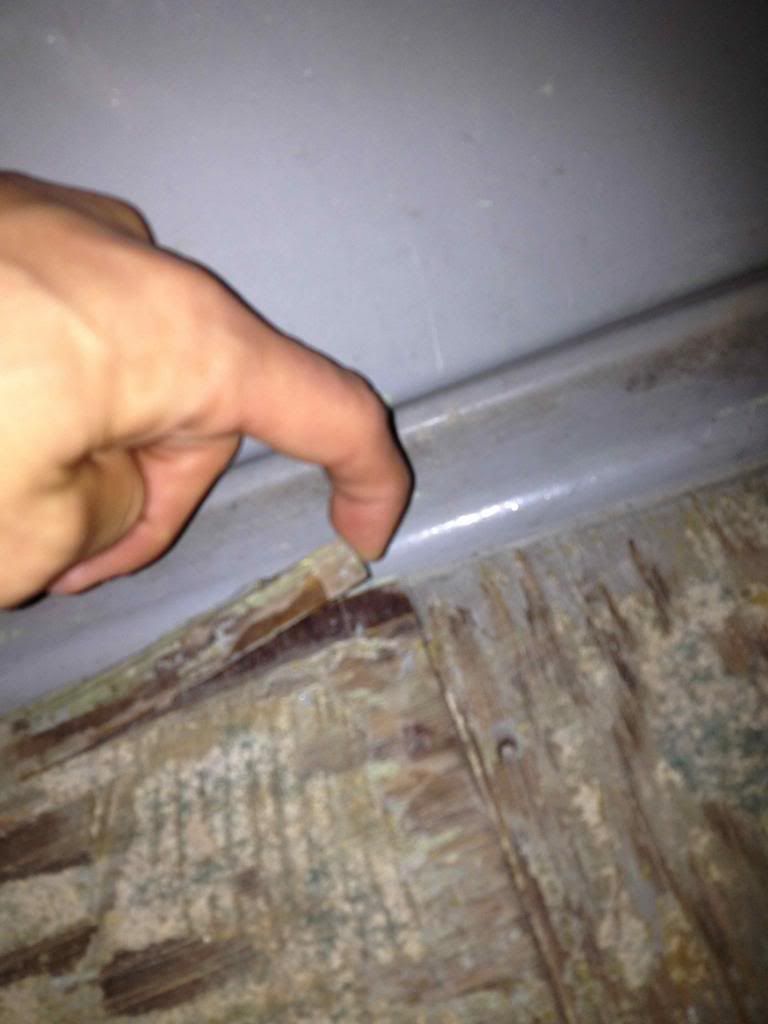
After bringing the boat home I was way more than excited with the purchase of my first boat and luckily she fit in my garage by about 3?. After getting a much more up close and personal look at the boat I noticed the high amount of corners that were cut during this boats last updating. The carpet was more of a pool table felt, and was peeling back everywhere. The back bench was a modified tin bucket with a wood plank as a bench. The wood deck (hardly ??) was in fairly good shape although there were a few chipped spots. And don?t even get me started on the electrical
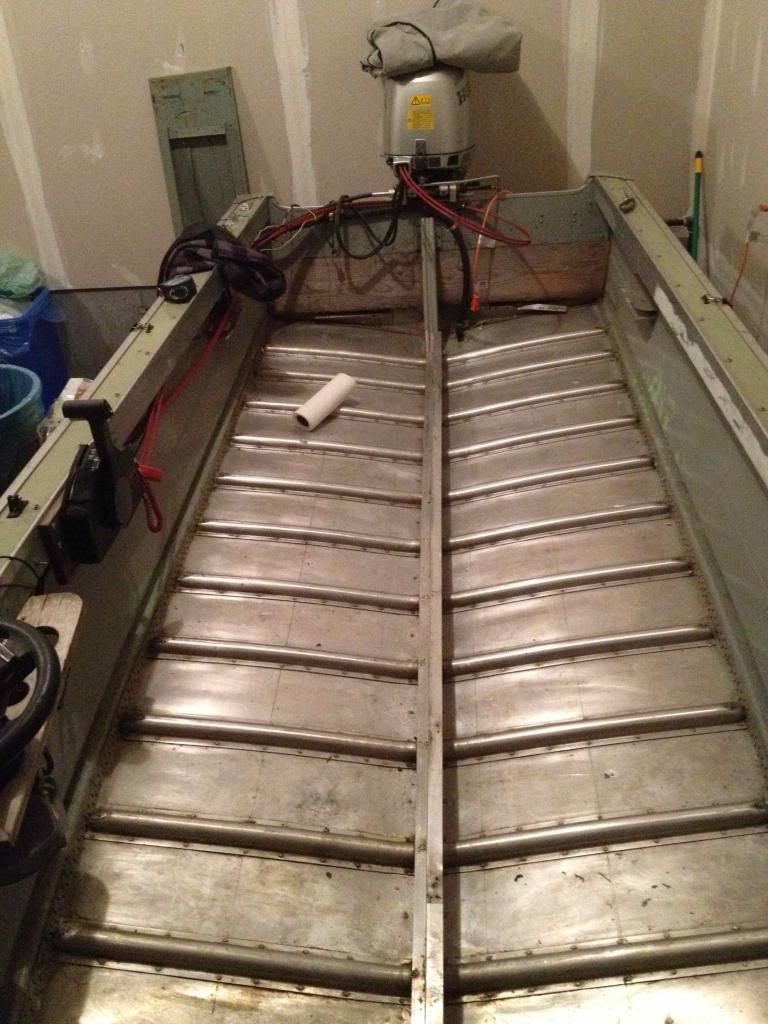
With the floor an ugly green and basically falling off, I figured it was probably within my capacity to re carpet the floors. So out came the carpet, well most of it. Despite all my sanding I couldn?t get the glue to come off in certain spots. Well if the deck is bouncy and there is glue stuck on it, why not replace that too?


The back unnecessarily being silicone closed. Previous owners and their silicon


One of the many places where the floor was rotting/peeling


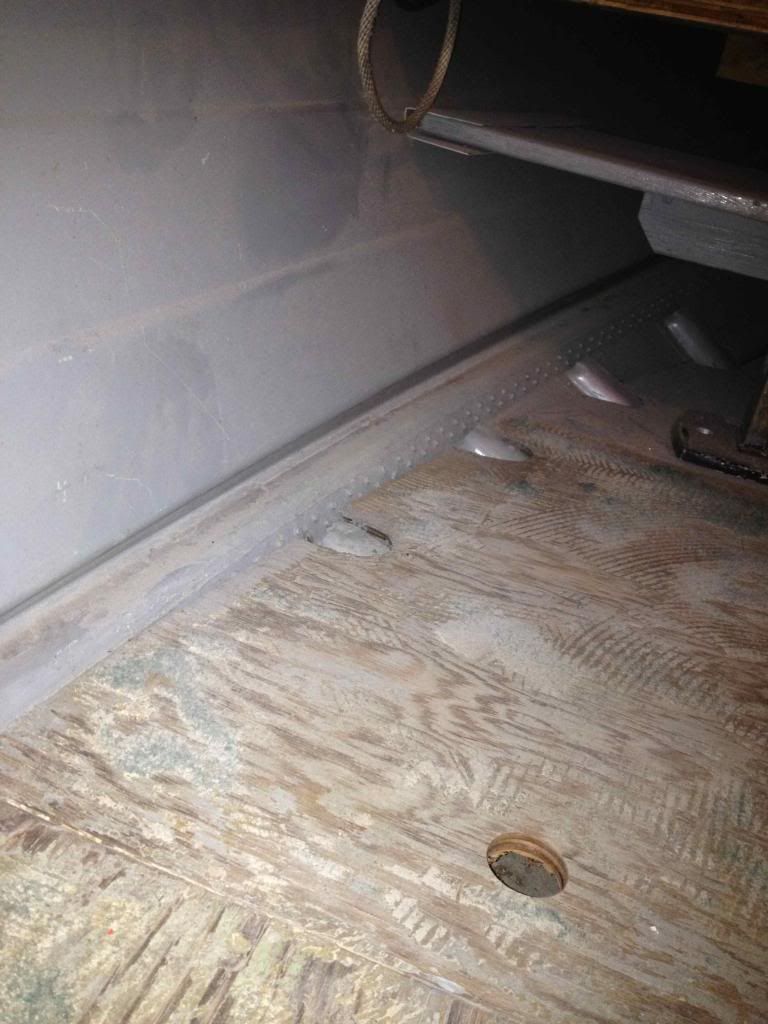
Just one of the many random holes throughout the deck. The chairs were actually computer chairs with their wheels taken off and screwed to the deck


Deck removed!


It was at this point I quickly realized I was in WAY over my head. :confused: I?m an electrician by trade and a fairly handy guy overall but I had absolutely no idea where to start when it came to renovating/redoing a boat. That?s when I discovered iBoats and this is where I specifically have to thank jigngrub and ezmobee amongst the countless others who?ve unknowingly talked me through this entire process.
 

ezmobee

Supreme Mariner
Joined
Mar 26, 2007
Messages
23,767
Re: Kyle's Starcraft Kingfisher Restoration

Nice rig and definitely a worthwhile project. I'll be following along.
 

mindgaim

Cadet
Joined
Mar 2, 2013
Messages
18
Re: Kyle's Starcraft Kingfisher Restoration

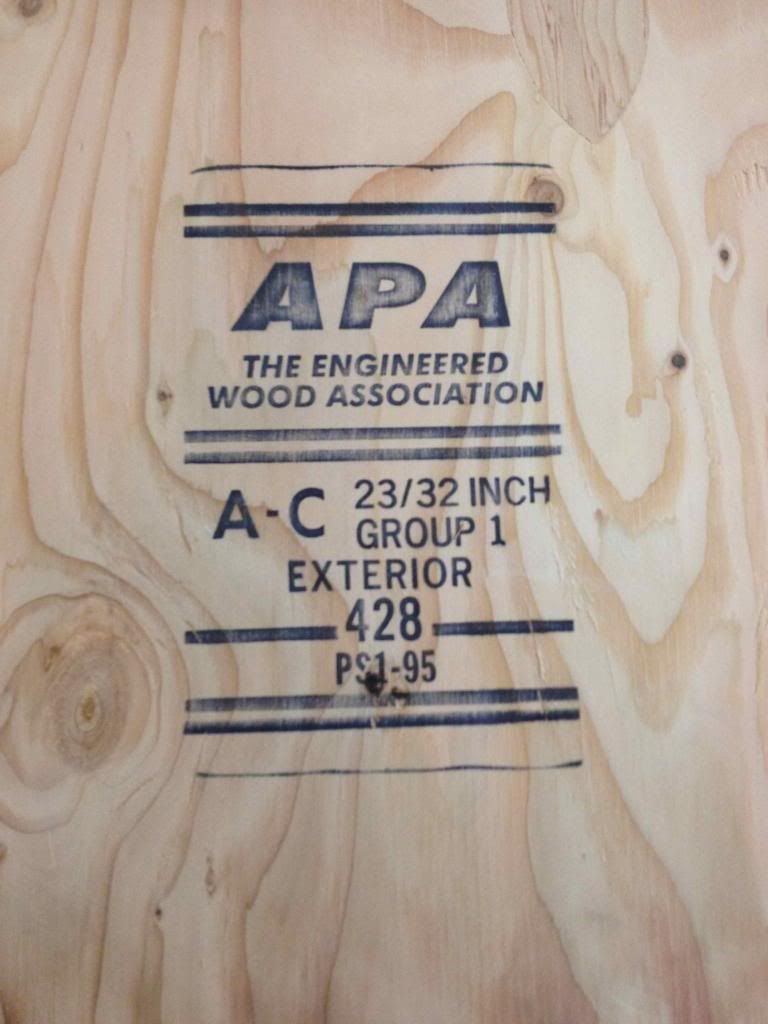
I literally had no idea where to start. What type of wood do i use? How thick? How many pieces? How do i seal it? How do i attach it? Carpet? Vinyl? The list goes on and on. Obviously the first thought was to use pressure treated lumber, which after a quick google i realized how big of a no no that was. I spent a few weeks googling, researching and browsing basically the entire Starcraft Resto forum and came up with the some what of a plan.

After applying some elbow grease


Fitting the "good one side exterior grade" plywood. I was lucky enough to have the majority of the old floor for a template so the cutting/fitting went fairly well


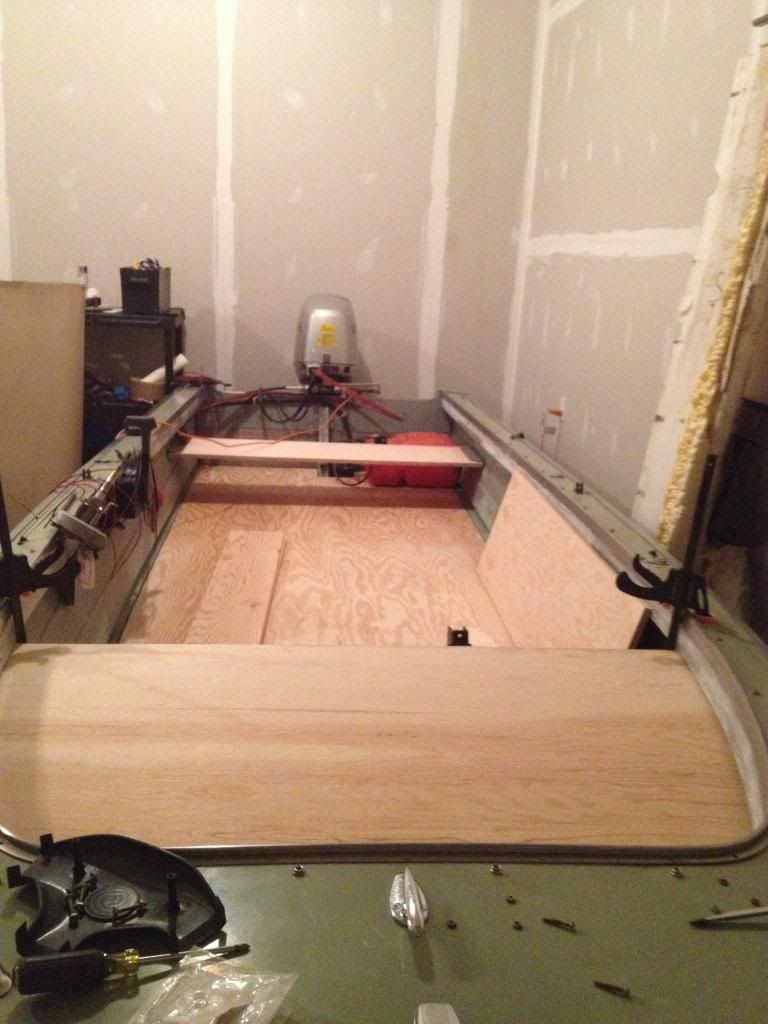
Fitting the back deck and casting deck
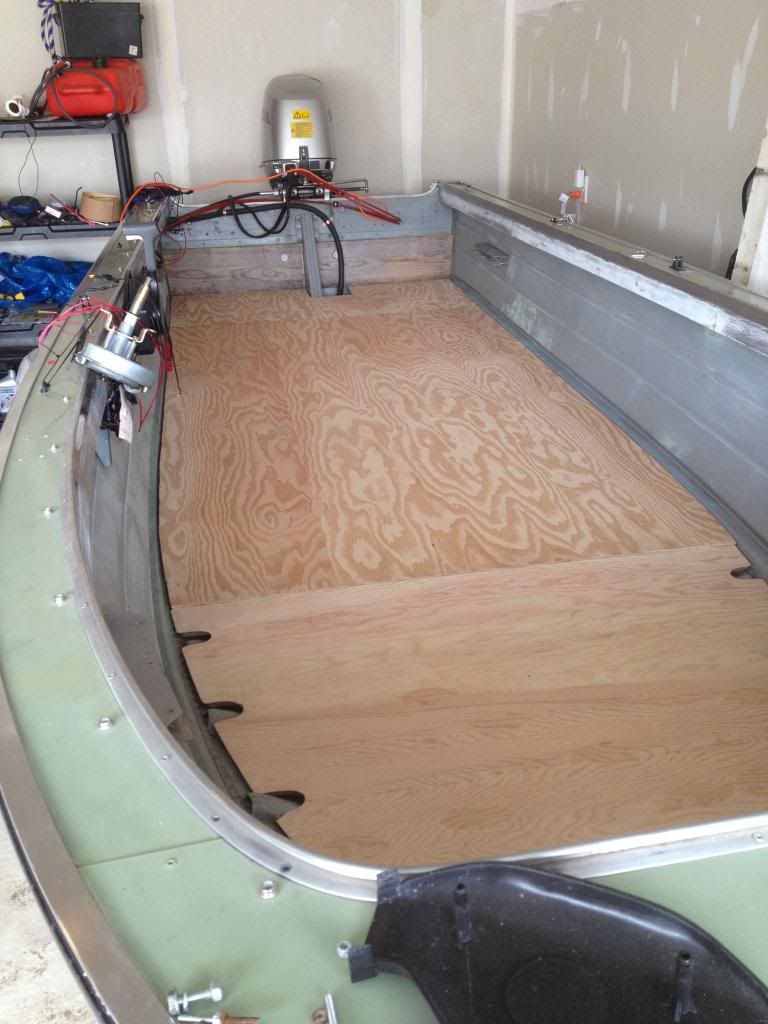


LOVE wood clamps


predrilling all the hole in the wood and the hull before and sealers or deck covering


now that the wood was cut and fit really well my thoughts tuned to how i would seal it and what i would cover it with...
 

mindgaim

Cadet
Joined
Mar 2, 2013
Messages
18
Re: Kyle's Starcraft Kingfisher Restoration

After reading a ton of reviews and opinions I ended up going with Helmsan Spar Urethane for the sealant for the wood. I remember it being fairly easy to apply and applying 2 or 3 coats.


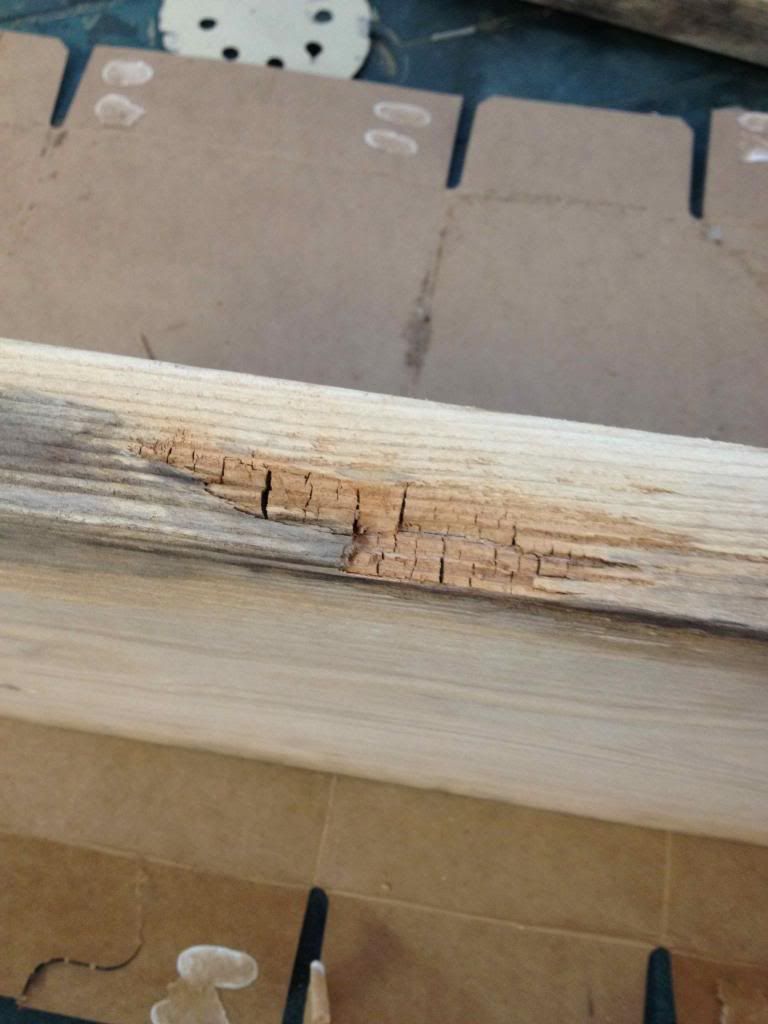
This was one of the wooden supports the PO installed for the motor. It had a bit of dry rot which i scraped out and sealed with Helmsman as well


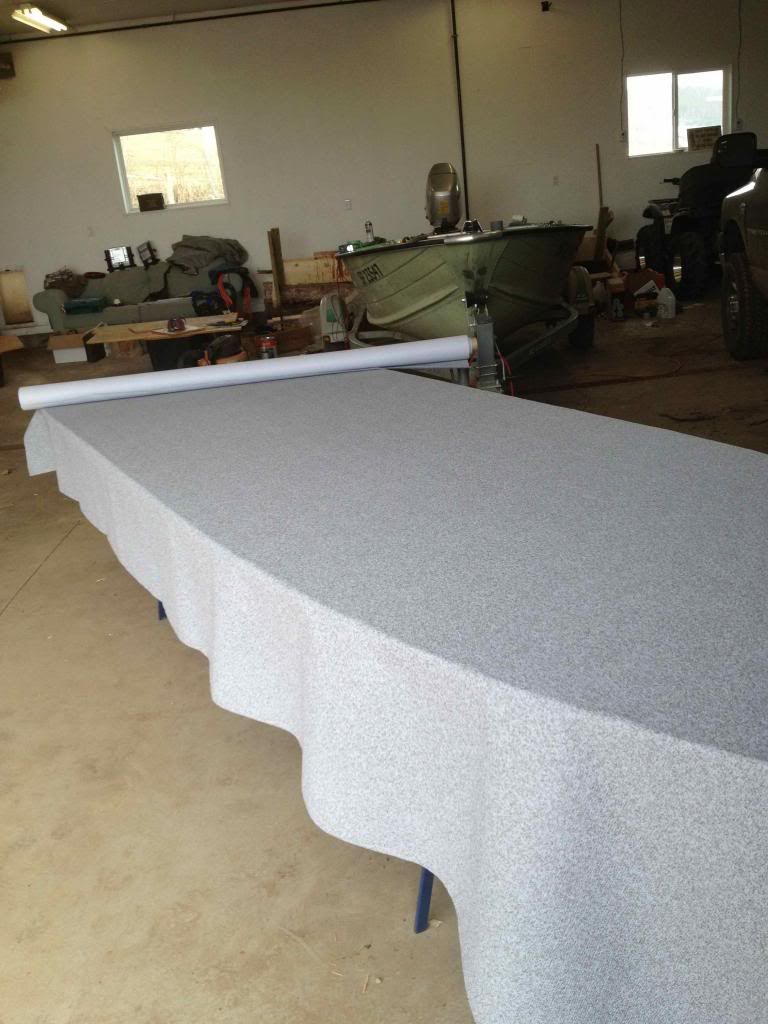
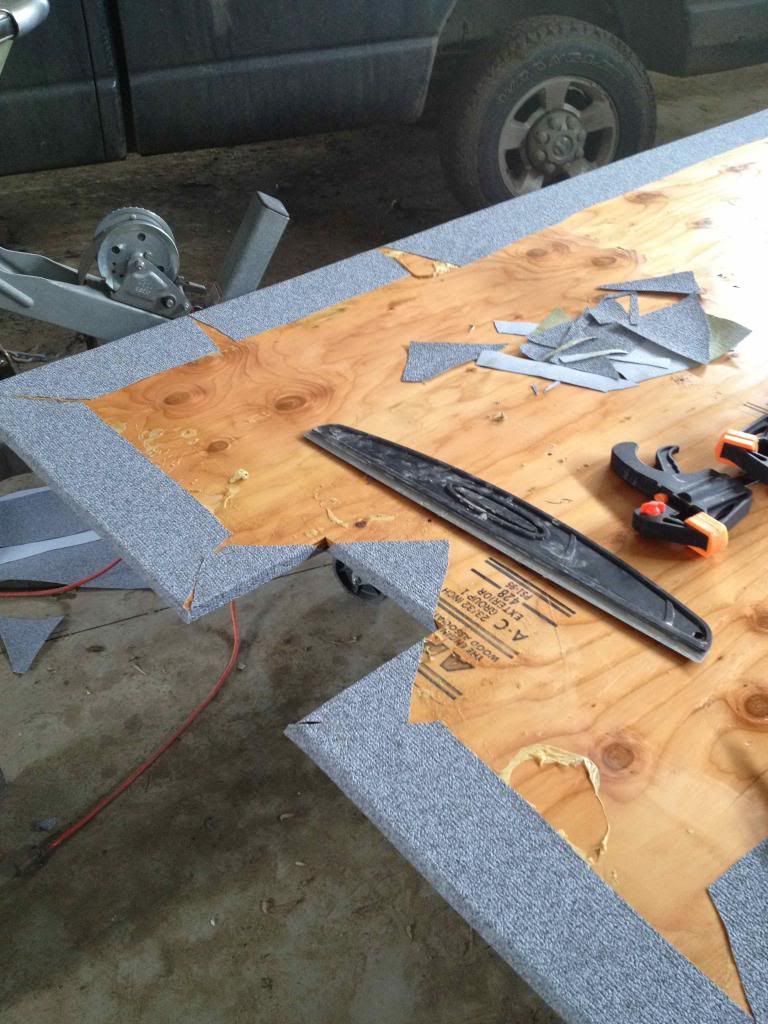
I decided i liked the look and durability of marine vinyl which i picked up from defender. Including shipping it wasn't cheap but i am completely happy with it. If i had one complaint it would be that when mud gets on it and dries I actually have to scrub it clean with a stuff brush and marine cleaner.

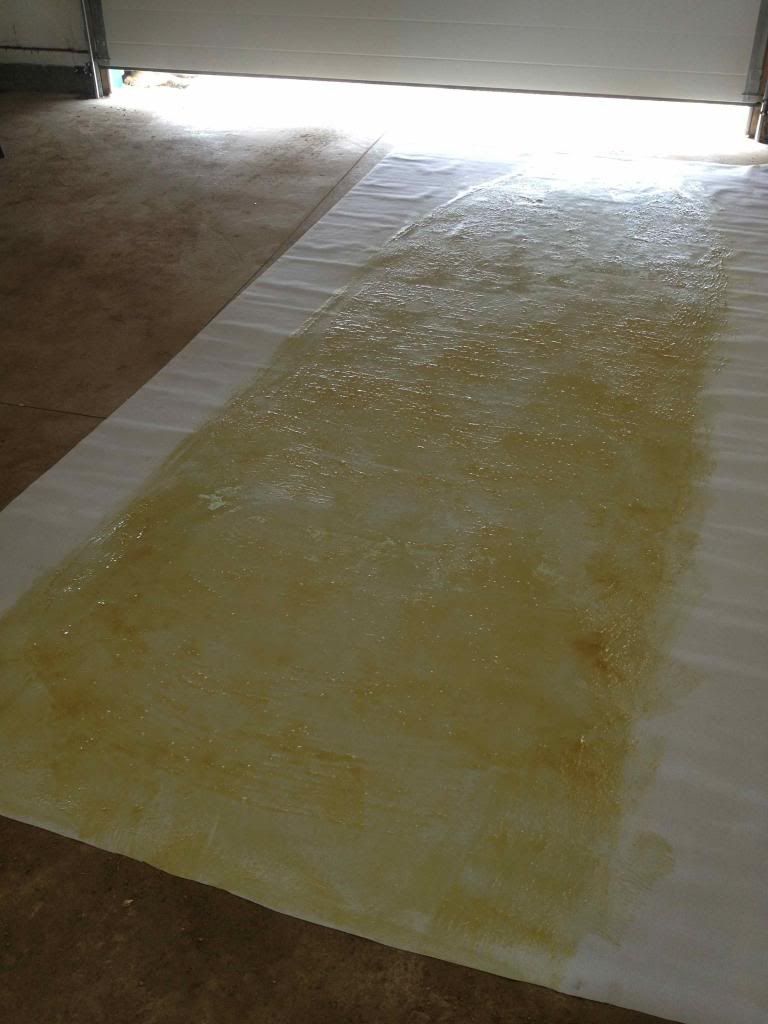
Applying the contact cement


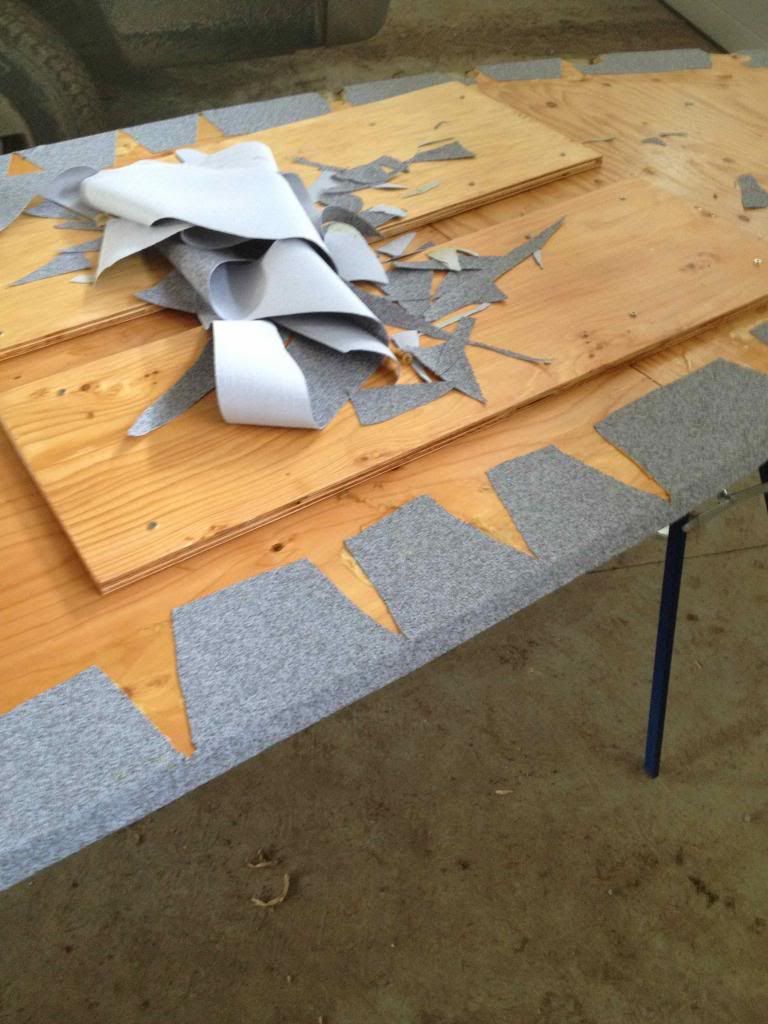
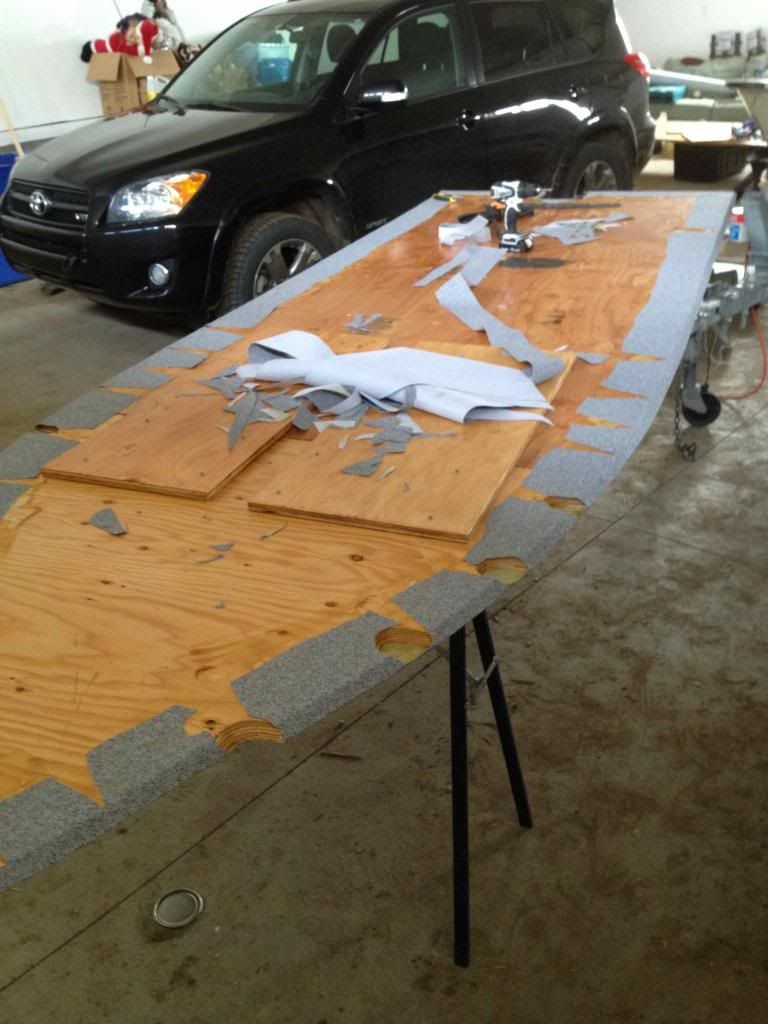
Following the instructions i applied a coat of cement to the wood and a coat on the vinyl (which i left long so that i could wrap underneath the wood to prevent it every peeling around the edges)


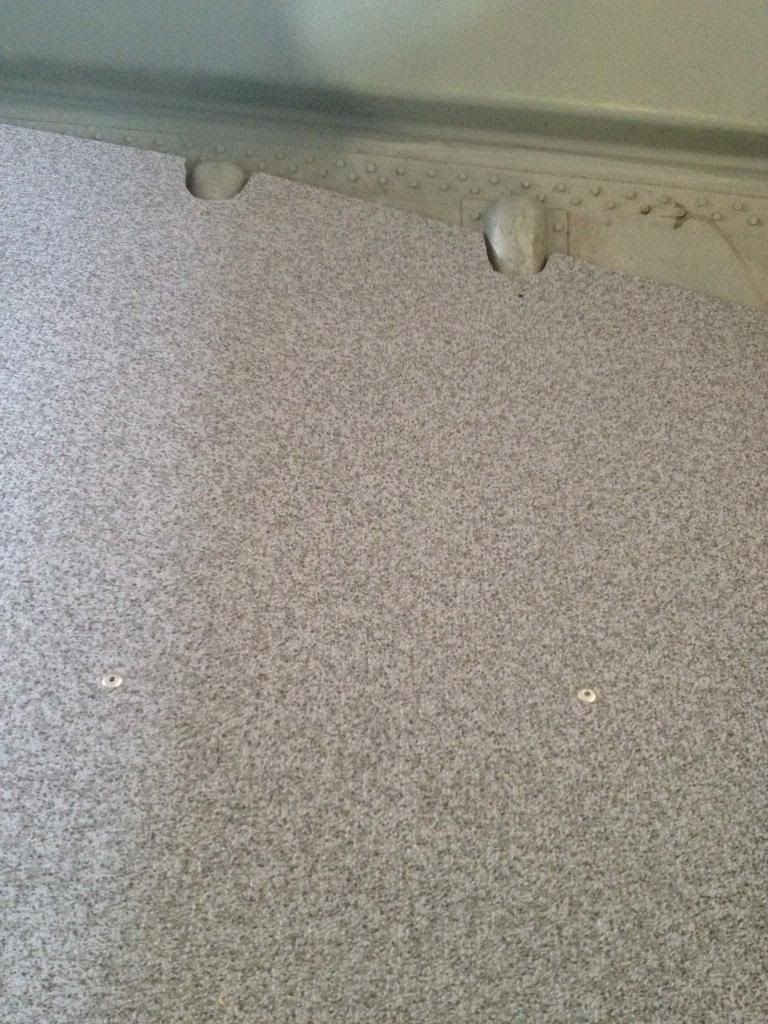
i found this handy scraper thing in my in-laws shop which proved to be VITAL to scrap out any air bubbles. A little notch for access to the bilge pump. You can see the contact cement all peeling in this pic due to the bunk jug i got


I cut and sealed a couple of pieces to join my front piece and my back piece. I also added similar pieces in the general area i figured i would install seats for some extra holding power


The overall install went really smooth except for the bad batch of cement i got. Im not sure what happened to it but the consistency was nothing like the first jug. It was chunky and very un spreadable. I had already applied the first jug and didn't have enough time to run and get a different can so i was stuck using it. Between the cement that worked, the rivets and the vinyl being wrapped i doubt i will ever have separation issued with the deck and the vinyl
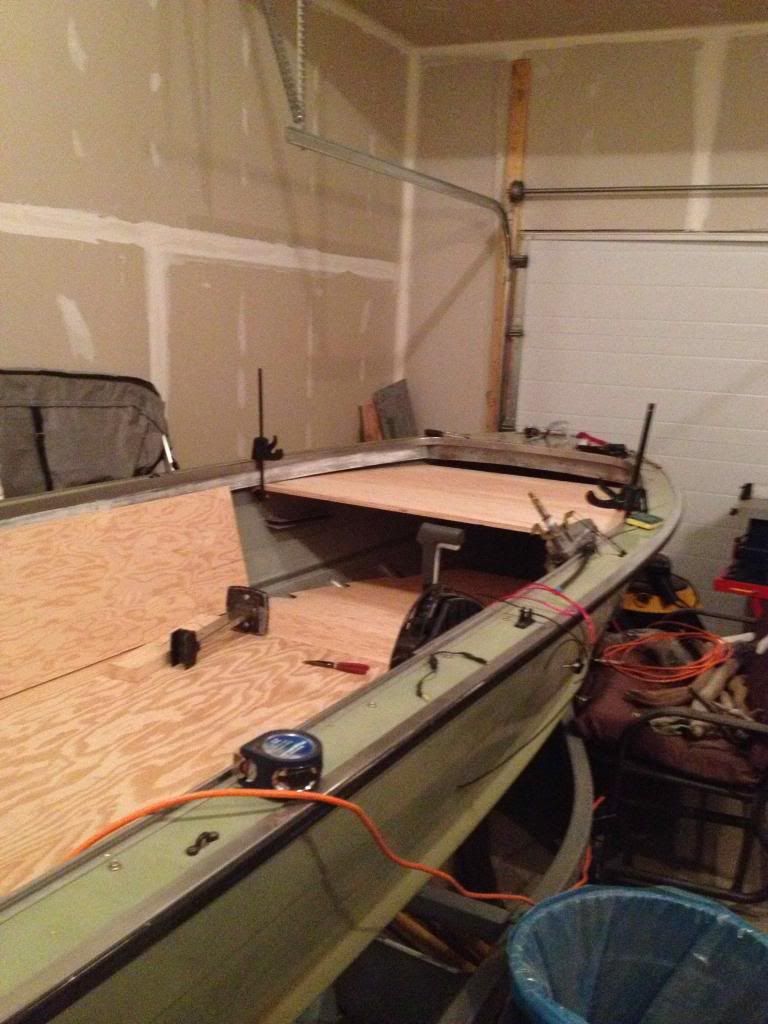
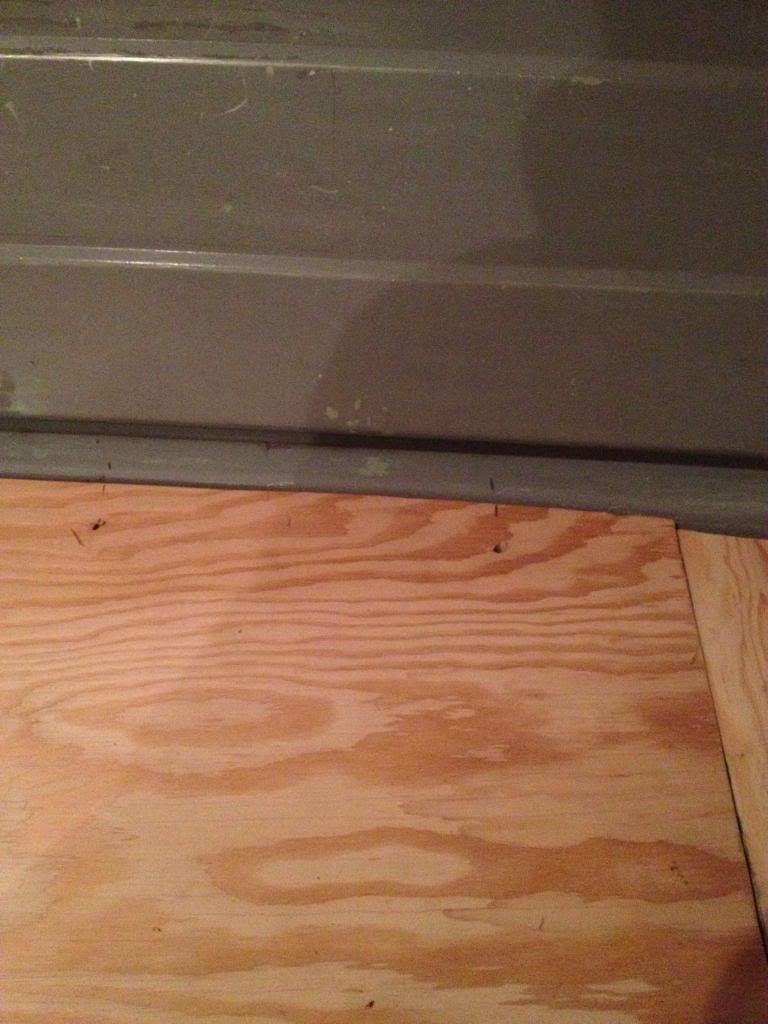
Where i could i left the vinyl covering the top to hide the ribs that become visible near the front. A couple were too protruding and would lift too much on the vinyl but it worked out beautifully on the lower ones. Hope this pic explains what i mean

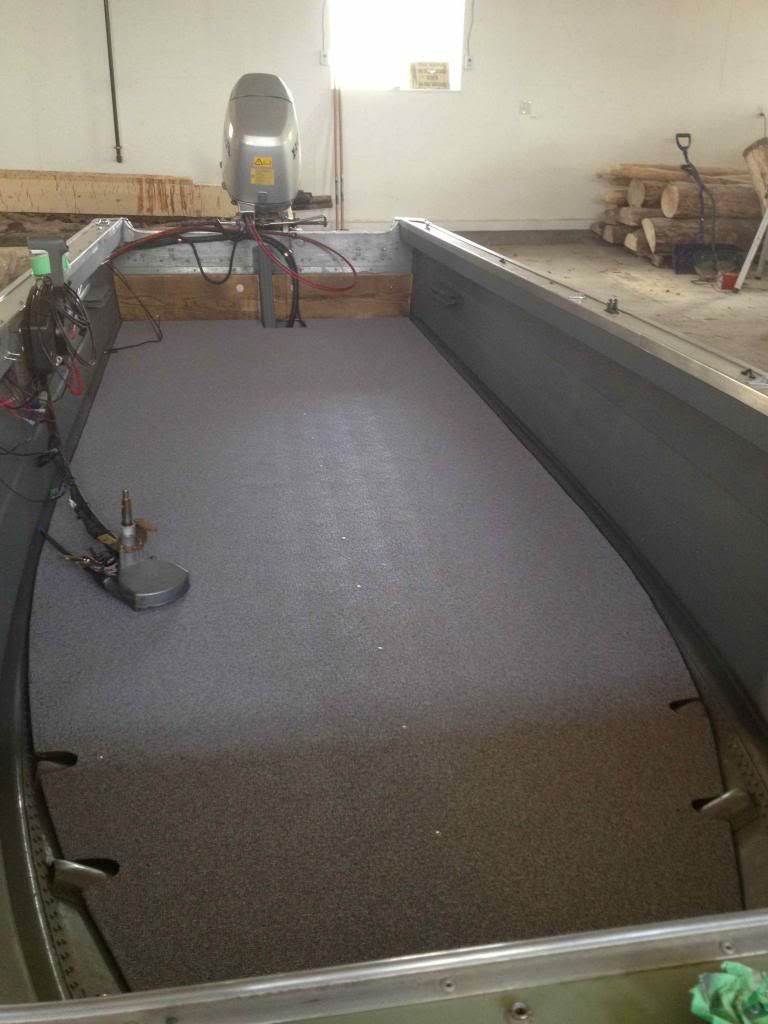
Finished product

 
Last edited:

ezmobee

Supreme Mariner
Joined
Mar 26, 2007
Messages
23,767
Re: Kyle's Starcraft Kingfisher Restoration

awe man I wish I could have vinyled my deck with it OUT of the boat! Sure would have made things easier :D You'll love the vinyl. It's really tough stuff.
 

mindgaim

Cadet
Joined
Mar 2, 2013
Messages
18
Re: Kyle's Starcraft Kingfisher Restoration

I couldnt imagine having to vinyl with everything already build inside:eek: Its a lot more forgiving aesthetically being able to wrap around which was lucky for me

yeah so far the vinyl is everything i was expecting. easy to install, looks great and has so far taken a year of abuse with minimal to no signs of wear.:cool: The only spots that are peeling back are on the back bench which couldn't really be wrapped due to its design and bad batch of glue. easy fix though
 

mindgaim

Cadet
Joined
Mar 2, 2013
Messages
18
Re: Kyle's Starcraft Kingfisher Restoration

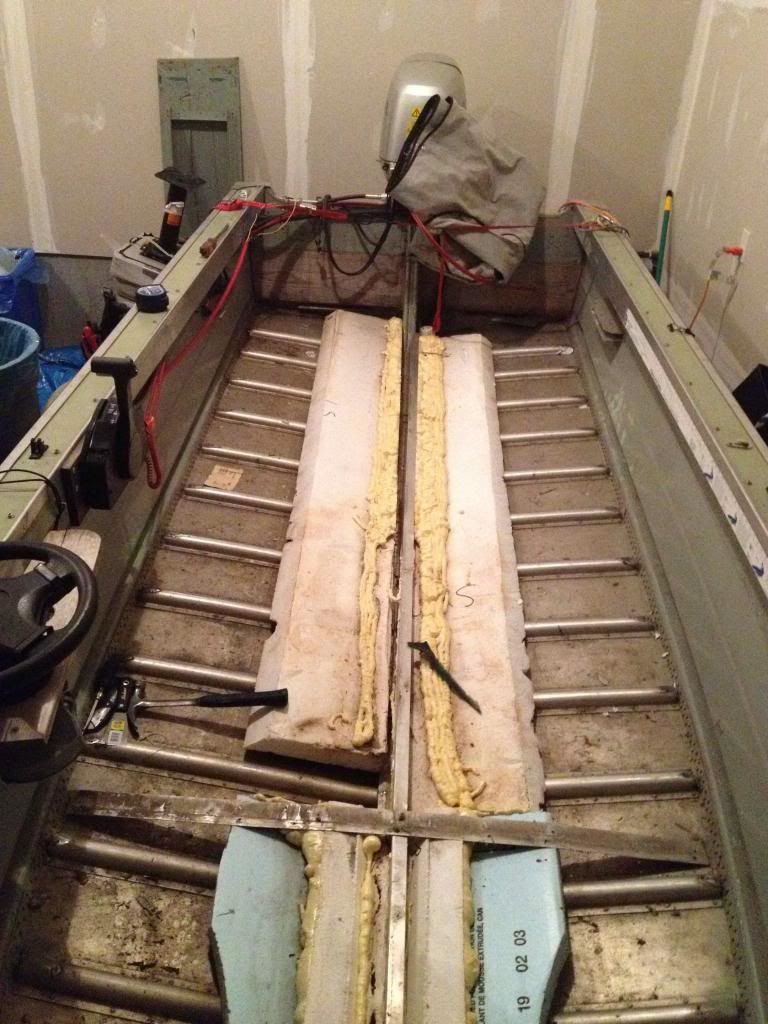
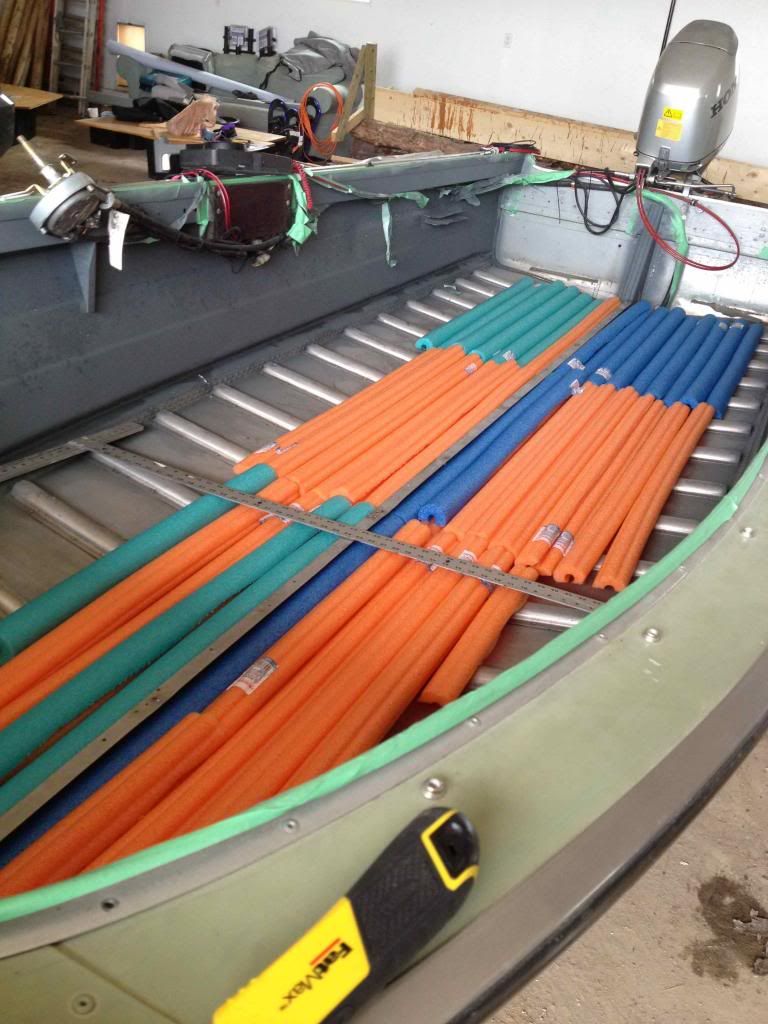
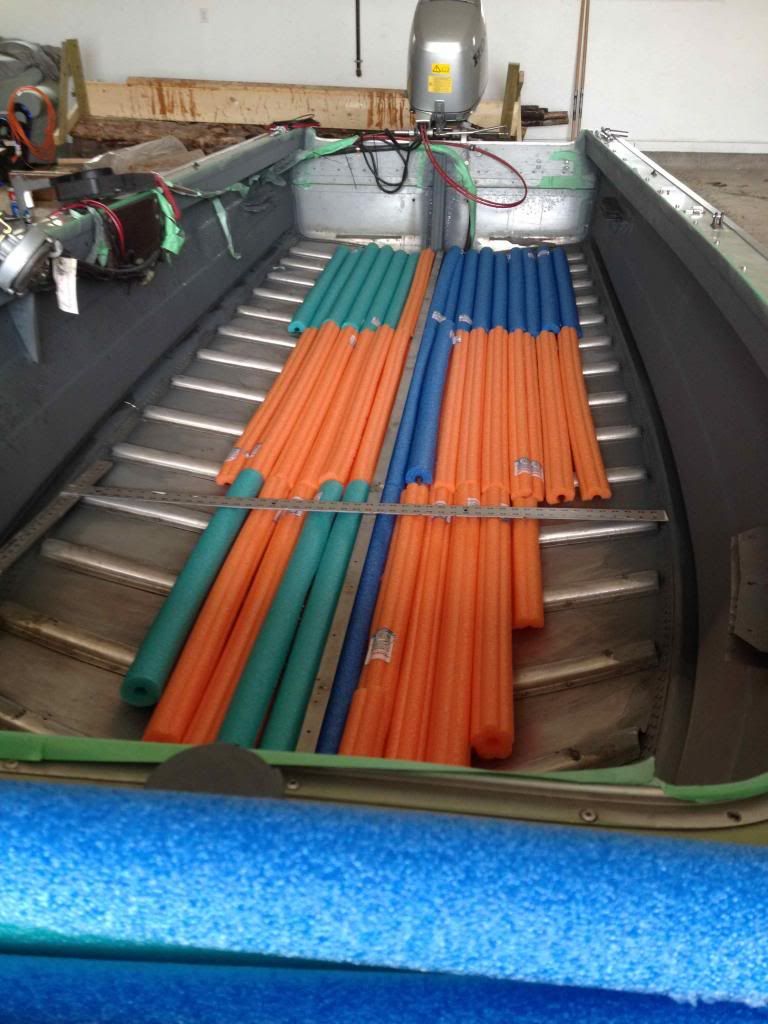
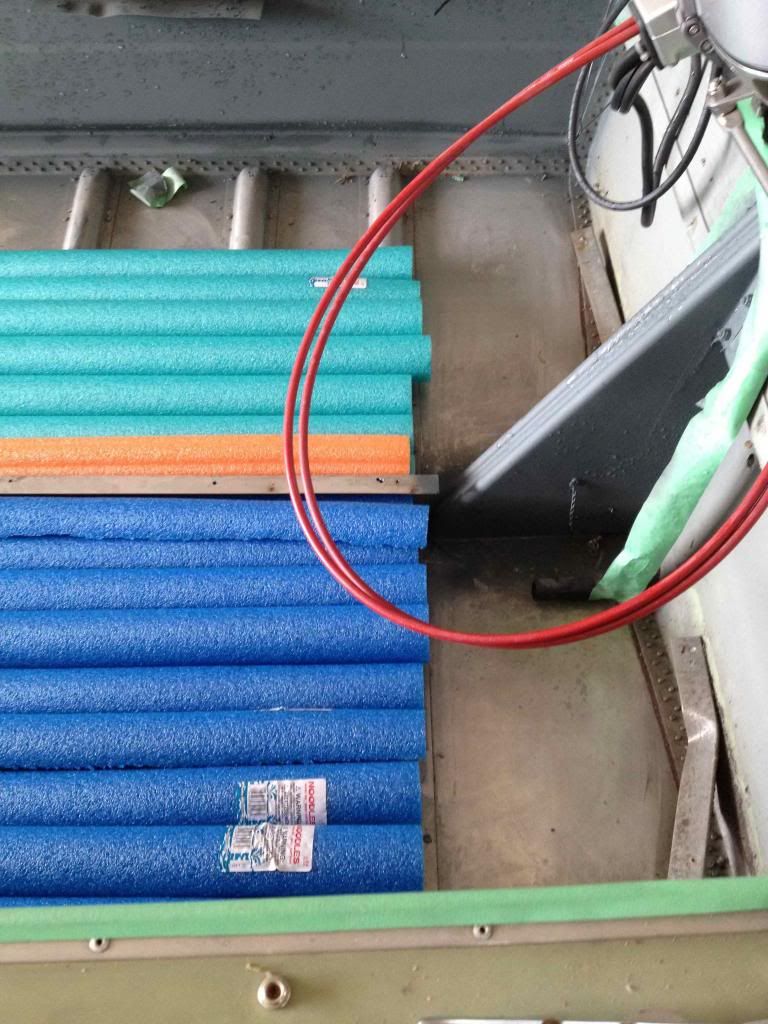
One thing I hmmm'd and haww'd about for a while was floatation. The thought that I actually had to add some had never even crossed my mind. I had come across formulas and short cuts on how much foam you'd need to actually provide any flotation at all but they were very complicated and pretty annoying to use. I made the decision to pack as many pool noodles as i possibly could just to give me some peace of find that I had actually attempted installing floatation. Given that the distance from the bottom of my deck to my hull is quite shallow, I think i managed to cram 45 noodles in.

Nice and colour coded


as i got near the sides i had to cut the noodles in half to fit any at all


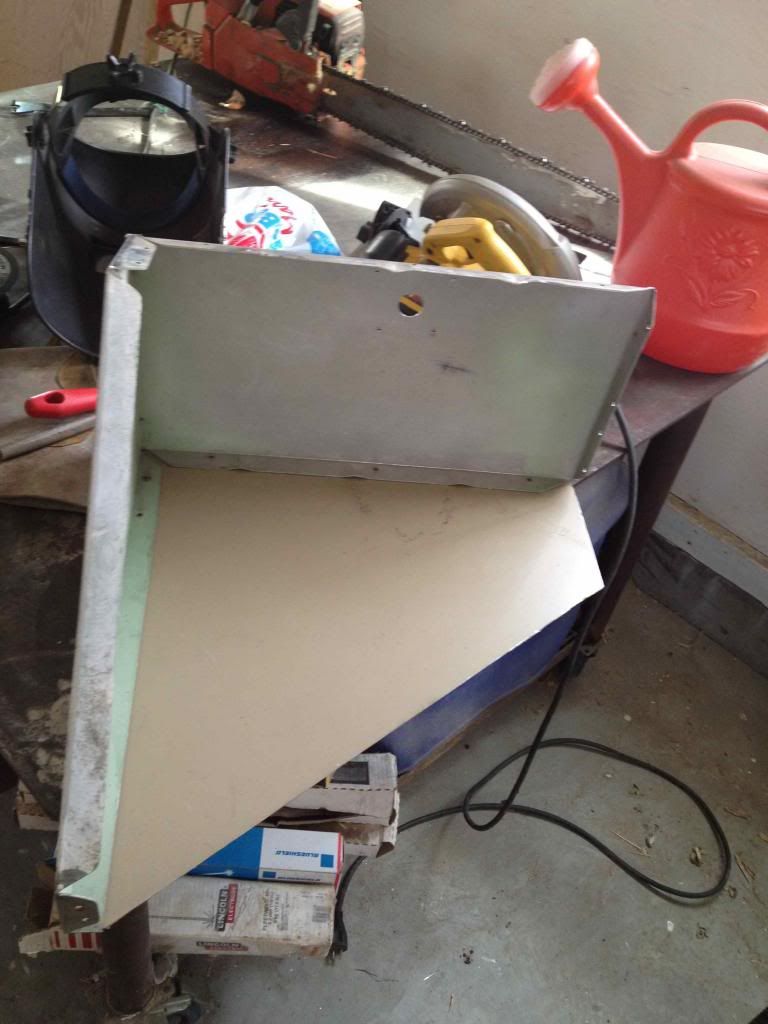
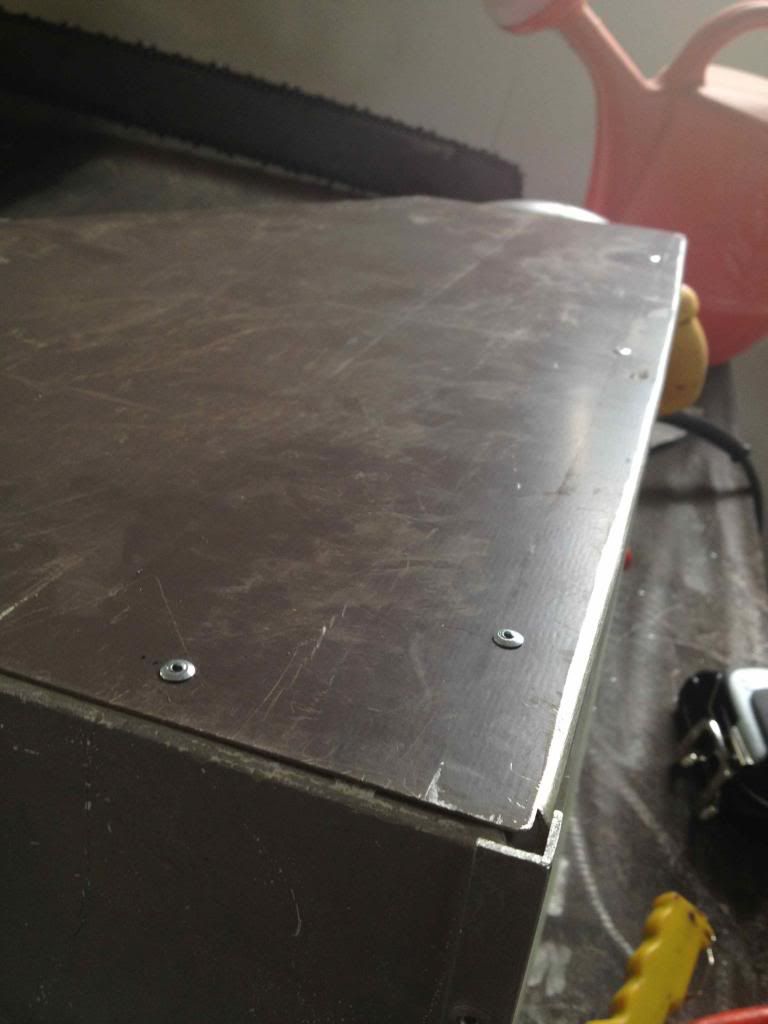
fabbing up a back side to my console


i fabbed it up a couple times until my cuts were better fitting


And shes IN!!!!! the noodles were packed a little high which provided some unwanted resistance when laying down the deck and installing the rivets. Quite a big pain actually


mindgaim

Cadet
Joined
Mar 2, 2013
Messages
18
Re: Kyle's Starcraft Kingfisher Restoration

I was pretty stoked on how well everything had fit together and with my overall progress so far. Now it actually looking like I was getting some accomplished and rebuilt

like a glove


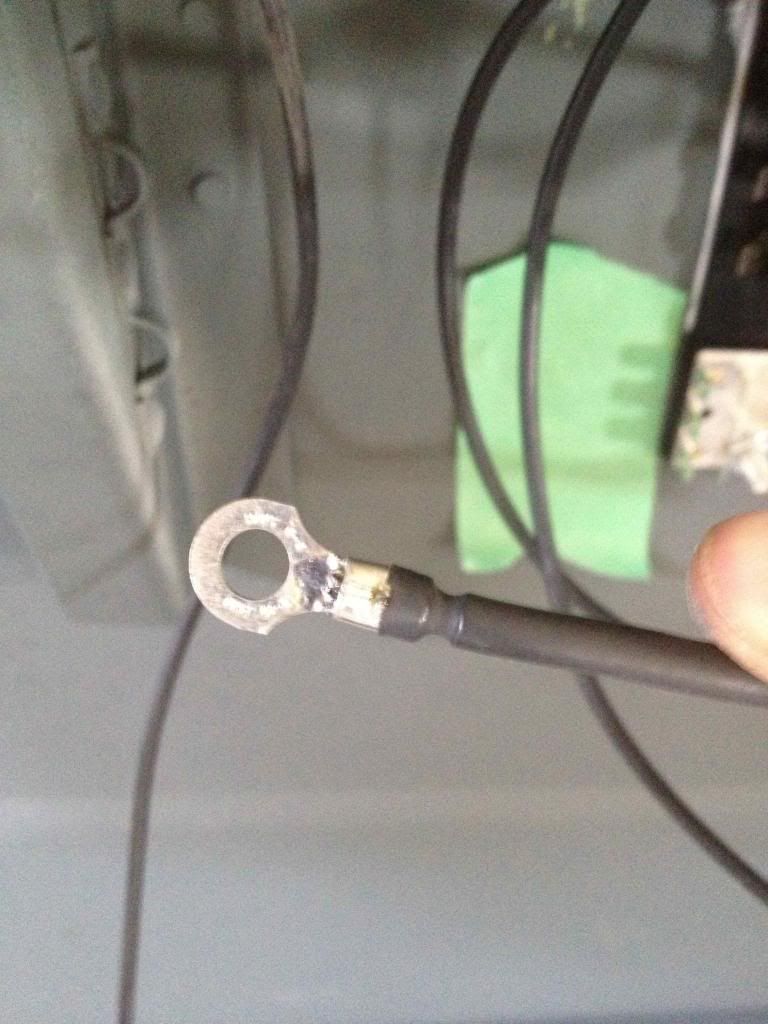
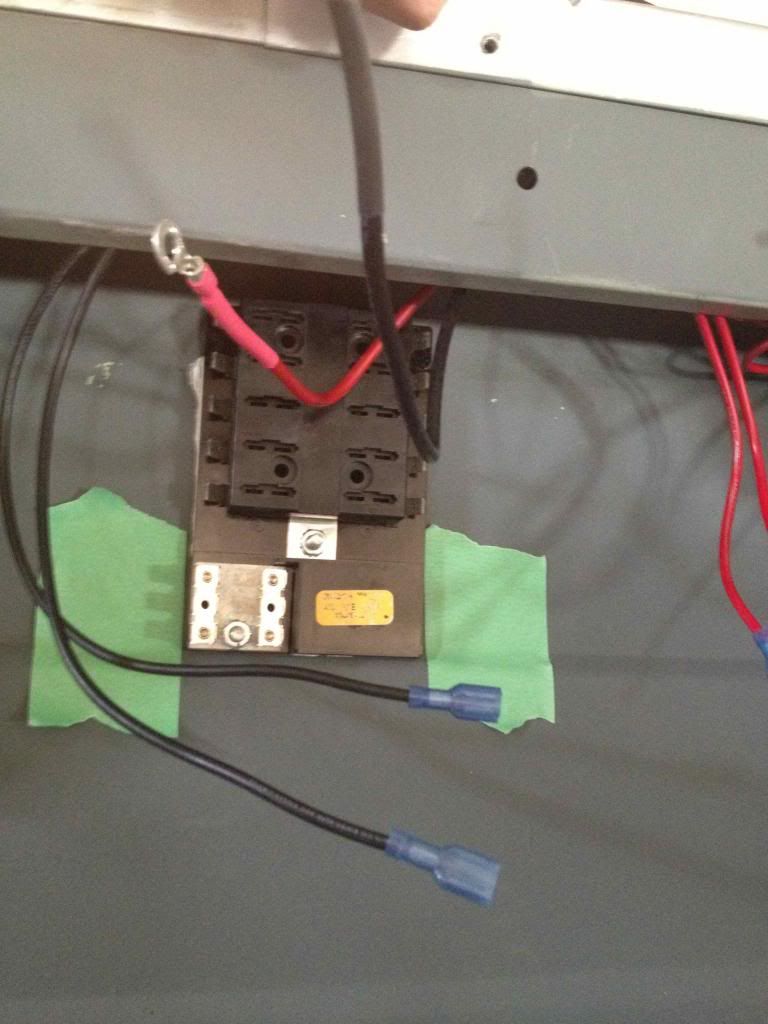
now to tackle some of the electrical! Being an electrician I figured i better make so I do a quality job on this baby. Crimping, soldering and heat shrink


The fuse box i added under the steering console. I glued her on with some 5200 and she hasn't budged since


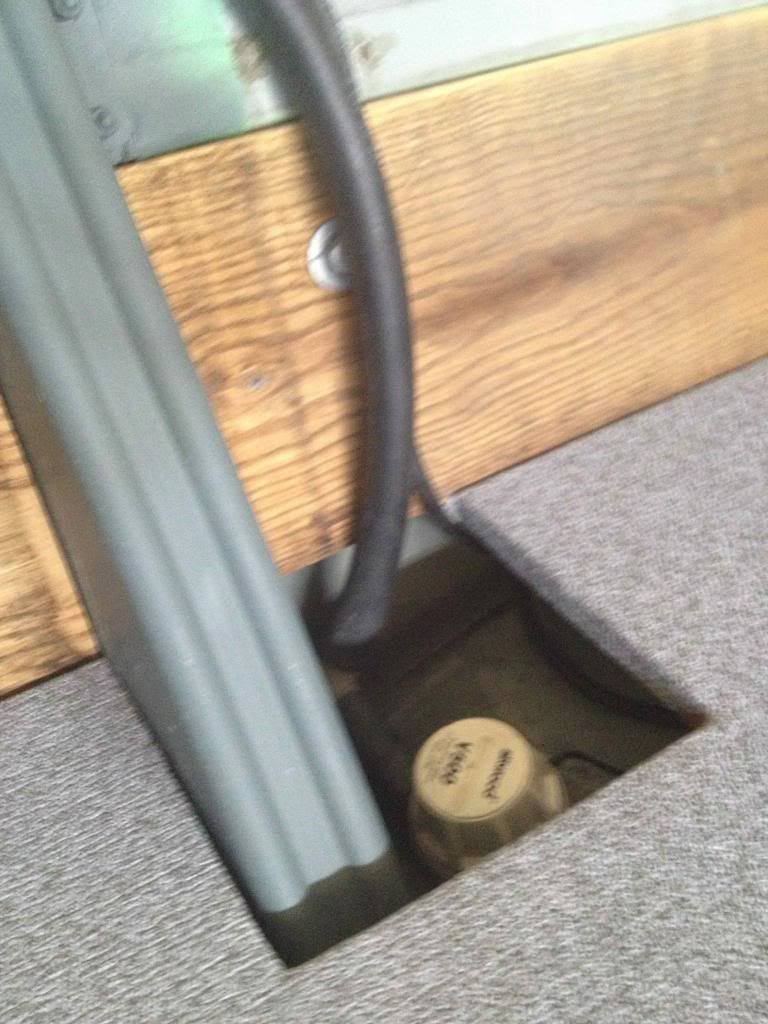
the bilge hole provided just enough room for access without being an eyesore. That pump has since been replaced


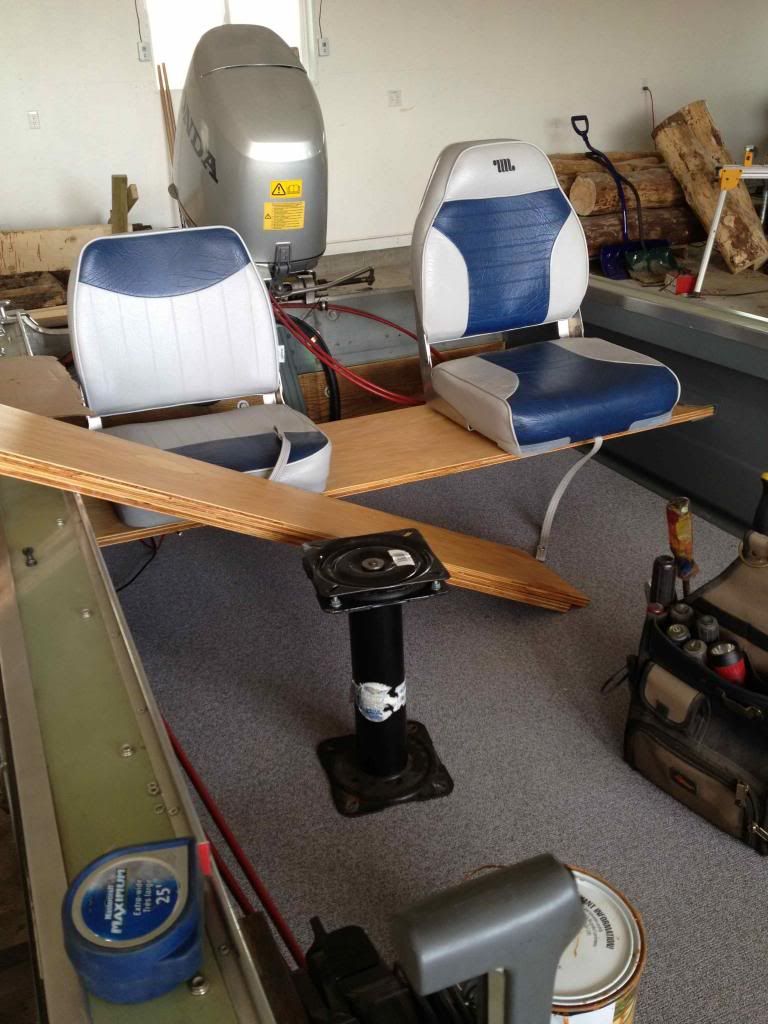
Toying around with some seating ideas. I decided to NOT put and seats on the back bench. Im glad i didnt as this is my favourite spot to stand while I'm fishing


its true, ask my wife


Things at this point just started to cruise. All my major planning was done and all i had left to do was install. The end was in sight (for now). I forgot to mention, if anyone has any questions about anything I've done, don't hesitate to ask. I may not be the most experienced but I'd love to help out where ever I can. Its the least i can do.
 

mindgaim

Cadet
Joined
Mar 2, 2013
Messages
18
Re: Kyle's Starcraft Kingfisher Restoration

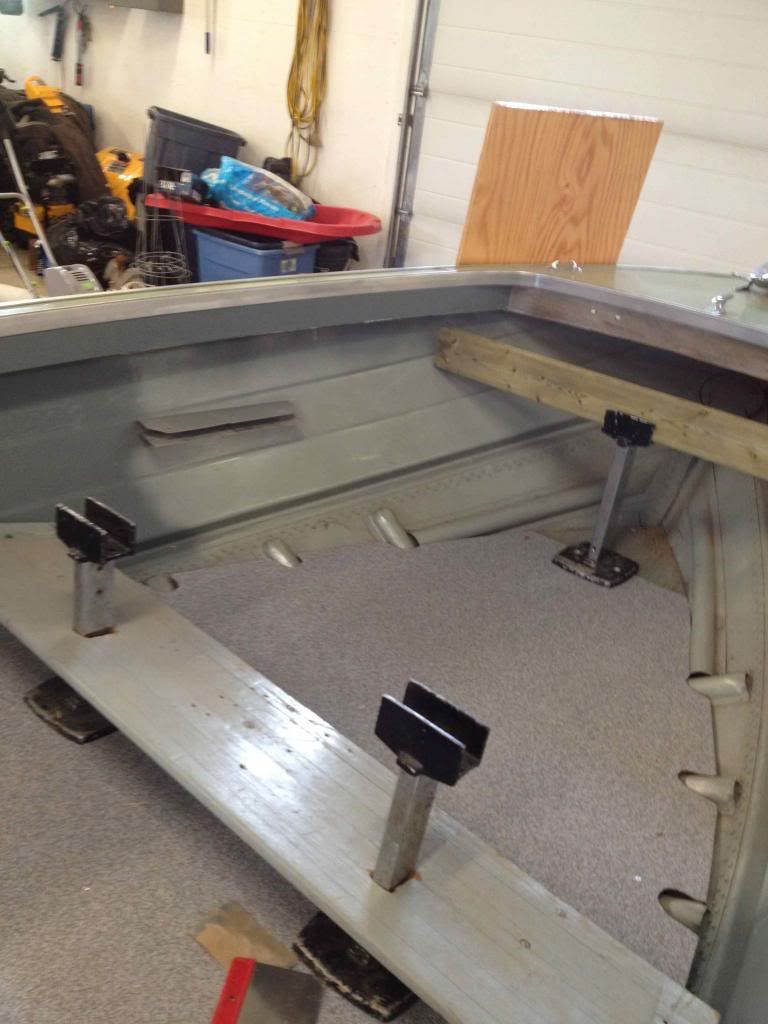
So ya, as I was saying, things were going pretty smooth at this point. Everything that I had built had fit like it was supposed to and fishing season was fast approaching. I figured that the U shaped holders on the bow and stern were meant to provide rigidity for the hull so I made a point of incorporating them into the design of both my back bench and my casting deck.

You can see here what I mean. The PO had used these little stands to support the casting deck so I figured I could use them this time around. Yes that piece of 2x4 in the front stand is treated wood, but not to worry, it doesn’t touch the hull anywhere


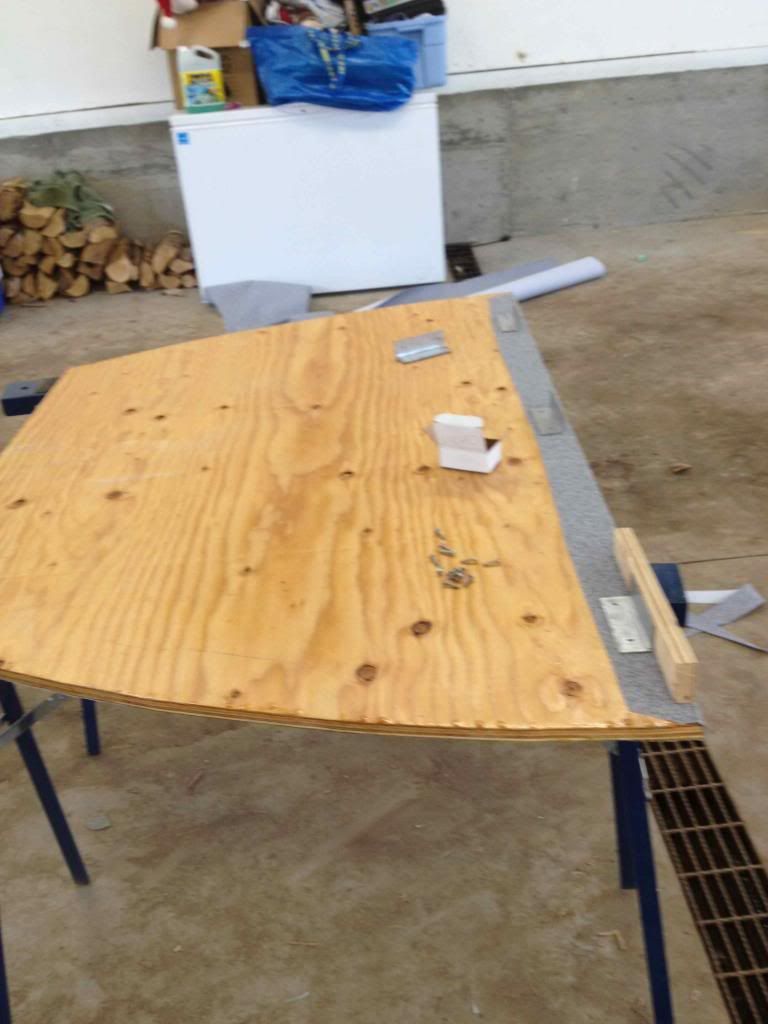
Vinyling the casting deck and mounting the supports for the face to attach to. I didn’t bother wrapping the vinyl here because the outside inch is underneath the gunwale so I figured that would hold it in place


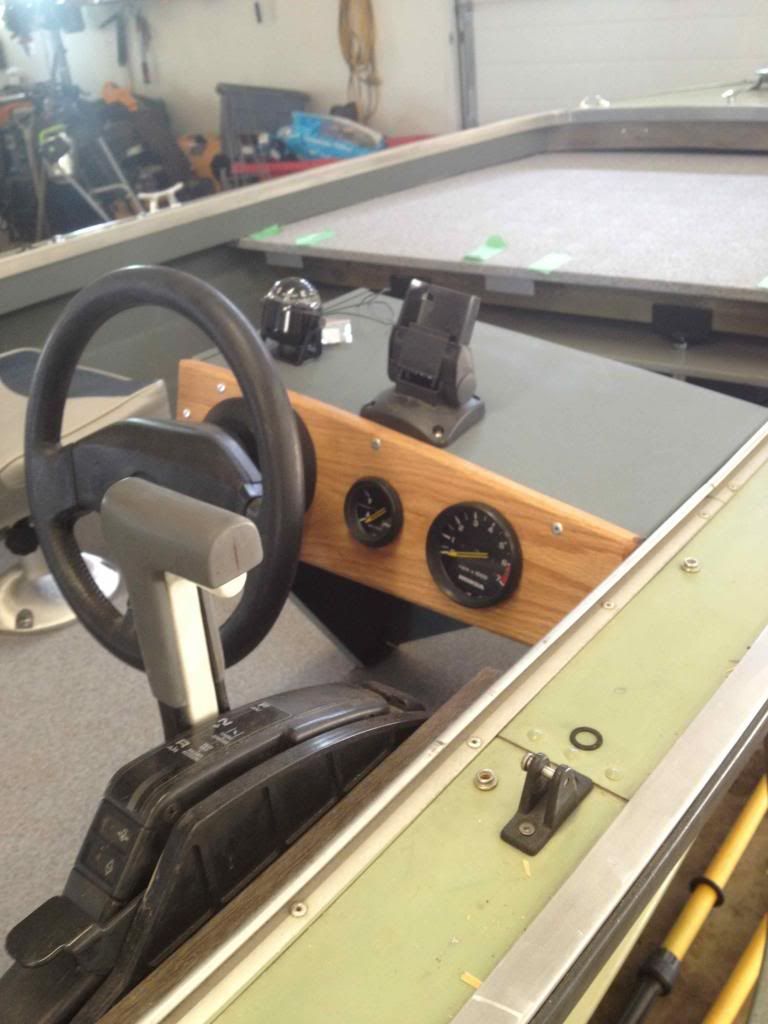
Steering console installed. My old man fabbed me up a new dash board. Fit like a glove!


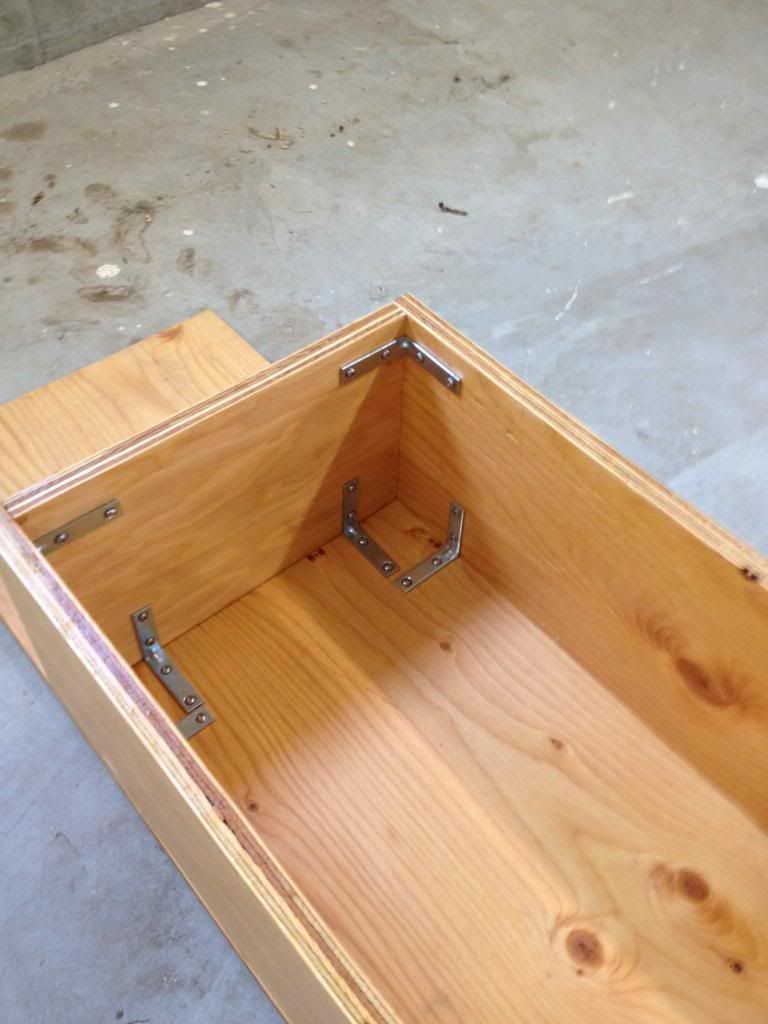
Fabbing up the back bench using stainless hardware. This was probably my sloppiest vinyling job. It may have been easier here to vinyl each peace before screwing them together.


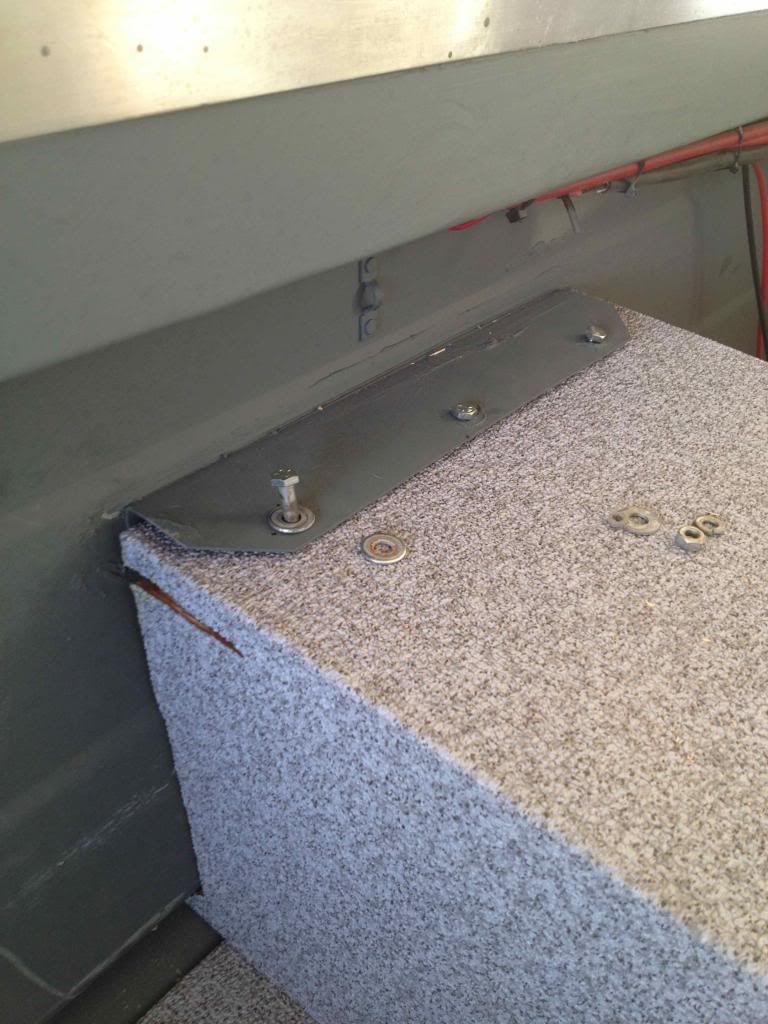
Using those stock holders to hold the bench. Again I imagine this was meant to provide structural support for the hull. This was a massive pain to get into place. What i would have done for a 90 degree bit adpater here
 
Last edited:

mindgaim

Cadet
Joined
Mar 2, 2013
Messages
18
Re: Kyle's Starcraft Kingfisher Restoration

As i said before, the majority of the resto took place about a year ago and I've since done further upgrades. I just finished installing checker plate on the bow and gunwales and gave her a new paint job. This years work just ended last night and I'm BEYOND excited :glee: about how it turned out! literally looks brand new!! Plenty of pics to come, stay tuned!
 
Last edited:

kfa4303

Banned
Joined
Sep 17, 2010
Messages
6,094
Re: Kyle's Starcraft Kingfisher Restoration

Just found this thread, but wanted to say she looks great. Can't wait to see more pics.
 
Top