oops!
Supreme Mariner
- Joined
- Oct 18, 2007
- Messages
- 12,932
this thread contains excellent information on all aspects of fibreglass boat building.....if you are thinking of a rebuilding project of any kind ...this thread can help you......while i highly suggest that you read the whole thread....(at this time some 93 ish pages and 2200 plus posts) our fellow i boaters have suggested an "index" for fast reference of procedures and materials.
even though this thread may look like an "advanced" thread.....i assure you, a person that has never even seen raw fibreglass or resin will be able to understand and comprehend if you read this whole thread.
if you have any questions regarding techniques or procedures......please feel free to hit reply and quote the post number....
cheers
oops
INDEX
THIS INDEX ASSUMES YOU HAVE NOT CHANGED YOUR DEFAULT SETTINGS IN THE "NUMBER OF POSTS PER PAGE"
crane and cradle construction.......post #1 page #1
easy transom removal with link....post #4 page #1
mold and mold relase agent.....post #6
gellcoating the mold.......post #31 page #2
fiberglassing and biax cloth.....post #48....page 2
mold reinforcement and bracing....post #53 page 2
ruff and scuff....post #53 page 3
peanut butter....posts #55, 81
important fiberglass information....(all thru the thread)...posts #55 thru 91 ish
safety equipment........ post #80 page 4
transom construction........ post #140 page 6
wetting out wood .........post #164 page 7
transom installation post #164, 165 page 7, post #203 page 9
building stringers...post and scribe method.......post #188 page 8 post 262 page 11.
transom tabbing.....post #206 page 9
lap joint.....post #260 page 11
stringer installation....post #284, 284 page 11 post #327 pg 14, post 328 pg 14.
stringer height ....post #328 pg 14
building a motor cage.....post #341 pg 14
wet out table....post #370 pg 16
building a deck...(floor) ....post #382 pg 16,
glassing and wrapping stringers.....post # 402 pg 17 thru post #547 pg 22
what is 1708 bi ax?.....post #514 page 21.
underside of deck glassing...post #546 pg 22
stringer frames....post #547 pg 22
extending the cap...posts #560 pg 23, post 648 pg 26 thru post # 694 pg 28
snapping turtles first post ......post #658....pg 27
flipping the hull.....post #697 page 28 thru post #701 page 29
fairing the hull....posts # 736 pg 30 thru 1128 pg 47
reinforcing a keel posts #737 pg 30
why did i do it ?....post #774 pg 31.
gellcoating a hull......posts 1128 pg 47, post #1185 thru #1190 pg 48
re fairing the hull with gellcoat...post #1241 pg 50 thru
why the re fair of the gellcoat?.....post #1291 pg 52
finishing sanding on gellcoat ......posts #1354 pg 54 thru 1482 pg 60
a typical gell coat repair....post # 1409, 1410 pg 57
flipping the hull ........post # 1582 pg 64 thru post #1589 pg 64
floating the boat.....post #1590 thru 1617 pg 65
oops avatar......post #1761 pg 71
building a ski locker into a deck....post#1810 pg 73 thru 1855 pg 75
building a cooler in the floor....post 1810 pg 73 thru 1855 pg 75
installing a deck......post #1866 pg 75 thru 2083 pg 83
a new i boats tradition....post #1897 pg 76
oops super dooper peanut butter...ingrediants & mixing....post # 1898 pg 76
grinding and safety equipment.....post #2016 pg 81
fiberglass stregnth tests....post #2059 pg 83
gellcoating a deck....posts #2068 pg 83 thru #2089 pg 84
installing thru hull docking lights......post#2151 pg 87 and #2231 pg 90
installing deck hull backing strips.....post #2230 pg 90
excellent displacement vs turbo discussion.....post #2400 thru #2417 pg 97
foaming a hull without worry of water intrusion....post 4158 pg 167
ok guys.....here we go.....i would have done this on share a project but i had trouble uploading there.....as i can only do six picks at a time its gonna be a multi poster...
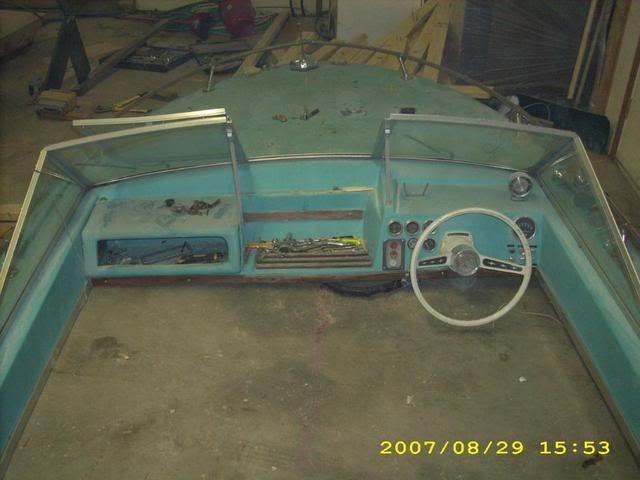
as some of you know...im doing a complete re-fit of my 1969 sea ray srv 190
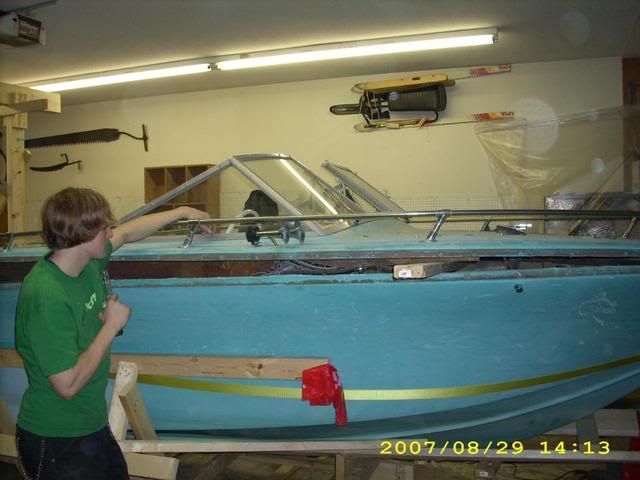
this is the boat before i started...as you can see some idiot backed the boat and trailer into a post a few seasons back...and the whole back corner had to be rebuilt at one time
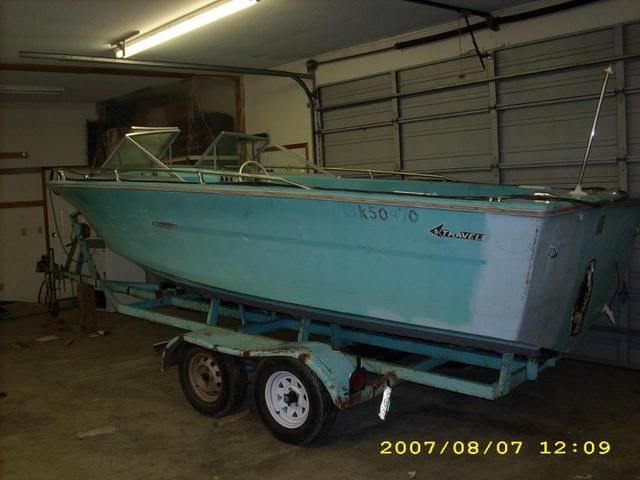
i would have just bought another boat but i love this one....so in the spirit of American choppers its getting a theme style re build...im gonna keep the theme of the vessel under my hat.....its really cool....ya''ll gonna love it when its done....i am hoping for a may launch....the project was offically started on dec 6 th 2007.
one of the problems of my boat was space...no storage at all.....so when
thinking of the refit i decided to go with 2 pilots chairs and bench seating all the way down the sides and around the back where the doghouse was and eliminate the two jump seats. that would be lots of room under the seats for storage.
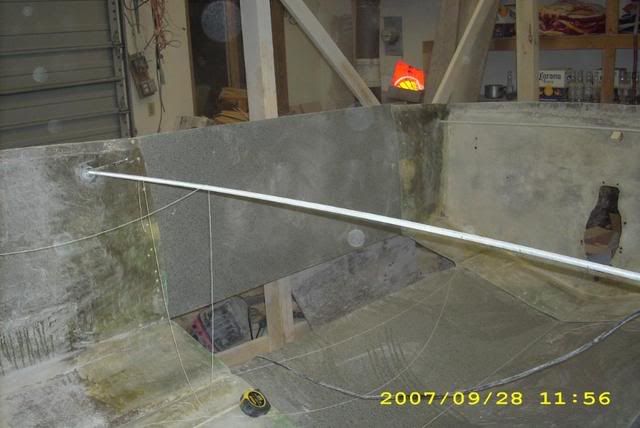
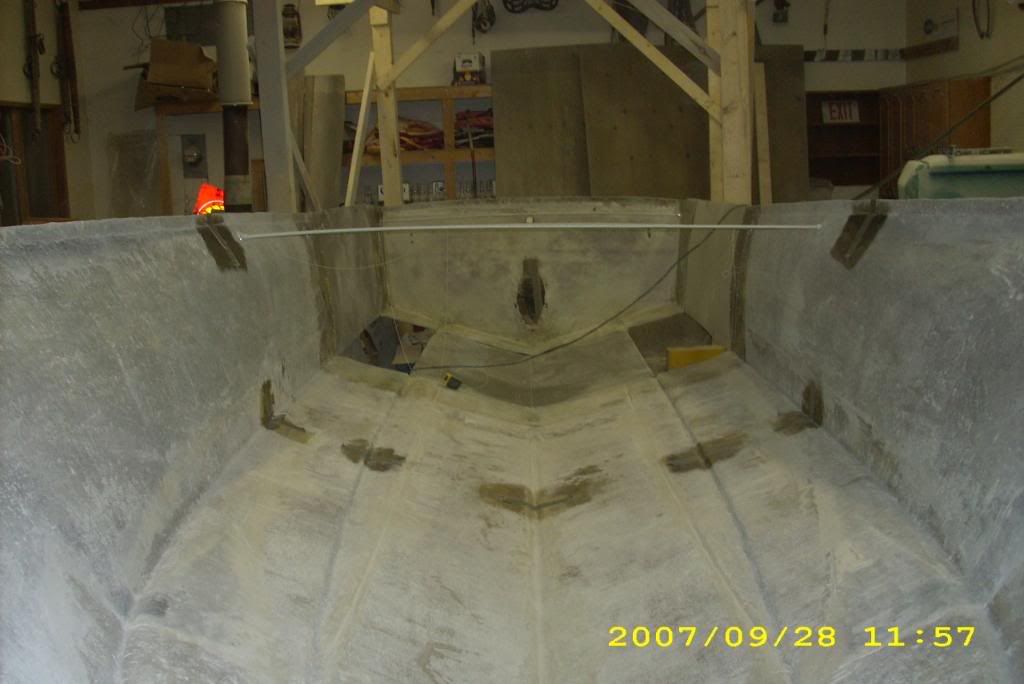
with a v8 going in and a new back bench added...i would only have 3 feet of walk space front to back...its a closed bow....so the only thing to do was extend the hull !
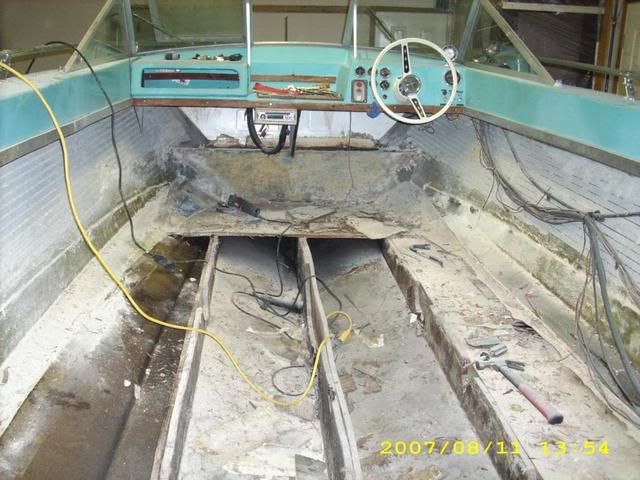
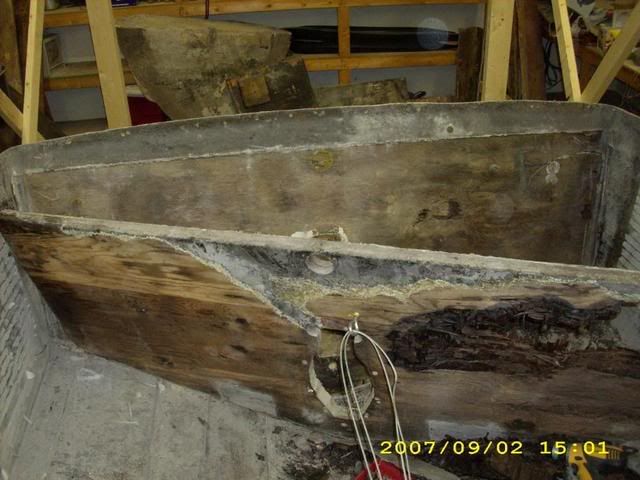
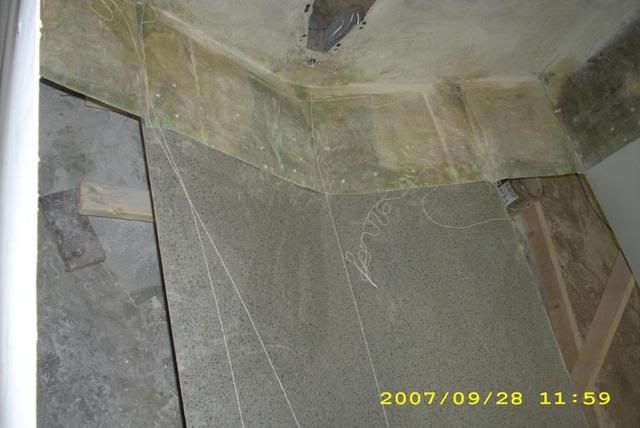
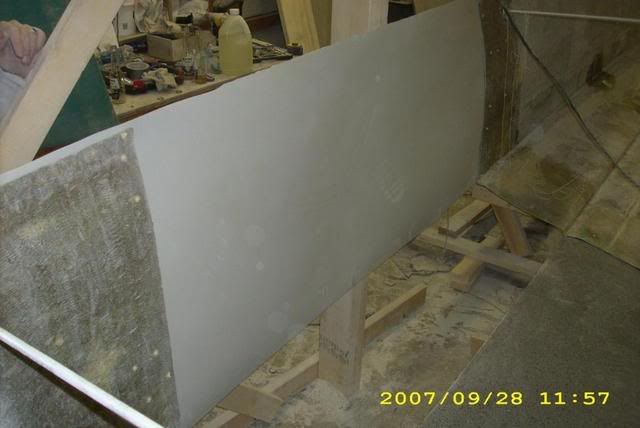
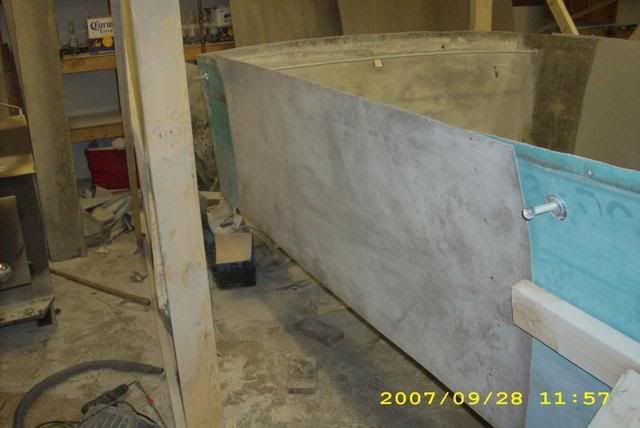
in order to do this i first needed to make sure the hull was sound and eliminate any wet foam/ rotted stringers and transom.
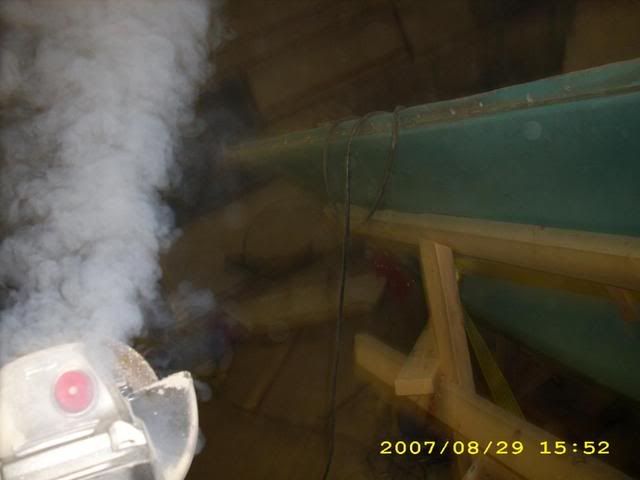
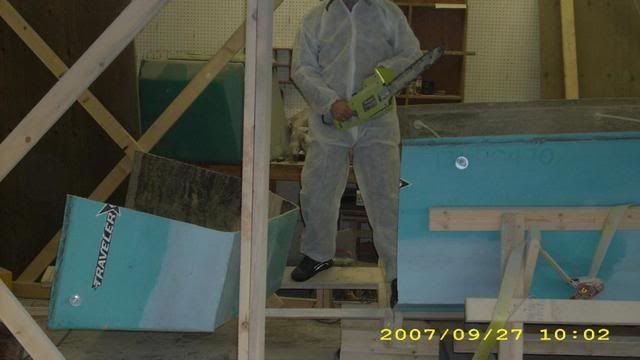
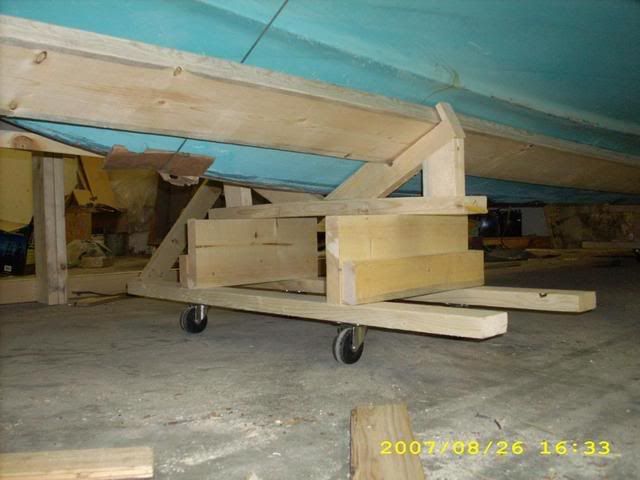
since i was doing all of this ....the cap had to come off....so a crane was constructed to lift the hull during various stages of construction
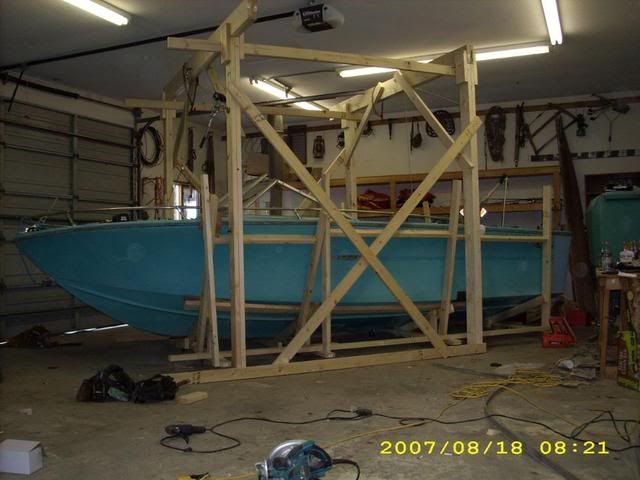
an special cradle had to also be made that would accommodate the extension phase
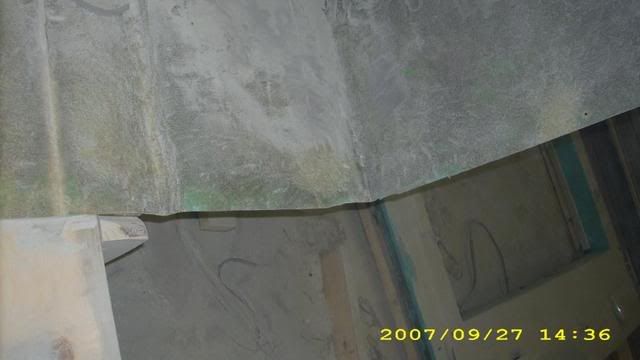
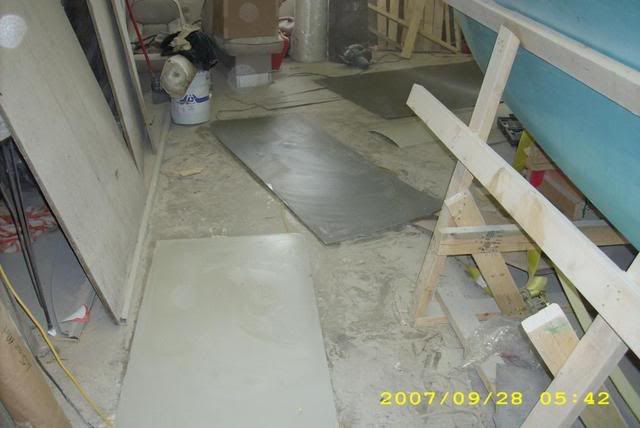
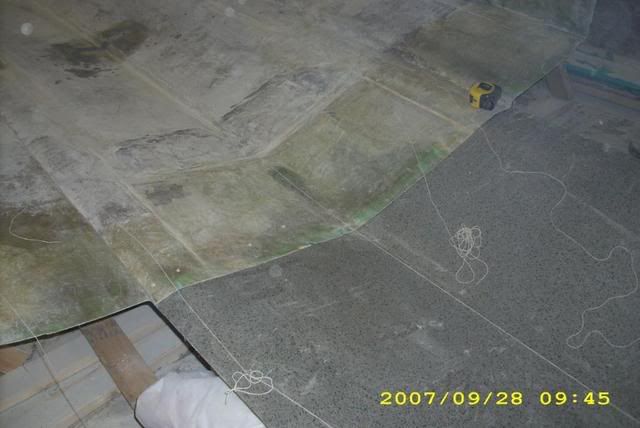
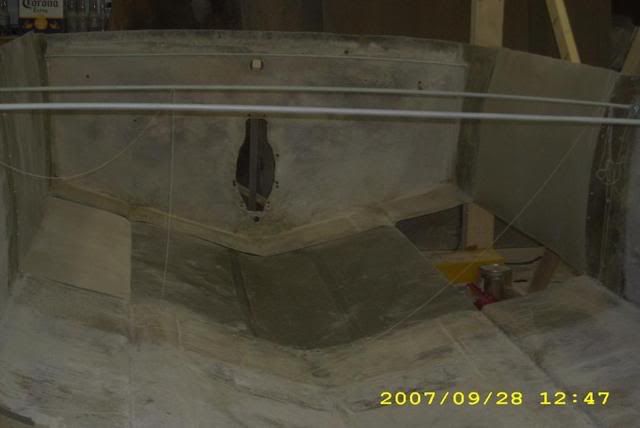
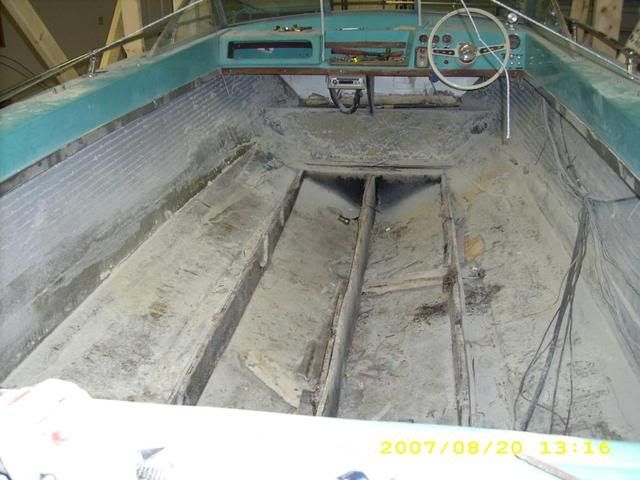
after the wood frame construction....the floor was pulled in sections for inspection.....some one had already done the stringers once before..but a bad job...and rot was everywhere...they also removed the foam and didn't replace it so i dodged a bullet there.
next the cap had to come off......
even though this thread may look like an "advanced" thread.....i assure you, a person that has never even seen raw fibreglass or resin will be able to understand and comprehend if you read this whole thread.
if you have any questions regarding techniques or procedures......please feel free to hit reply and quote the post number....
cheers
oops
INDEX
THIS INDEX ASSUMES YOU HAVE NOT CHANGED YOUR DEFAULT SETTINGS IN THE "NUMBER OF POSTS PER PAGE"
crane and cradle construction.......post #1 page #1
easy transom removal with link....post #4 page #1
mold and mold relase agent.....post #6
gellcoating the mold.......post #31 page #2
fiberglassing and biax cloth.....post #48....page 2
mold reinforcement and bracing....post #53 page 2
ruff and scuff....post #53 page 3
peanut butter....posts #55, 81
important fiberglass information....(all thru the thread)...posts #55 thru 91 ish
safety equipment........ post #80 page 4
transom construction........ post #140 page 6
wetting out wood .........post #164 page 7
transom installation post #164, 165 page 7, post #203 page 9
building stringers...post and scribe method.......post #188 page 8 post 262 page 11.
transom tabbing.....post #206 page 9
lap joint.....post #260 page 11
stringer installation....post #284, 284 page 11 post #327 pg 14, post 328 pg 14.
stringer height ....post #328 pg 14
building a motor cage.....post #341 pg 14
wet out table....post #370 pg 16
building a deck...(floor) ....post #382 pg 16,
glassing and wrapping stringers.....post # 402 pg 17 thru post #547 pg 22
what is 1708 bi ax?.....post #514 page 21.
underside of deck glassing...post #546 pg 22
stringer frames....post #547 pg 22
extending the cap...posts #560 pg 23, post 648 pg 26 thru post # 694 pg 28
snapping turtles first post ......post #658....pg 27
flipping the hull.....post #697 page 28 thru post #701 page 29
fairing the hull....posts # 736 pg 30 thru 1128 pg 47
reinforcing a keel posts #737 pg 30
why did i do it ?....post #774 pg 31.
gellcoating a hull......posts 1128 pg 47, post #1185 thru #1190 pg 48
re fairing the hull with gellcoat...post #1241 pg 50 thru
why the re fair of the gellcoat?.....post #1291 pg 52
finishing sanding on gellcoat ......posts #1354 pg 54 thru 1482 pg 60
a typical gell coat repair....post # 1409, 1410 pg 57
flipping the hull ........post # 1582 pg 64 thru post #1589 pg 64
floating the boat.....post #1590 thru 1617 pg 65
oops avatar......post #1761 pg 71
building a ski locker into a deck....post#1810 pg 73 thru 1855 pg 75
building a cooler in the floor....post 1810 pg 73 thru 1855 pg 75
installing a deck......post #1866 pg 75 thru 2083 pg 83
a new i boats tradition....post #1897 pg 76
oops super dooper peanut butter...ingrediants & mixing....post # 1898 pg 76
grinding and safety equipment.....post #2016 pg 81
fiberglass stregnth tests....post #2059 pg 83
gellcoating a deck....posts #2068 pg 83 thru #2089 pg 84
installing thru hull docking lights......post#2151 pg 87 and #2231 pg 90
installing deck hull backing strips.....post #2230 pg 90
excellent displacement vs turbo discussion.....post #2400 thru #2417 pg 97
foaming a hull without worry of water intrusion....post 4158 pg 167
THE HULL EXTENSION THREAD
ok guys.....here we go.....i would have done this on share a project but i had trouble uploading there.....as i can only do six picks at a time its gonna be a multi poster...
as some of you know...im doing a complete re-fit of my 1969 sea ray srv 190
this is the boat before i started...as you can see some idiot backed the boat and trailer into a post a few seasons back...and the whole back corner had to be rebuilt at one time
i would have just bought another boat but i love this one....so in the spirit of American choppers its getting a theme style re build...im gonna keep the theme of the vessel under my hat.....its really cool....ya''ll gonna love it when its done....i am hoping for a may launch....the project was offically started on dec 6 th 2007.
one of the problems of my boat was space...no storage at all.....so when
thinking of the refit i decided to go with 2 pilots chairs and bench seating all the way down the sides and around the back where the doghouse was and eliminate the two jump seats. that would be lots of room under the seats for storage.
with a v8 going in and a new back bench added...i would only have 3 feet of walk space front to back...its a closed bow....so the only thing to do was extend the hull !
in order to do this i first needed to make sure the hull was sound and eliminate any wet foam/ rotted stringers and transom.
since i was doing all of this ....the cap had to come off....so a crane was constructed to lift the hull during various stages of construction
an special cradle had to also be made that would accommodate the extension phase
after the wood frame construction....the floor was pulled in sections for inspection.....some one had already done the stringers once before..but a bad job...and rot was everywhere...they also removed the foam and didn't replace it so i dodged a bullet there.
next the cap had to come off......
Last edited: