1991 MIRROCRAFT TROLLER XL REBUILD/RESTORE

Dignified09@gmail.com

Petty Officer 3rd Class
Joined
Apr 9, 2016
Messages
92
I didnt notice that you guys glued both pieces of wood together before you cut the transom shape.

I cut both pieces of 3/4" out before gluing. I hope this is ok.
 

Tnstratofam

Commander
Joined
Aug 18, 2013
Messages
2,679
As long as you clamp the two pieces together and keep them aligned on all sides it will be fine. That was why I waited to cut out my transoms shape was to be sure the edges were even.
 

Dignified09@gmail.com

Petty Officer 3rd Class
Joined
Apr 9, 2016
Messages
92
watermann, is this what im looking for ? im working on the hull today. I have wire wheels/cup brushes (4") and a couple small nylox brushes.

heres what ive brushed so far, is this what im looking for? or too much? seems as if all the wheel is doing is leaving circular pattern all over the hull. i sand it with a smoother sanding block after and it still look like that.

so before I keep going i need to know if i should stop or not.

I also have a bottle of a product called ZING. a hydrocloric acid chemical. I got it from my local marine supplier. Should I brush lightly to remove just the white powder or do i need to scrub harder? I just am not understanding how much i need to wire wheel this. or should I use the product first and than brush?

​Thanks Zach
 

Dignified09@gmail.com

Petty Officer 3rd Class
Joined
Apr 9, 2016
Messages
92
pictures of what I started to wire wheel.I hope I didnt go too far.

20160515_115743.jpg


20160515_125253.jpg


20160515_125305.jpg
 

Dignified09@gmail.com

Petty Officer 3rd Class
Joined
Apr 9, 2016
Messages
92
When I brush around the powdery/cloudy areas it comes off well but leaves a shine in the spot, but leaving the surrounding areas still dark. So I will have to remove it all I suppose?

Can someone explain this to me? is this that "film" over the original alum that goes away over time? a hard water deposit from over time? I dont know I guess.

I feel I am on the right track but I need some more responses, thanks.
 
Last edited:

Watermann

Starmada Splash of the Year 2014
Joined
Jan 12, 2013
Messages
13,753
Aluminum will oxidize and that's normal. It's the odd looking white powdery stuff that has turned to corrosion that I worry about removing and there's normally pitting under it. It doesn't look to me like there's anything like that under those spots so you're good there.

Gone too far, maybe but there's no stopping now that you started wheeling the oxidization off you're going to have to keep going. Let the wheel do the work and don't force it with too much pressure which can cause deeper scratches.

So are you polishing the hull or painting?
 

Dignified09@gmail.com

Petty Officer 3rd Class
Joined
Apr 9, 2016
Messages
92
ive read WOG post about painting with tractor paint a bit.

If i were to take that route where should i read to start? any advice on that watermann?

Thanks. painting will be considered I will have to talk that over with my father. depending on how much work it is.

Thanks again.
 

Dignified09@gmail.com

Petty Officer 3rd Class
Joined
Apr 9, 2016
Messages
92
the more i read about the steel wire wheels the more i think i shouldnt have started what i did. So im going to stop on the hull right now.

I switched to a nyalox cup brush 3" after that patch in the pictures but I still feel discouraged to use it.

should i finish then use the hydrocloric acid wash?

or use the wash first? than sand?

the hull has left me confused and well i cant start anything else until the hull is ready.
 

Watermann

Starmada Splash of the Year 2014
Joined
Jan 12, 2013
Messages
13,753
It's more work to polish a boat than to paint it and then trying to keep it from oxidizing all over again so it doesn't turn gray.

To paint is easy if you have the right equipment that is, mainly an HVLP spray gun and a good compressor. Remove the oxidization or paint, wipe down, self etching primer, primer, 1st coat of paint and top coat. I normally only shoot 2 coats of paint and from primer to top coat is done in 2 days with no sanding (I hate sanding). My results are not trailer queen show quality but they'll do for what I need. If you're painting on a 2nd color accent then you have to wait for the top coat to dry before taping it off so that can take a extra day of so depending on the climate.

Polishing can take weeks of tedious work but some of the guys who're doing it are obsessed (in a good way) with the look of chrome like aluminum. You can also do a two tone between paint and polish. Take a look at these.

100_3406.jpg


polishdone001_zpsf2c01876.jpg
.
 

Dignified09@gmail.com

Petty Officer 3rd Class
Joined
Apr 9, 2016
Messages
92
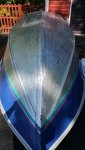
I think I've got the Hull situation in swing,

I have some updates guys, anybody know how to upload photos from mobile using shots from my photo bucket??

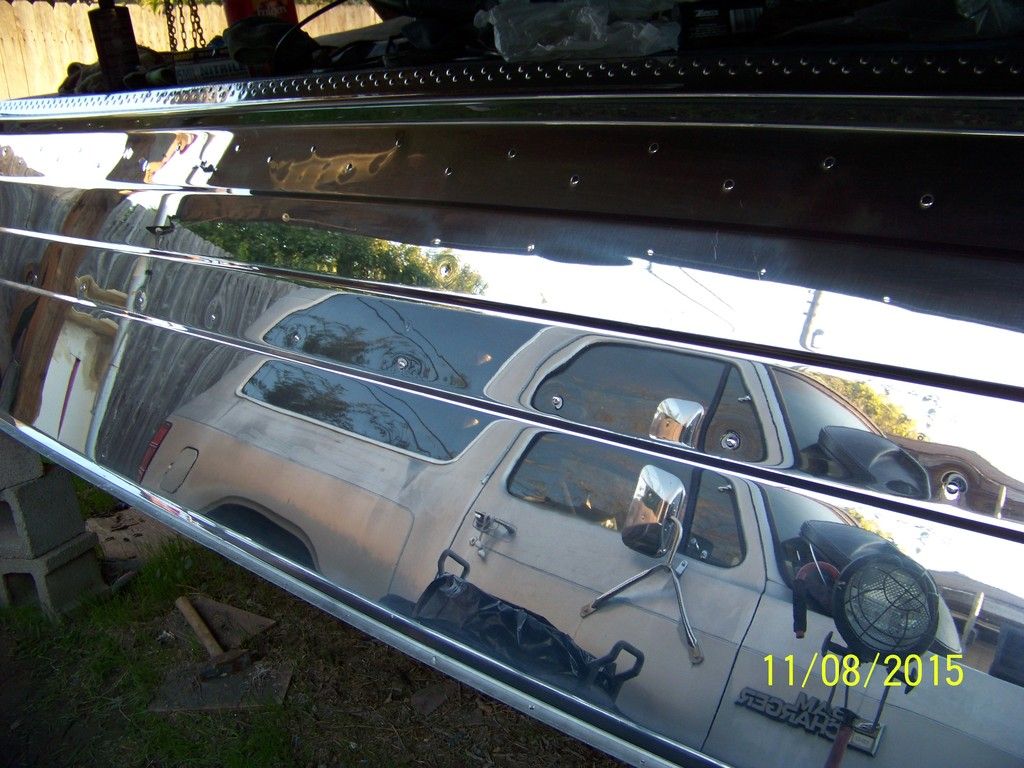
I am almost certain that I am going to paint the Hull now. A 2 tone job similar to how it looks now.

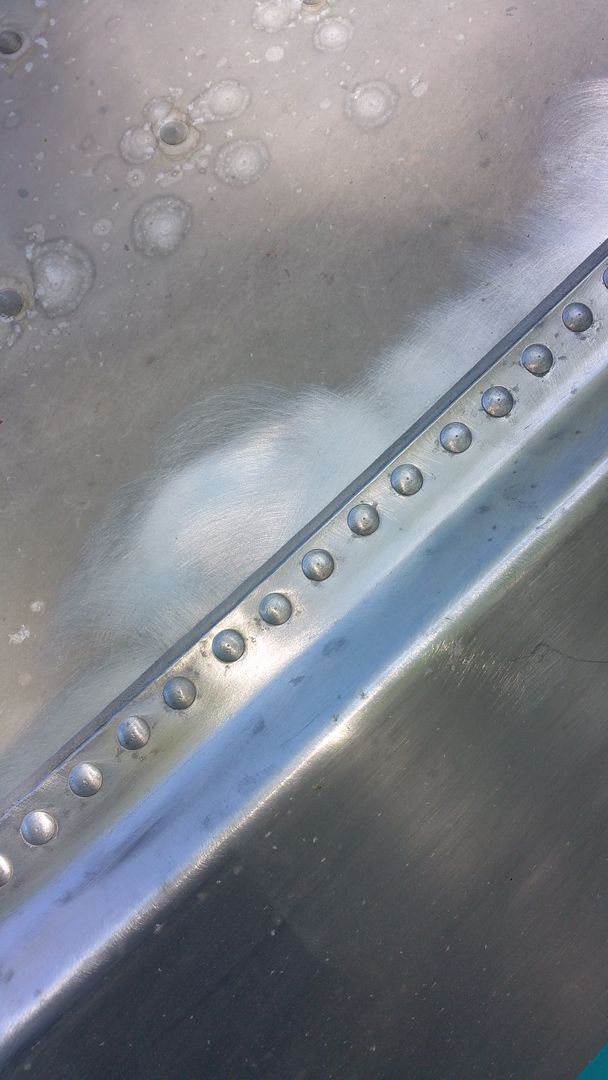
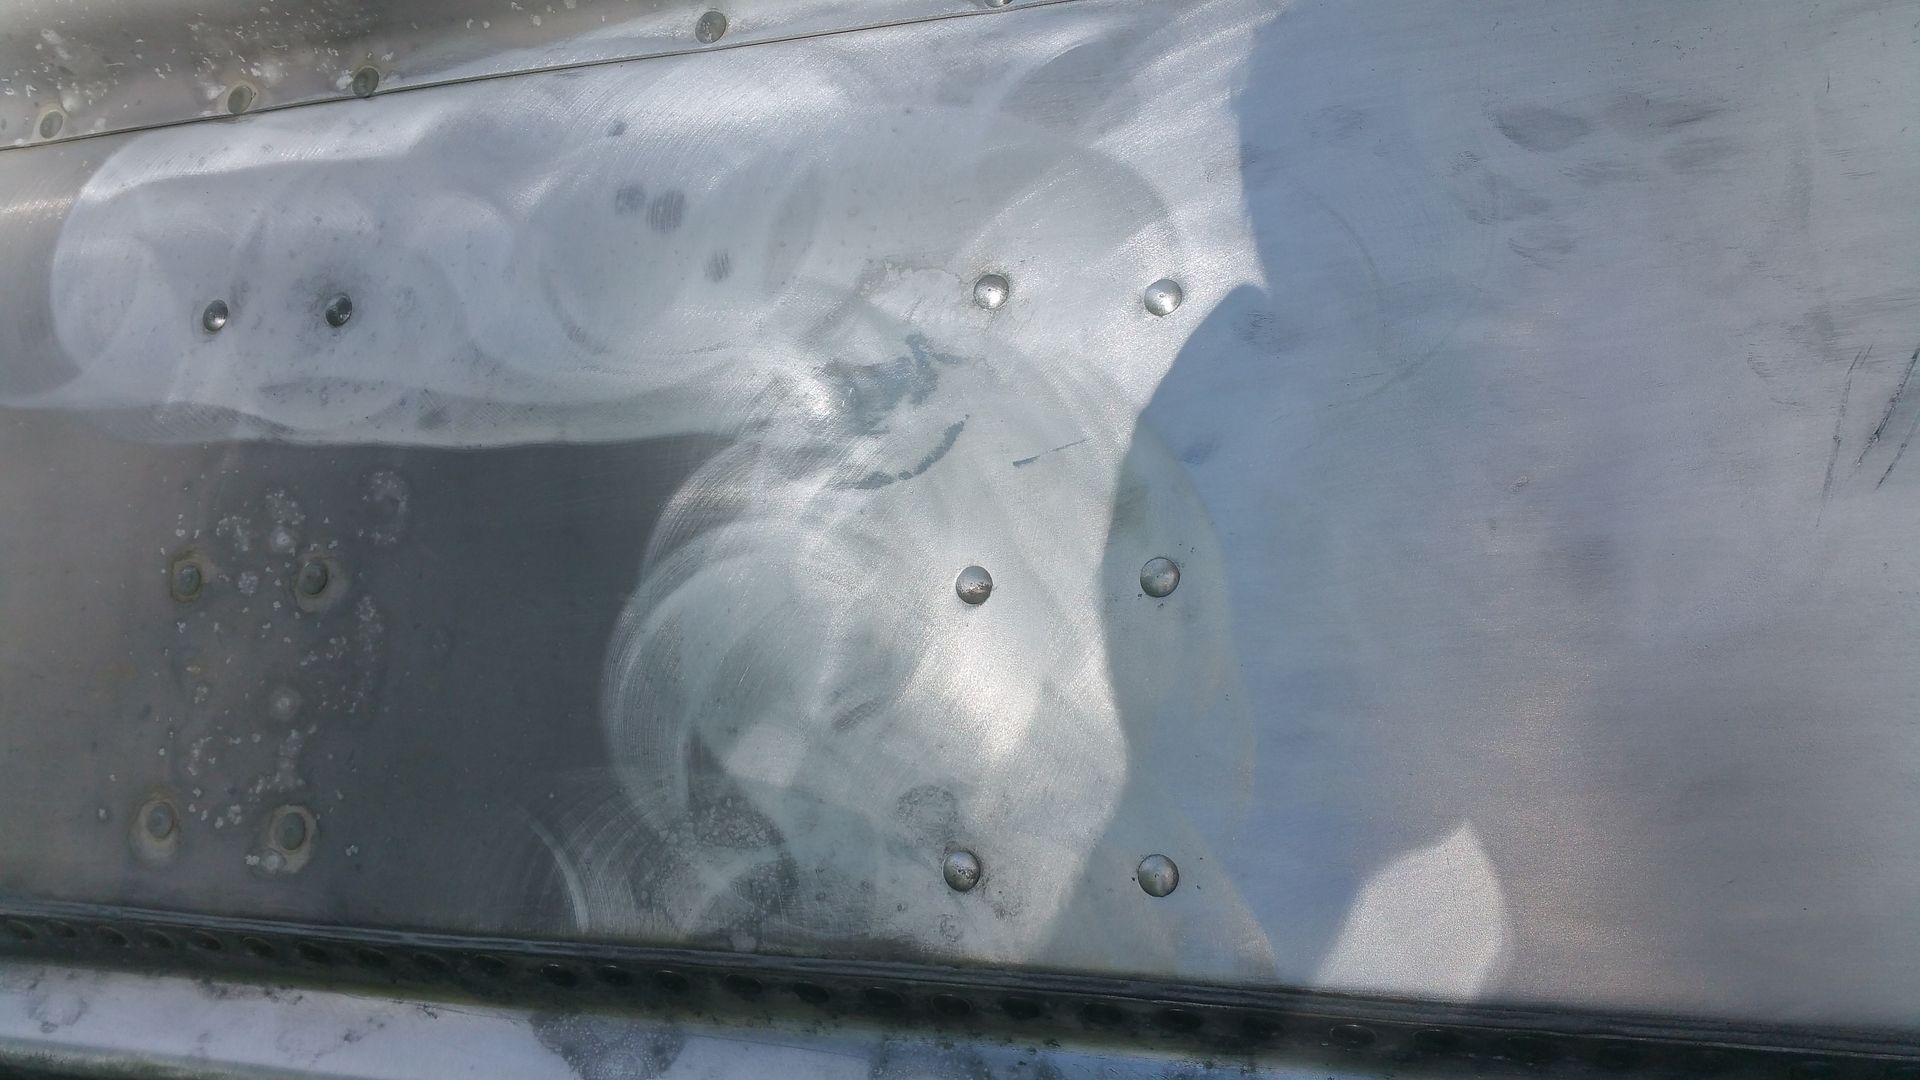
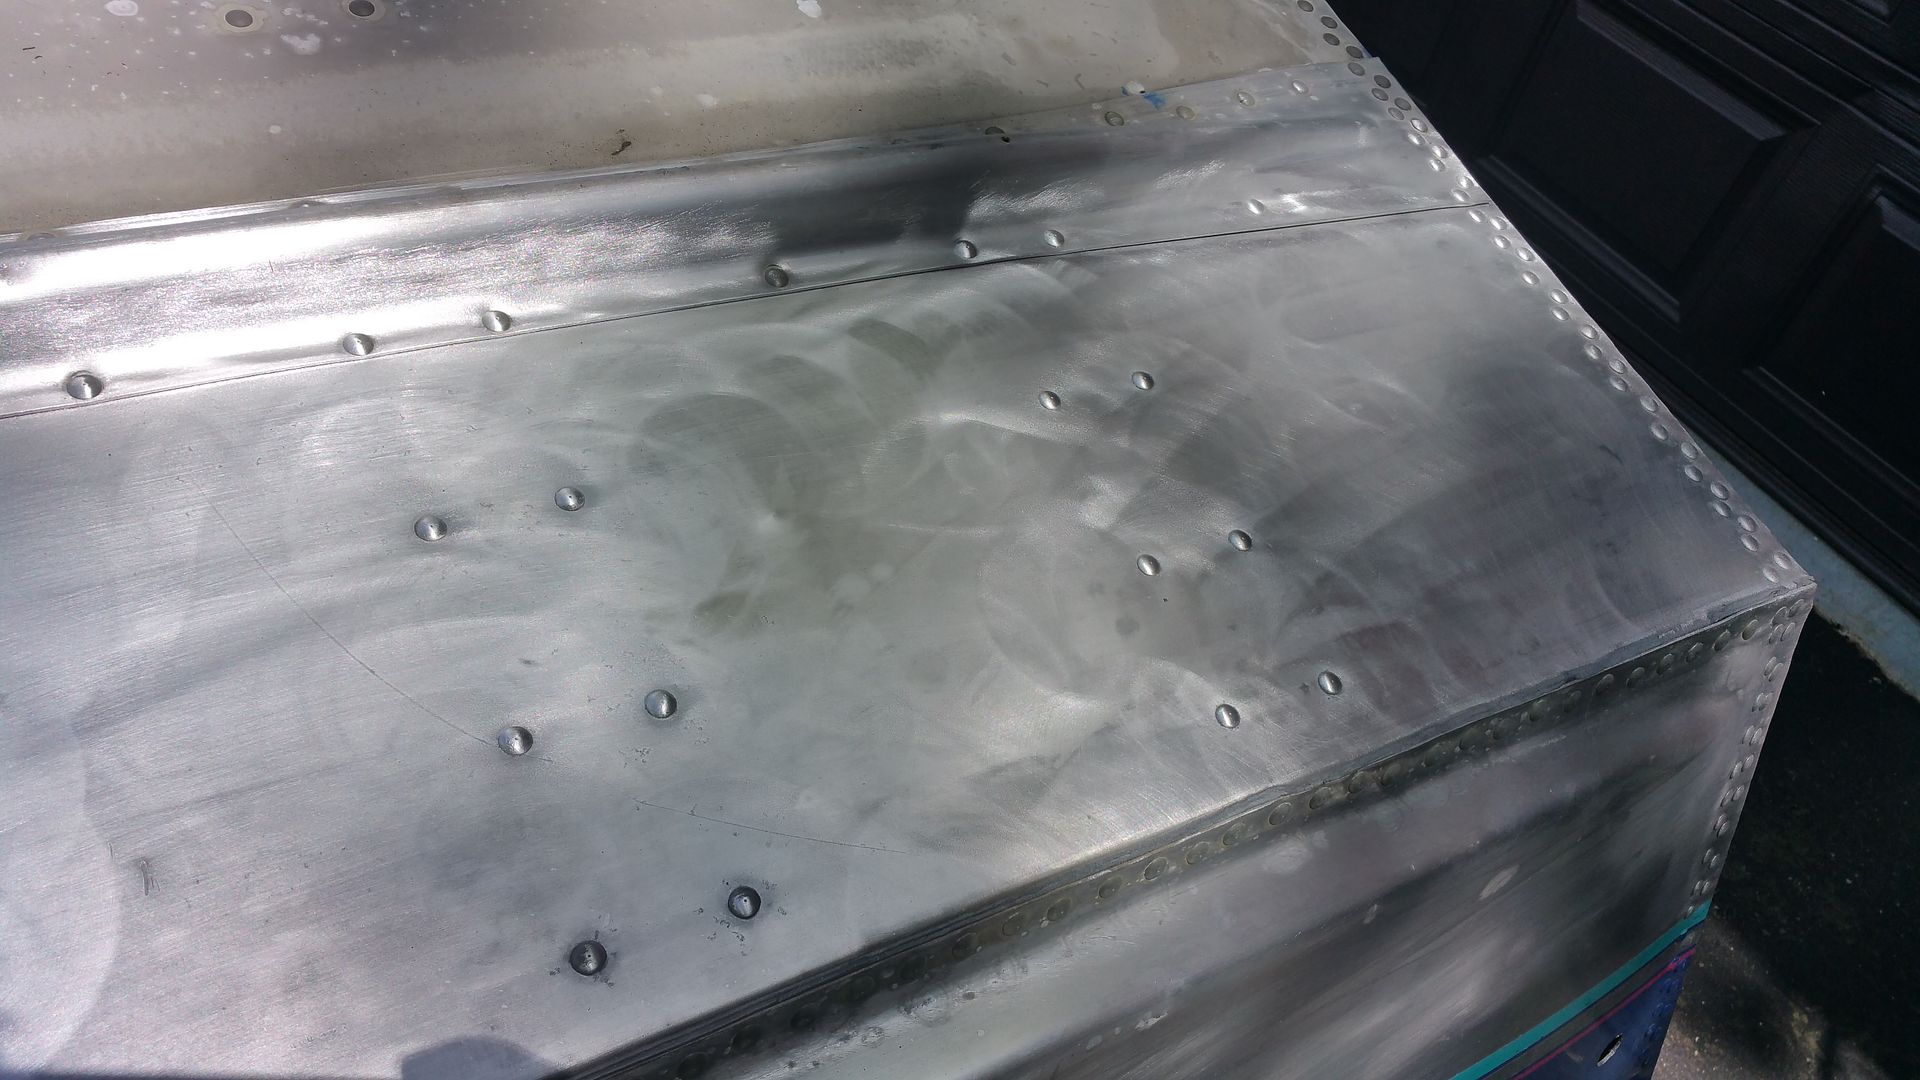
Question in regards to that, I have removed the oxidation layer with 3" nyalox cup brushes, and after that, rinsed it with water.

Let that sit a couple of days and than just today before work mixed up a 1 part to 1 part mixture of a product called ZING (hydrochloric acid chemical) and followed the directions on the bottle.

I plan to do it one more time to finish off the bottle I got this morning when I come home from work.

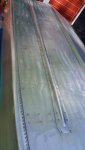
Is this all that needs to be done in regards to the oxidation? The surface brush revealed what I found in the original leak test and also a few more spots.

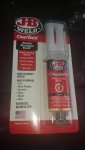
These we're all marked with marker. There we're 3-4 small sized holes, I'm thinking JB WELD for those?the seams were leaking good if you turn back to the vid. I also do not see any signs of major pitting, just those small holes ive marked. Also, question about GLUVIT PRODUCT.

I heard it was good and I plan to use it, should I seal the outside and inside? Or just inside? Do you paint it on with a paint brush or use a roller? Could you use a commercial sprayer to apply it? (My dad has one as is professional painter, but was unsure If that product would be sprayer friendly)

Anything else to use?

Thanks
 

Dignified09@gmail.com

Petty Officer 3rd Class
Joined
Apr 9, 2016
Messages
92
Here's the Hull after the surface brush and ZING acid wash.
 

Attachments

  • 20160518_163402.jpg
    20160518_163402.jpg
    87.3 KB · Views: 1
  • 20160518_163414.jpg
    20160518_163414.jpg
    89.5 KB · Views: 1
  • 20160518_163427.jpg
    20160518_163427.jpg
    94.3 KB · Views: 1

Dignified09@gmail.com

Petty Officer 3rd Class
Joined
Apr 9, 2016
Messages
92
Well I guess that didn't work for uploading pics, anybody know how from mobile? Its pretty annoying not being able to get pics up fast and freely, and on the go.
 
Last edited:

Watermann

Starmada Splash of the Year 2014
Joined
Jan 12, 2013
Messages
13,753
The hull is looking pretty clean to me as far as can be seen in a pic. I'm not sure what the green is seen in the pic since your boat wasn't painted? Reflection maybe?

I would do the hole repair first so you can seal it with the gluvit. I really like using the JB Water weld for filling holes as it's a 2 part stick epoxy that doesn't just run out of the hole and doesn't need a backer. It would be a good idea to have someone on the other side though to hold pressure and work the JB into the hole.

Gluvit is a 2 part epoxy that is very thin so it will seep into the smallest of spaces to seal them up. You should only use it on the inside as it hasn't any UV protection in it and I would expect you to make a huge mess with it just as I did last weekend and it was my 3rd time. If I were you I would get the 2LB size as it comes in a quart can that isn't full so you can add the catalyst into it. BUT with your size boat I would use a mixing cup and only activate half of it as it goes a very long ways. If you use too much it will run all over. After the first application cures the next day put on the 2nd half of the gluvit over the seams since they leaked so badly a double coat would be best.

Keep an eye on the seams after the application in case the gluvit is just dripping out, you may want to use some tape or something to dam it up on the outside if the seams are that bad.
 

Dignified09@gmail.com

Petty Officer 3rd Class
Joined
Apr 9, 2016
Messages
92
Boy it sure is annoying that I can't just take pictures and post them directly from my phone. I can't find a computer every time I need help or it's going to take years to finish this project. How do I upload them to show from mobile?
 

Dignified09@gmail.com

Petty Officer 3rd Class
Joined
Apr 9, 2016
Messages
92
Watermann, you mentioned jb waterweld stick, that has a maximum psi of 900.

Will this work? The clearweld? It has a Max of 4400 psi. My dad had purchased but I told him we need the marineweld (which I cannot seem to find anywhere) I find the stick version, and the syringe with a psi of about 3000 I think? But no luck on just the regular tubes.
 

Attachments

  • 20160520_175401.jpg
    20160520_175401.jpg
    94.3 KB · Views: 0
Last edited:

Dignified09@gmail.com

Petty Officer 3rd Class
Joined
Apr 9, 2016
Messages
92
Also, back to the painting. I've decided that we are only going to paint the bare aluminum for right now. (Tape off where the stripe is and paint) after fishing season is over I will look into having the graphics and topside Re done. This is just to save some time right now. I have a lot of work and as mentioned in the beginning, this is not a Ferrari. Thoughts and comments on this are welcome because again, I'm not an expert

So could someone please let me know the steps I need to take to get the lower half painted? My dad is pretty knowledgeable in the paint department but I trust you guys as well. I've read briefly on WOG tractor paint thread. But could use more help.

I've acid washed the Hull and it's looking pretty clean.

My goal is to get the Hull prepped for paint this weekend.

Thanks, Zach.
 

Attachments

  • 20160520_175401.jpg
    20160520_175401.jpg
    94.3 KB · Views: 0

Watermann

Starmada Splash of the Year 2014
Joined
Jan 12, 2013
Messages
13,753
Watermann, you mentioned jb waterweld stick, that has a maximum psi of 900.

Will this work? The clearweld? It has a Max of 4400 psi. My dad had purchased but I told him we need the marineweld (which I cannot seem to find anywhere) I find the stick version, and the syringe with a psi of about 3000 I think? But no luck on just the regular tubes.

If your filling holes in aluminum that has to be sanded smooth then you don't want the material to be hard as a diamond, that's why I use the water weld, you can sand it easily. I tested it out in a scrap piece of AL before using it, you can beat the repair with a hammer several times before it dislodges. I use it on gunnels and the transom that don't get much in the way of hammering. It's what I use as boat bondo. For weakened AL that's pitted to the point of having a holes or a crack that's below the water line or on the bottom then I would use an AL patch back buttered with 5200 and riveted on. That makes a 100% strong repair that will take considerable hammering.

You can use any of those other products if you won't have to sand it smooth. My preference for filling pits below the waterline that have to be sanded smooth is Marine Tex, I think you got the name wrong, here's a link to it. http://www.iboats.com/Marine-Tex-Epo...-view_id.40394
 
Last edited:

Watermann

Starmada Splash of the Year 2014
Joined
Jan 12, 2013
Messages
13,753
What do you plan on using for the paint application?

Personally I would do all the painting that's needed at once and have it done. Since you've decided to do it in steps then taping off and painting is about all you can do. With the AL deoxidized I wipe the hull down with a solvent (normally the reducer your paint calls for) and then shoot on a coat of self etching primer, wait 2 hours then a coat of regular primer and the next morning 2 coats of paint waiting 2 hours for the 2nd coat. I try to get the priming/painting all done within 24 hours. I use a HVLP gun but if you use a roller and brush then it may be a different process.

Good luck and have fun with it!
 
Top