Transom repair bayliner 1952

Marcel1952

Cadet
Joined
Aug 24, 2015
Messages
24
Hello all on this great forum.

I'm living in Sweden so forgive me when I write in poor English.

I recently got a bayliner 1952 capri cuddy cabin for free with some issues.
The deck has soft spots and the outboard drive is shot.
A lot of TLC so to say.

As I was dismanteling the deck to look deeper in the boat, I found that the foam on starboard side was smelling like gasoline.
I got the tank out and did a pressure test and seems fine so I think it's from spillage or a earlier rotten hose to the tank.
I drilled some test holes and the stringers are still rock solide so thats a refief and saves me some work.
However when I lifted the engine and gimbal unit out I saw that there is some delamination from the outer skin and the plywood just at the bottum of the keyhole.
So i'm afraid that the transom has to be replaced.
Now here is my question:
Looking at the inside of the engine bay I see a thick part on the transom where the keyhole is cut in ( approx 50x60 cm ), next to that its thin again.
After taking out a bolt on the thinner side it looks like its only polyester and no plywood at all.
Did anyone here a simular repair and is it correct that there is only plywood on the transom within the width of the stringers?
If possible some pictures of the repair would be appriciated.

Hope someone can get me in the right direction.

Marcel
I
 
Last edited:

zool

Captain
Joined
Aug 19, 2012
Messages
3,432
Welcome to drydock, Marcel,

It is common to only have ply in the center of the transom, and not the full width, but since you most likely need to replace it, its usually prudent to take a cutoff wheel and remove the entire inner skin, to expose the entire core, then replace accordingly, and reglass a new inner skin wrapping the hull sides..

Do need pics tho, to see whats going on..
 

Marcel1952

Cadet
Joined
Aug 24, 2015
Messages
24
Thanks for the quick reply Zool.
I will upload some pictures later today so you get the idea what I mean.
 

Marcel1952

Cadet
Joined
Aug 24, 2015
Messages
24
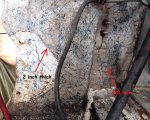
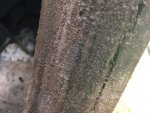
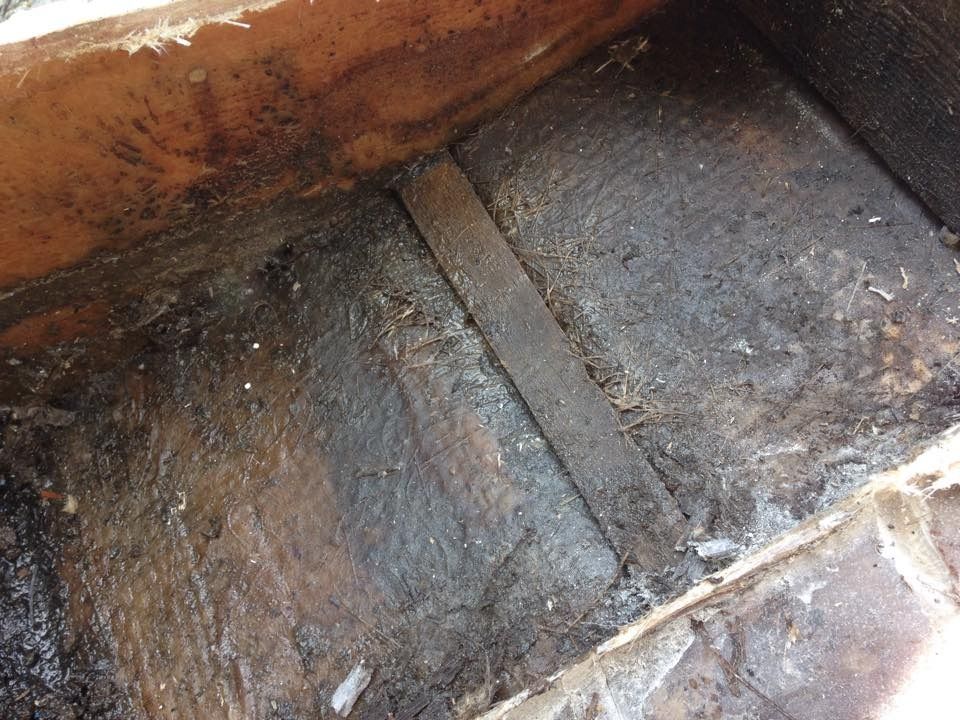
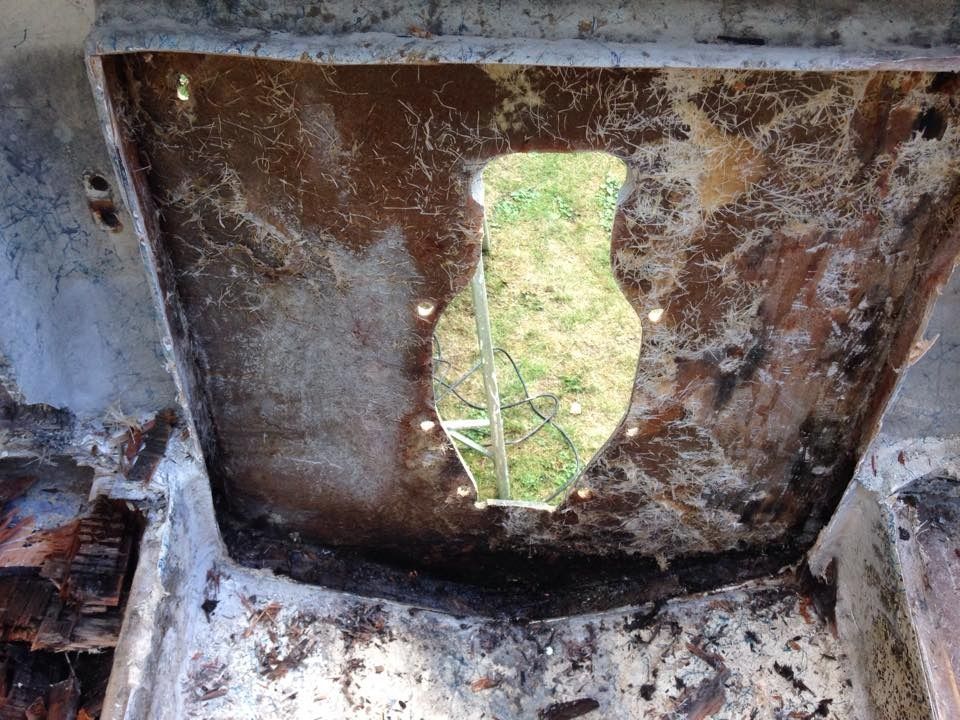
Here are 2 pictures 1 is the delamination on the base side of the keyhole taken from the outside.
The otheroneis the side of the keyhole plate at the inside, with some comments.

Hope this will help.

Marcel
 

Attachments

  • inside1.jpg
    inside1.jpg
    291.3 KB · Views: 0
  • delaminatie.jpg
    delaminatie.jpg
    80.5 KB · Views: 0

Woodonglass

Supreme Mariner
Joined
Dec 29, 2009
Messages
25,927
Speaking for me, they're a bit too close. Back off just a bit so we can get a better perspective of what we're looking at.;) Have you drilled any core samples on the inside of the transom to determine if the wood is wet?
 

DeepBlue2010

Lieutenant
Joined
Aug 19, 2010
Messages
1,305
image_104916.jpg
The situation you are dealing with is pretty common with Bayliners. The picture above is from my 22, as annotated in the pictures, the keyhole was surrounded by 2 inch think ply then by 1 inch thick after that and from the stringers to the either side of the transom was no wood at all. The is just Bayliner saving some dollars in cheap production. They figured if you want to add a trolling motor in the future, you just need to worry about supporting the transom then. You can follow the same design and you will be fine. You can also identify the areas of the transom that will be stressed out (swimming ladders, trolling motors, etc ) and extend the 1 inch layer to cover these. In my build, I will keep the 2 inch area around the keyhole, of course, but the 1 inch will extend to cover the whole transom.


The delamination in the wood at the edge of the keyhole in your picture # 2 is also normal is the ransom is rotted and need replacement. When you get this stage, we can discuss different techniques of protecting the edges.

One of these techniques is to build a "lip" around the keyhole as you see in my picture but there are other simpler and as effective ways to do also.
 
Last edited:
Marcel1952

Cadet
Joined
Aug 24, 2015
Messages
24
Great information deepblue,
I was already thinking of something like your lip to protect the inside of the keyhole.
However my transom is looking slightly different than yours, just next to the 2 inch plywood there is no wood at all on my transom.
Just 2 inch almost to the stringer and between there a filled gap of approx 1 inch.

@ woodonglass,
It's raining cats and dogs now and the boat is coverd so need to wait until tomorrow to make some wide angle photo's.
I did not drilled any holes to check as I thought delamination was automaticly telling me that the wood is at least wet and hard to dry out anyway.
If its bad wood, I think it's just a small part at the bottom but hey, lets skip the stage of 6 weeks doubt if I shall take it out or not and just face it. :)
 

Marcel1952

Cadet
Joined
Aug 24, 2015
Messages
24
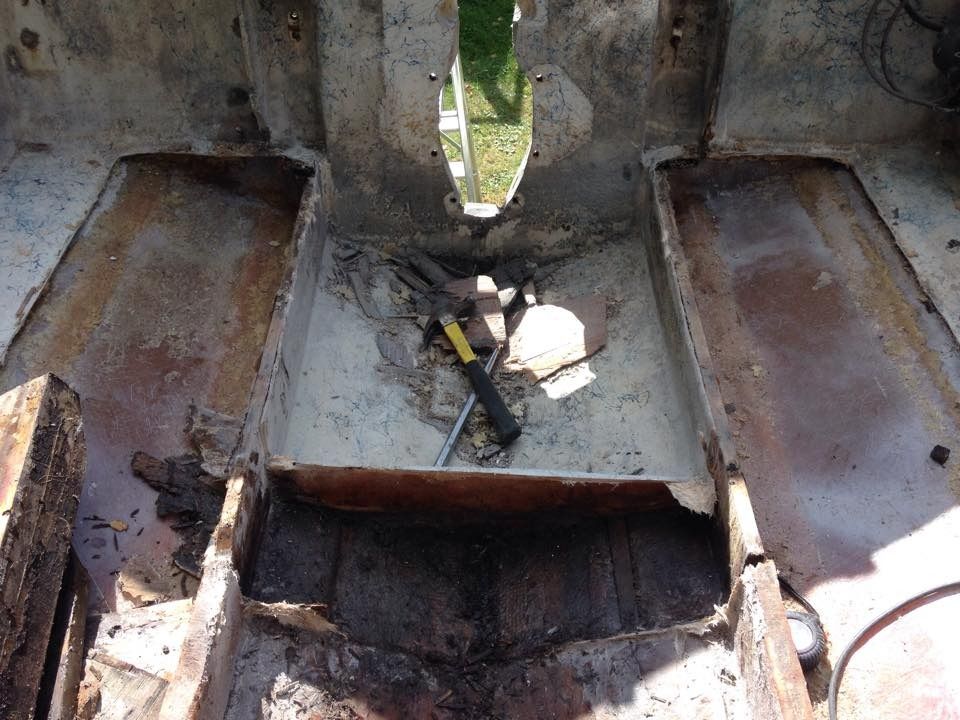
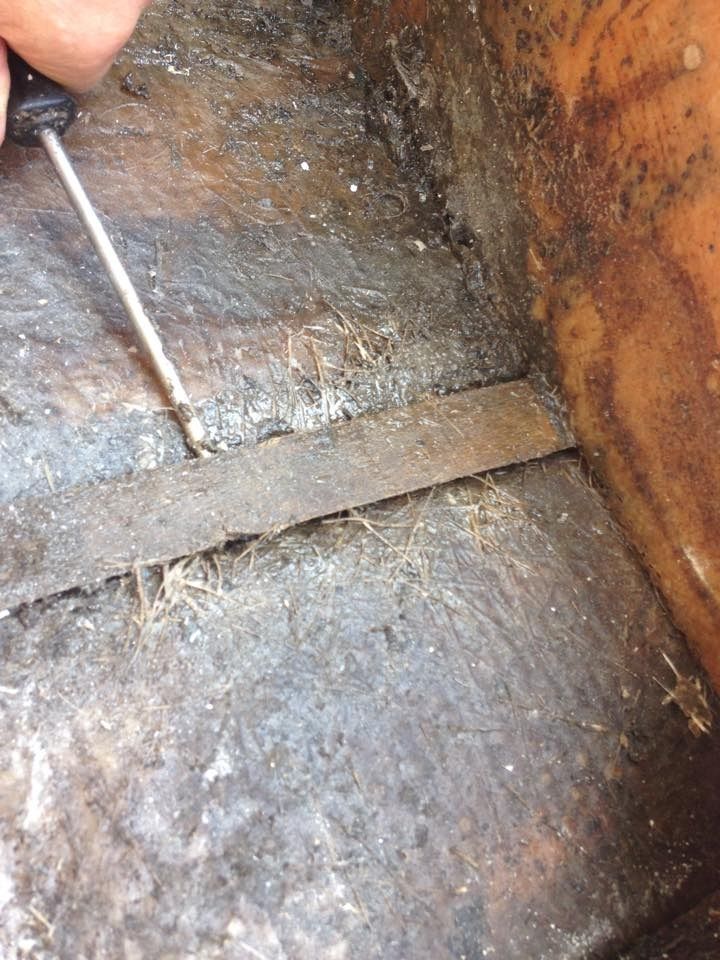
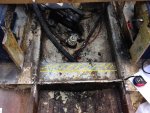
Today I cleande out the engine area.
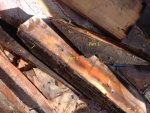
I found under the motor bracket a piece of wood on both sideds.
I do a lot of reading at all availlible information on internet but never came across this part.
Does anyone recognize this?
Is this embedded in the hull from back to front?
Is this for structural purpose?

This is where the wooden block are covered with polyester.
steun%201.jpg


This is the wood part shaped in a V in the hul, not covered.

steun%202.jpg


steun%203.jpg


Hope someone can point me in the right direction.
 

DeepBlue2010

Lieutenant
Joined
Aug 19, 2010
Messages
1,305
The V shaped wood fits inside the strakes of the hull. If it is rotted, replicate it and put it back and glass over it. Use the right procedure of pre saturate the wood with resin before glassing.

Congrats on the transom! Good progress. I think you made things a little difficult for yourself trying to keep the edges/lip intact. You can glass the new transom with these edges there. However, I would have cut it and reglassed the transom to the hull
 
Last edited:
Marcel1952

Cadet
Joined
Aug 24, 2015
Messages
24
Okay as I can see it, its just a small piece under the engine support where the V shape wood is bad.
Is this structural for strength ?

I will take the edges away, this is easier when the wood is removed and get the grinder as flat as possible.
 

Marcel1952

Cadet
Joined
Aug 24, 2015
Messages
24
Made some good progress.
All the rotten wood is gone and started the very nice grinding process. :facepalm:
Could not imagine that some will do the grinding without the full body,mouth and ear protection.
I think I have already 5 kilos of dust collected and not even half way.
I'm wearing normally glasses and with the saftey glasses over them, it is a real pain to keep visibility, anyone any tips for that?

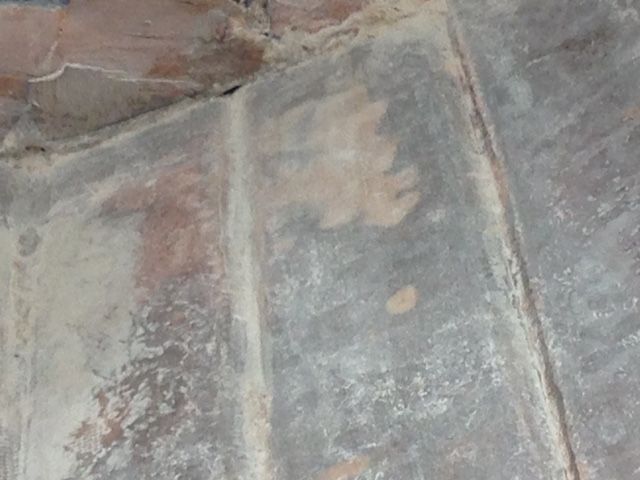
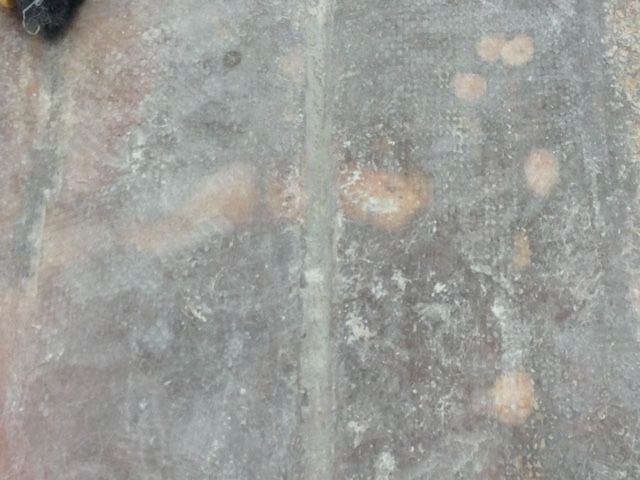
Another thing I need help on, after the grinding today I saw a lot of light spots in the hull, does this mean weak spots?
Its all over the hull.
Do I need to grind them out and glass them again?
I realy need some advice how to tackle this.


A little closer on another spot
 

Marcel1952

Cadet
Joined
Aug 24, 2015
Messages
24
Does any of the iboat experts have any idea what i'm facing with the light spots?
I will start at the next step soon but realy need to know if I have some additional work to do on those sopts or that I'm okay.

All help is highly appriciated.
 

Woodonglass

Supreme Mariner
Joined
Dec 29, 2009
Messages
25,927
Well, I'd grind on one of em and see if it's a bubble or just discoloration. I suspect it's just the latter and nothing to worry about.;)
 

Marcel1952

Cadet
Joined
Aug 24, 2015
Messages
24
Great will try that this weekend.
Just another question, I can get for free a sheet of 1.1/4 of divinycell H80.
I was thinking of using this for my transom.
Does anyone have experiance with this as a core material for transoms?

Is it better than plywood or not?
 
Last edited:
Woodonglass

Supreme Mariner
Joined
Dec 29, 2009
Messages
25,927
Never used it but have researched it a bit. It is NOT totally water proof. It will absorb water. It is fairly stout but will flex a bit as well. Since this is an I/O install not sure how much stress/flex is carried in this case (I"m not an I/O guru).

Having said all of the above and from what I have learned about I/O's etc. here on the forum and transoms in genereal...IMHO, for your application, If you seal the Plywood correctly and do a good job of installing and then do good care and maintenance on the outdrive and boat... This transom restoration will last you a lifetime and be a much stronger install. But...That is just my Old Dumb Okie opinion!!!:eek::D;)
 
Last edited:
Marcel1952

Cadet
Joined
Aug 24, 2015
Messages
24
Due to the Swedish winter it was not possible to do much on the boat but now the temperature is going up again and back to building.

I will start with the stringers and bulkheads to put back in and then the motor mount.
About that I have a question.
The old motor mount was a very thick piece of wood in 2 parts.(see pictures) barely covered with glass.
The bracket on the engine however is only 5 cm wide one.
In order to save some space in the bilge area, I want to make the mount smaller (half of the original), cover it with a proper amount of glass and relocate the bulkhead a little.

Any thoughts about doing this?

image_242809.jpgimage_242810.jpg
 
Last edited:
Woodonglass

Supreme Mariner
Joined
Dec 29, 2009
Messages
25,927
Typically there's a reason the engineers made the mounts the way they did. I'd say put it back the way it was.;)
 
Top