- Joined
- Oct 25, 2011
- Messages
- 25,260
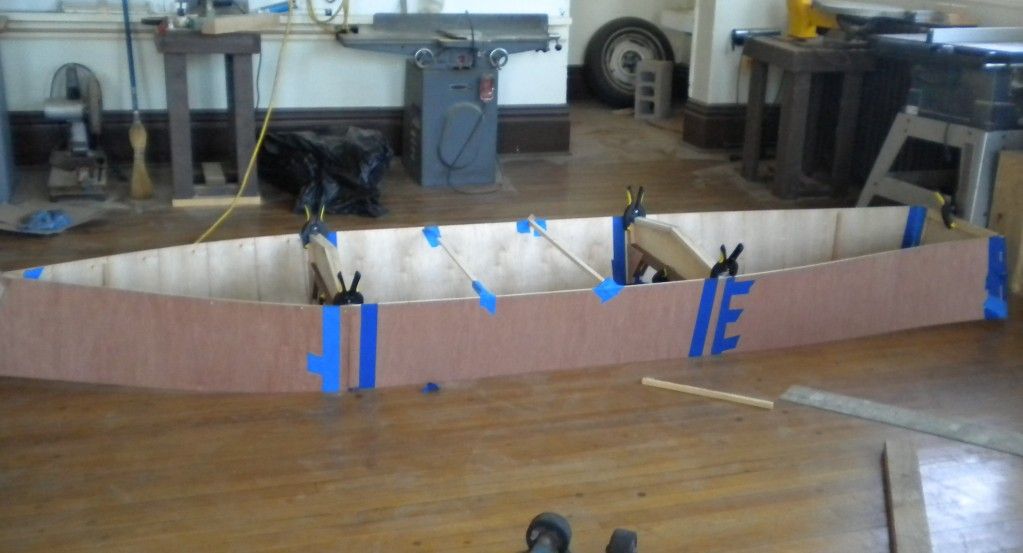
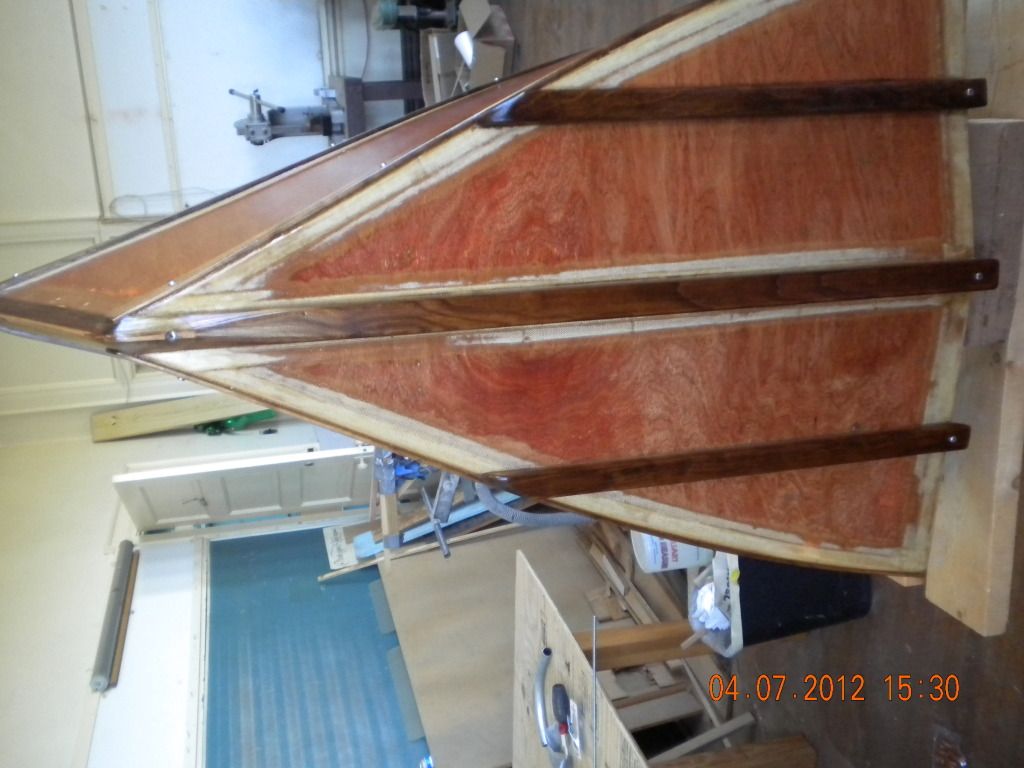
So, there seems to be a lot of activity going with on my newly brought home Starcraft Jet (year unknown) and my 1960 Glastron FireFlite. It only makes sense to honor the boat that started it:
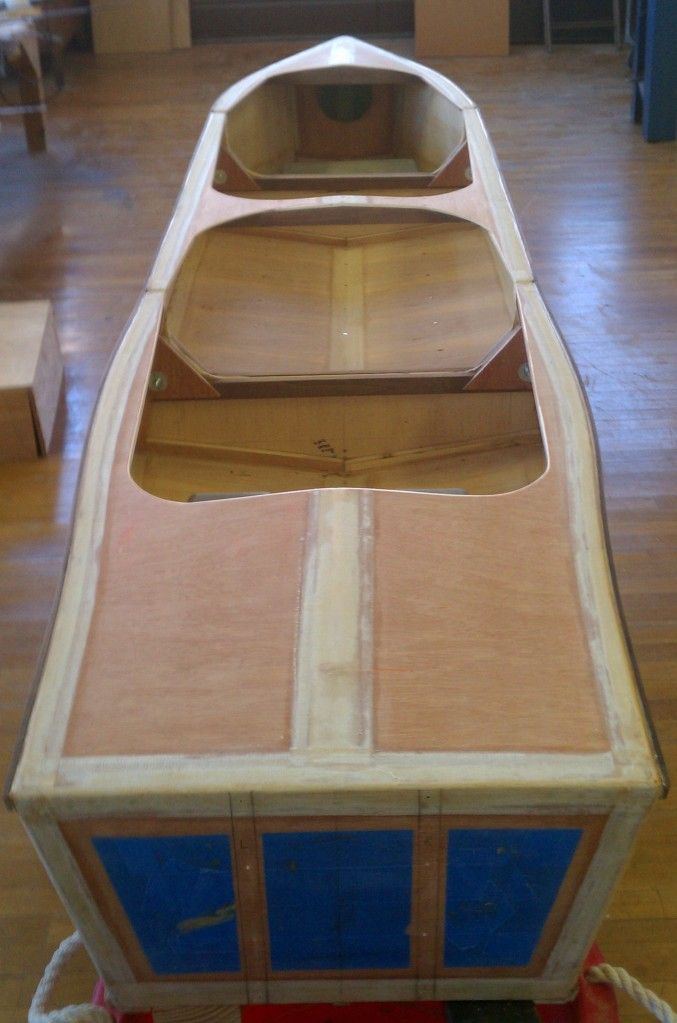
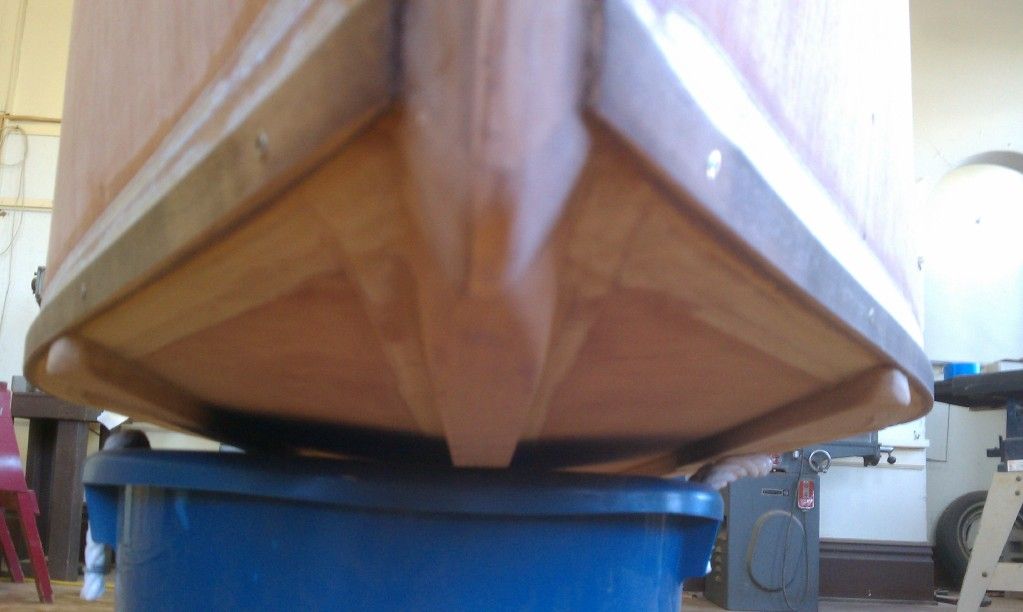
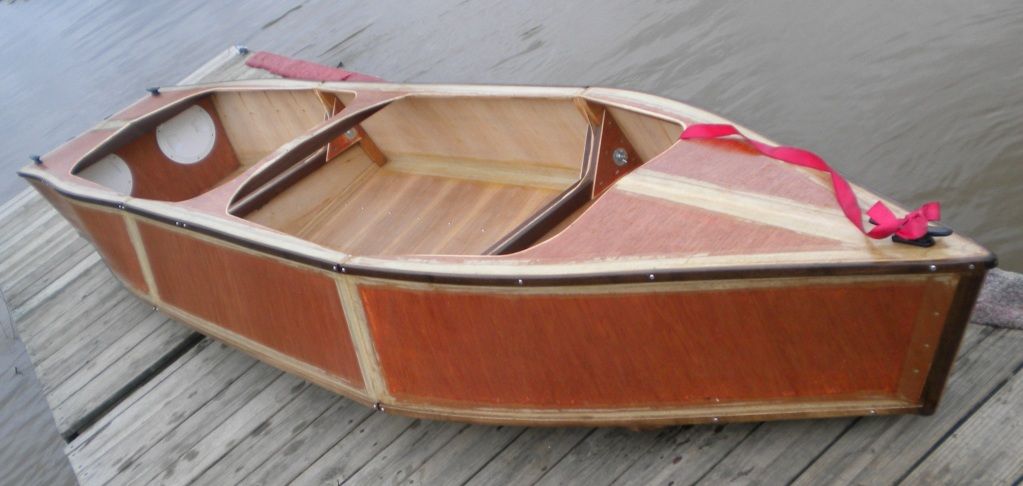
Either a 2 part solo canoe/kayak:
")
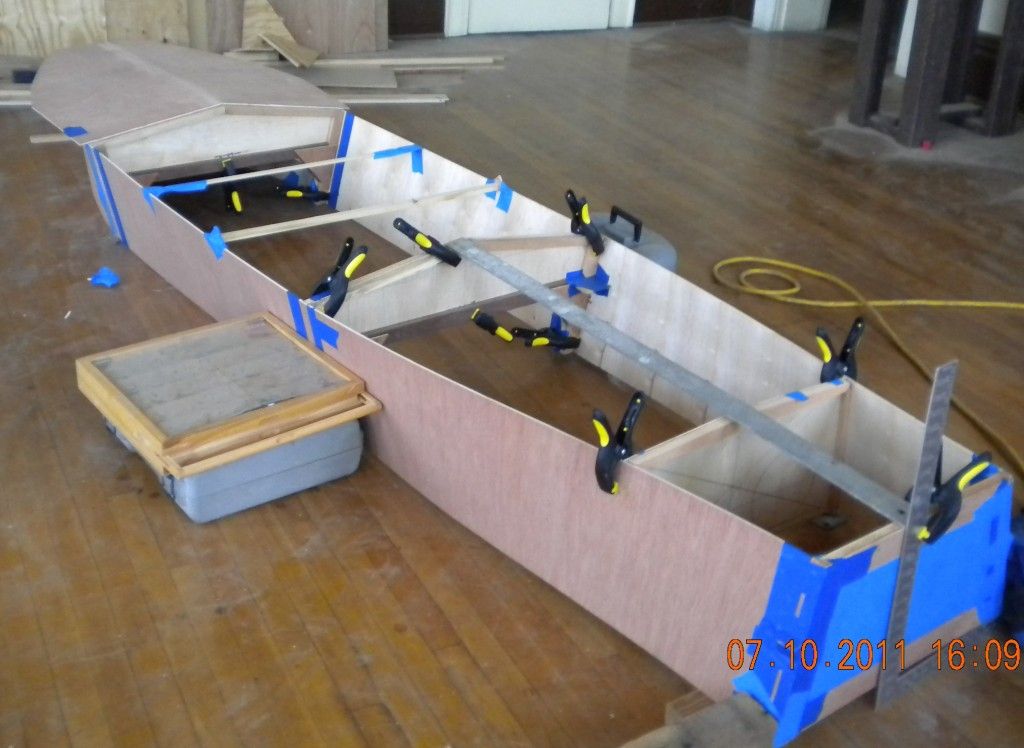
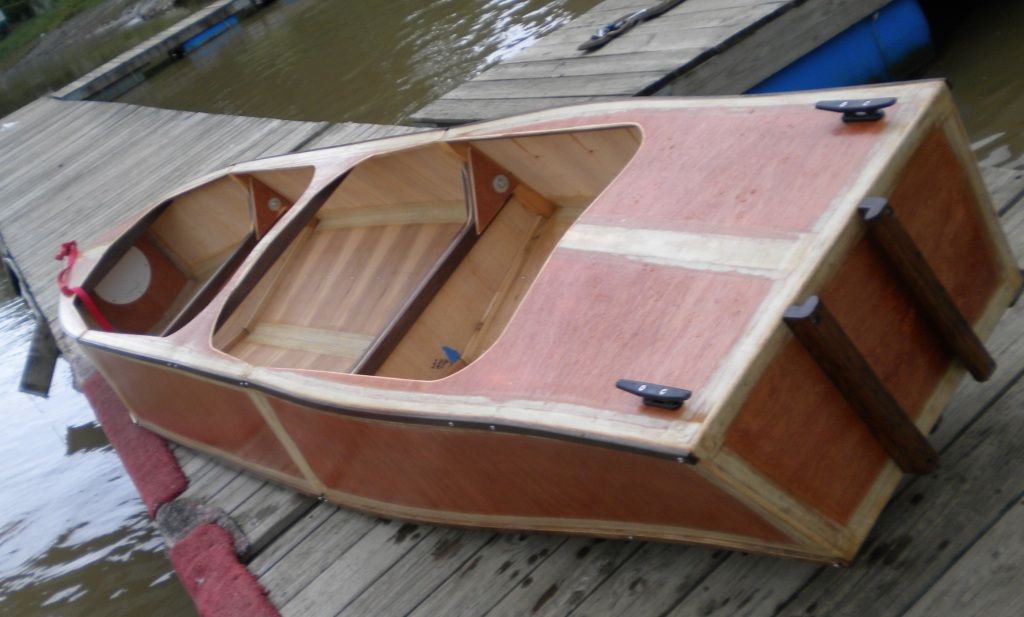
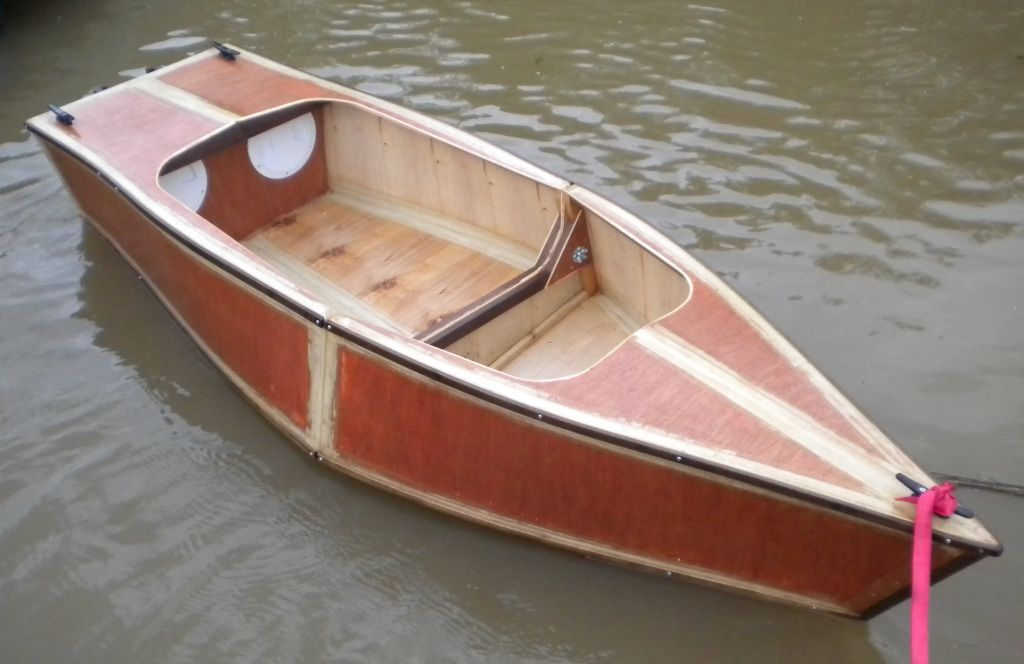
Or a 3 part tandem:
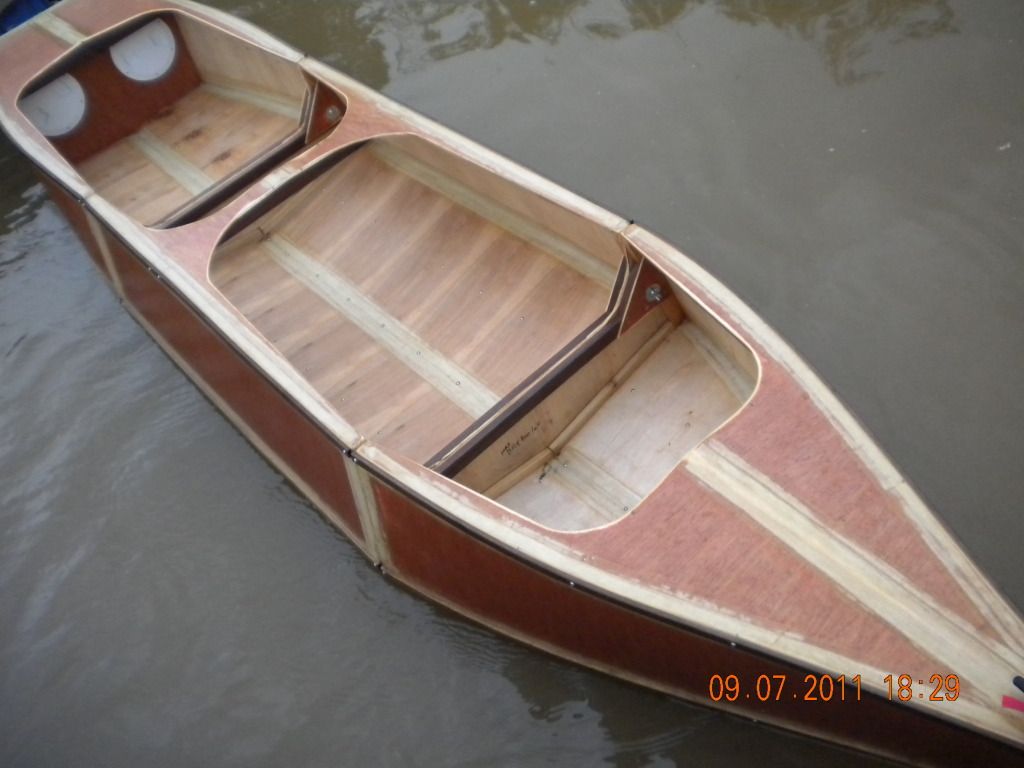
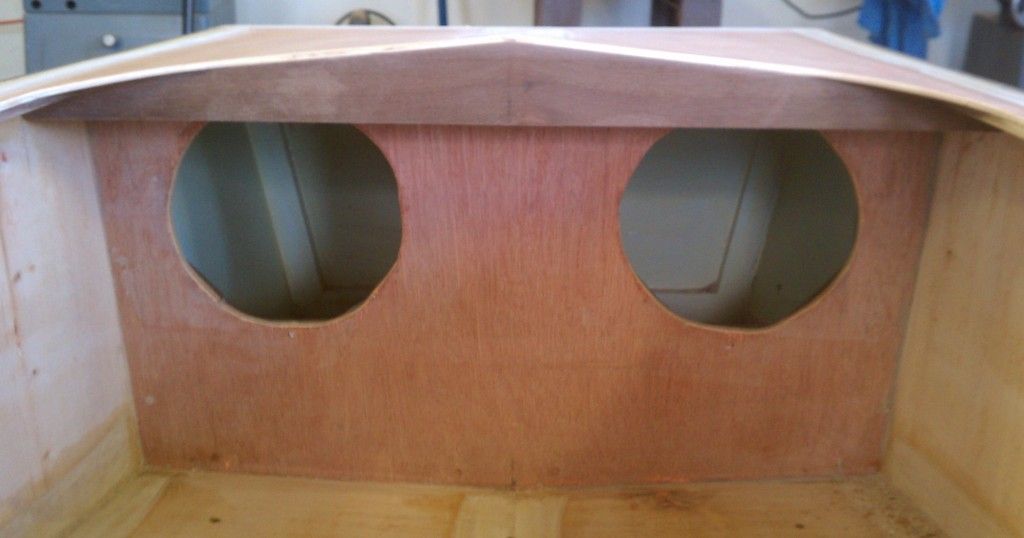
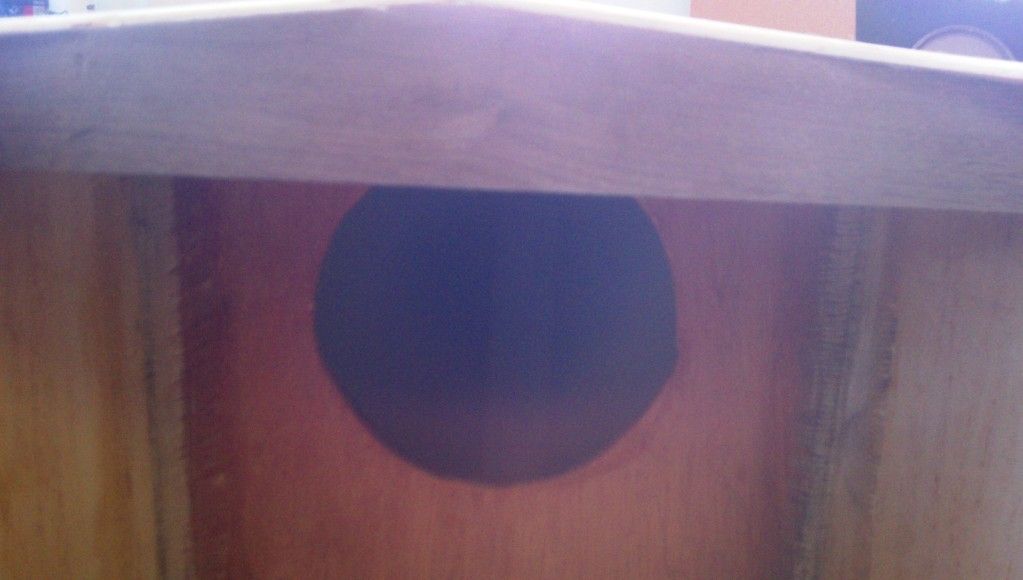
With an optional trolling motor slide mount:
Mine measures:
Maximum beam across bottom chine of center module = 34"+/-
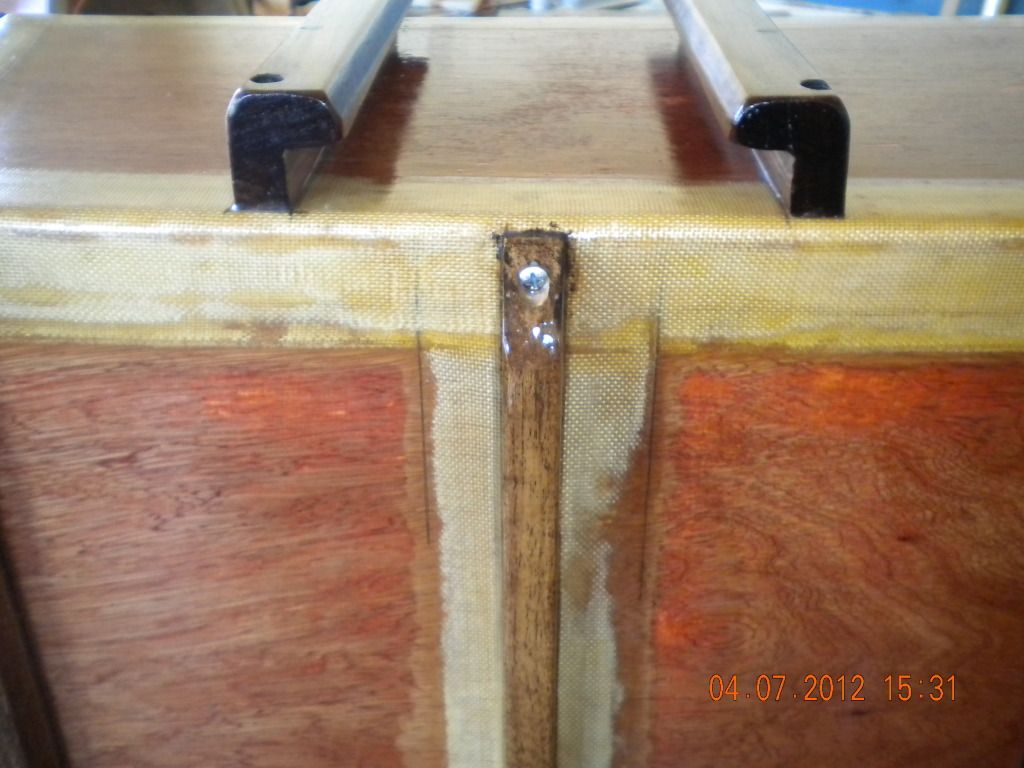
Beam at module bulkheads for through bolts = 32.5"+/-
Transom width = 23"
3pc length = 11' 9" +/-
2pc length = 7' 9" +/-
'Rated' for a 30lb thrust electric trolling motor & standard battery not a deep cycle (weight) battery is kept in rear of forward most module, under your knees.
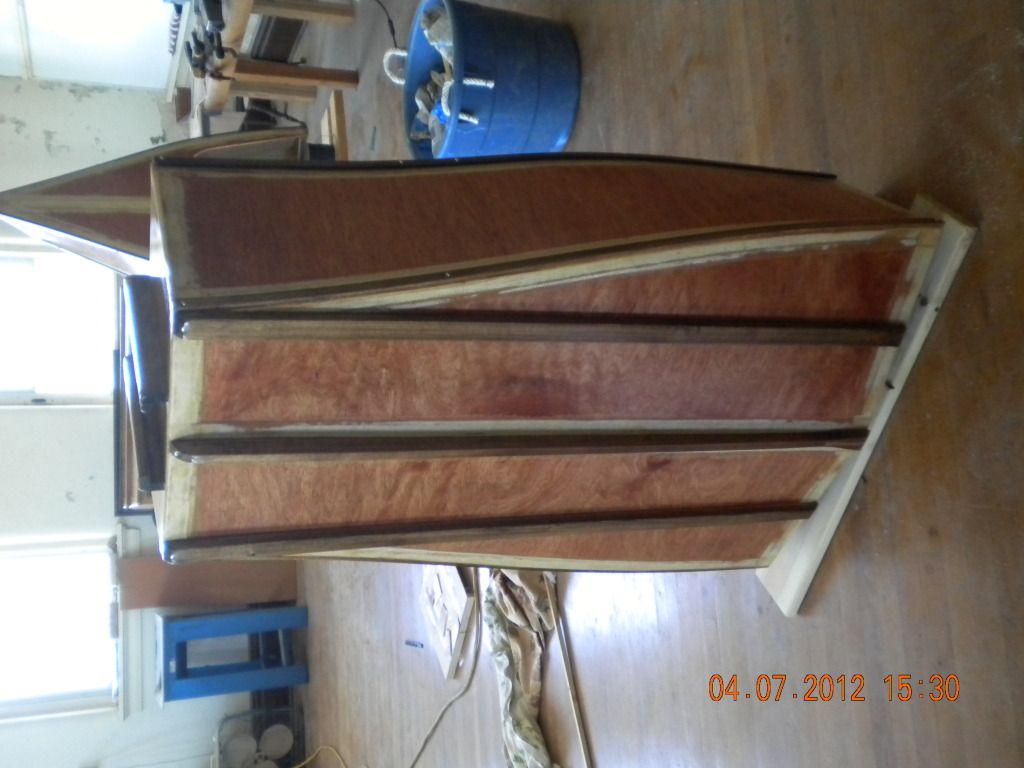
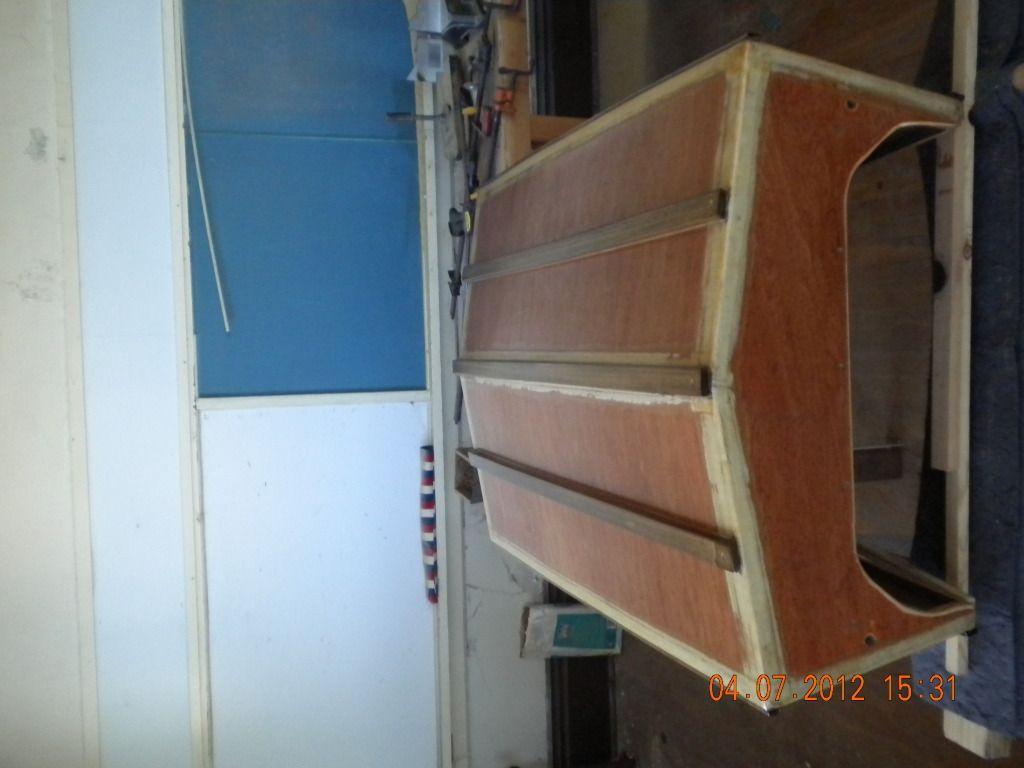
Either a 2 part solo canoe/kayak:
Or a 3 part tandem:
With an optional trolling motor slide mount:
Mine measures:
Maximum beam across bottom chine of center module = 34"+/-
Beam at module bulkheads for through bolts = 32.5"+/-
Transom width = 23"
3pc length = 11' 9" +/-
2pc length = 7' 9" +/-
'Rated' for a 30lb thrust electric trolling motor & standard battery not a deep cycle (weight) battery is kept in rear of forward most module, under your knees.