Sunken Cape Craft, Bringing back to life...

jbcurt00

Moderator
Staff member
Joined
Oct 25, 2011
Messages
25,056
Re: Sunken Cape Craft, Bringing back to life...

Nice to see ya GT.

Have a good week coming up!

Nice to be getting close on this one................
 

UncleWillie

Captain
Joined
Oct 18, 2011
Messages
3,995
Re: Sunken Cape Craft, Bringing back to life...

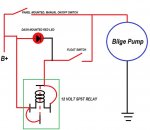
I believe you will find that the bilge pump circuit will not work as planned.

BilgePumpWiringX.jpg

The manual Switch will operate the pump as expected.
But when the float switch activates, the relay is going to close and bypass the LED and the Relay itself.
This will cause the relay to drop out and then re-energize itself multiple times a second.
It will become a buzzer and not a good one at that.
The pump is going to run very slowly, if at all.

There is no reason to attempt to wire the LED without a ground, as ground is available just inches away on the speedometer lamp connection.

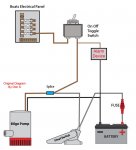
Try this wiring instead.
BilgePumpWiring.jpg

The Bilge Pump Alarm will Illuminate/Sound for both the Float and the Manual Switch.
Plus you only need to run one dedicated wire from the Dash to the pump in the rear.
 
Last edited:

GT1000000

Rear Admiral
Joined
Jul 13, 2011
Messages
4,916
Re: Sunken Cape Craft, Bringing back to life...

Uncle Willie,
Thank you, Sir! You are absolutely correct and I am in the process of re-doing the wiring as depicted in Don S' diagram.
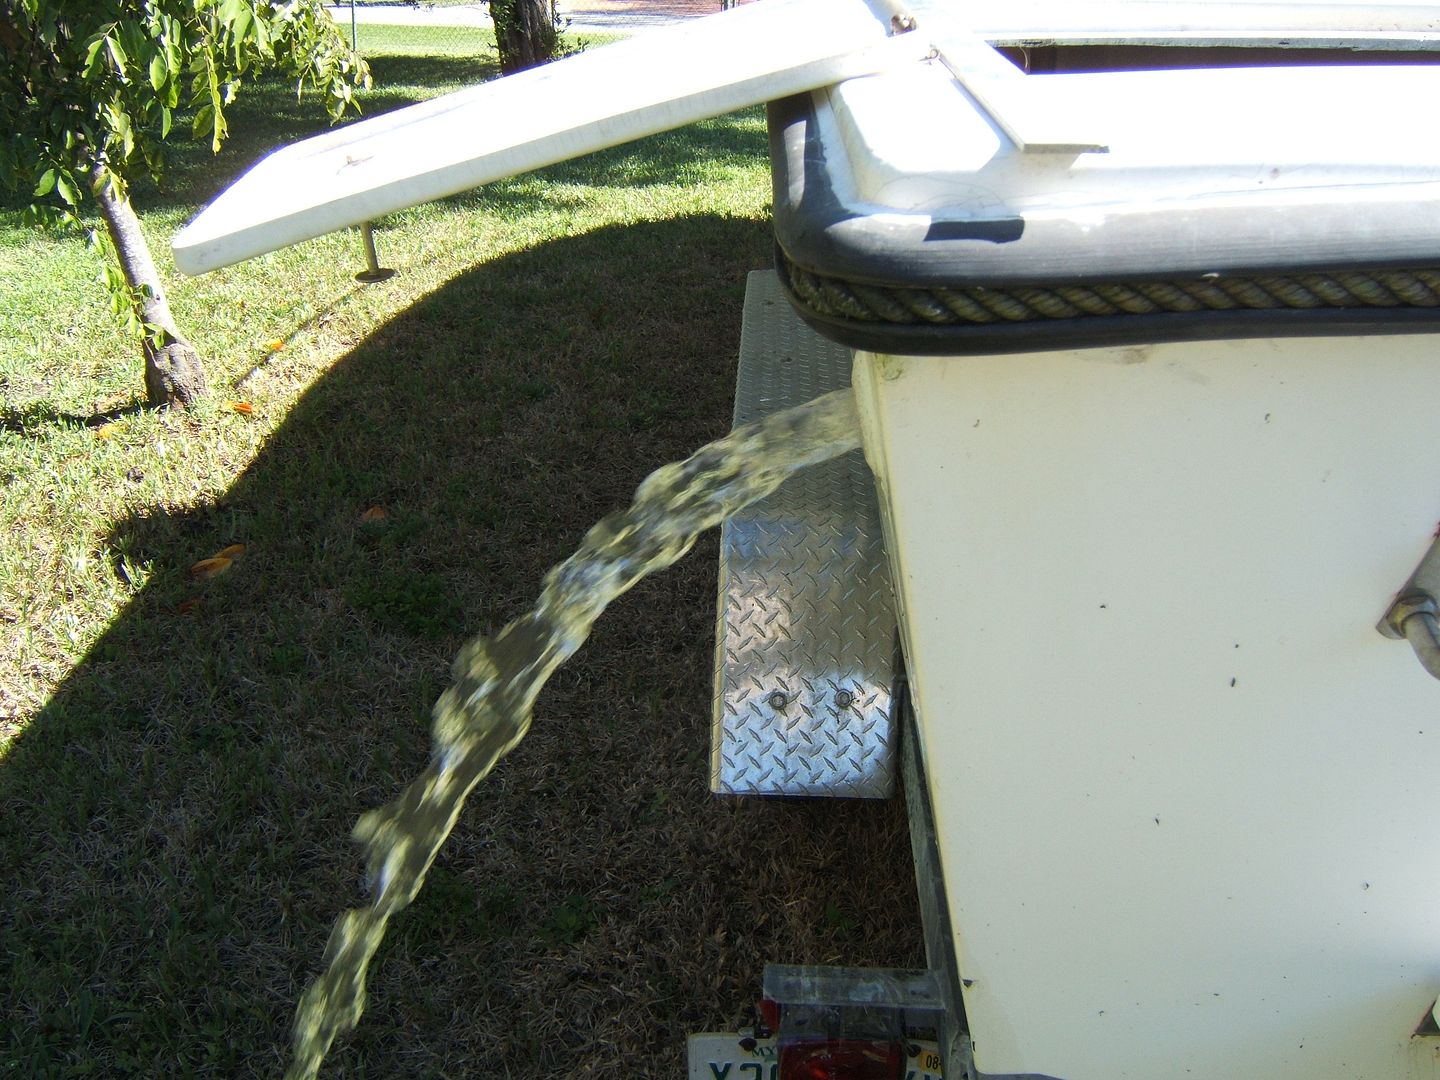
Here are a couple of pictures to prove it...
The first one is the flow from the bilge pump through the float switch as done incorrectly...
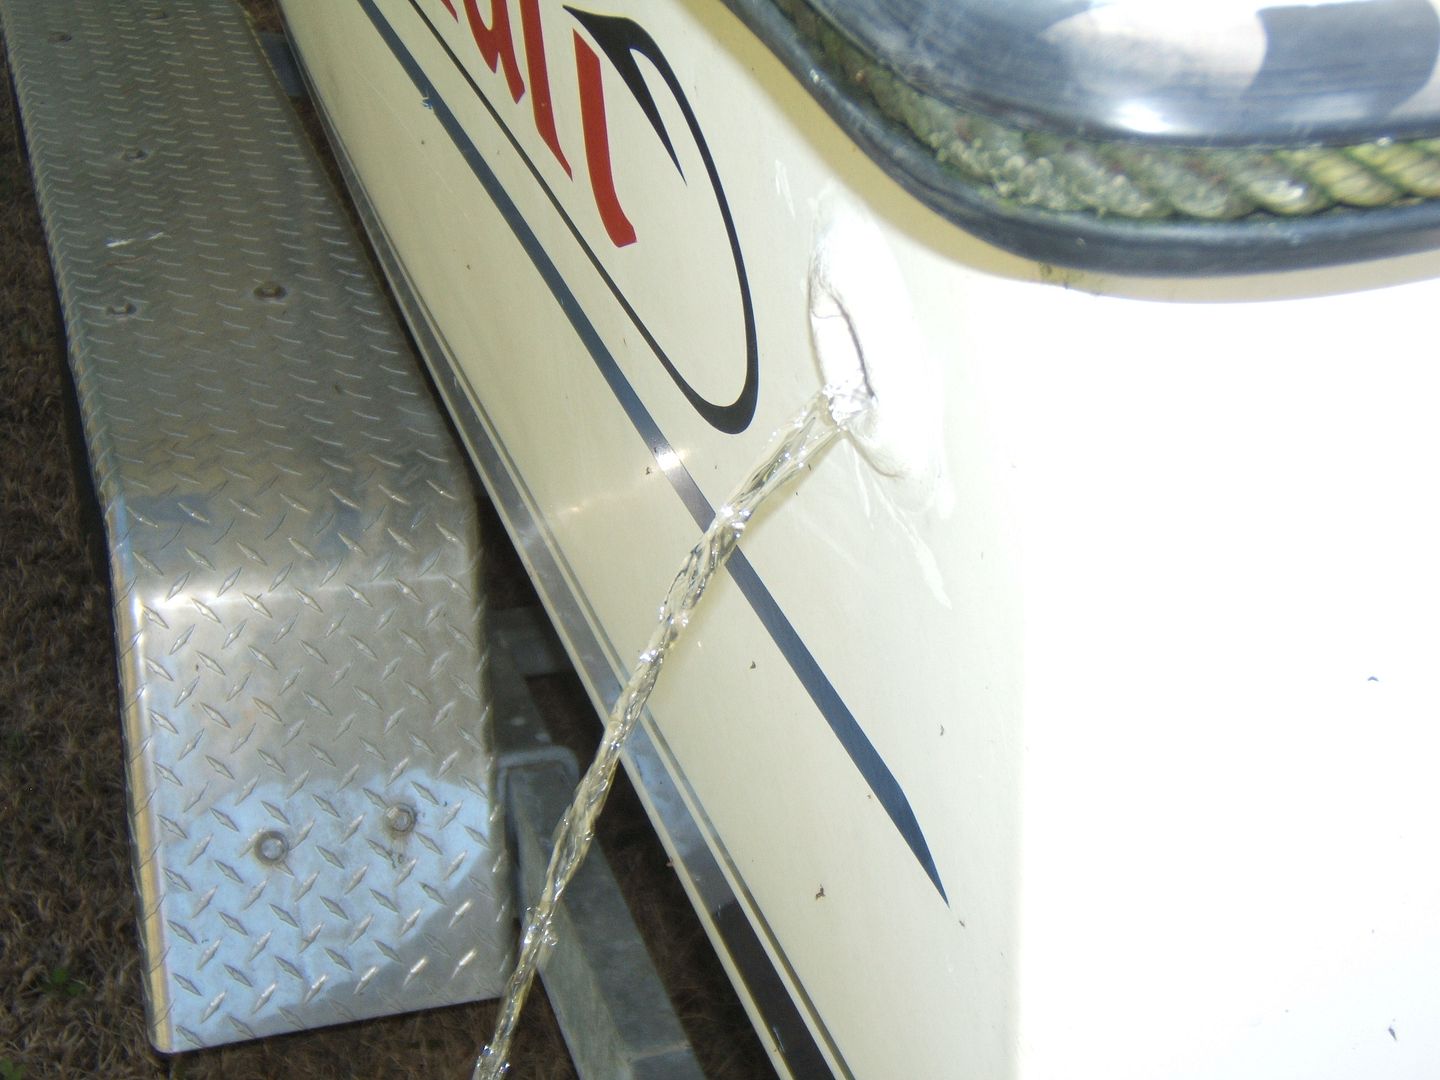


This next one is the flow from the bilge pump using the manual ON switch...


For what has been happening on this resurrection, here is a quick run down...

1-My neighbor started out his marine career working on outboards, mostly Mercs, so when he heard that I was in the process of bringing my bud's boat back from a watery grave, he offered to lend a hand re-adjusting and tuning the engine...
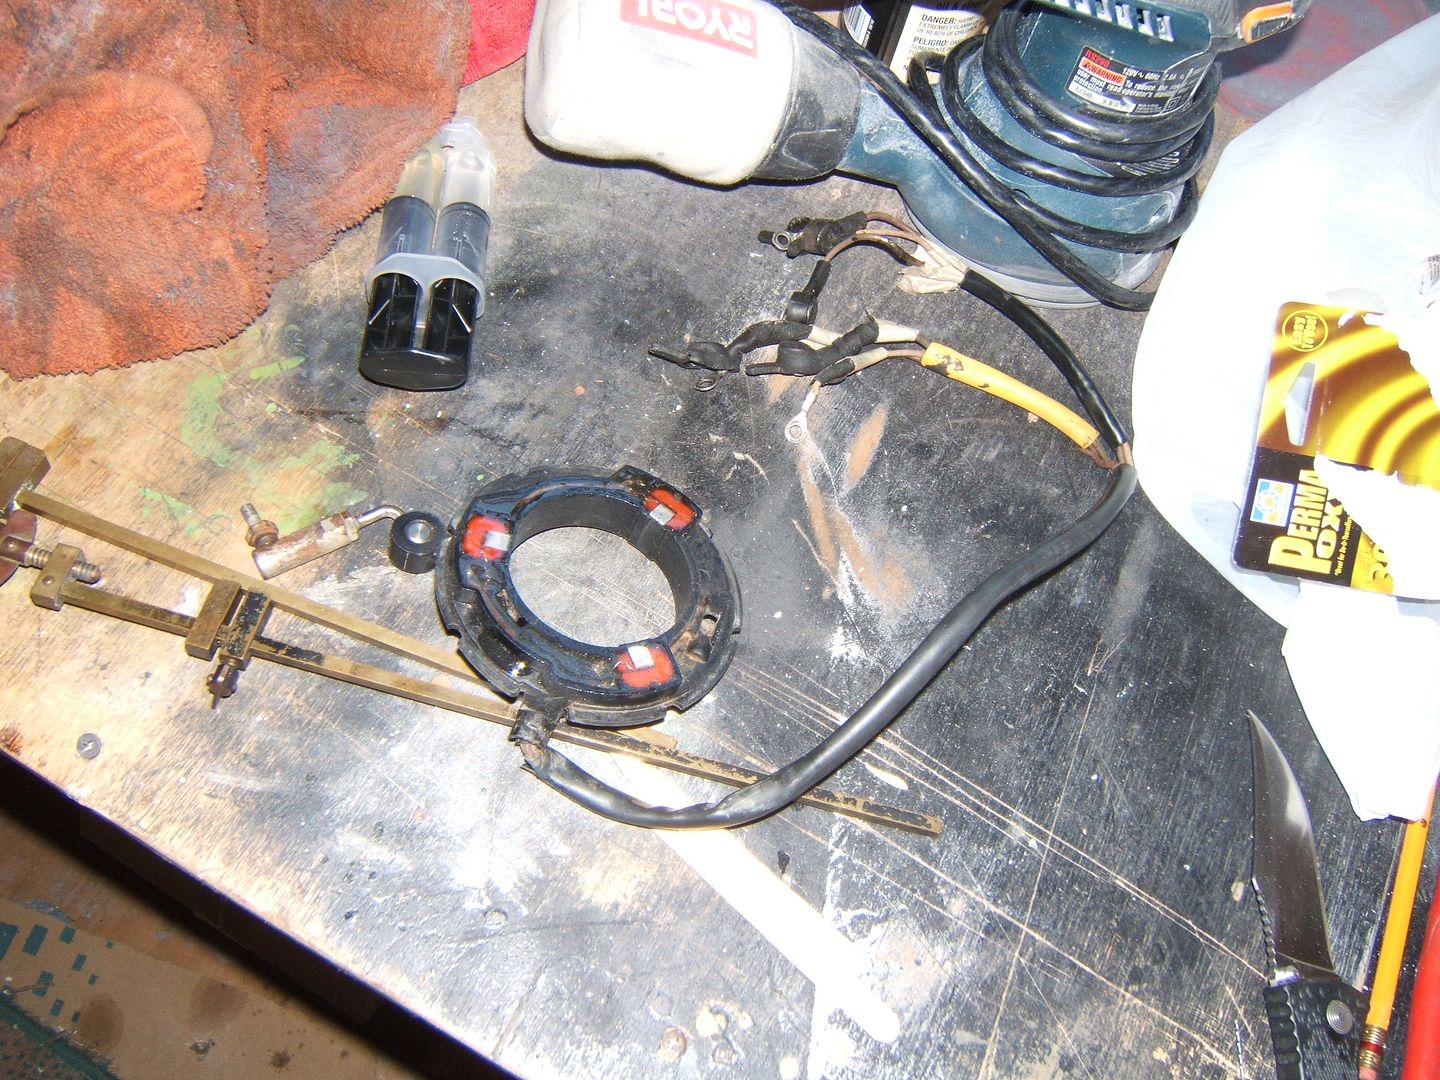
The first thing he found was the trigger, under the flywheel, was not moving freely, so we pulled the flywheel and found that the original epoxy potting in the trigger had apparently received a pretty severe overheat and had literally boiled out the epoxy potting making for a very sticky and gooey mess...thus preventing any advance/retard of the timing...
We removed the unit from the engine and tested the resistance. It showed that everything was good to go, so my mission Saturday afternoon was to clean all the old goop off and re-pot the unit using some epoxy...
Here is a shot of the trigger after re-potting...


2-The next shot is us removing and remounting the flywheel using some shade tree ingenuity...
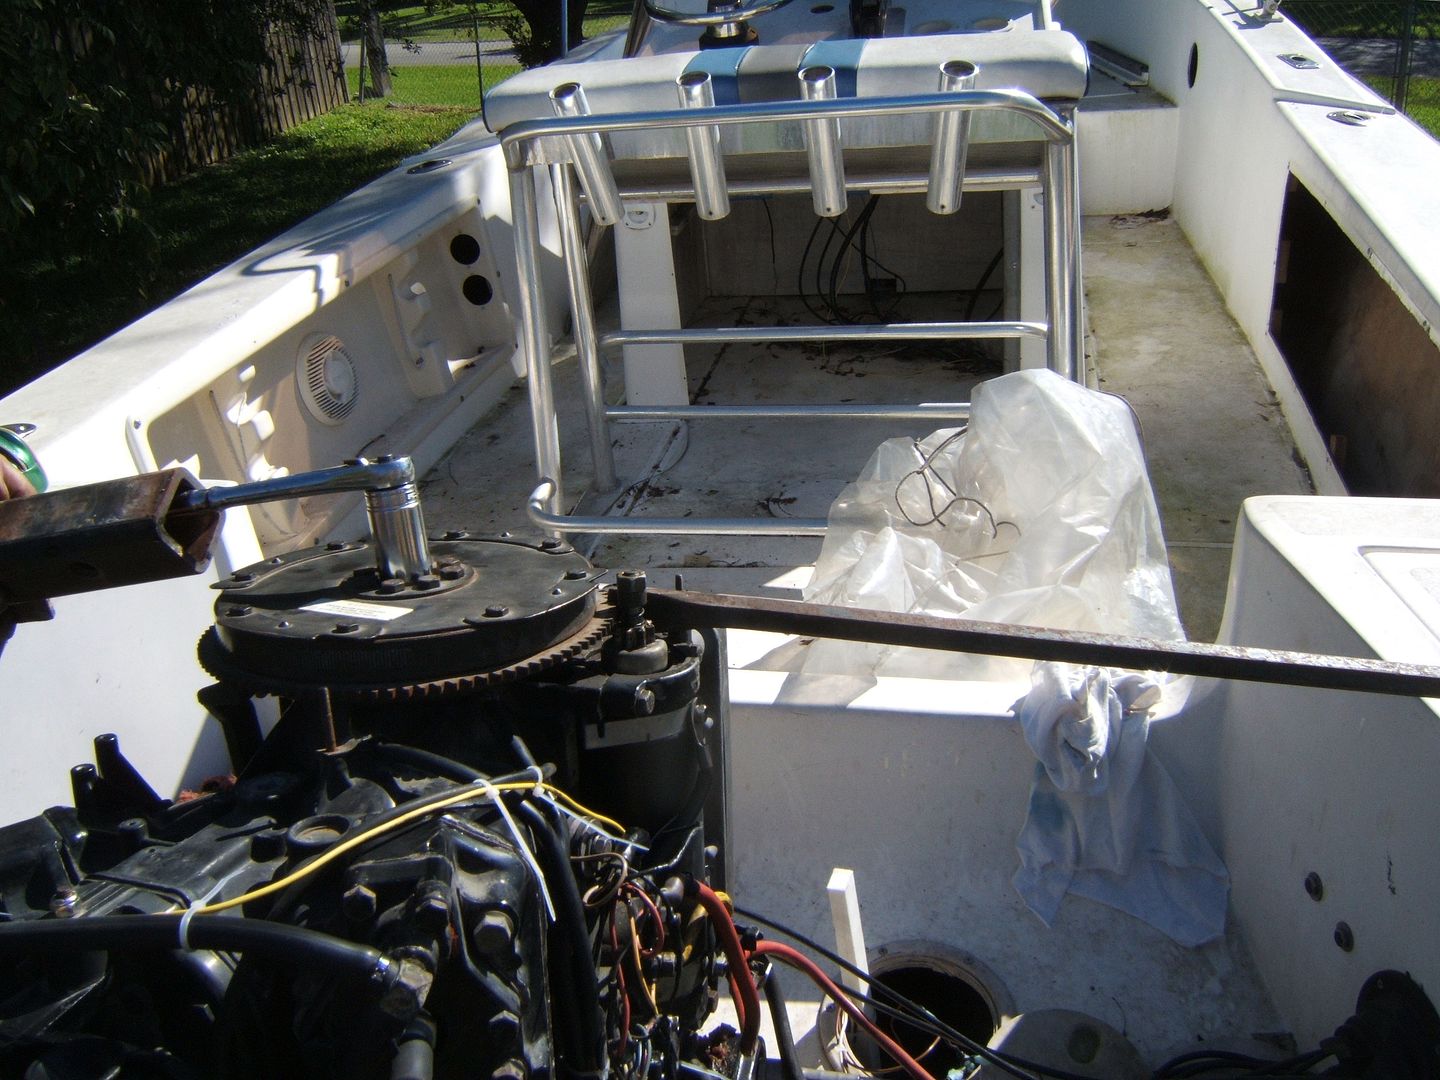


He had the correct puller, which we used to pull the flywheel...sorry, didn't get a pic of it...

And 3- He had noticed that besides the timing being way off, the carb linkage was also poorly adjusted...so he set the pick-up timing, and the full advance timing, along with adjusting the carb linkage...
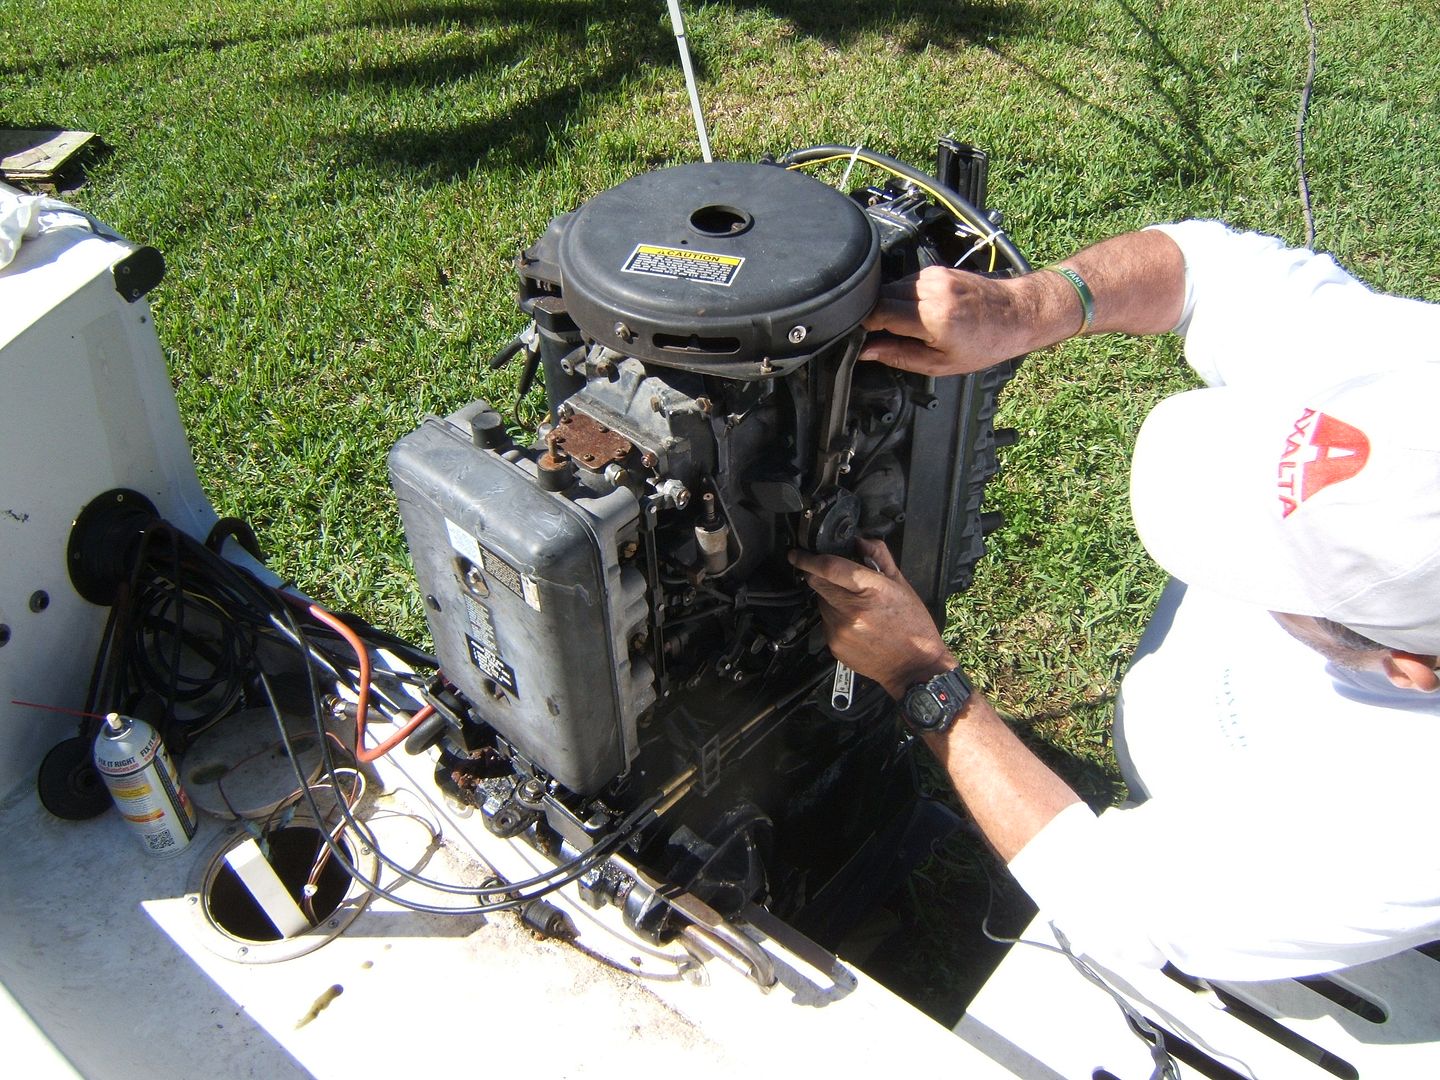


After all was said and done, by Sunday afternoon, we had some fully charged batteries, had run a compression check on the motor, which indicated a solid foundation, and fired this puppy up...
After fiddling with some minor timing tweaks and getting the motor to run fairly well, he realized the top two carbs were not flowing properly...
The engine was basically running off of the bottom carb only...
That's when he told me to remove the jets and inspect them to make sure they were not clogged from sitting for so long...
Well, that's when Murphy showed up, uninvited as usual...
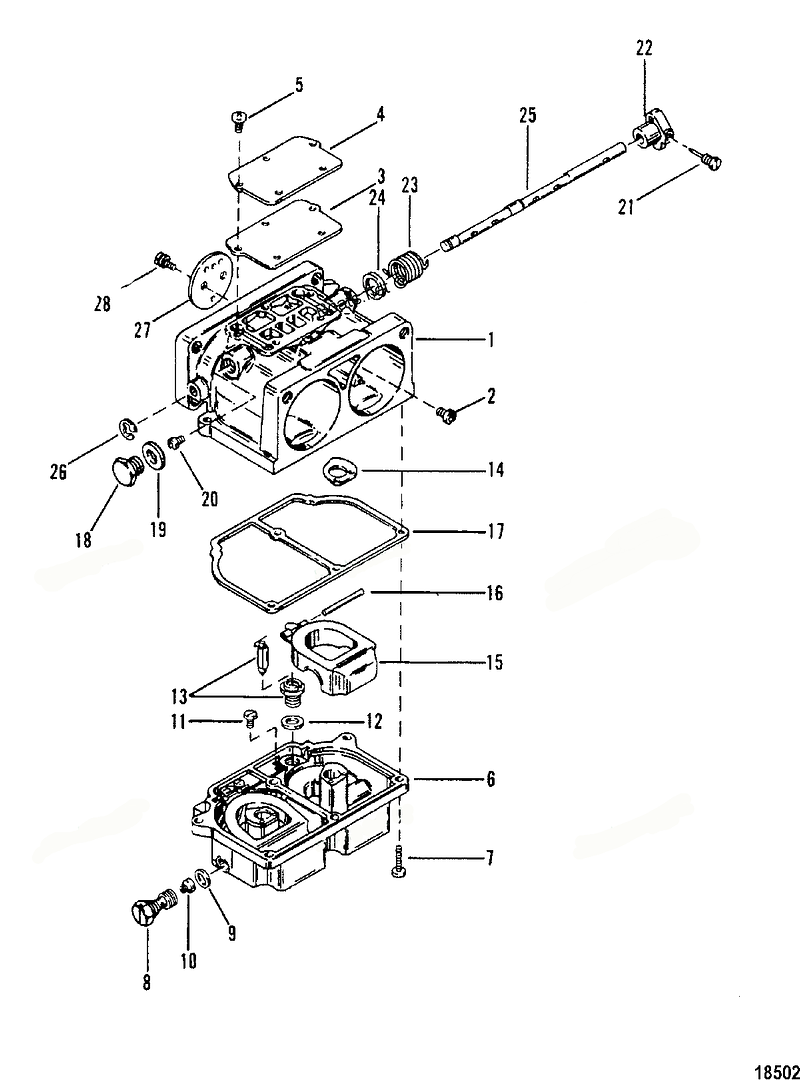
While removing the 4 main jets from the Top two carbs, the threaded portion was corroded and the jets broke off inside the carbs...
see #8 in the diagram...they broke at the point where they get narrow and are drilled crosswise...
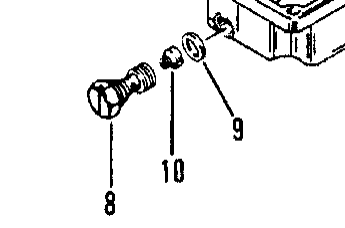


Which basically brought everything to a screeching halt...
Anyhow, I am now in the process of spraying some penetrating oil into each of the orifices and will be trying to remove the broken jets during the next few days...
Our hope is that if they can be removed, new jets are still available, and after some cleaning, we will order them and replace...
The other option we are looking at is to find some matching carbs that are either in useable shape or rebuild-able, and go that route...
As soon as I know what direction we are headed, I'll be back to let you guys know...
Best to all and happy Prez Day!
 

Mud Puppy

Petty Officer 1st Class
Joined
Sep 8, 2013
Messages
276
Re: Sunken Cape Craft, Bringing back to life...

Nice job on the wiring GT. You look like you may be a protectionist from all of the Great work you do! :hail:

So what is all of the bright stuff in your pictures? And short sleeves to boot? Hate to be a "gloomy Gus" Gus, but could you please send some of that warm weather our way? :pray:

Missouri is headed back into the freezer! :hopelessness:
 

GT1000000

Rear Admiral
Joined
Jul 13, 2011
Messages
4,916
Re: Sunken Cape Craft, Bringing back to life...

Been awhile and some sideways progress has taken shape...
After getting the engine running and determining that the carbs needed attention...
I pulled each one off of the engine...
A break down of what each carb had to offer, follows;
Top Carb...
Used and easy [not] out to remove the Port Main Jet Plug (part#8)...slightly booger-ed up the threads, but was able to run a 3/8 X 24 Tap into it and clean it up...able to remove the main jet (part#10) from the broken end of the plug, totally reusable...
Starboard Main Jet Plug (part#8), not so lucky, tried to get an easy [not] out on it but couldn't get it to bite, had to drill out the Main jet (part #10) and then I was able to get a good enough bite on what was left of the plug and remove it...this side will need a new Plug and jet...
Also removed the float bowl (part #6) to find the starboard float (part #15) was adjusted wrong...
Middle Carb...
Both Main Plugs (part#8) came out with the easy [not] out, both Main jets (part#10) reuseable...
When I removed the Float Bowl (part#6) for further inspection, it had a bunch of loose crud throughout...this has been cleaned out...
The Port float (part#15) was cracked and repaired with some kind of adhesive/epoxy, this will have to be replaced...
The starboard float (part#15) was also out of adjustment...
The Starboard needle (part#13) was flaking the nickle/chrome? from its surface...it will have to be replaced...
The Vent Bowl jet (part#2) was completely missing from the starboard side of the carb...will need one of those...
Finally the Bottom Carb...
No apparent problem with the Main Jet Plugs or Jets (parts#8&10)
Port Float needs adjustment...(part#15)
Both Bowl Vent jets (part#2) missing...will need both of those...

Conclusion...
This thread has basically run its course regarding the electrical part of this resurrection.
If any new developments arise in the electrical system, I will be sure to post here...
I will now be starting another thread in the Mercury Outboards Forum relating to questions I have about the carburetor issues...
http://forums.iboats.com/mercury-mariner-outboards/mercury-v-6-carburetor-jets-643331.html
Below is a schematic of the carburetors I am working on just for reference...
 
Last edited:
Top