steering console and storage seat build

bluetin

Cadet
Joined
Jun 16, 2014
Messages
9
Not sure if anyone wants to see the build, but it may be interesting to see a first timer try to work with fiberglass. Might be good for a laugh, or a learning experience. I am using plywood carcass covered in poly and 2 layers of 3/4 oz csm from us composites. Here are some pics of what I have started so far.

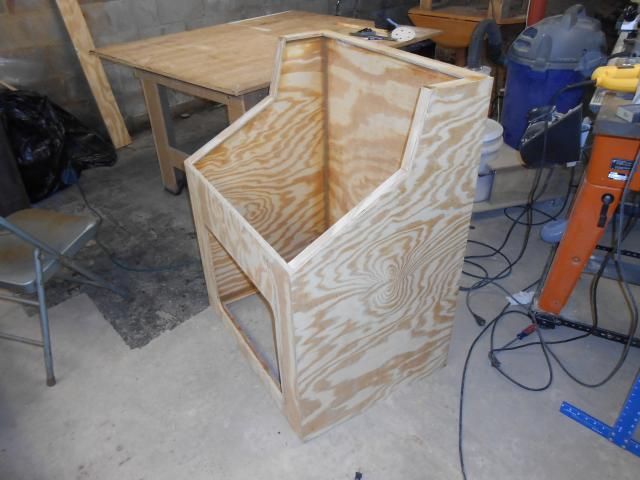
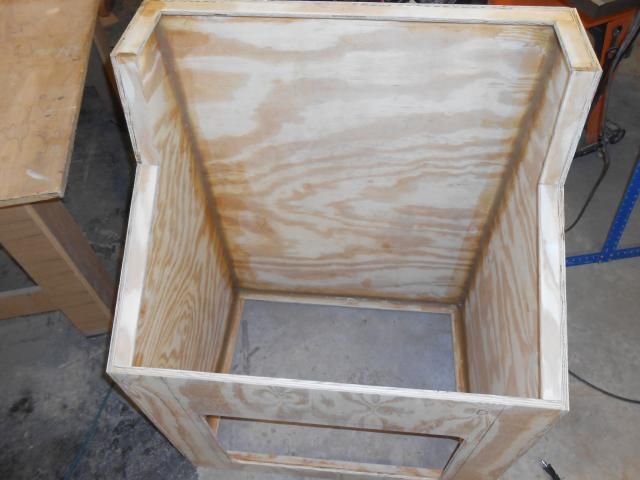
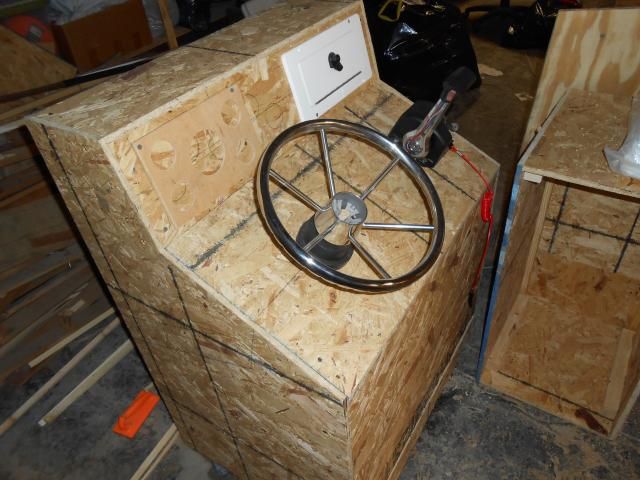
this is a rough mock up of what I'm aiming at for the console.
DSCN0432_zpsed0abd53.jpg


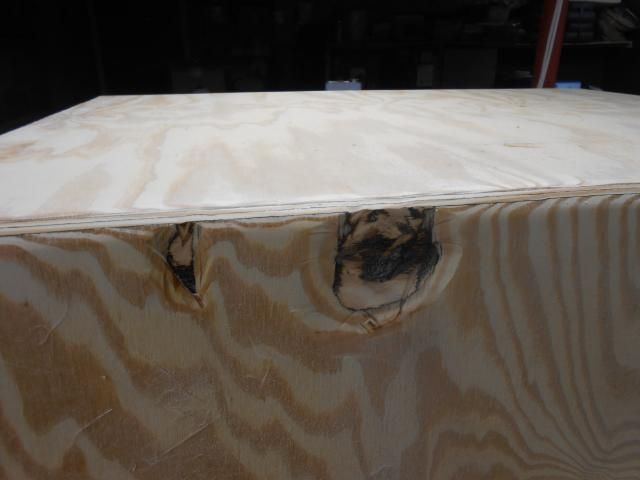
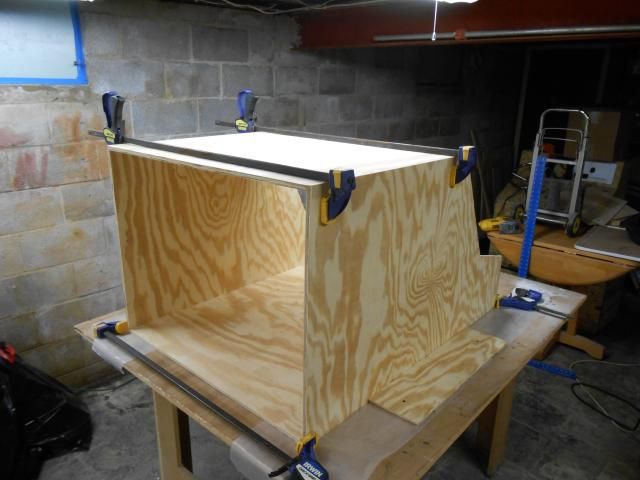
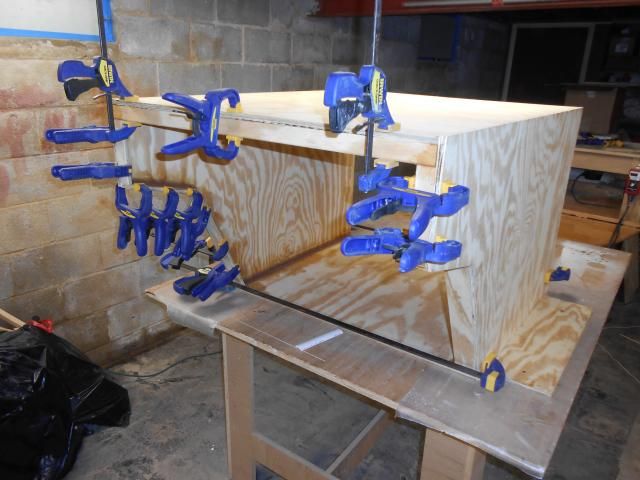
I cut out the carcass from 15/32 pine ply and layed it out and clamped it. wax paper under so it didn't stick to my table
DSCN0422_zpse45cb43e.jpg


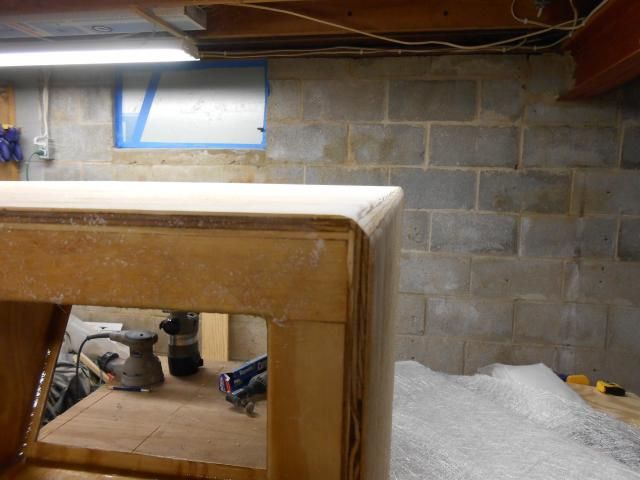
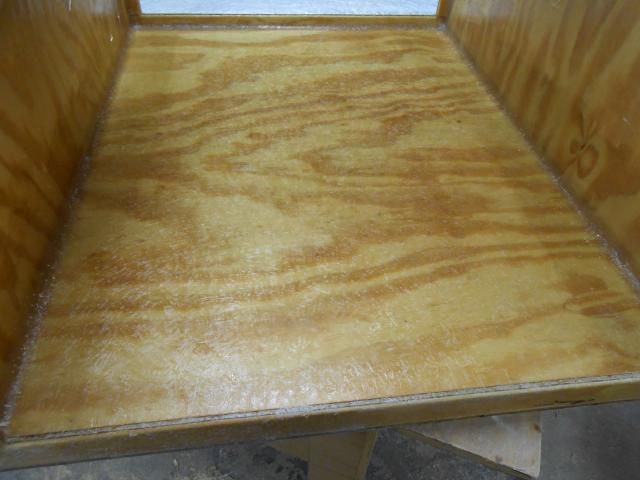
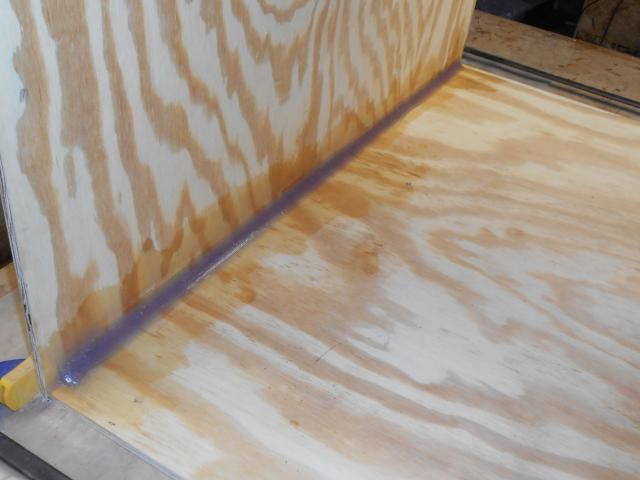
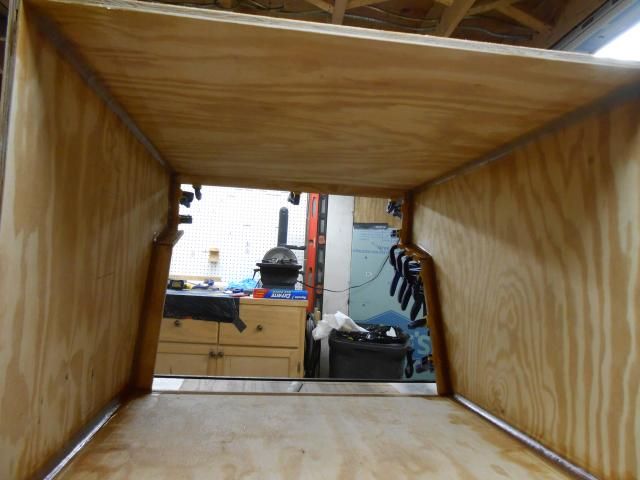
My first filet(is that the right word?) Light sanding and cleaned with acetone before applying. I had to use way more cabosil than I though to thicken this stuff up.
DSCN0426_zpsb506ce95.jpg


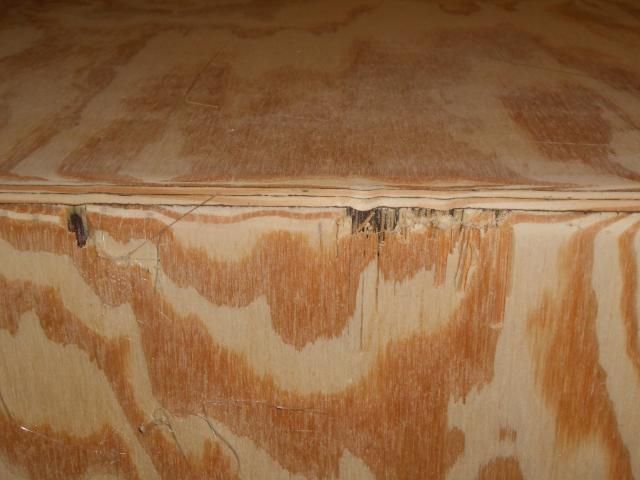
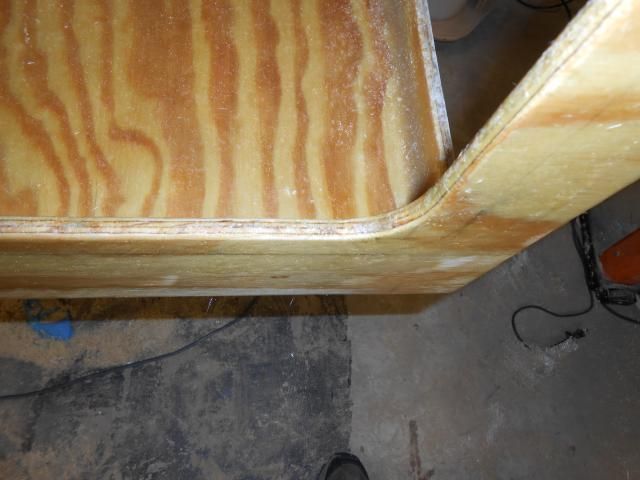
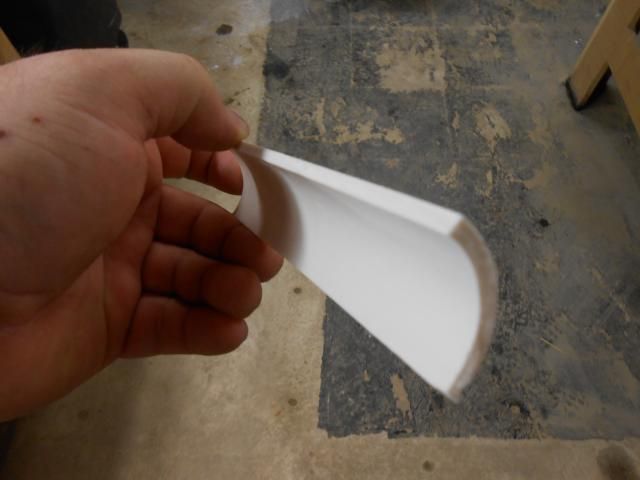
1.5" pvc pipe cut into quarters for my radius.
DSCN0425_zps72f173dd.jpg


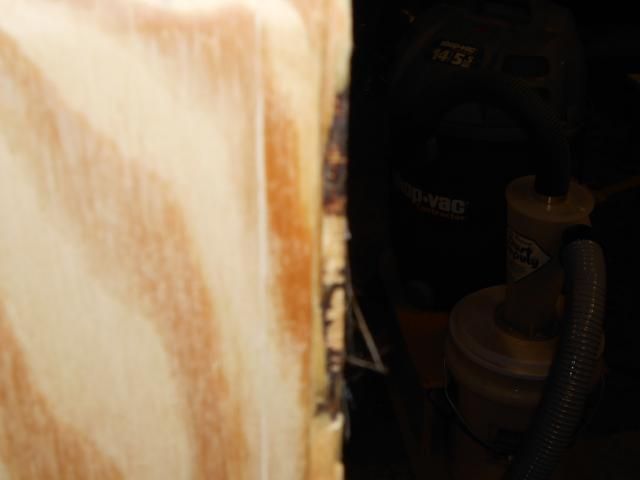
Where I'm at right now. seems to be going smoothly so far. The drying time seemed long on the first 2 corners I did, so I stepped up to 2% hardener. It dries pretty solid in a couple hours now. Not shure if that right or not. The first 2 corners I did took about 12 hours to dry. I'm working at around 65 degrees.
DSCN0428_zpsf74dc1f6.jpg


DSCN0429_zps2a9ba93e.jpg
 

jbcurt00

Moderator
Staff member
Joined
Oct 25, 2011
Messages
25,260
Yep, 60*F is as low as you want to be using polyester resin, and that temp is for the resin, all the materials you'll be using and the surface you'll be applying the resin onto, it ALL has to be that warm.

At 65*F you aren't much above the minimum, so it'll take a bit for the resin to kick. DON'T overcatalyze the mix, 2% is the max.

You can trick the resin by keeping it unopened in the house, or in a well heated space. Keep a halogen lamp behind/below the surface you're applying resin to will help keep it warmed before, during & after you apply the resin.

Are you using the metric system? Many find it much more accurate to measure & mix using metric. 100ml resin needs 1-2ml MEKP.

EDIT: Ahmincha caught my math error......DOH......
 
Last edited:

Woodonglass

Supreme Mariner
Joined
Dec 29, 2009
Messages
25,932
Make sure to fill all voids in the edges of the plywood with the thickened resin. Coat all sides of the plywood with a heavy coating of the resin as well. Which resin did you get? +2 on using Halogen Lamps to keep everything nice and warm!!! After the plywood is pre-coated with resin coat again with resin and then apply the CSM. the .75 oz is very light so don't over roll it or you'll get lots of air entrapment. Start in the middle and roll toward the edges to get less bubble. Keep your roller wet with resin but don't use to much resin. Less is More!! Keep posting pics so we can see what you see.;)
 

bluetin

Cadet
Joined
Jun 16, 2014
Messages
9
Well, I managed to get my work space up to about 70. It helps if I close off the ac vents that I didn't realize were open. JB, I am using the metric system. I read that on here somewhere when I was researching fiber glassing tips. Wood, I'm using us composites 435 poly standard layup resin. You say to do a resin only coat on all the wood first. Should I thin it down with acetone by 10% or so to get penetration, or doesn't that matter?
 

jbcurt00

Moderator
Staff member
Joined
Oct 25, 2011
Messages
25,260
If you're using the metric system, then it's slow because of the temps, IMO.

The purpose of the resin coat is only to pre-wet the plywood so that it doesn't wick resin away from the cloth when you layup the CSM/1708. You only need to let the resin coat tack over, just like you would when you're laying glass. I would not thin the resin.
 

Woodonglass

Supreme Mariner
Joined
Dec 29, 2009
Messages
25,932
JBC is correctamundo. No thinning. Coat it, let it tack up then coat it again and lay the CSM
 

sphelps

Supreme Mariner
Joined
Nov 16, 2011
Messages
11,508
Fillets look great ! Nice and even .. Got a pic of the boat it's going in ?
 

bluetin

Cadet
Joined
Jun 16, 2014
Messages
9
Fillets look great ! Nice and even .. Got a pic of the boat it's going in ?

The boat is a 19' starcraft. Not exactly sure of the year. Late 80's early 90's we believe. I don't have any pics. the boat is stored in a family members barn right now. I will have to get over there to get some pics.
 

bluetin

Cadet
Joined
Jun 16, 2014
Messages
9
Made a little progress after work today. Installed the wood tabbing around the bottom that I will use to mount the console to the boat. Also got the hole for the hatch cut out. A few pics.

Pic from the top looking in.
DSCN0436_zpsafe69356.jpg


DSCN0433_zpsfea645a7.jpg


DSCN0434_zps944128a7.jpg
 

bluetin

Cadet
Joined
Jun 16, 2014
Messages
9
Quick question. Can I over drill the holes where any screws are going to be mounted and fill them with thickened poly before I glass? That way I don't have to worry so much about water penetration. If so, how large to make the holes?

Thanks
 

ahmincha

Lieutenant Commander
Joined
Jul 21, 2012
Messages
1,512
I did this on my rebuild it was recommended by the guys that know way more then me. I made my holes about a 1/4" larger then the fastener but I would think it depends on the size of the fastener. Excellent work your doing
 

bluetin

Cadet
Joined
Jun 16, 2014
Messages
9
finally got a chance to start working again. Sorry for the slow updates, but life in summer is crazy around here. I will be on the hard all day today, the admiral has me grounded today. Should have some time to work on the console.

Started glassing the inside of the console on saturday night. Tabbed the corners, then layed a layer of csm on the one side of the console. Using poly and 3/4 ox csm. Man this mat sucks up the resin. Came out pretty well. Have a few voids on the tight corners on the mounting flange. Not sure if I should grind them out or if its ok. Just some small bubbles.

DSCN0441_zps5b121c05.jpg


routed the outside corners with a 3/4 inch roundover bit. All went well except for the one side. Ran into some voids that blew out when I went over them with the router.

DSCN0439_zps83339617.jpg


DSCN0437_zpsb421543b.jpg


DSCN0438_zps9c0fbeac.jpg


Turned out to be pretty large when I ground them out. Can I just fill them in with thickened Resin and then glass over them or do I have to do something different?

DSCN0440_zps407fe564.jpg
 

bluetin

Cadet
Joined
Jun 16, 2014
Messages
9
I seem to be having more problems with my tight corners than I thought. the 3/4 oz csm just doesn't seem to want to go around the corners tight no matter what I do. It's 19/32 ply with an 1/8" roundover on it. Am I doing it wrong or do I need to use something different? Maybe a lightweight cloth instead of mat? I'm also curious as to how many layers I need for waterproofing? Sorry for all the questions.

DSCN0443_zpsddd21cd7.jpg


DSCN0441_zpse8932665.jpg


DSCN0442_zps06742d23.jpg
 

Woodonglass

Supreme Mariner
Joined
Dec 29, 2009
Messages
25,932
Fill all voids with Thickened resin. I'd use Glass bubbles with just a bit of cabosil so it will be easier to sand. CSM does NOT like a tight radius. Tearing the edges to make em "Hairy and then Dabbing the mat NOT Brushing it will make it lay down better but it's still a challenge. Waiting for that Magic moment when it starts to Kick Off and get sticky will also help hold it in place. You can also use masking tape to stretch it out and hold it in place.
 

bluetin

Cadet
Joined
Jun 16, 2014
Messages
9
Thanks for all the help you been giving me wood. Well everybody for that matter. I have to put in an order to us composites today for more resin. Would I be better off with a different csm or maybe a cloth? Not a big deal to add to my order if it will work better. I will have to mix up a batch of q-cell later tonight and try to fill in those voids.
 

Woodonglass

Supreme Mariner
Joined
Dec 29, 2009
Messages
25,932
3/4 oz is as light as I'd go. It's all that's really needed for your application. Like I said tearing the mat to make it hairy at the edges will help it lay down better
 
Top