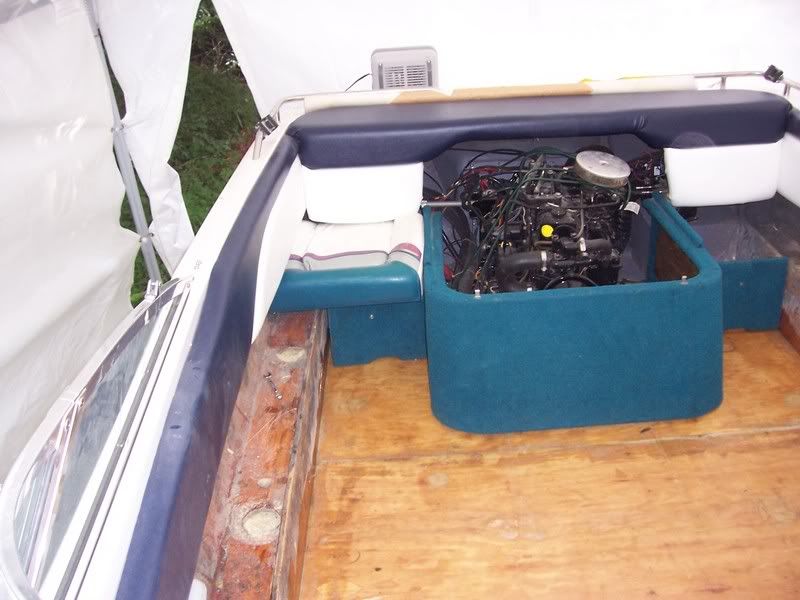
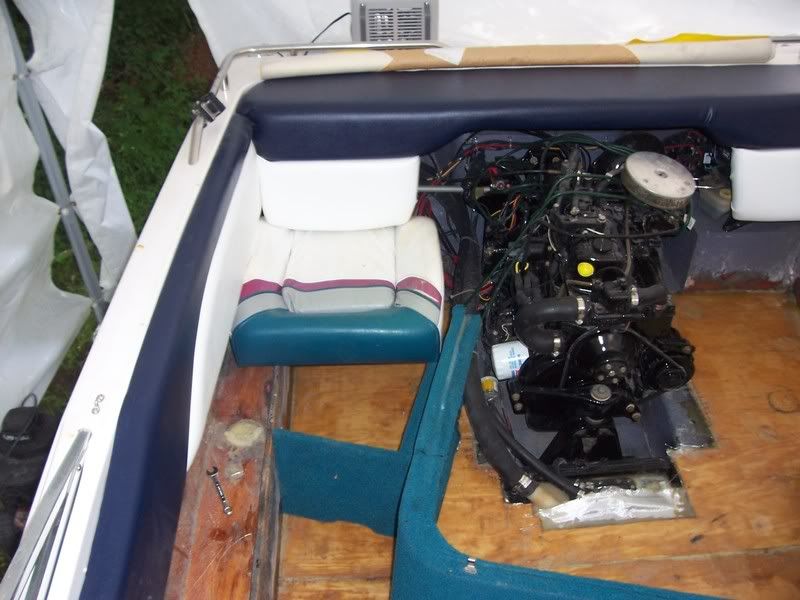
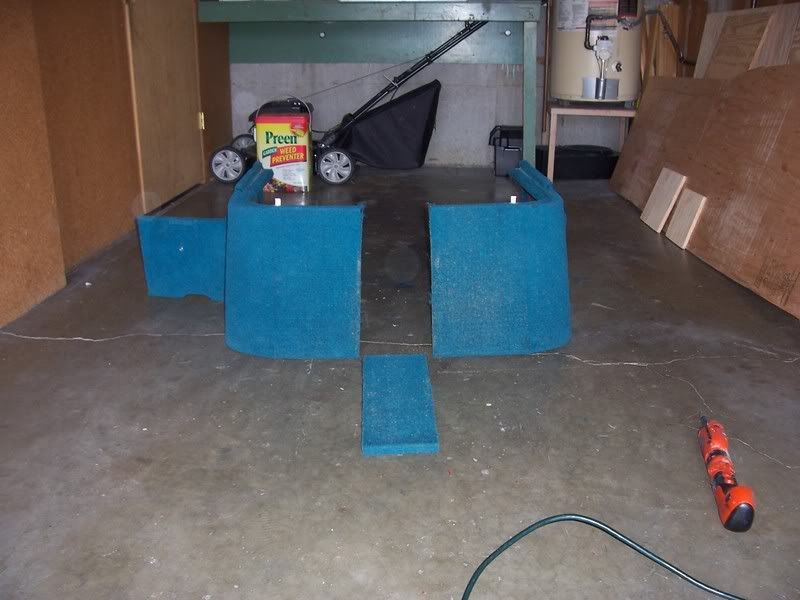
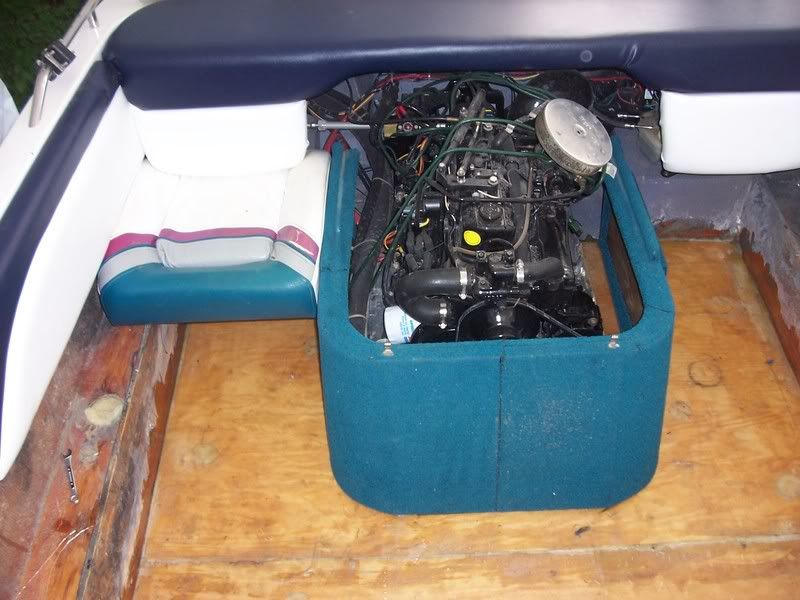
Starcraft 171 rebuild

Tail_Gunner

Admiral
Joined
Jan 13, 2006
Messages
6,237
When i began this project taking pic's along the way hadnt occured to me, i was far to busy reading all of the information availbe here at i-boat's. It was a total rebuild from the stringers up.

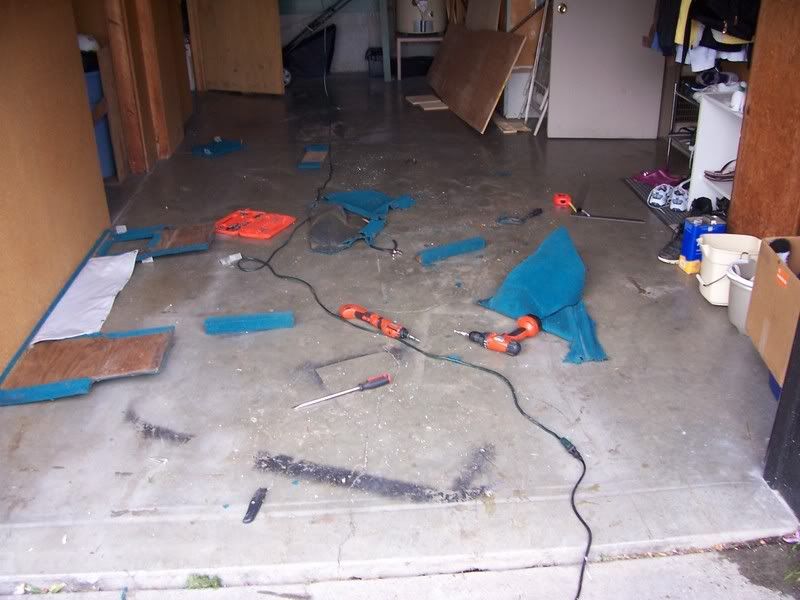
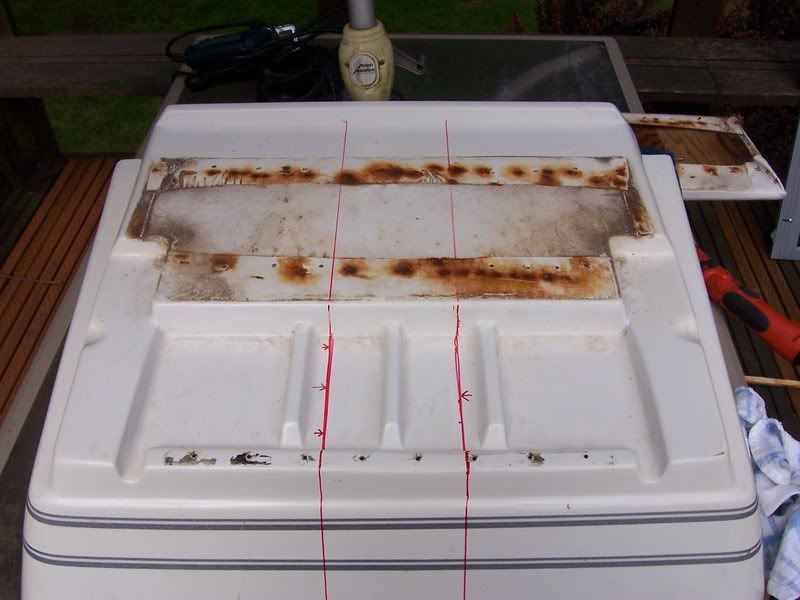
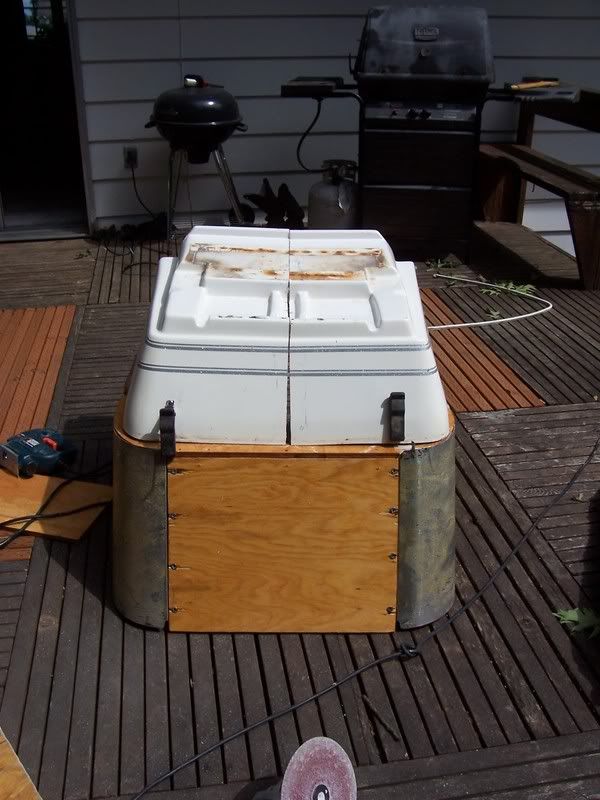
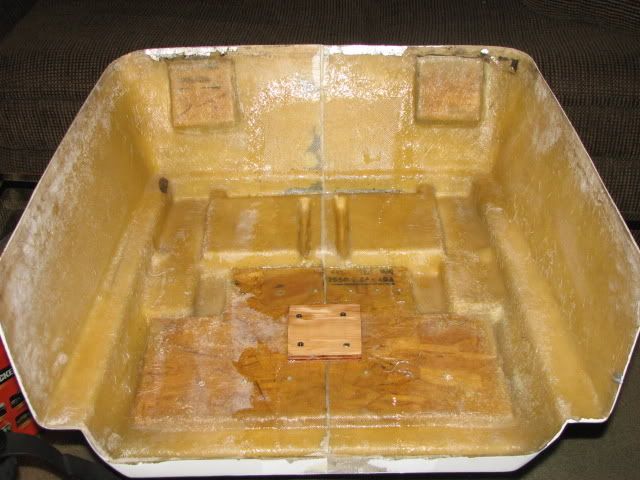
The deck was cut off with a jig saw followed by a angle grinder as time went on and i came a bit more savy as how to do this type of thing. Cutting the stringers out was done with angle grinder with a diamond tip blade and smoothed out with a 8" inch adapater and 32 grit sand paper. I was really surprised just how well 32 grit paper can cut up glass...one mistake could badly mangle your hand

The stinger's were made of 1/2" marine plywood, glued together with West systems. I was and still am very new to this type of thing so i did do some unconvential thing's...Such as bed the stringer's to the hull using 3m 8609 urethane..that is the compound used to glue your winsheild in your car or truck. From there i glassed them in using 10oz cloth followed by bi-axle tape...5 layers all told..Not exactly by the book but they only fun 8 feet and the boat was to have further renforcement later. No pic's of that..it was a very intensive time for me...Just one note ALWAYS use a resperrator always....

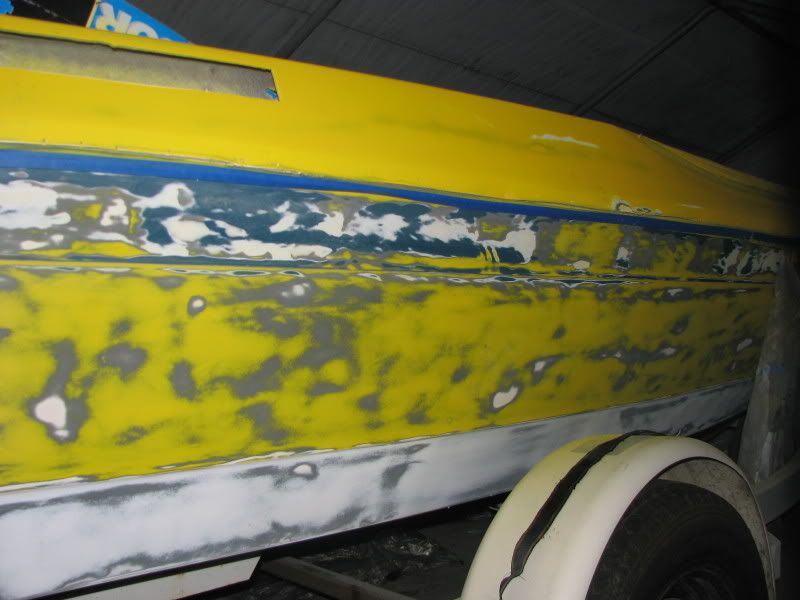
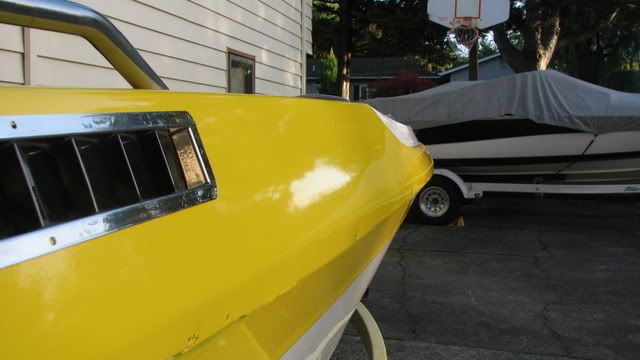
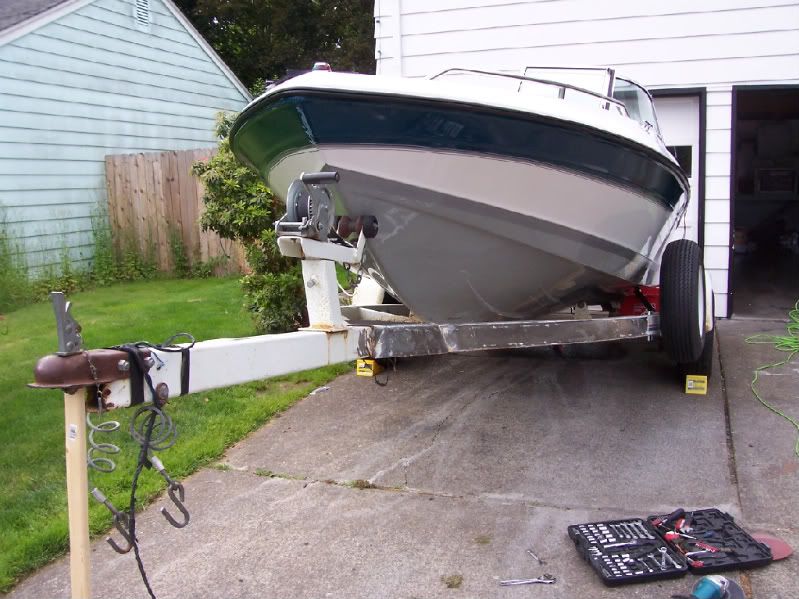
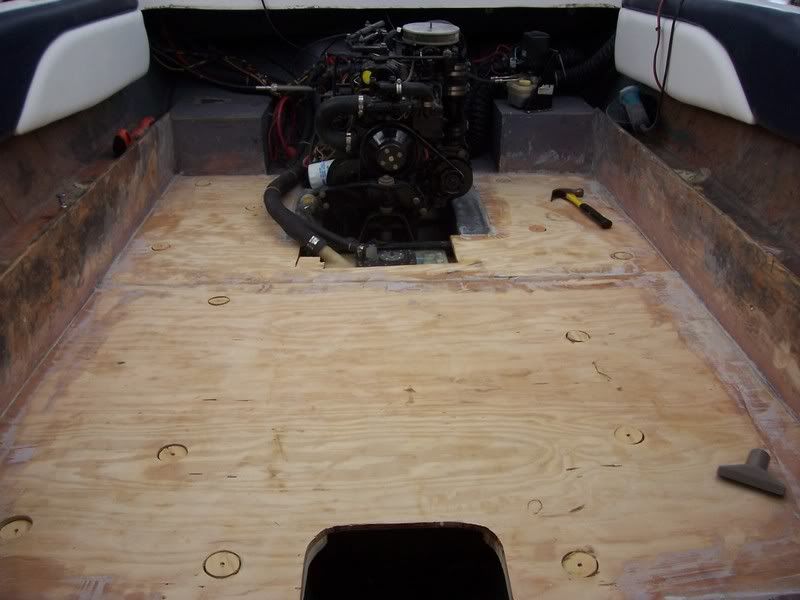
The only known pic of the boat prior to recon.....The work being done on in the pic was the trailer paint being cut off with a angle grinder and 36 grit paper..comes off like butter.
Picture078.jpg
 
Last edited:
Tail_Gunner

Admiral
Joined
Jan 13, 2006
Messages
6,237
Re: Starcraft 171 rebuild

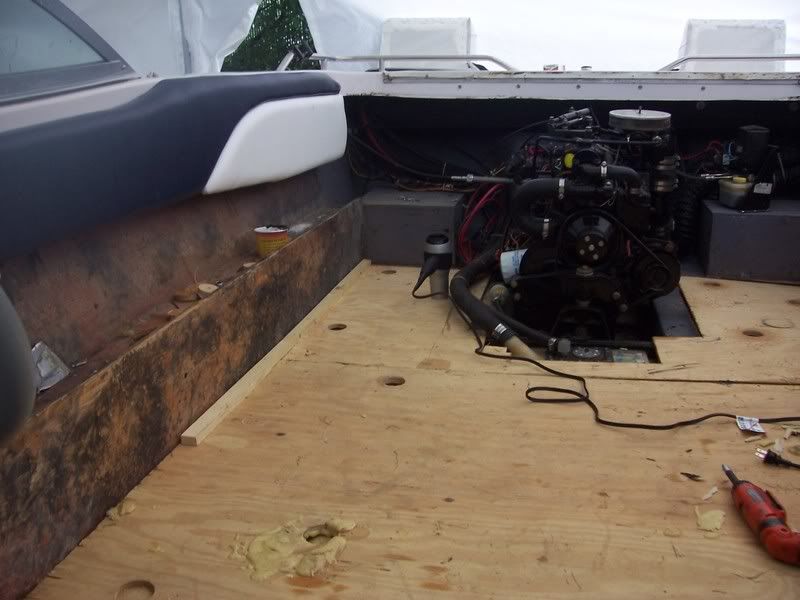
The deck was done with three different panels all were glassed, the far back panel was simply laid down, very easy to fit. The middle panel was a bit difficult, first on the back side channels were glued on to fit directly over the stringer's they were slightly over one inch wide and deep, half of the channel was filled with 3m 8609 and then bedded down on the stringers. I used a chalk line to get thel deck level from side to side...that was the only way to do it..nothing was square..the same process for the front

Picture017.jpg


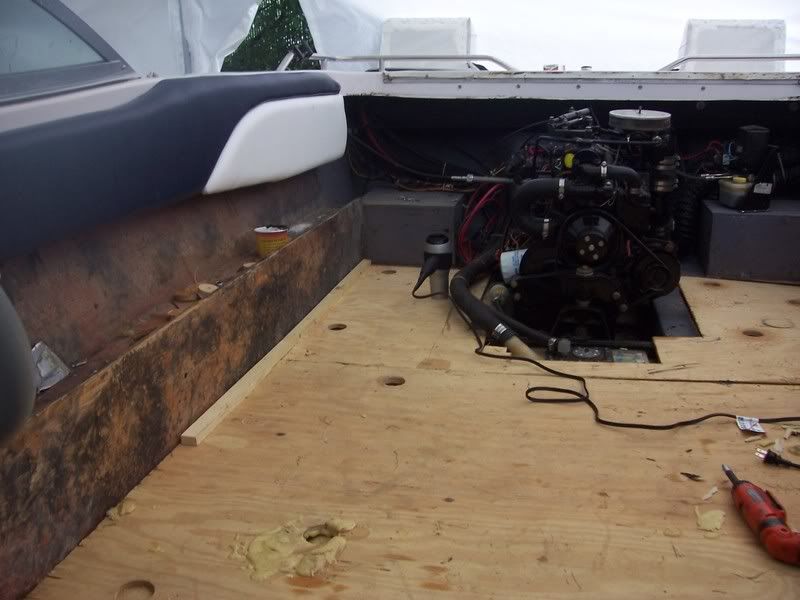
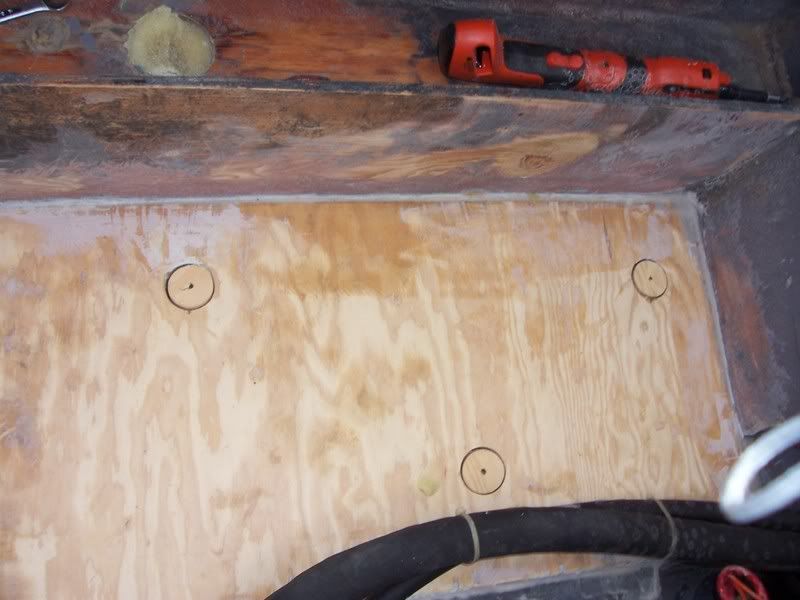
There is a pic where you can see the deck sitting on the center of the stinger's and hanging down on the ends. you can also see i added foam with the deck on. those holes are 2" and spaced every 24 inches

Picture014.jpg


Notice that guide on the left, it was screwed into side the foam was poured into the hole in a large pour, it lifted the deckup to the guide and the excess was vented out the ports. I was also standing on the deck at the time..it lifted both me and the deck up i am sure there are some voids in there but very small indeed.

Picture022.jpg


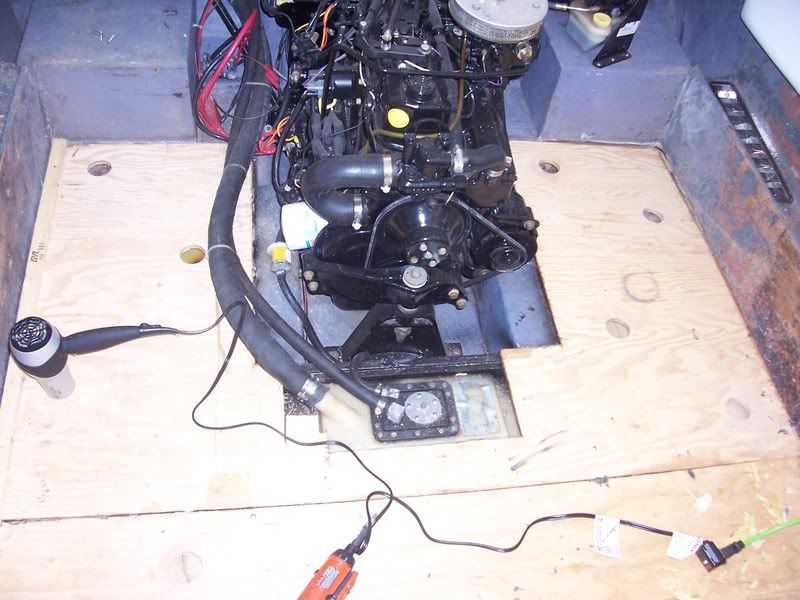
I left a 1/4 inch gap all the way around the deck so the foam would find its way to all the nooks and cranny's it came up from every availbe opening....That hair dryer you see in the boat was used to heat up the hull and all the voids, two part foam needs 80 degree heat to expand properly and a little note i had about 15 seconds to mix up 2 gals it was fast and furious done in a 5 gallon bucket and with minutes it was expanded.

Picture026.jpg


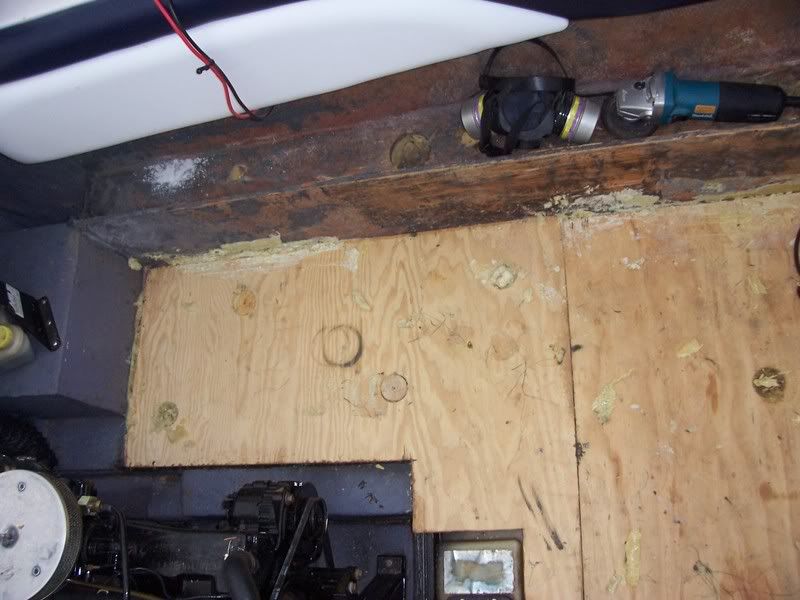
Once the foam had raised and leved the deck i used peanut butter (Cabosil and resin) in a thickened state and glued the hull to the deck together..little note here using a angle grinder i cut down into the foam on the outer edge about 1/2 inch and filled the void. Messy as it can be urethane foam also helped to glue the deck and hull together
 

Tail_Gunner

Admiral
Joined
Jan 13, 2006
Messages
6,237
Re: Starcraft 171 rebuild

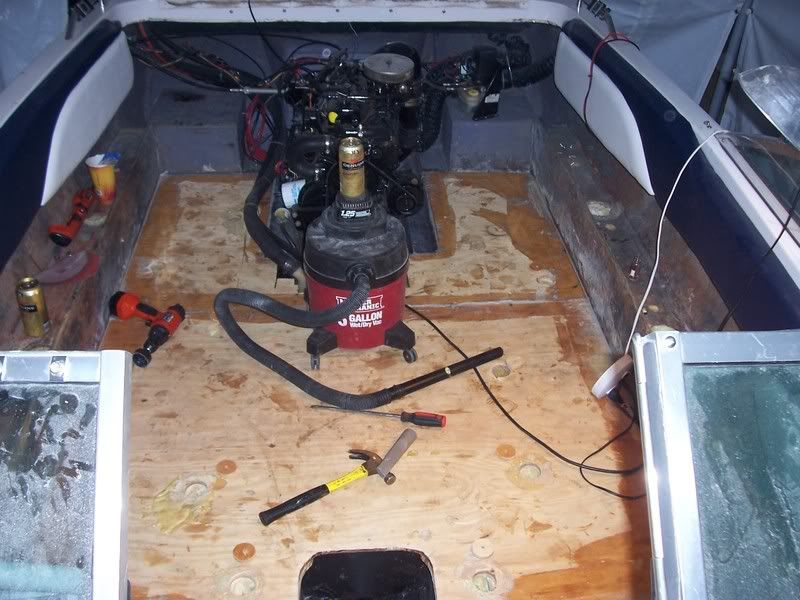
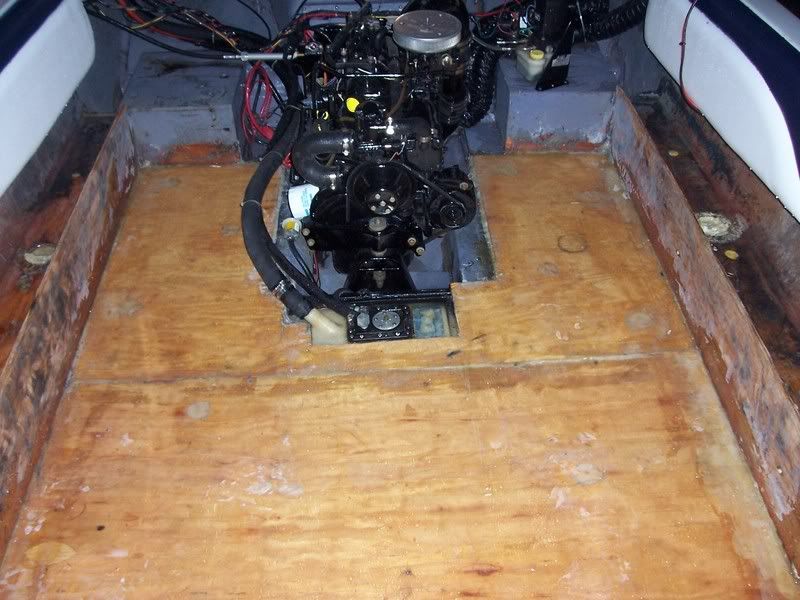
From there it was time for the angle grinder with the 36 grit paper again...cleaned that whole mess up in about 20 minutes...If you ever want to refinish your outdoor deck try that combo its amazing

Picture032.jpg


Picture029.jpg


There is a better look at the guide that was used, the foam was 9lb structural foam incredibally hard stuff..The vent plug's were simply laid back on the hole's and filled with resin.

Picture014.jpg
 

Tail_Gunner

Admiral
Joined
Jan 13, 2006
Messages
6,237
Re: Starcraft 171 rebuild

:mad:
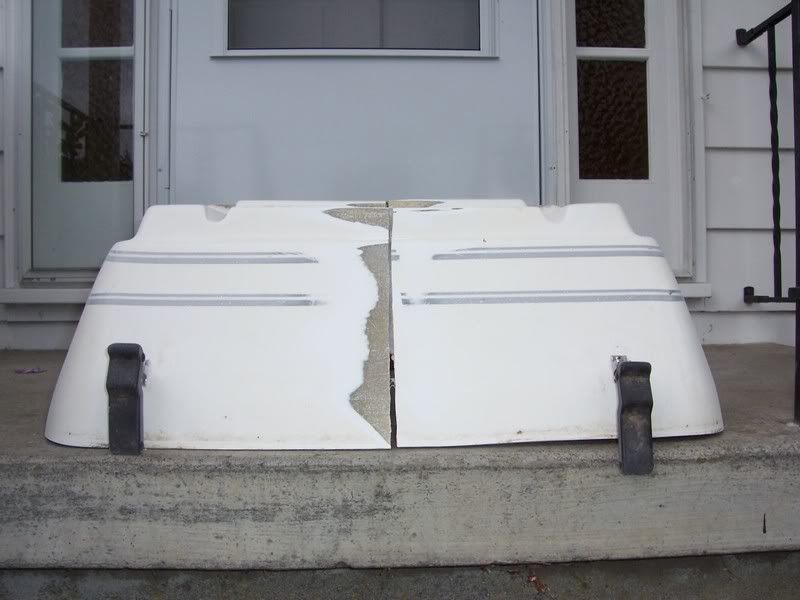
Here was not a good moment for me, i went to home depot and purchased the cheap in house resin....never again two layers of glass there and it looks like heck..:D but it will work with that 9lb foam under there that deck is as hard as concrete.

Picture091.jpg


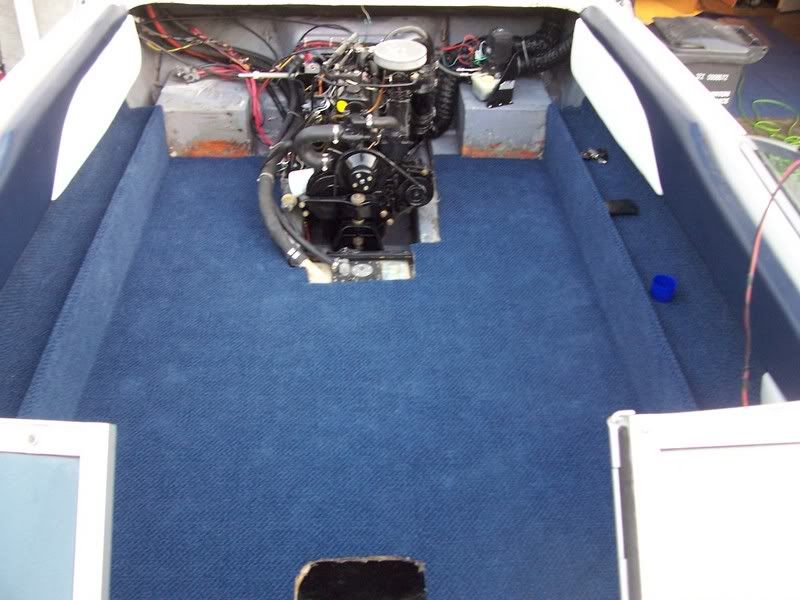
But one thing you have to like about carpet it is a true beautifcation tool when done. It is a bear installing no install pics at all. Used out dooor glue let it set up for 15 minutes.....1 stapler with ss staples..:(...1 2x4 and one hammer and a lot of sweat and perhaps 20 razors you cant believe how quickly the dull and how poorly they can cut after just one or two cuts

Picture111.jpg
 

Tail_Gunner

Admiral
Joined
Jan 13, 2006
Messages
6,237
Re: Starcraft 171 rebuild
And as normal with this type of thing i found time for some more thing's.. Looking back im not sure if this was a good ideal but time will tell.

Picture037.jpg


It just looked a bit to crowded back there so i did a little moving around.....

Picture033.jpg


That picked up about 2" maybe just enough maybe not but it seemed right at the time..

Picture041.jpg


Simple enough

Picture045.jpg


Picture050.jpg


The old

I simply cut the same width out here

Picture087.jpg
 

Tail_Gunner

Admiral
Joined
Jan 13, 2006
Messages
6,237
Re: Starcraft 171 rebuild

Used a circular saw here..i was treading treading on shaky ground...not to sure were this was going...:redface:

Picture088.jpg


Little rough but it worked

Picture107-1.jpg


Took that liitle peice of ply wood and screwed it back together

Aligned it a bit more the glassed the back and filled the gaps again with peanut butter...the top pic is actually finished notice no more gaps..


Picture080.jpg
 

Tail_Gunner

Admiral
Joined
Jan 13, 2006
Messages
6,237
Re: Starcraft 171 rebuild

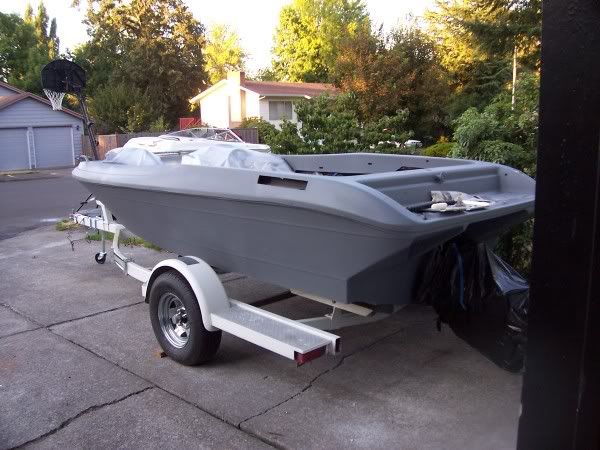
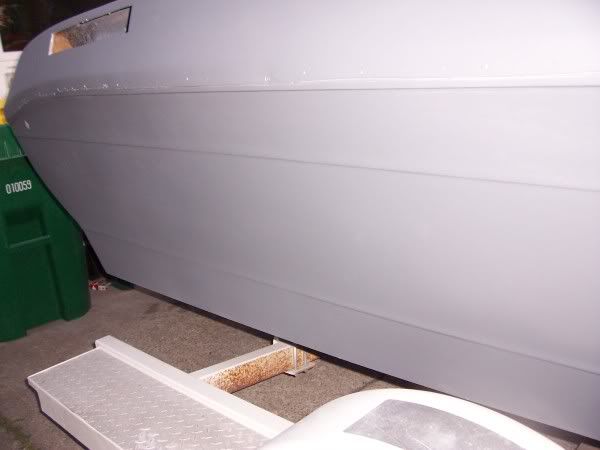
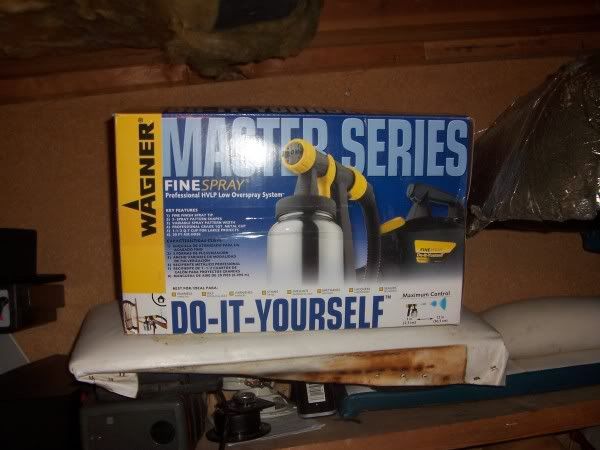
Meanwhile the outside had been completely prepped and primer laid. This boat had Brightsides paint so i intended to use a sprayer single part paint not near as dangerous as two part.

Picture171.jpg


I used that gun...pretty cheap but very effiecent it took about 15 mins to spray....after 4-5 day's of prep and fairing...painting itself is a no brainer..

Picture219.jpg


Picture227.jpg


Pre_Kote was used, a very easy primer to both lay out and sand down. Not to much a building primer you must get all of the imperfections out prior to final paint...or it can be very dissapointing as i found out....

Picture063-1.jpg


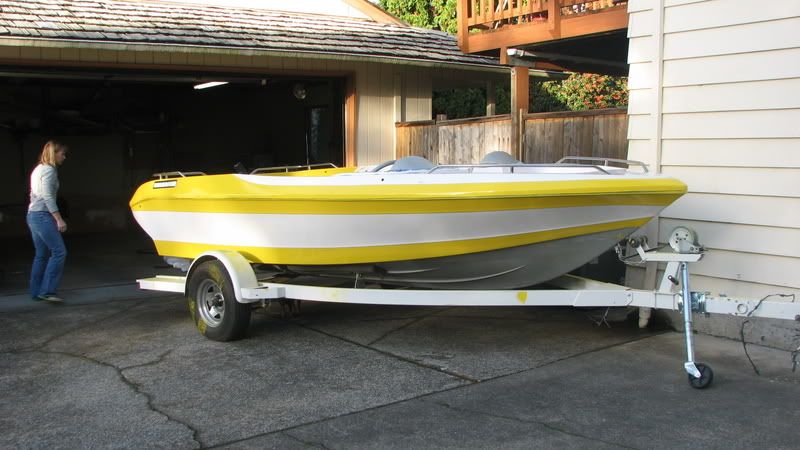
The paint worked so well i was taken back a bit...so i went back and started over...the results that you can get with Interlux still amaze me what a non pro can achieve...it took me another 5 days to smooth that hull ..it was to the point i gave up.

JAmi001-1.jpg


JAmi004-1.jpg


One big difference in paint this time, instead of spraying i rolled the paint and rolled the stippling flat. I found the brush was much to slow and too many small imperfection's

Some vids done in real time

Rolling: http://www.youtube.com/watch?v=MekW6qu_HT4


Flattening: http://www.youtube.com/watch?v=v0nH-GWNYBM
 

Tail_Gunner

Admiral
Joined
Jan 13, 2006
Messages
6,237
Re: Starcraft 171 rebuild

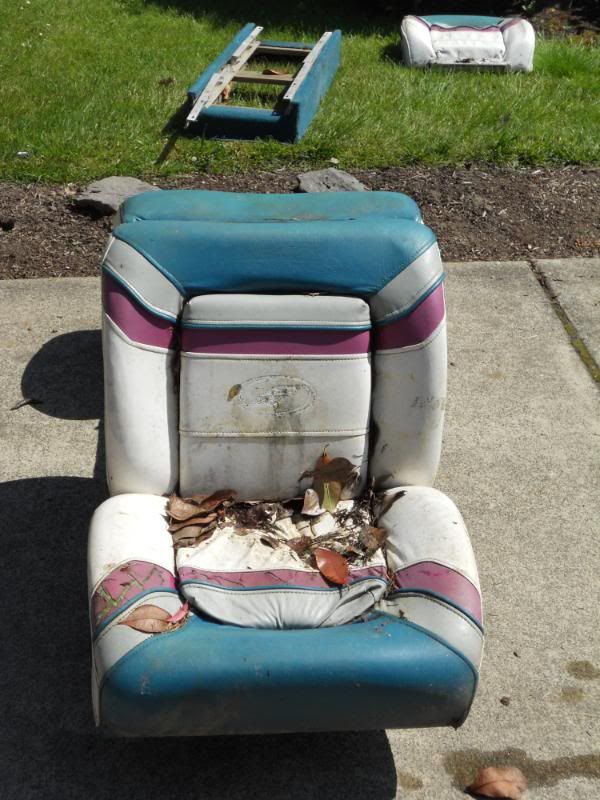
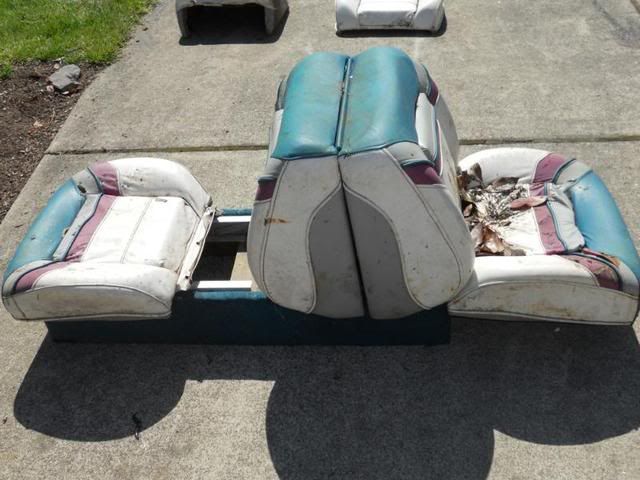
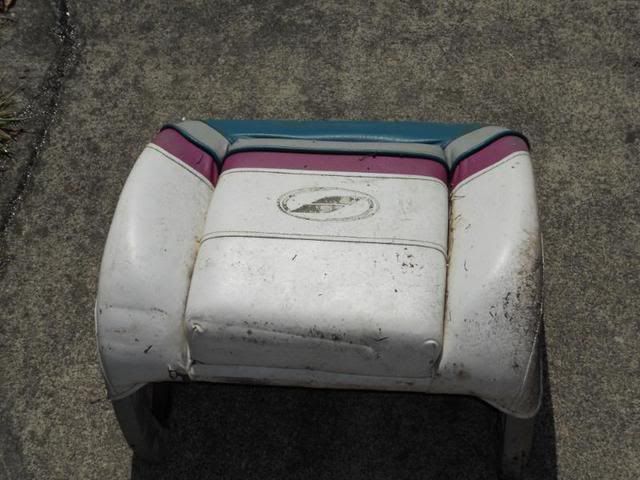
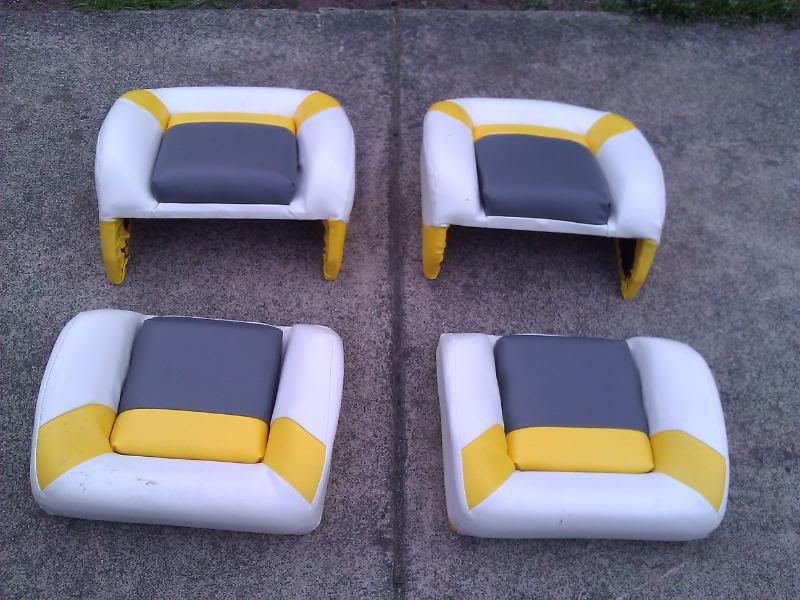
It has been a hectic few yrs anyways time to finish this tub.....Here are the old seats they will be disassembled and the frames rebuilt then off the the upholstery shop for some new skins. By disassembling things your self a lot of labor and money can be saved, it was a simple as going out to the shops and getting bids. In this case it was 50 for the wood....125 for the vinyl and 450 to have them done...... 600 for customer seats not to bad...

boat003-2.jpg


boat004-1.jpg


boat001.jpg


Pretty narly arnt they..
 

Bob_VT

Moderator & Unofficial iBoats Historian
Staff member
Joined
May 19, 2001
Messages
26,049
Re: Starcraft 171 rebuild

Wow what a nice labor of love. Looking great.... can't wait to see the seats installed and the best part..... a picture of it launched!
 

TruckDrivingFool

Lieutenant Commander
Joined
Jul 30, 2007
Messages
1,818
Re: Starcraft 171 rebuild

How long do you let the paint dry before going back over it to flatten it?
 

Tail_Gunner

Admiral
Joined
Jan 13, 2006
Messages
6,237
Re: Starcraft 171 rebuild

Well the economy finally got me so i am going to finish this project well i have some time..so here we go.


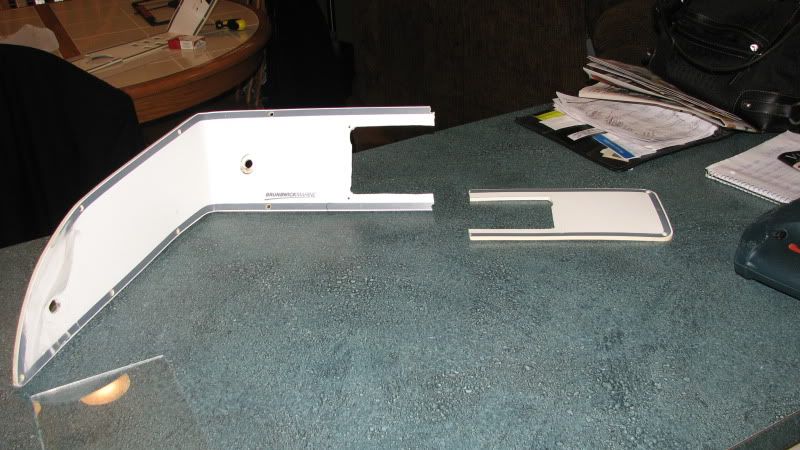
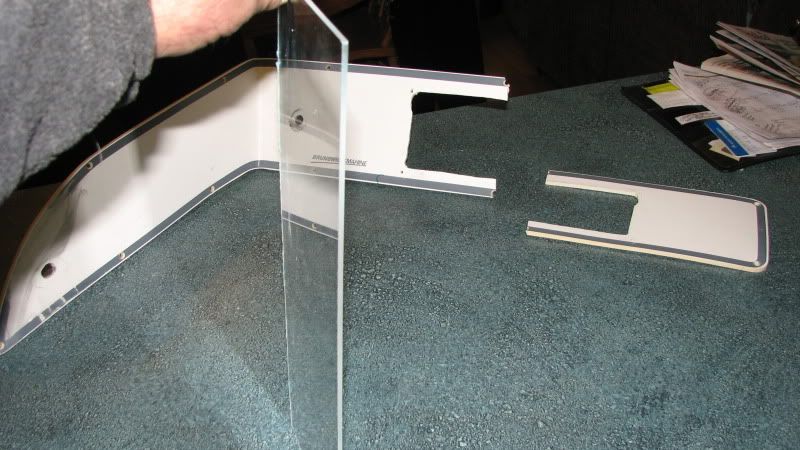
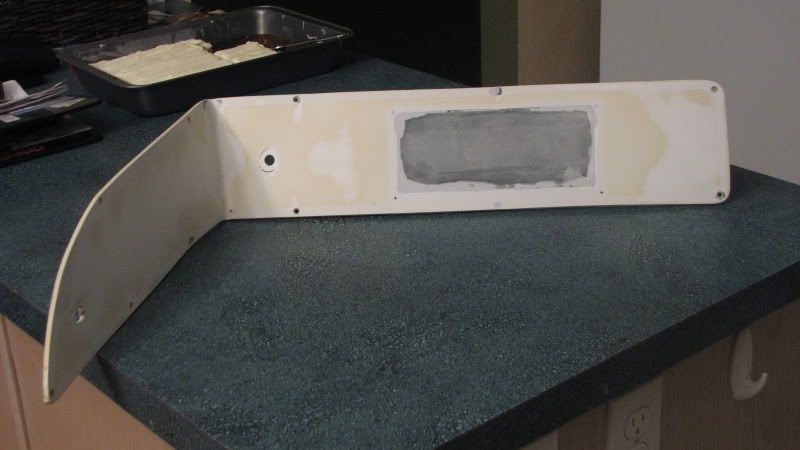
Had some dash problems the old peices were well old and broken with some complex curves so after a trip to Tap plastics the old one's are now new or close enough

boat139.jpg


Some acrylic backing

boat140.jpg


And a new twist acrylic cement amazing stuff for plastic it actually welds the peices together.The backing is on here extremely stong bond.

boat142.jpg

There is the front filler again using the cement
boat149.jpg


And a front filler peice filled in against the backing..stonger than new.
 

Attachments

  • boat139.jpg
    boat139.jpg
    138.1 KB · Views: 0
  • boat142.jpg
    boat142.jpg
    38.1 KB · Views: 0

Tail_Gunner

Admiral
Joined
Jan 13, 2006
Messages
6,237
Re: Starcraft 171 rebuild

And some putty filled all the imperfections or irregularity's

boat161-1.jpg


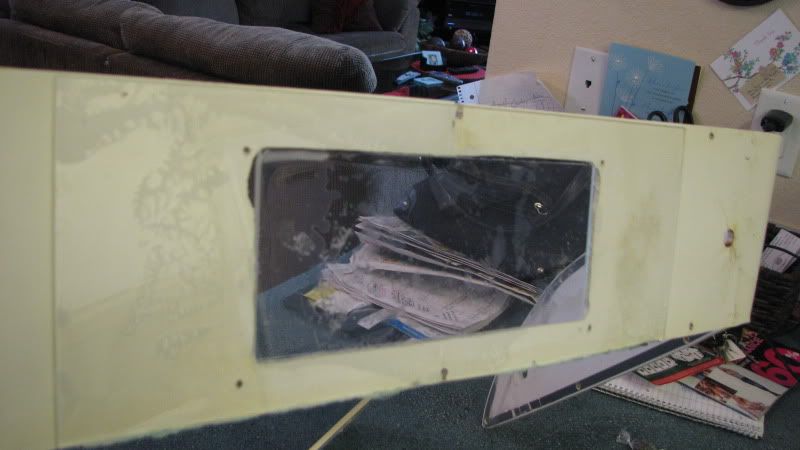
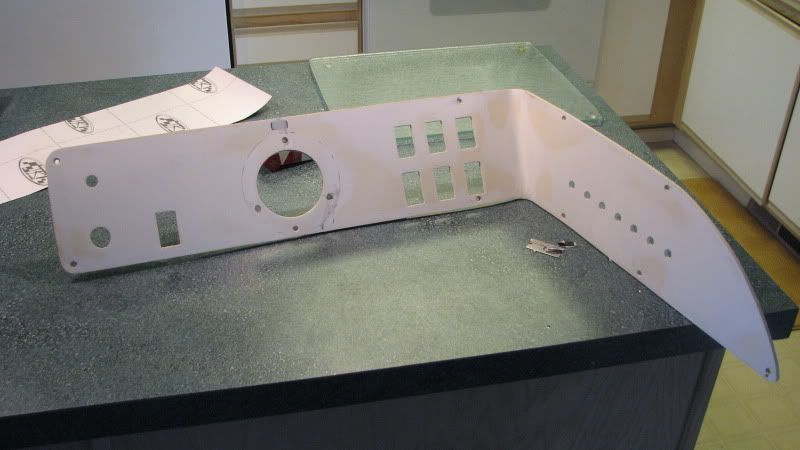
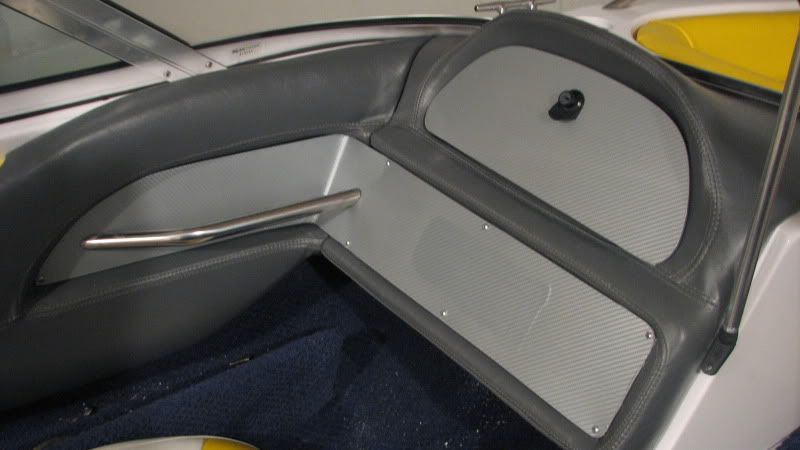
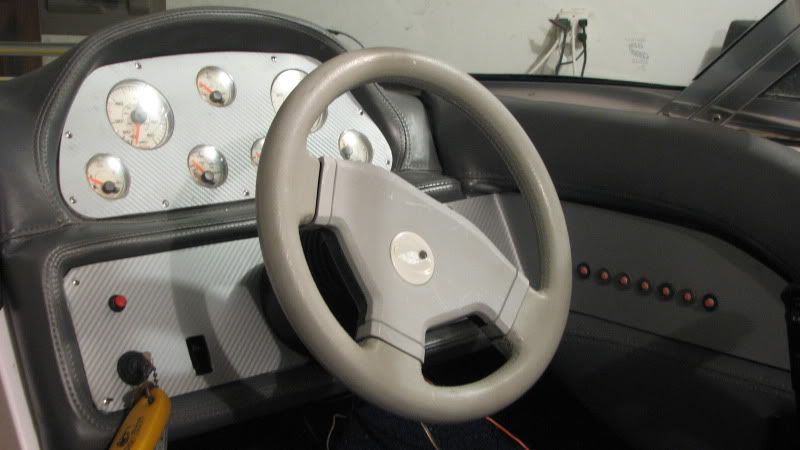
There welded back together..Now i am using a vinyl wrap to finsih this dash.The stuff is semi translucent and will show every flaw it is laid on so....sanding again complety flat and a uniform color..that peice was not done and i have no pictures of it sanded but all those stains and irregularities were sanded out.

boat155.jpg


The helm facia you see all those opening's you just lay the vinyl over them and cut out the opening later..

boat151.jpg


Again that was sanded down to uniform white color
 

Tail_Gunner

Admiral
Joined
Jan 13, 2006
Messages
6,237
Re: Starcraft 171 rebuild

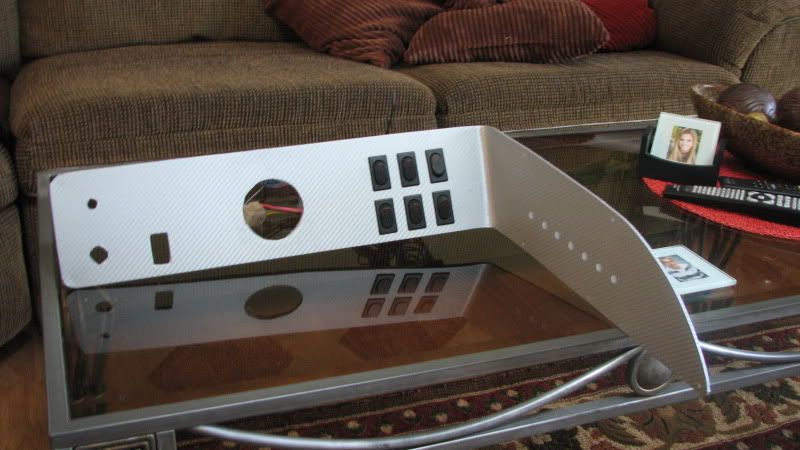
Vinyl on

boat158-1.jpg


boat169.jpg


Ok here's a good example of how vinly wrap show's imperfection's..in this case the new cd player is larger than the old hole so who care's...:facepalm:

boat162.jpg


boat163.jpg


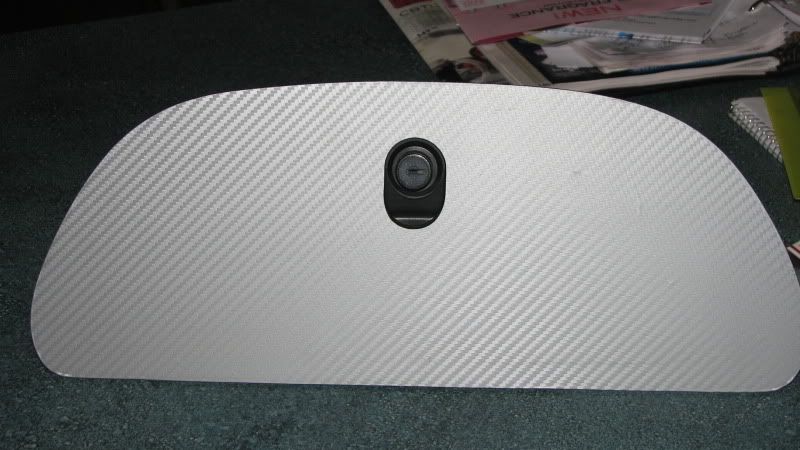
There done.....Now the steering wheel has to go...Never ending. The wrap itself takes time maybe about a half a day..cost 40 cheap effective and far better than before.
 

Tail_Gunner

Admiral
Joined
Jan 13, 2006
Messages
6,237
Re: Starcraft 171 rebuild

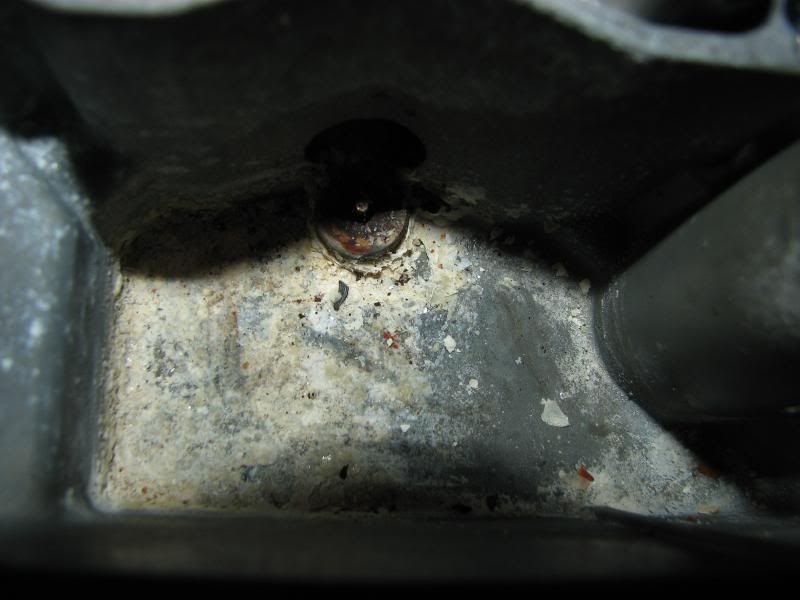
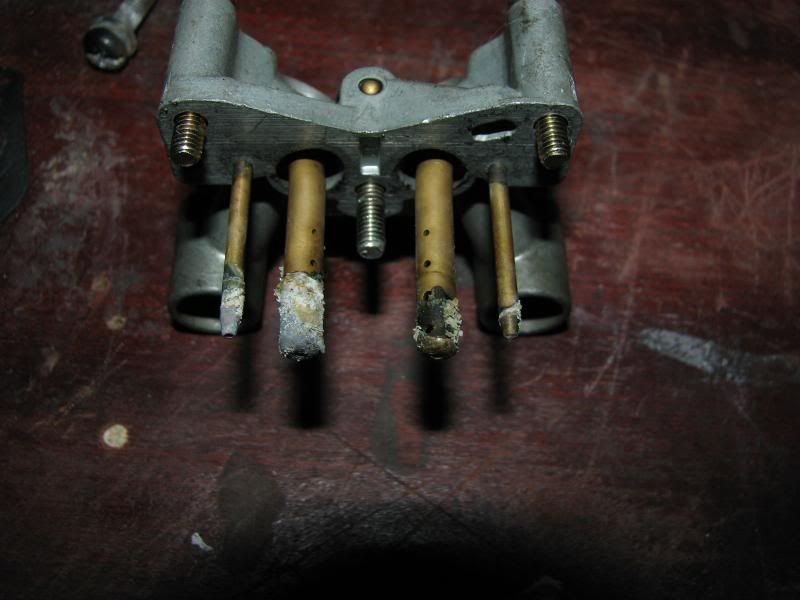
Well getting close time for final assy..but first this little snake popped up it head....

boatfinal012.jpg


minnkota004.jpg


That is the contamination after only 3 months of sitting.The power valve.. idle circut everything was plugged shut with contamination. I soaked the entire carb in white vinegar for 24 hours blew out all the circuts with high pressure water..soaked them in baking soding for thirty minutes to neutralize the acid and assembled. Works well now and water seperator is going on the system.

That white vinegar really works well but it is acidic so you have to soak the carb in baking soda..very cheap carb clean
 

Tail_Gunner

Admiral
Joined
Jan 13, 2006
Messages
6,237
Re: Starcraft 171 rebuild

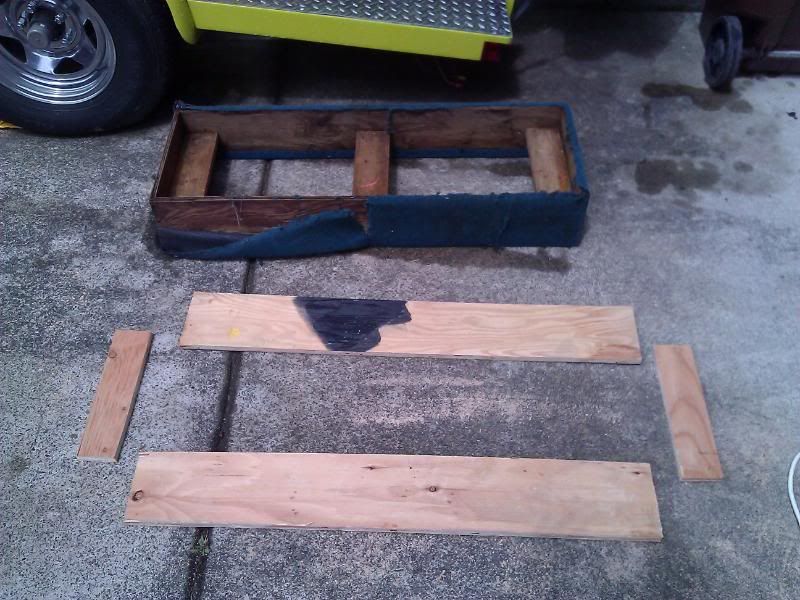
Back to the seats..the bases were very simple just took measurements of the old and cut new 3/4 inch plywood screwd and glued..better than new. I did not glass them there was no need they were strong enough to hold just about anything. I did however seal them with a bedliner product..polyurethane i doubt they will ever see mositure.
WP_000108.jpg

WP_000109.jpg

WP_000112.jpg
 

Tail_Gunner

Admiral
Joined
Jan 13, 2006
Messages
6,237
Re: Starcraft 171 rebuild

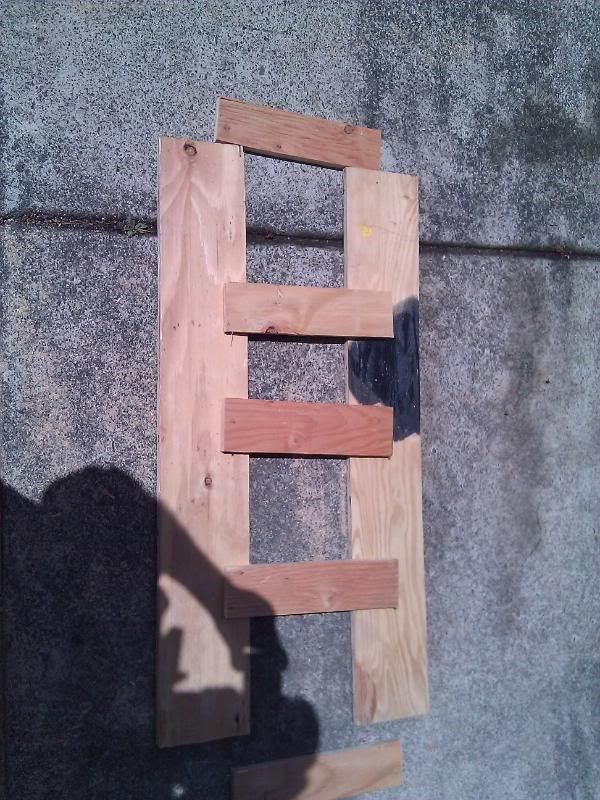
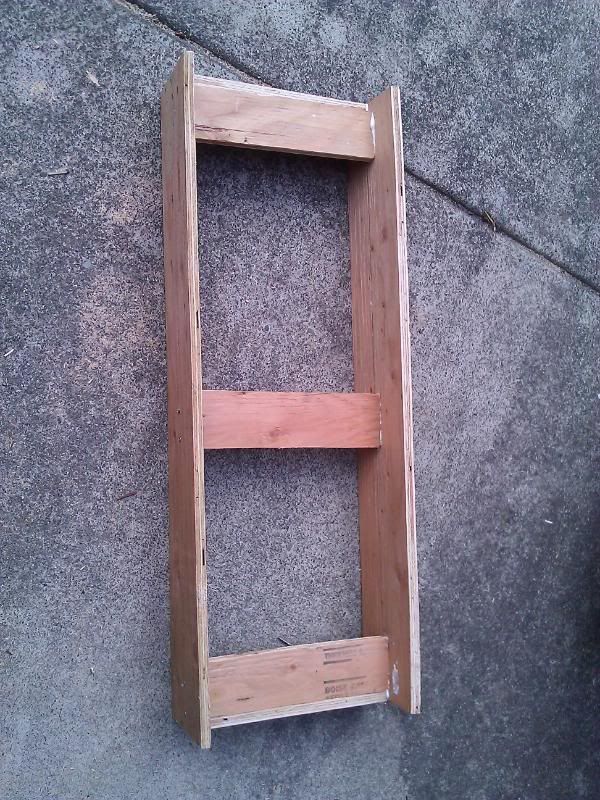
Same process for the seats. just duplicate the old pattern..the balck material is the poly bedliner...cheaper than glass and the seal should last forever.
WP_000113.jpg


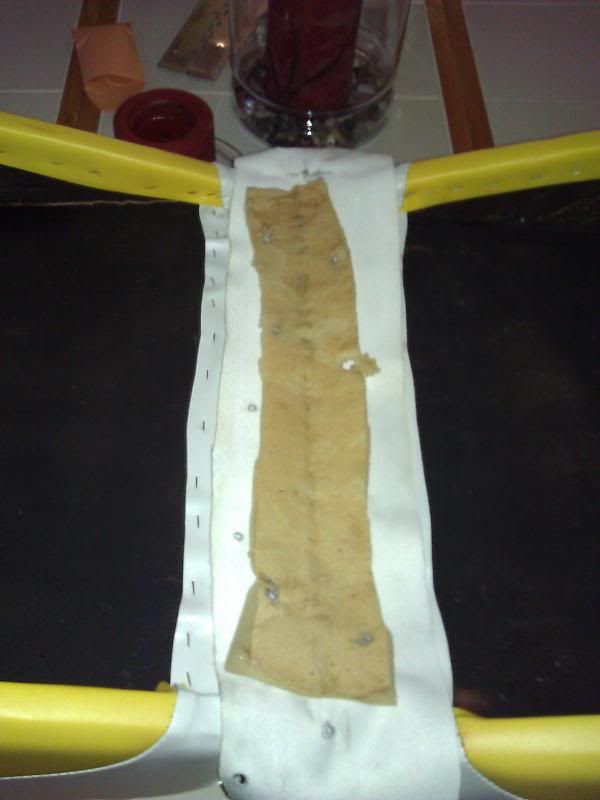
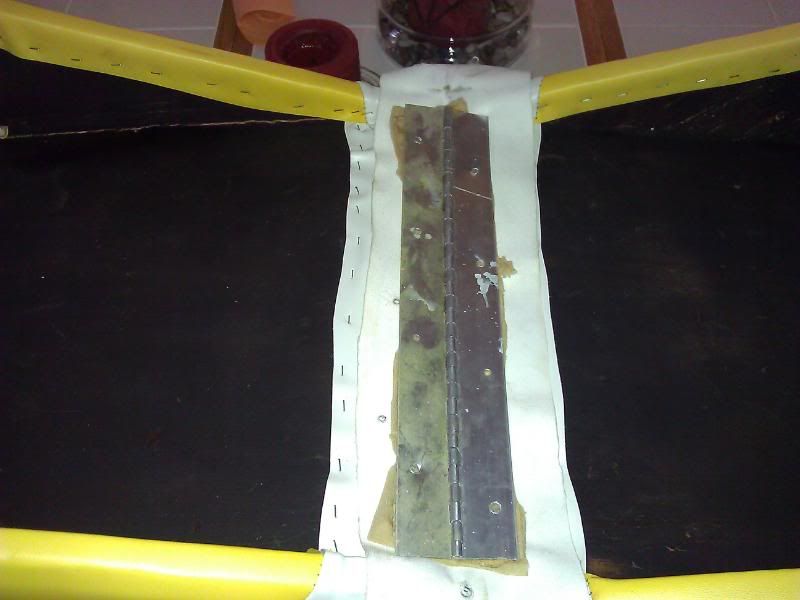
Time to mate them up and as you can see there are some gaps built in that is for flexibilty and again copying the old pattern this way..First layer is vinyl followed by 1/2 inch foam and topped with a piano hinge

WP_000122.jpg


WP_000124.jpg


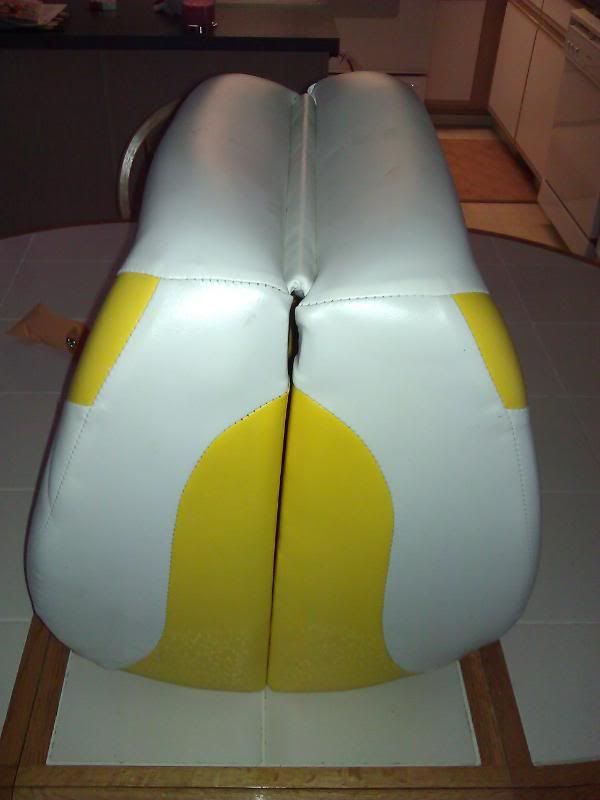
And the top gap is gone..From there you do have to adjust the hinges a bit to get a good fit here's a rough example

WP_000126.jpg
 
Top