Seafarer transom and deck replacement

Three08

Petty Officer 2nd Class
Joined
Oct 24, 2009
Messages
111
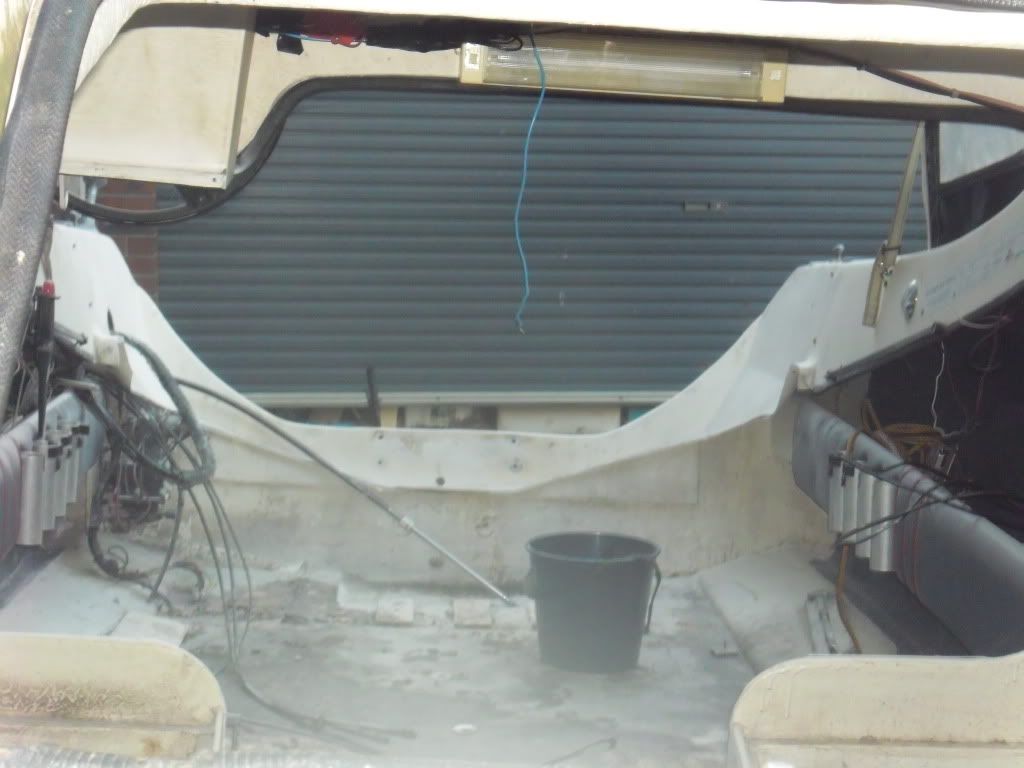
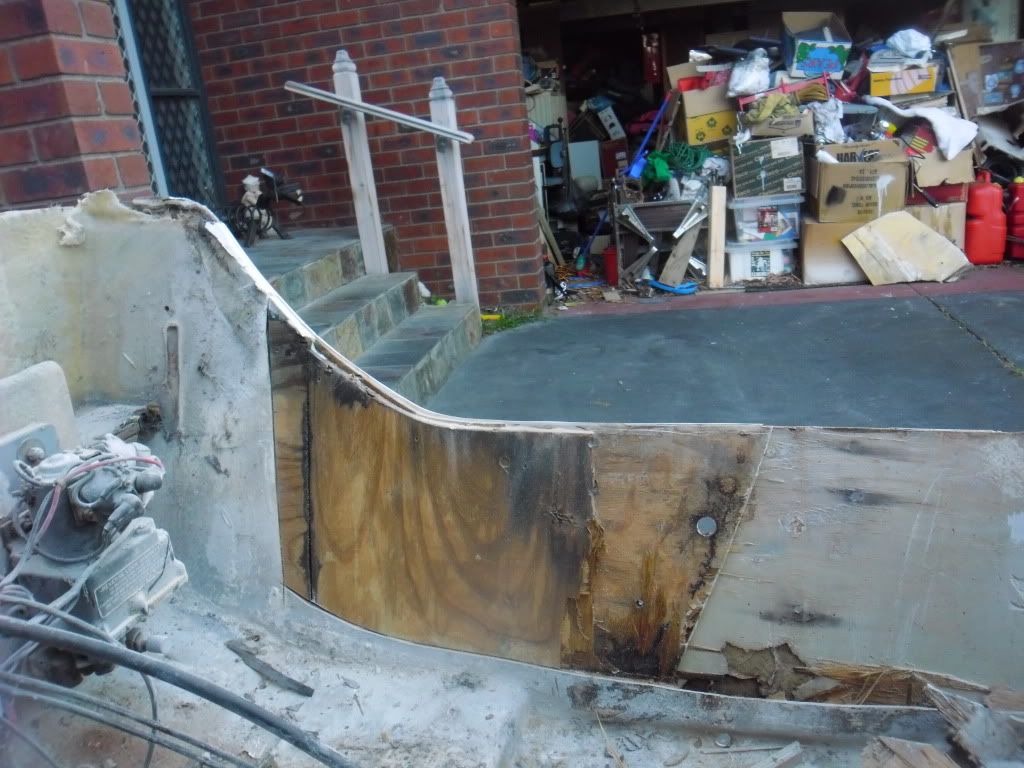
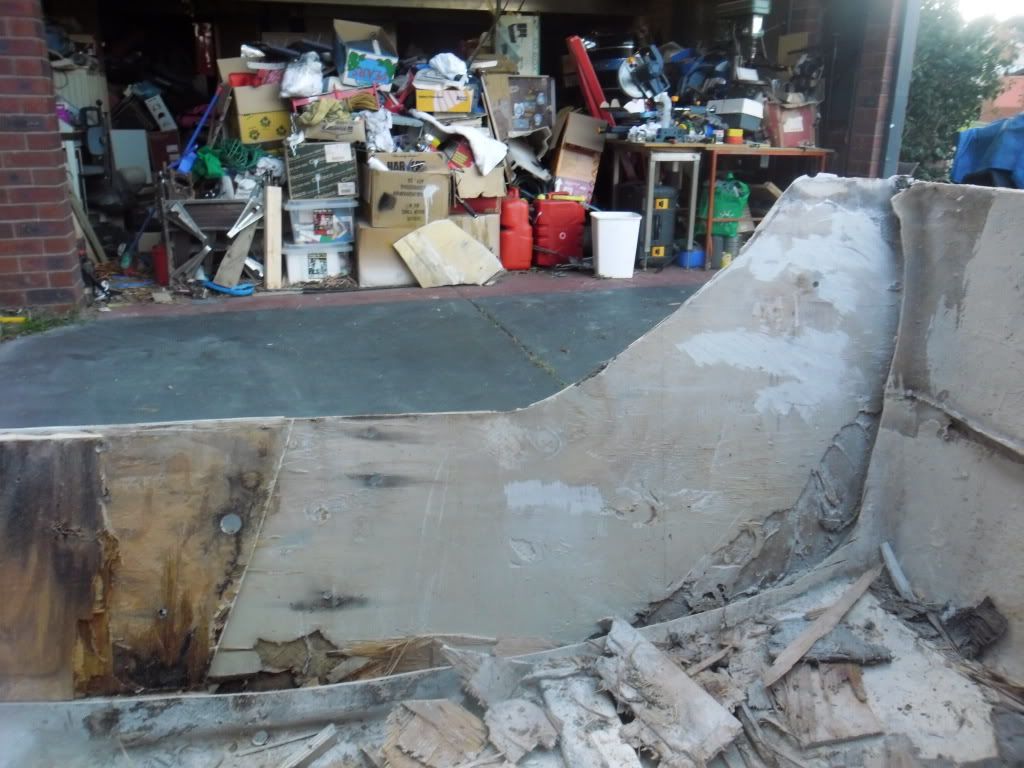
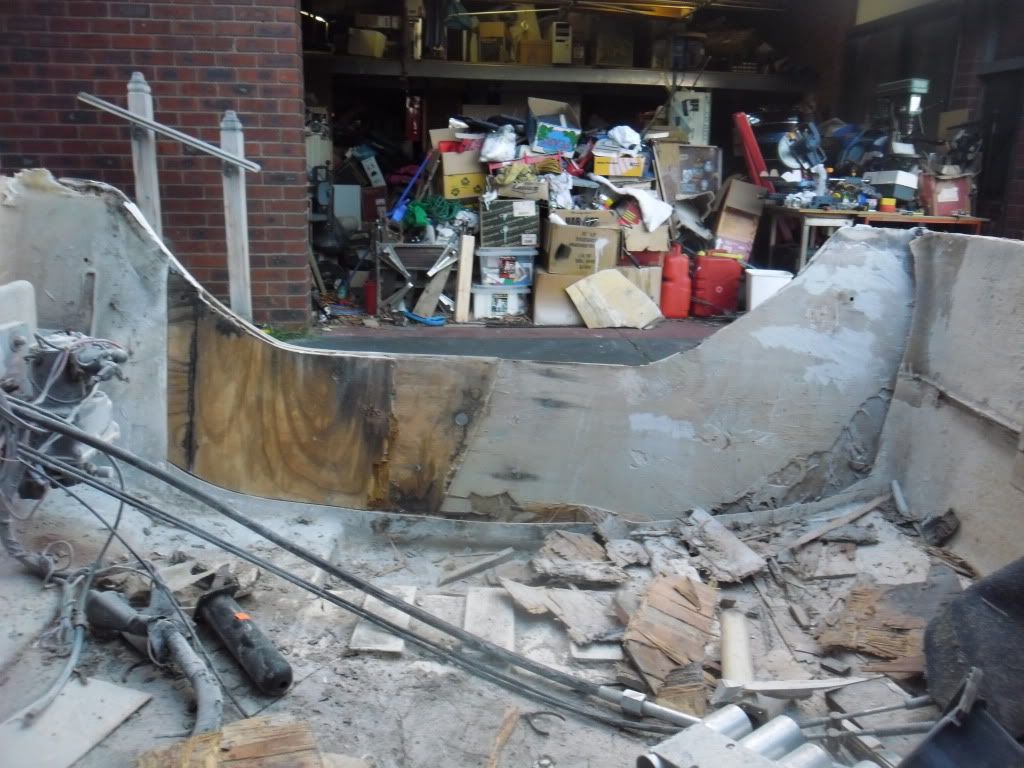
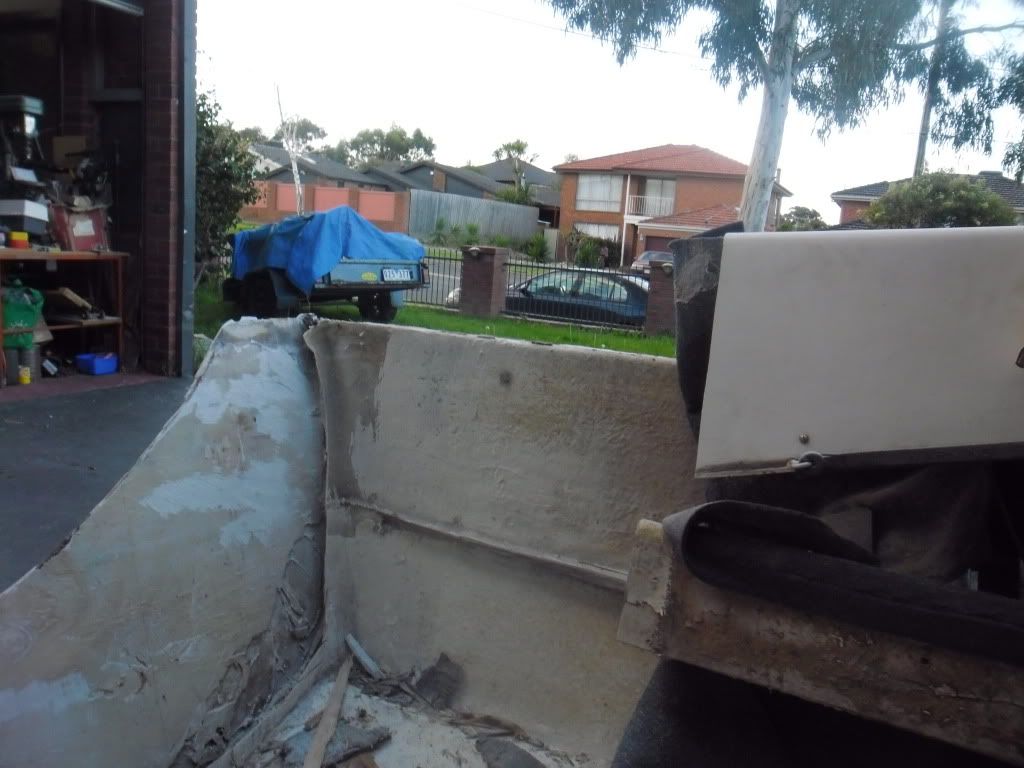
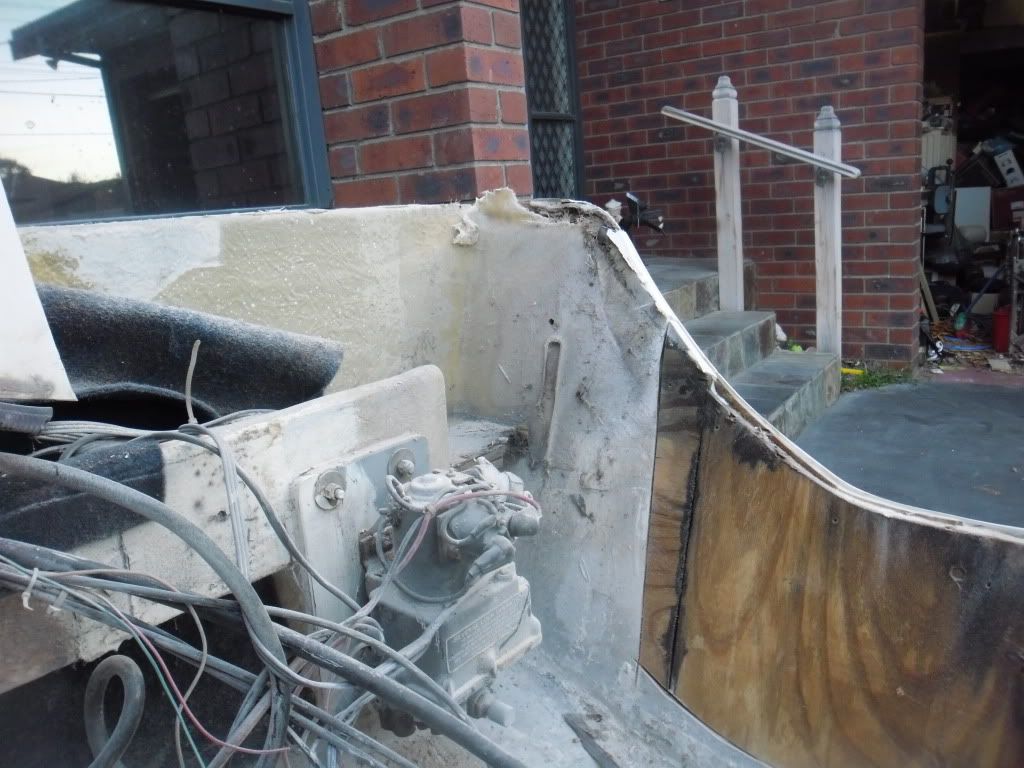
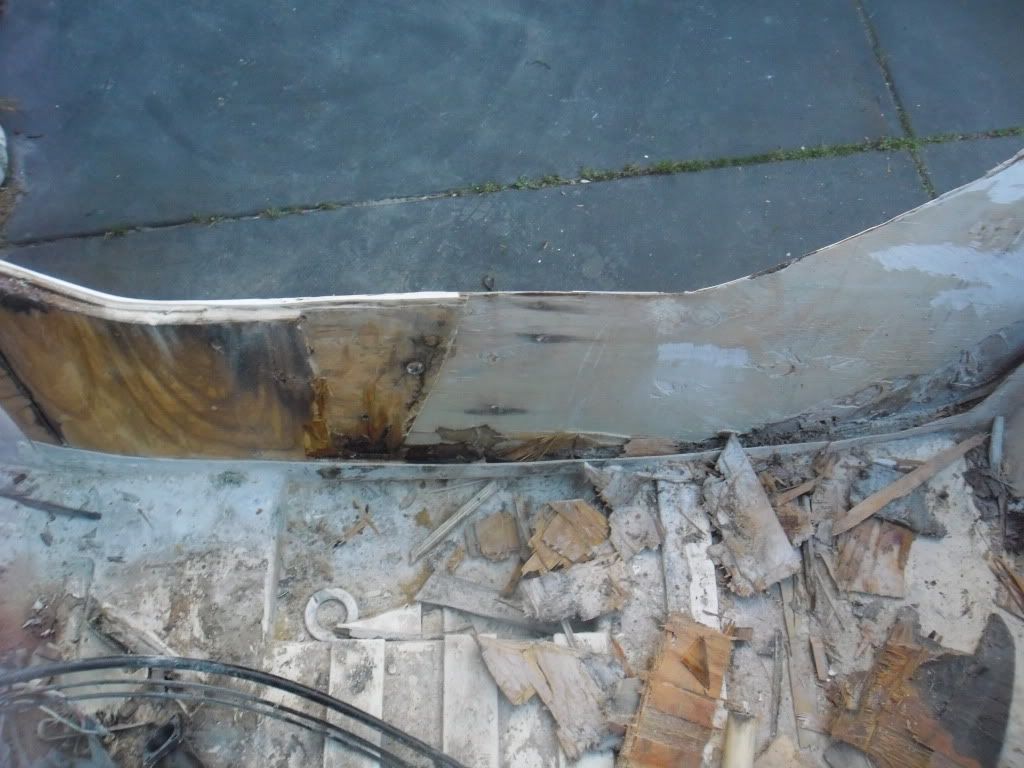
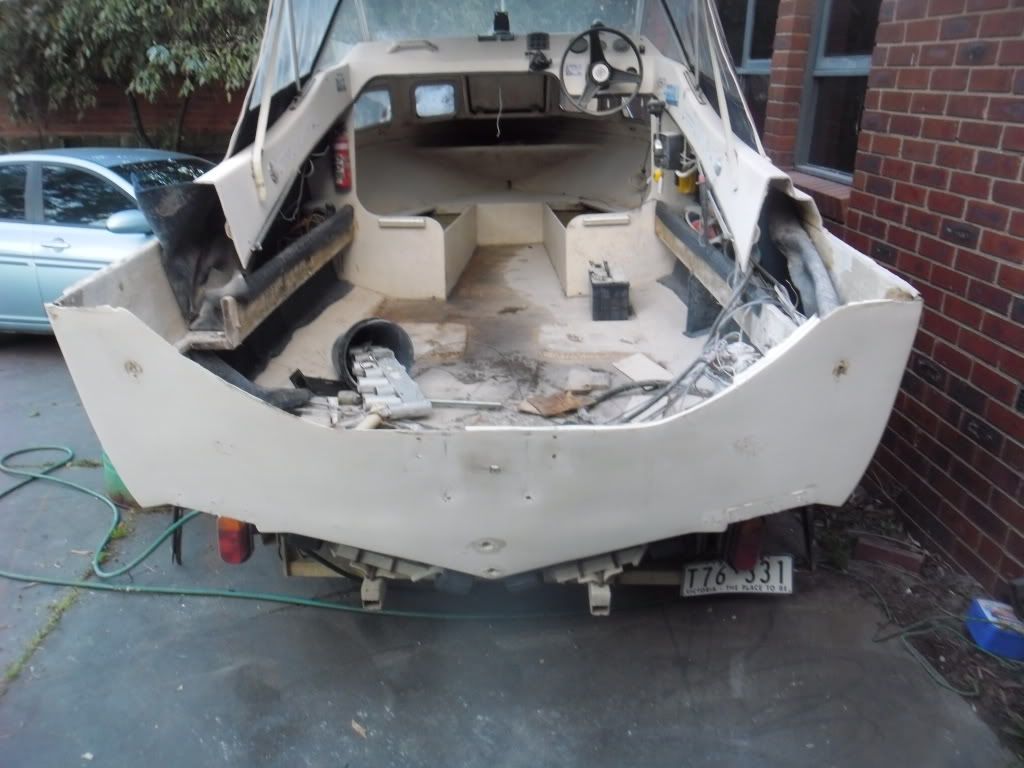
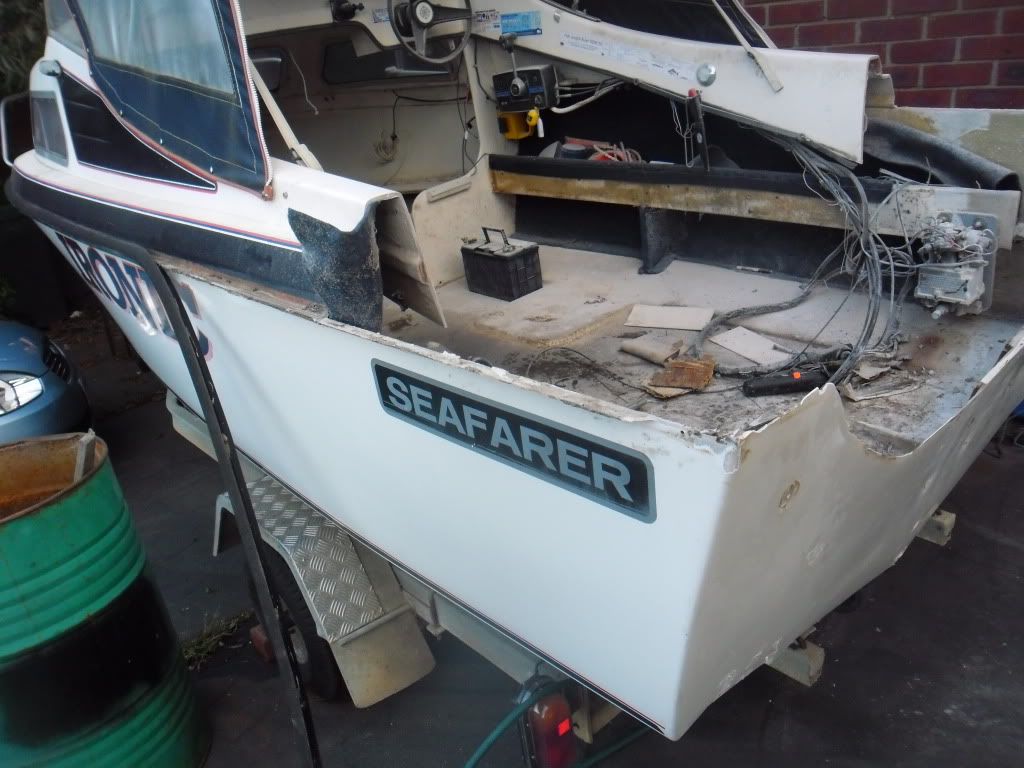
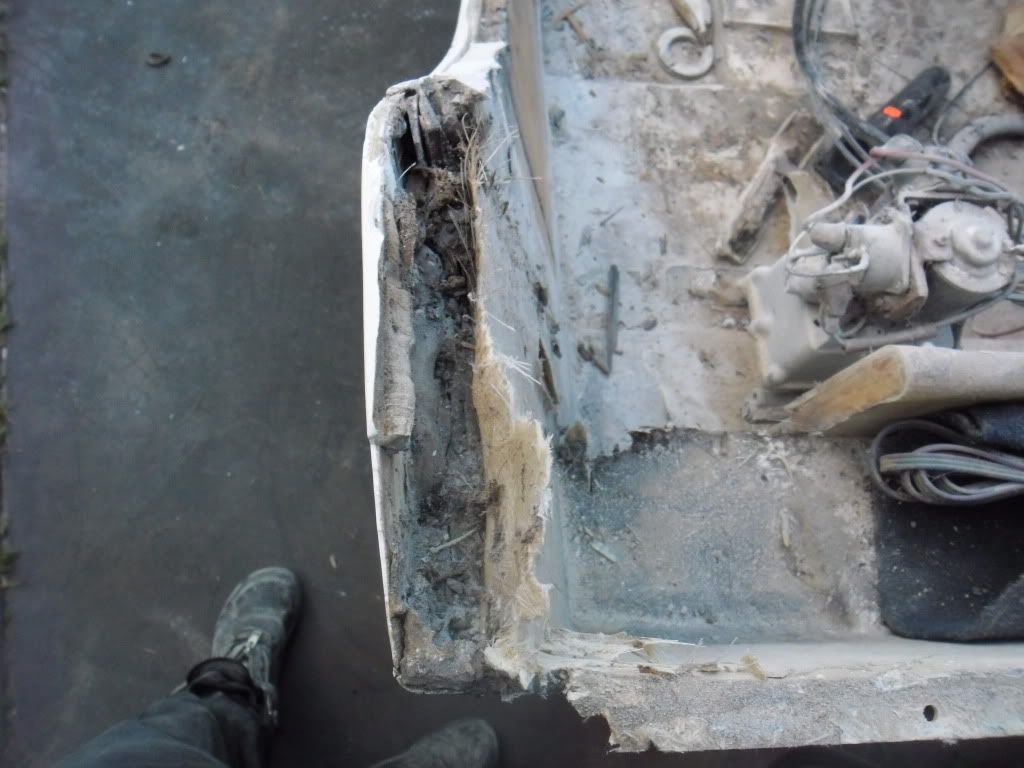
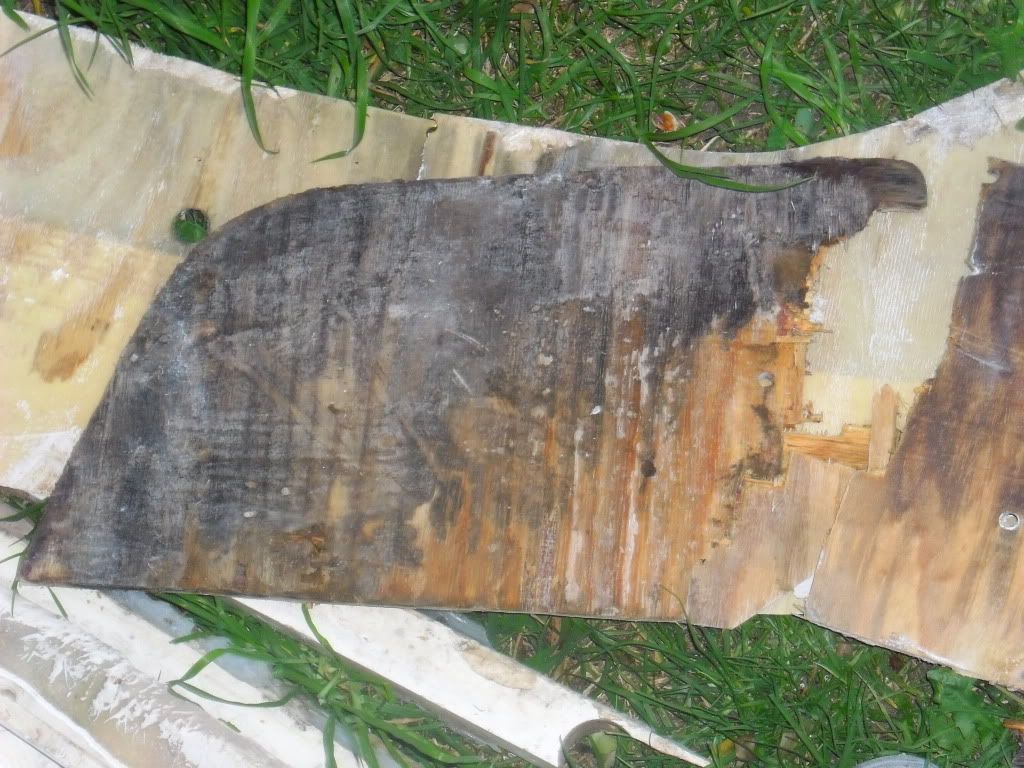
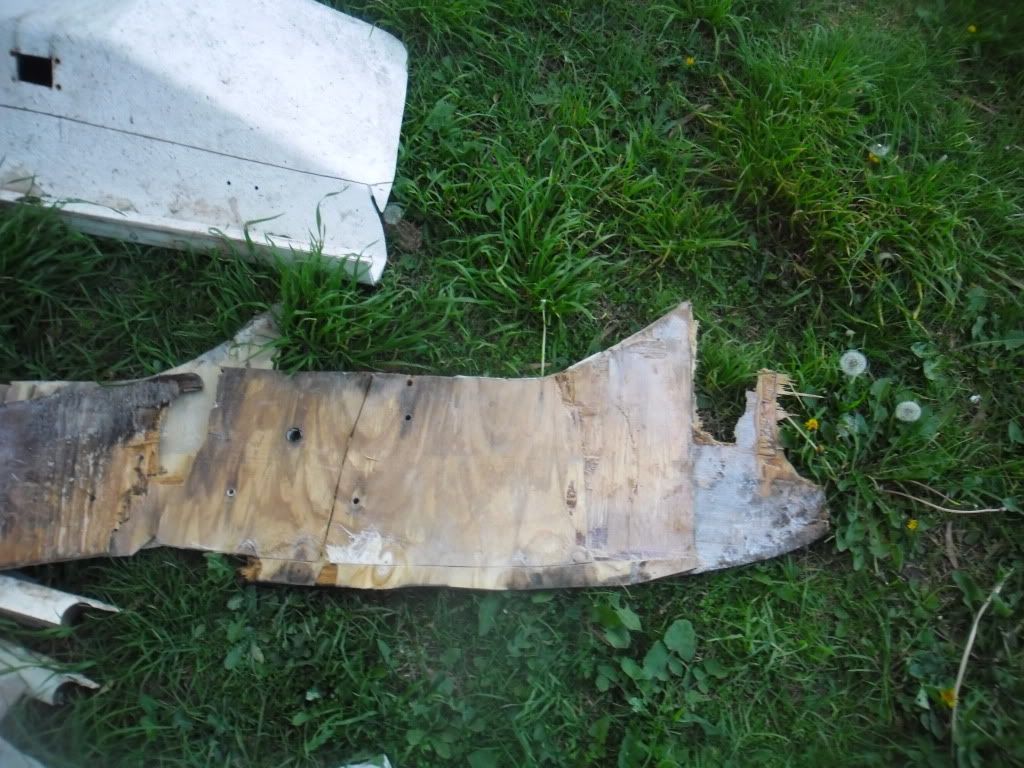
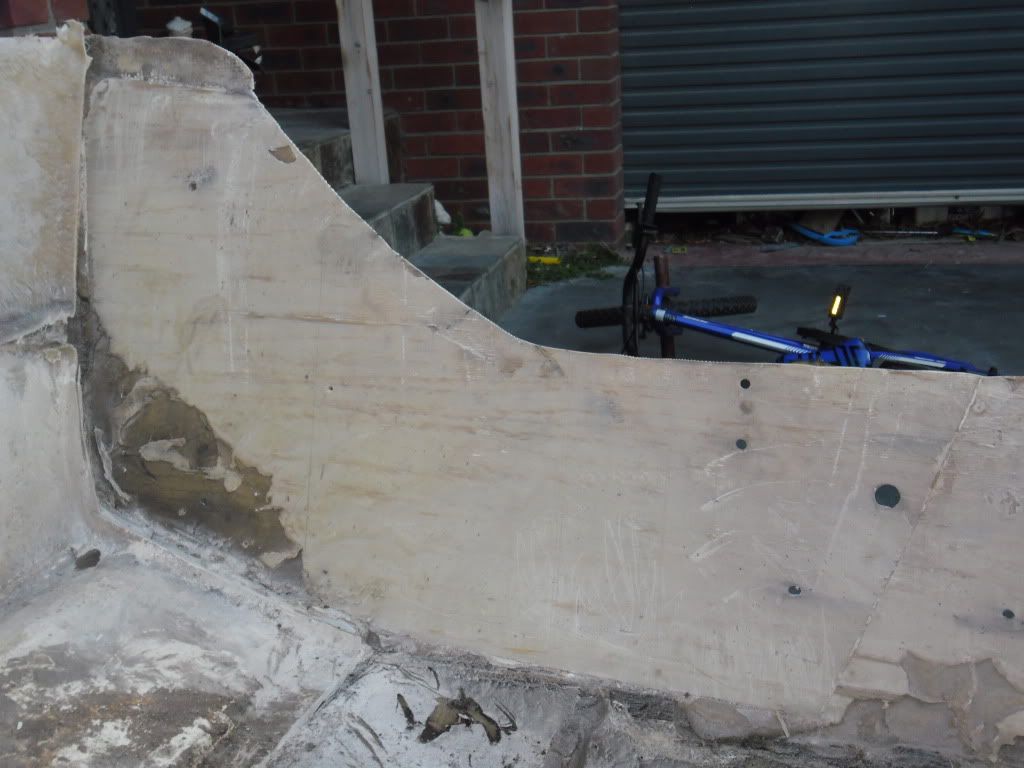
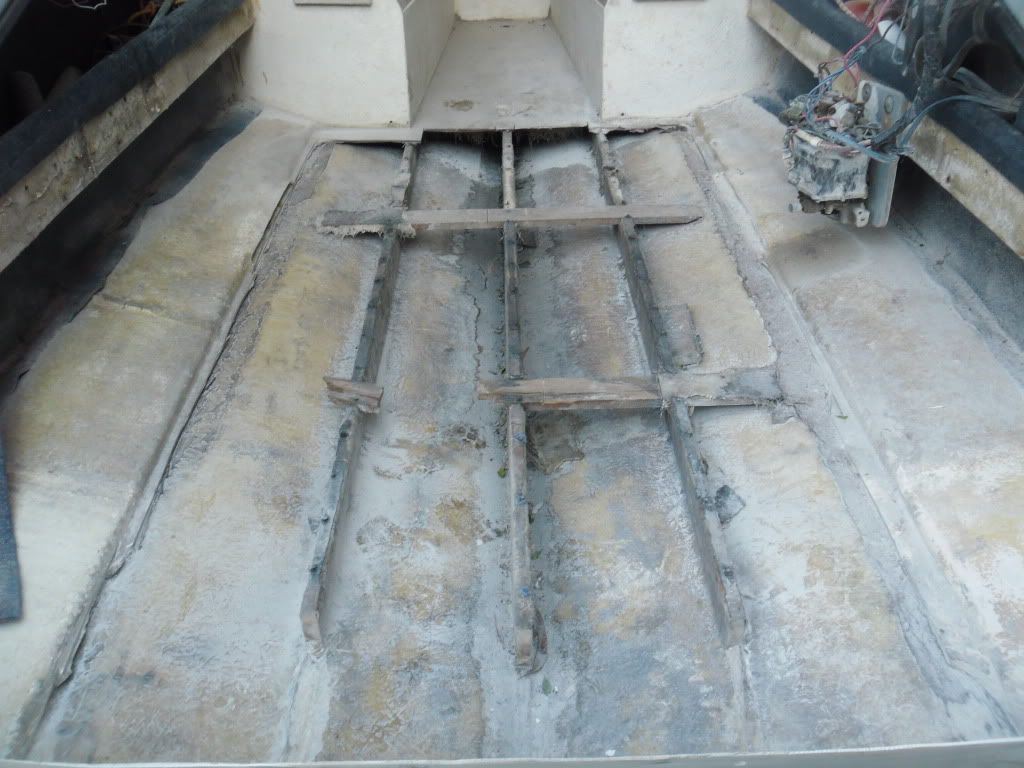
I decided after the last time I took my boat out that I needed a set of smart tabs, so naturally when I drilled the mounting holes in the transom a few weeks ago I found wet wood. Spent this afternoon stripping out the boat, I discovered in the process that the deck needs doing too, I'm hoping the stringers are ok but their probably not so I will be taking some core samples once the deck is off. I'll also be putting an under floor fuel tank and ice box if there's room.

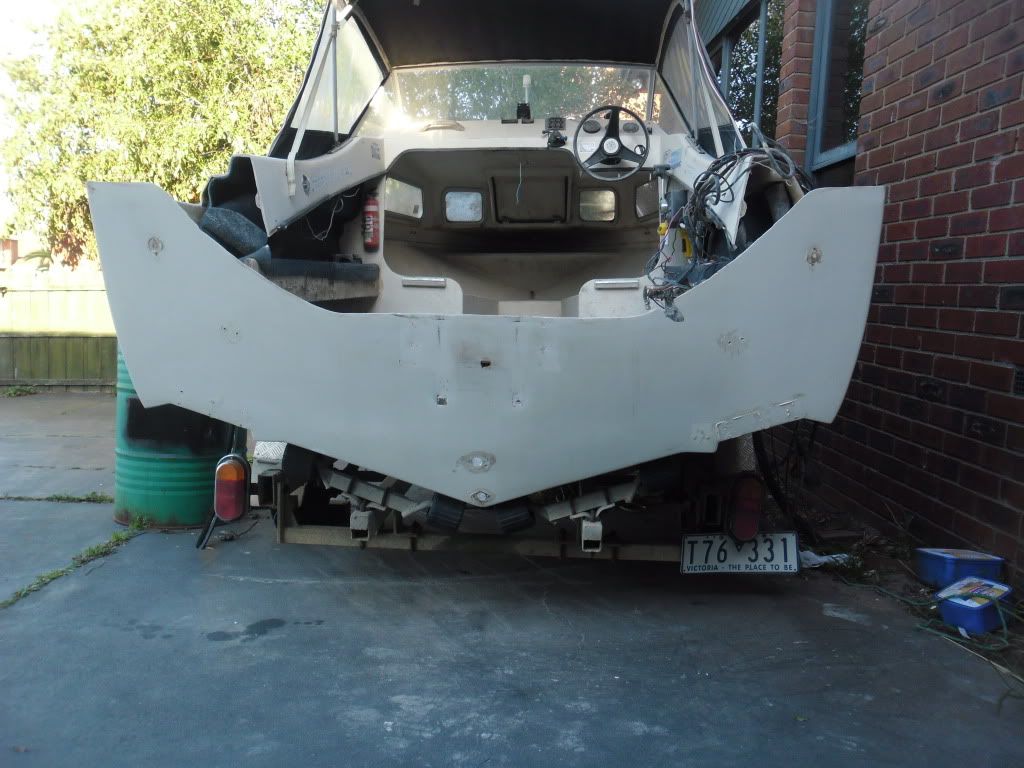
I'm planning to fill the transom cut out most likely using formica backed with plyboard and 2x4's as the mold, cutting out the splash well and putting a pod/bracket with a swim platform. I'll be using polyester resin with 1808
I have no way of removing the cap and no where to put it even if I could remove it so I'll be cutting the cap just back from the transom, I'll be molding a new cap for the transom anyway so repair wont be a big deal.


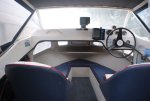
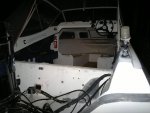
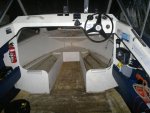
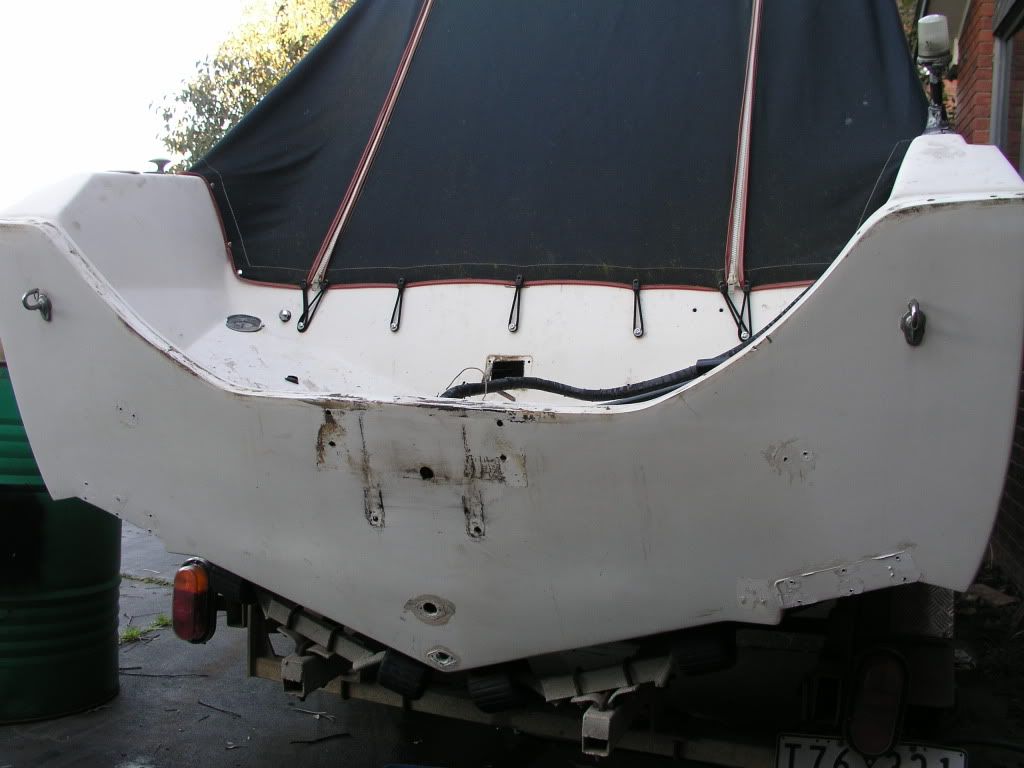
A few pics of the boat before I started removing things.
$(KGrHqIOKjwE2I0Binq2BNrWL)DftQ~~_12.JPG

$(KGrHqUOKjkE1v7w!ogyBNrWLscfIg~~_12.JPG

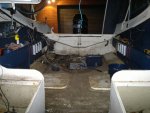
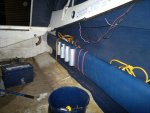
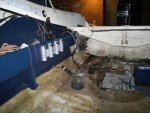
Today's work.
14082011069.jpg

14082011066.jpg

14082011068.jpg
 
Last edited:

Three08

Petty Officer 2nd Class
Joined
Oct 24, 2009
Messages
111
Re: Seafarer transom and deck replacement
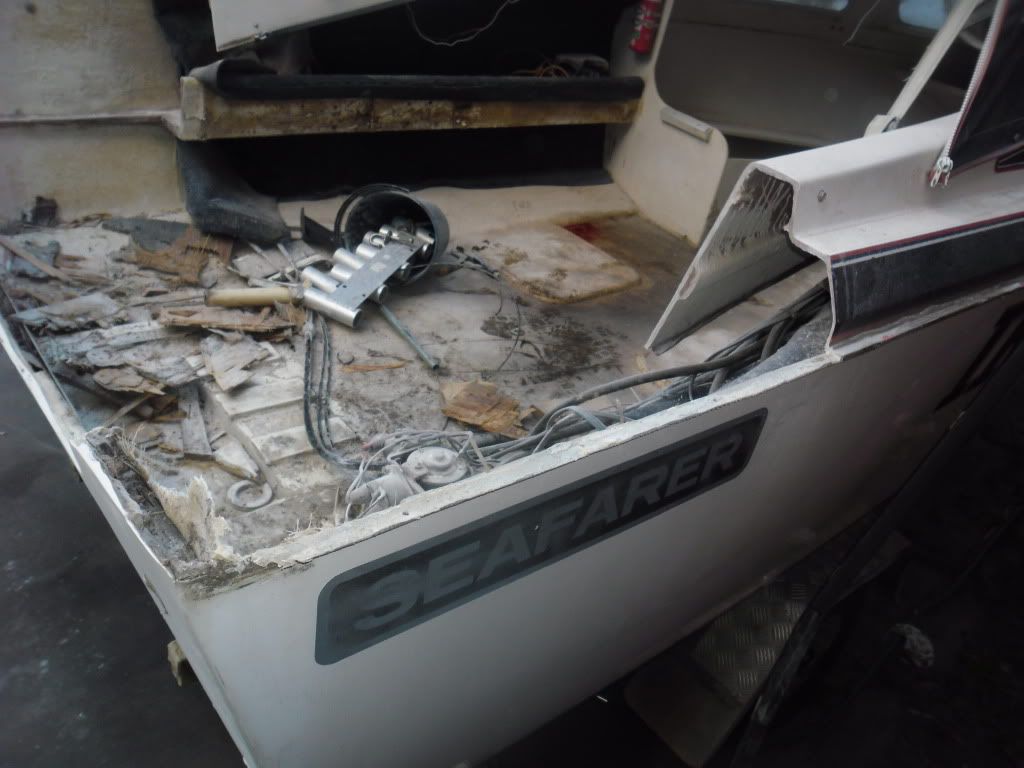
Some more pics of today's work.

14082011067b.jpg

14082011073.jpg

14082011075.jpg

14082011078.jpg

I've read the "hull extension" thread a few times, now I think I'll go read it again. Thanks oops!
 

Attachments

  • 14082011072.jpg
    14082011072.jpg
    142 KB · Views: 1

oops!

Supreme Mariner
Joined
Oct 18, 2007
Messages
12,932
Re: Seafarer transom and deck replacement

you may find that if you add that belly tank you might not need the tabs !
 

Three08

Petty Officer 2nd Class
Joined
Oct 24, 2009
Messages
111
Re: Seafarer transom and deck replacement

Well I haven't really made a start on the work yet but I've picked up all of my safety gear. Also got a motor hoist and a lifting eye the other day and spent the afternoon cutting the wood for my motor stand, big thank you to dh4winn79 for the design and drawings. I'm hoping to have the motor off by tomorrow night so I can start cutting and grinding. Oh yeah, I forgot to mention in the first post it's a 5.6m (I think that converts to 18' 4")

you may find that if you add that belly tank you might not need the tabs !
I''ll check if the ones I have fit once all the works done and if they don't I'll take it for a test run first before buying a new set.
 

Three08

Petty Officer 2nd Class
Joined
Oct 24, 2009
Messages
111
Re: Seafarer transom and deck replacement

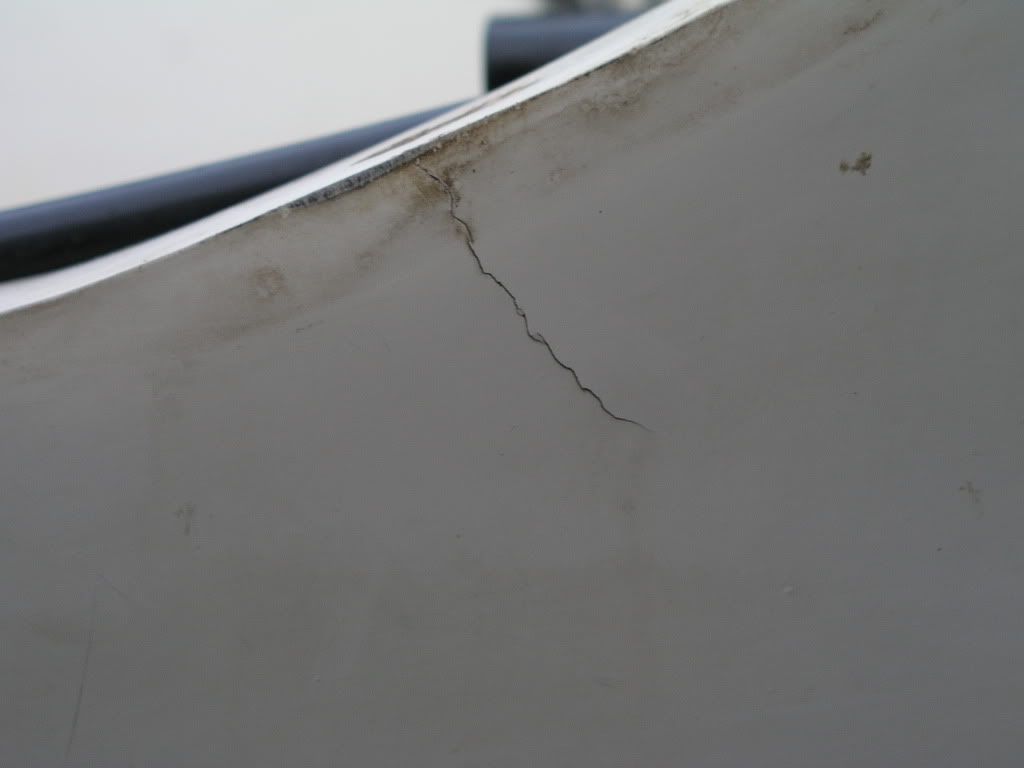
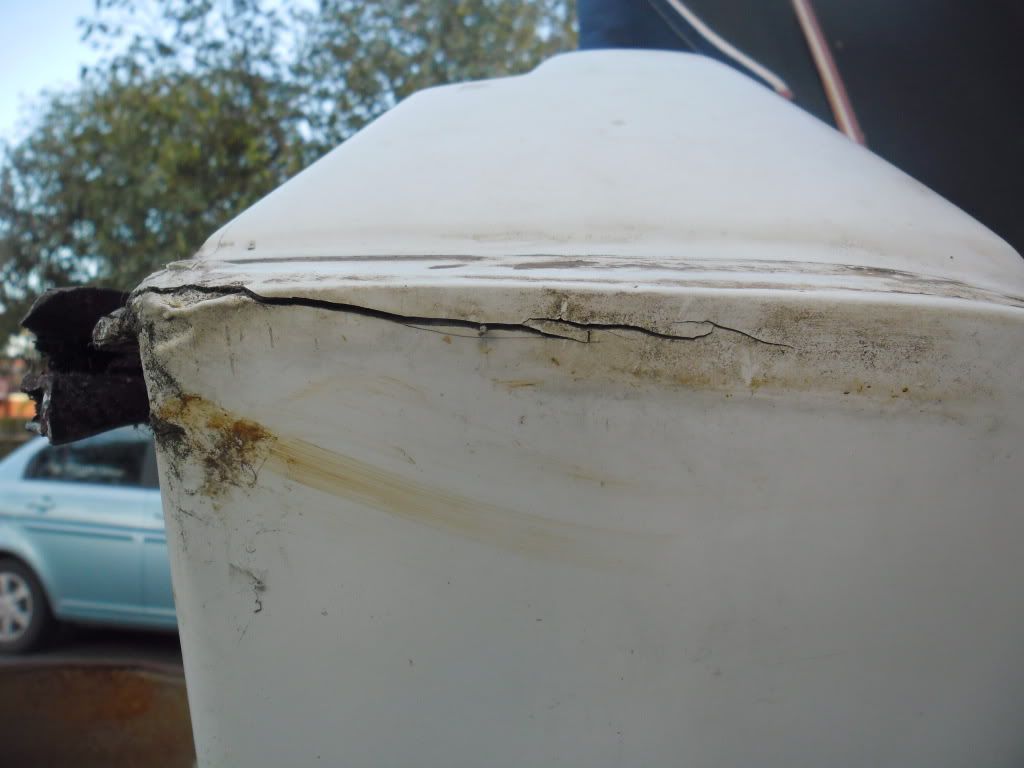
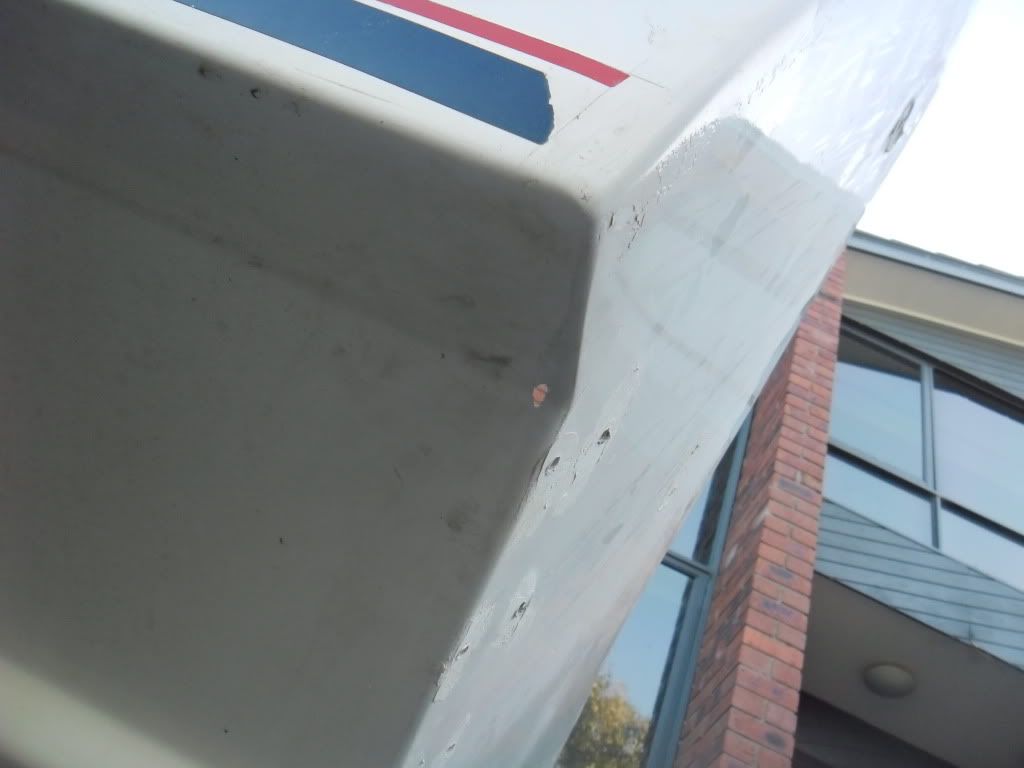
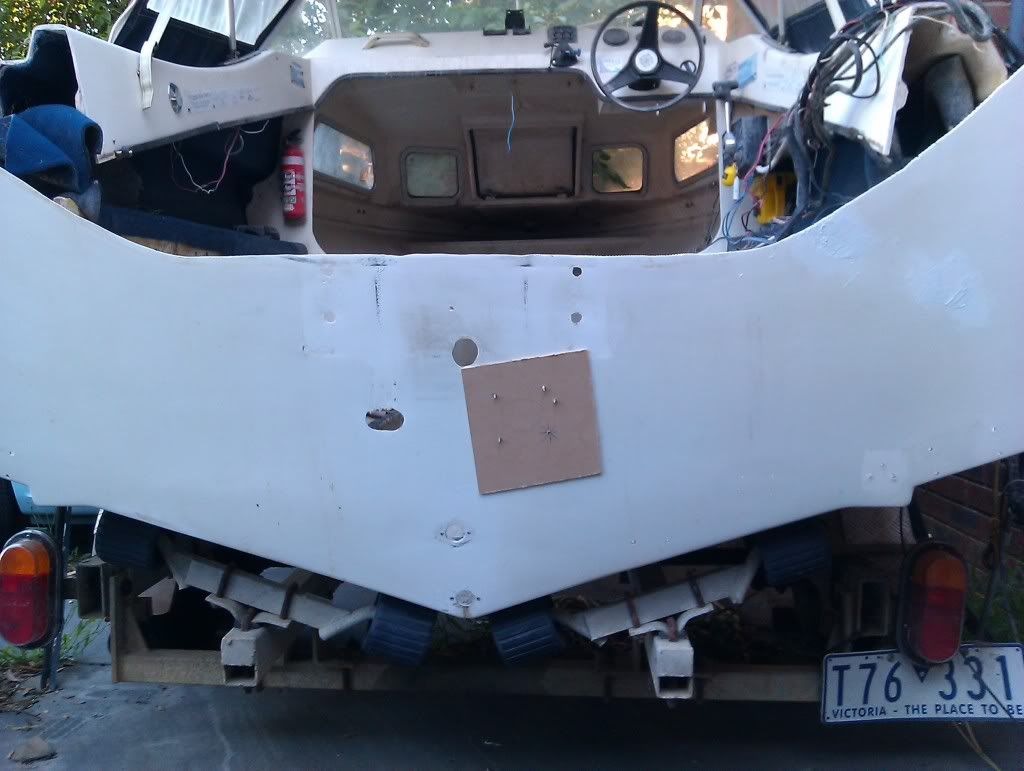
Well the motors off and the transom is even worse then I expected, the lower motor mounts were starting to push through the transom and 2 cracks, one where the cap and transom joins (I'll get a pic of that tomorrow it's getting a bit dark out side now) and another crack to the right of the motor.

album link
http://s1189.photobucket.com/albums/z434/three081/Seafarer Restoration/

P1010160.jpg


P1010160.jpg


P1010161.jpg


P1010170.jpg


P1010168.jpg


Ready to start cutting tomorrow.:cool:
 

Three08

Petty Officer 2nd Class
Joined
Oct 24, 2009
Messages
111
Re: Seafarer transom and deck replacement

Here's a picture of the other crack I was talking about, it looks like it's mostly in the cap but a little of it extends into the transom. (Turned out this one was all in the cap)

SAM_0002.jpg


And the splash well is out, I'll take a better picture tomorrow, I'd already had a shower before I remembered to take photos so this was taken from outside the boat looking into the front hatch.


SAM_0005.jpg
 

Three08

Petty Officer 2nd Class
Joined
Oct 24, 2009
Messages
111
Re: Seafarer transom and deck replacement

That wood you could see in the last picture (above this post) was nailed into the transom and panted with some house paint, no glass!

Here's some new pictures, the black line you can see in the first picture is a join, this transom core looked like it was made with off cuts!

SAM_0020.jpg


Half the transom core is out, excuse the mess in the back ground...
SAM_0021.jpg


SAM_0022.jpg


SAM_0023.jpg


SAM_0024.jpg


SAM_0025.jpg
 

Three08

Petty Officer 2nd Class
Joined
Oct 24, 2009
Messages
111
Re: Seafarer transom and deck replacement

I'm looking for some glass and the closest I've been able to find to 1708 it's called EMK570/300 do you guy's think this will be strong enough? It's basically the same Weight as 1708 but it's not biaxial just standard roving with mat stitched to the back.

Mat Weight = 300 g/m2
Roving Weight = 570 g/m2

570 grams per square meter = 16.8113091 oz per square yard
300 grams per square meter = 8.8480574 oz per square yard
 

Three08

Petty Officer 2nd Class
Joined
Oct 24, 2009
Messages
111
Re: Seafarer transom and deck replacement

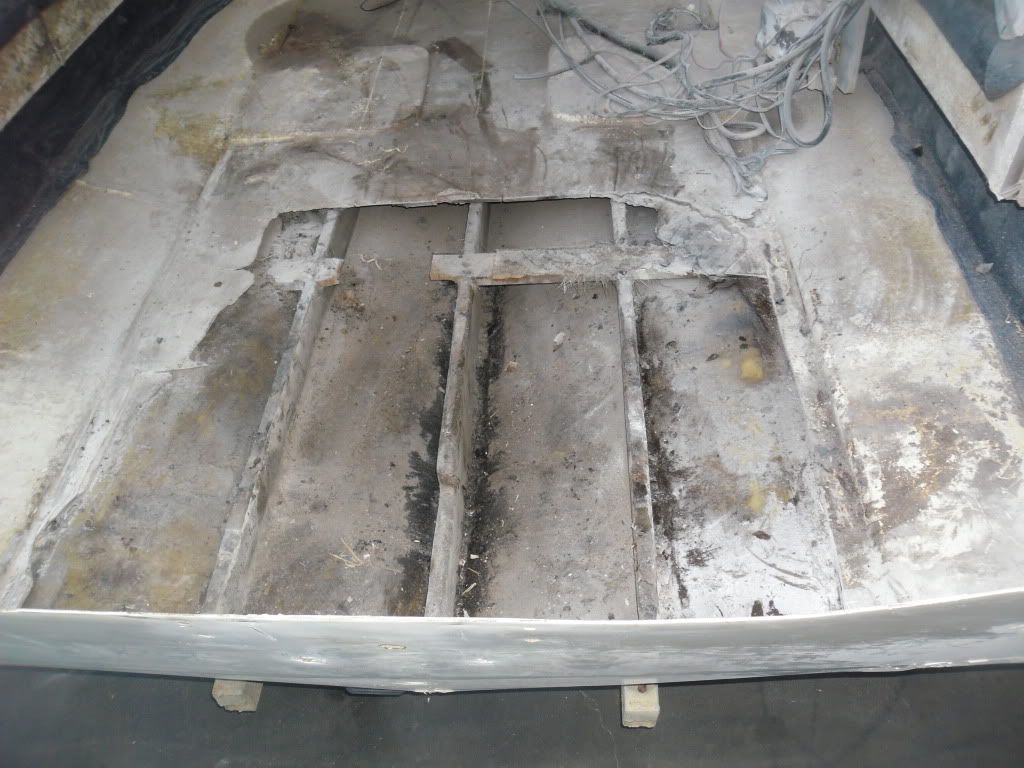
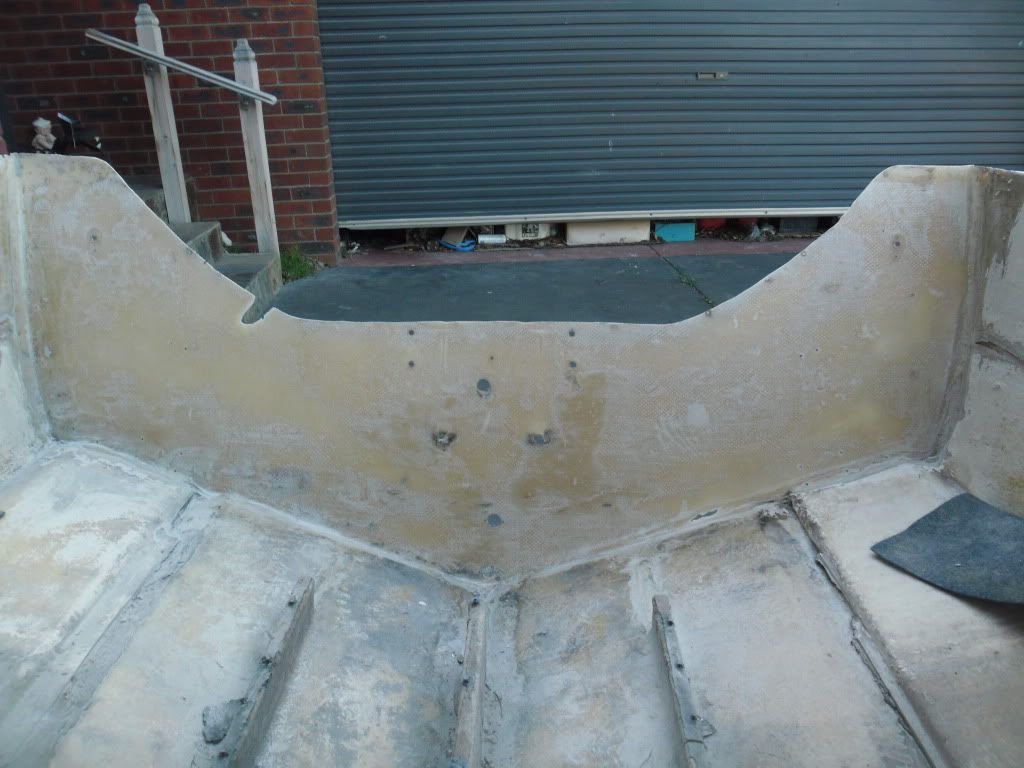
I got the other half of the transom core out today as well as some of the floor, there's still a little wood bellow the floor line that I need to take out.

I think that what you can see there (first pic) is the thickened resin they used to glue the core in place. I assume that will have to come out to, the part in the lower left of the transom you can see there's no glue at all.

SAM_0069.jpg


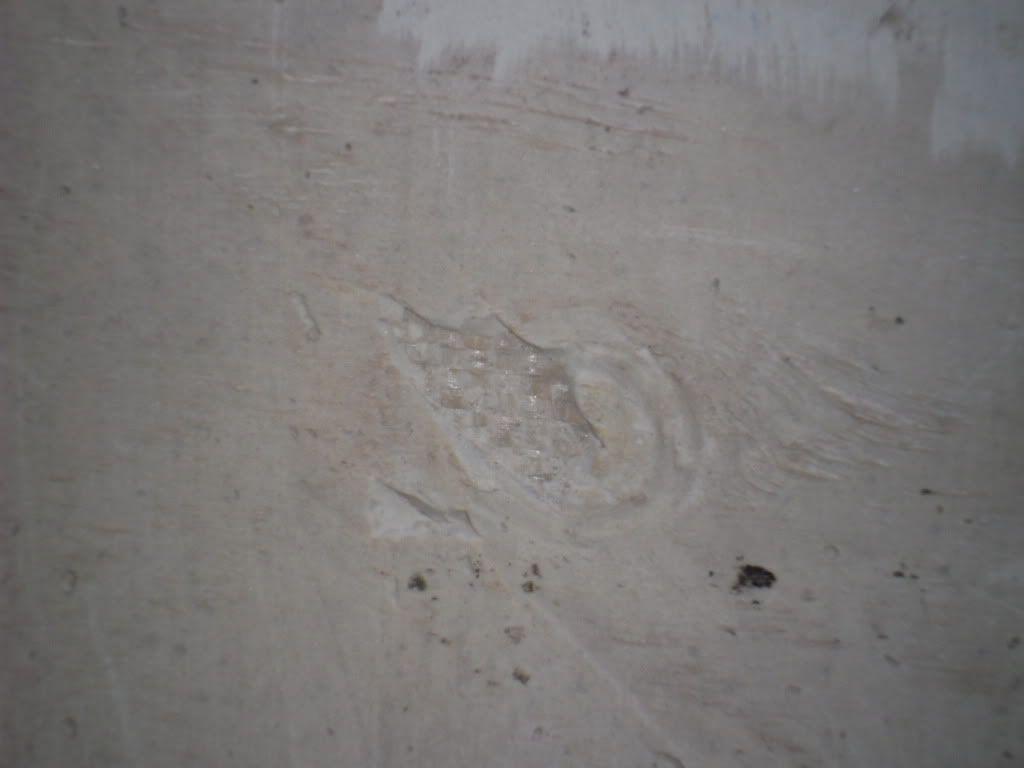
Here's a close up where you can see the roving under the glue

SAM_0070.jpg


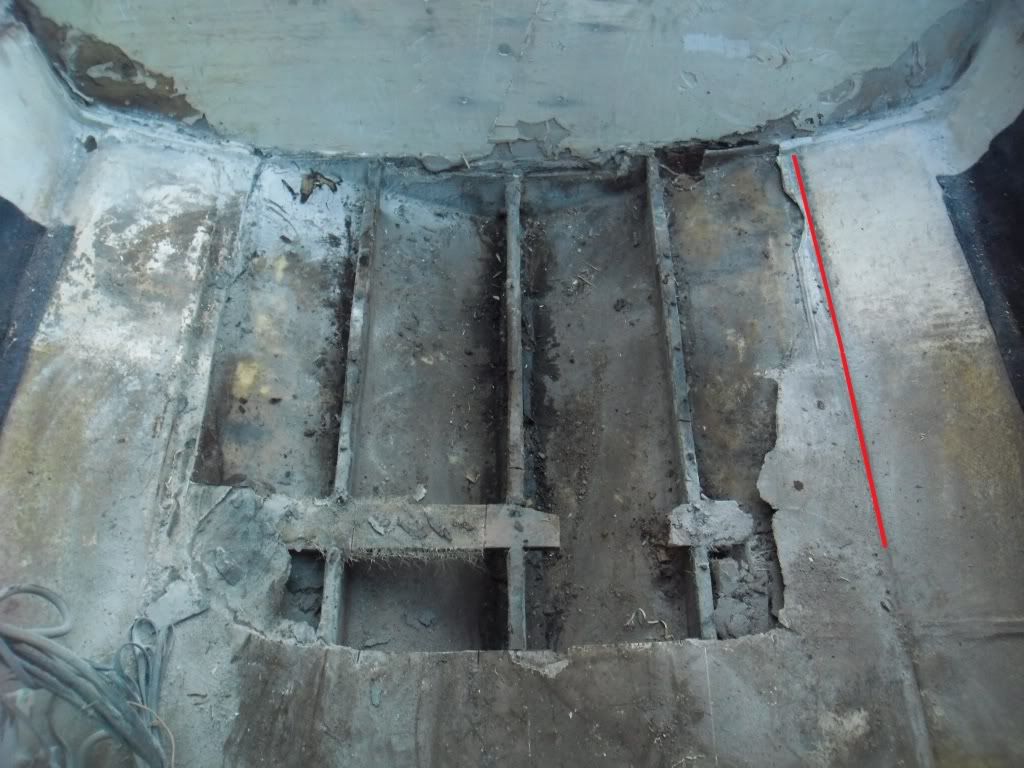
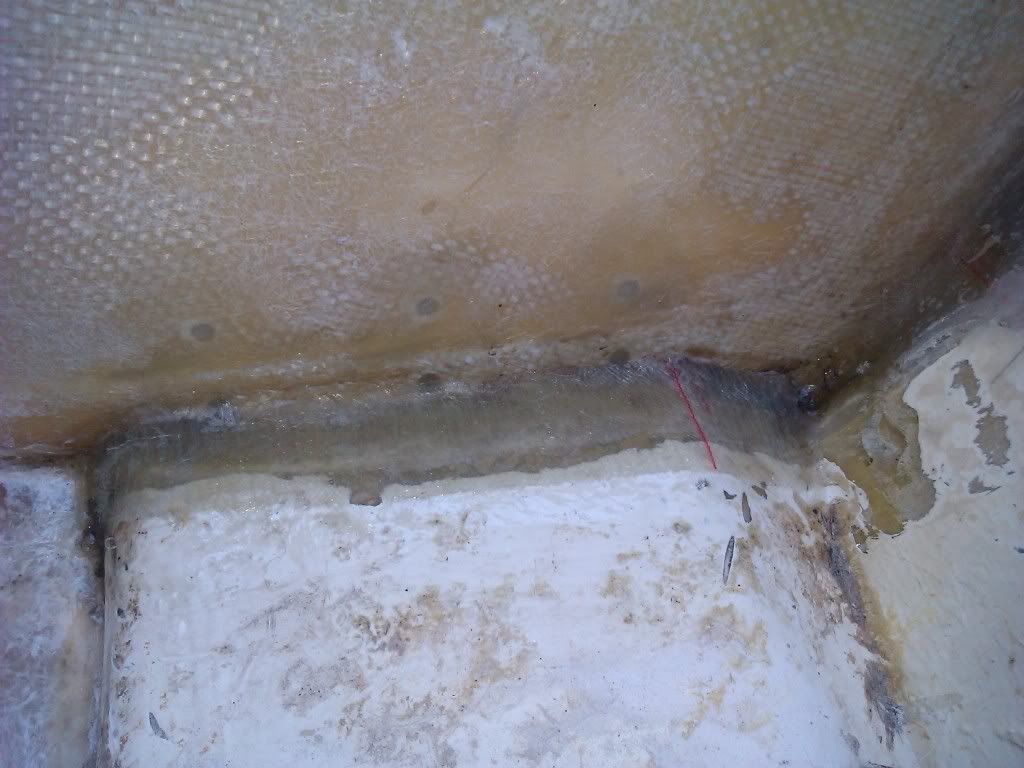
In the next pic the red line is where the deck ends, there's less then 1/4" clearance between the bottom of the deck and the top of the hull at the join so this is going to be a long slow process. It seems strange the way the deck is attached, do you guy's think I should raise it a few inches so the deck will go all the way to the sides of the hull?

SAM_0067-Copy.jpg


Still lots more deck to remove, that's tomorrows job.


SAM_0065.jpg
 

Three08

Petty Officer 2nd Class
Joined
Oct 24, 2009
Messages
111
Re: Seafarer transom and deck replacement

I've finished sanding all the glue off the transom skin, I used a belt sander for most of that and a DA sander in the smaller spots. I had to grind really deep in a few spots to get the wood out and went to far in 2 spots, so I have to patch these 2 holes before I start the core.

Bellow is the transom skin all cleaned up, I'm going to fill any low spots and then put a layer of 17/08 over the whole thing before installing the new core.

SAM_0113.jpg


This is the smaller of the 2 holes I made, this one isn't much bigger than a match head.
SAM_0132.jpg


The second, larger hole. It isn't as bad as it looks, you can see where I had to grind right down to get all the wood out, it was strange the way it was done, the wood went bellow the glass in the hull. I intend to fill that section right along the bottom and up the sides of the hull with glass to make it all even before I install the core.
SAM_0115.jpg


Same hole from the outside, what's the best way of repairing these? I was just going to back it with some gaffer tape, add some gelcoat, cut some glass matt and roving to just a little bigger than the hole, keep adding layers a little bigger each time until that section is level with the rest of it then add more glass over the bottom until that whole section near the the transom is level with the rest of the hull and do the same for the hull sides.
SAM_0131.jpg
 

Three08

Petty Officer 2nd Class
Joined
Oct 24, 2009
Messages
111
Re: Seafarer transom and deck replacement

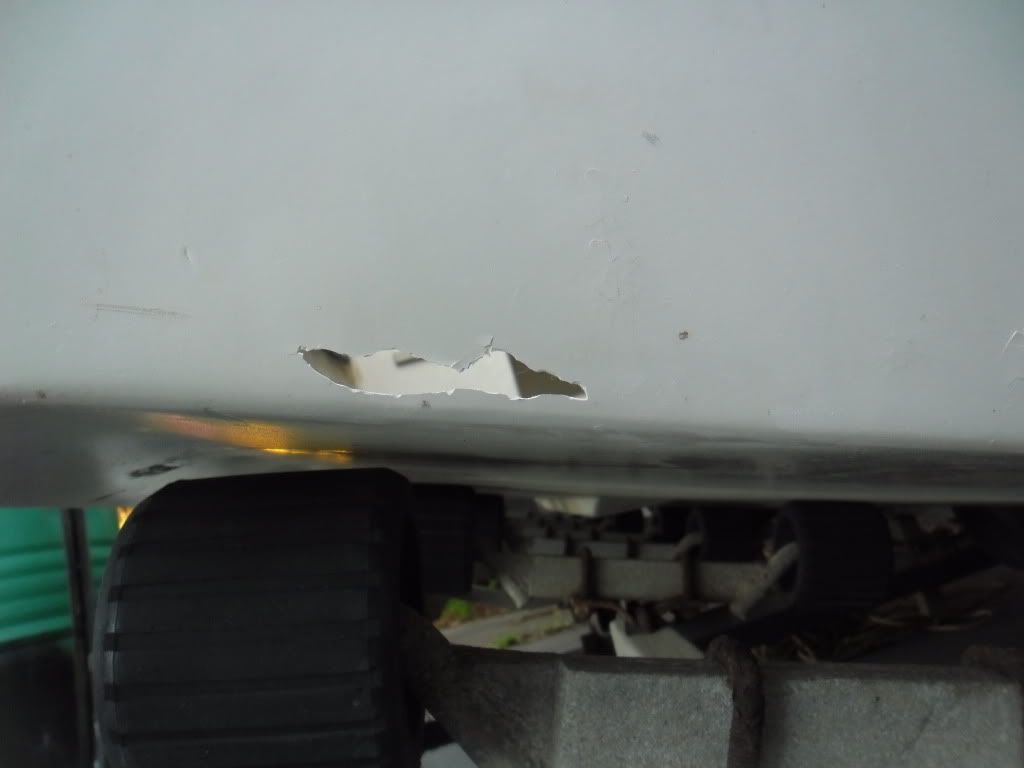
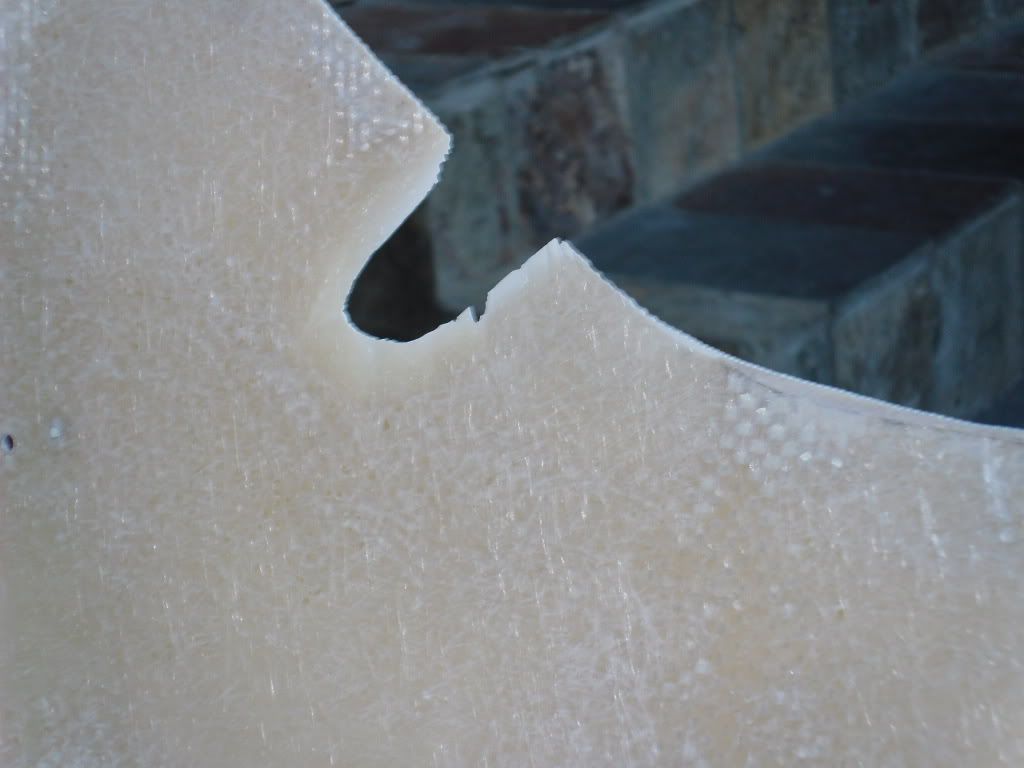
The notched out section of glass is where the crack was. Would I be better off just fixing that when I fill the motor cutout or should I do the repair first?

SAM_0117.jpg


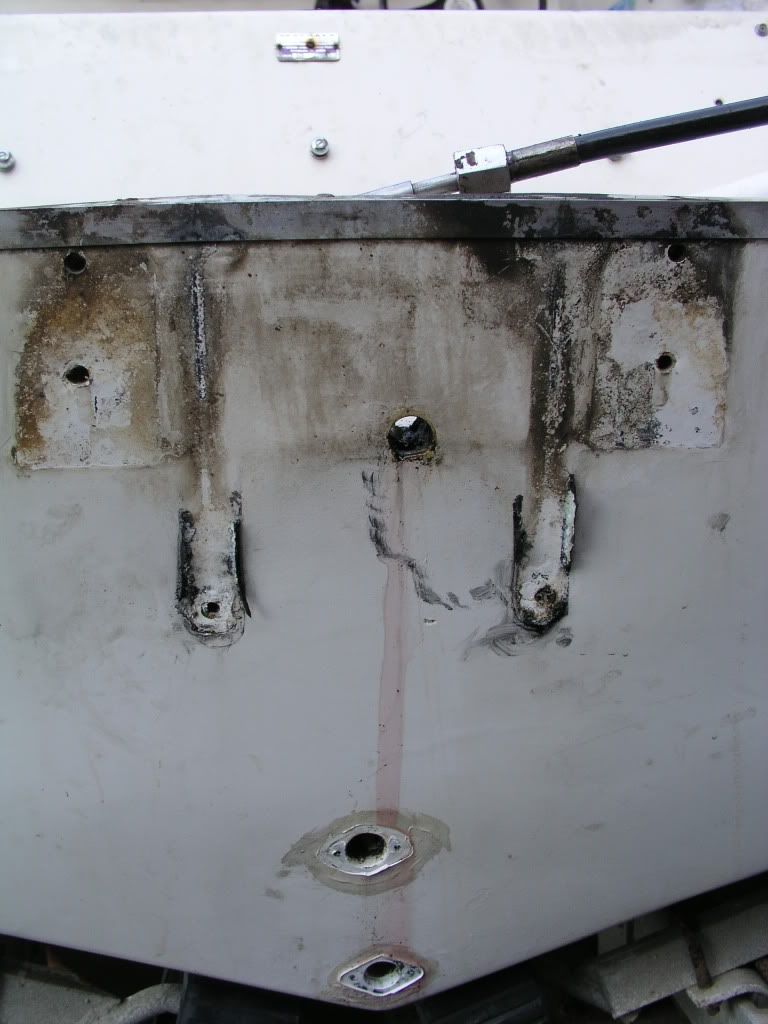
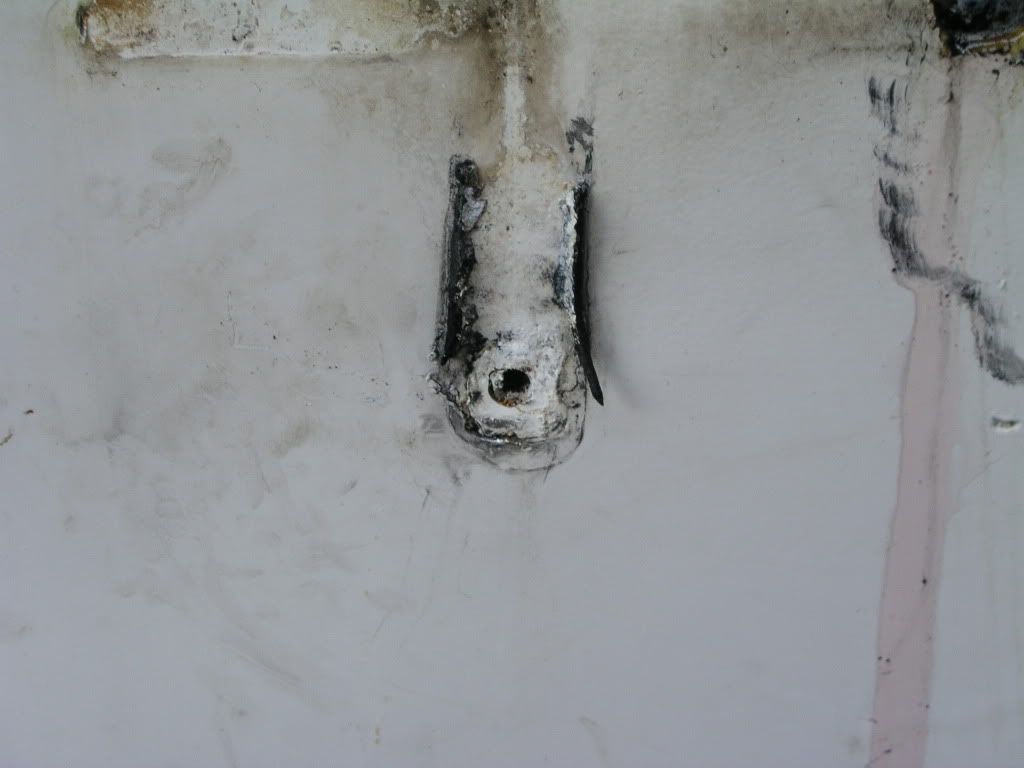
I don't know how well this shows up but there is quite a lot of damage around the motor bolt holes I'm not sure that just drilling them out and filling them is going to be enough. My other options would be to cut that whole section out and replace it while filling the motor cutout or sand down the outside skin and to good glass then build it back up and fair it down. I'll be putting a layer of 1708 over the whole transom from the inside once the cutout is filled. The two lines you can see going down to the bolt holes is whats worrying me, it doesn't seem like the glass is damaged but it's really rough, like the texture of the matt is showing...
SAM_0130.jpg


I've also removed a lot more of the floor, did a better inspection of the stringers and their as solid as a rock, I'll have to check the rest of them once the rest of the floor is up but it's looking good so far. My only concern with the stringers is their not ply, their hardwood, is that going to be a problem and should I use hardwood to replace the sections that I cut to get into the transom?

SAM_0129.jpg
 

alligatorgars

Seaman Apprentice
Joined
Aug 18, 2011
Messages
42

Three08

Petty Officer 2nd Class
Joined
Oct 24, 2009
Messages
111
Re: Seafarer transom and deck replacement

Hey guy's sorry it's been so long between updates, I injured my wrist and had to take it easy for a while, all better now.

I've got all my fiberglass supplies now and I've started fixing the outer skin. There was a lot of dead glass around the holes so I ground them out until there was only good glass left, feathered out around the holes from the inside and I've started filling the bigger holes using CSM and 1808. I'm going to use oops sooper dooper structural peanut butter to fill the smaller screw holes....if I can get the mix right.

I repaired the crack using a plastic backing, gel coat and 1808, the gel coat didn't work very well. The plastic crinkled up and stuffed the gel coat up, the fiberglass part of the repair was good so I cleaned the gel coat off and mixed some gel coat with milled fibres to make a paste and clean up the outside of the repair.

I was originally planning to fill the transom cutout by putting a waxed backing peace on the outside and filling from the inside but I'm now moving away from that idea and leaning toward installing the new core then filling the cutout from the outside since I have to fair the outside skin anyway. Does this sound like a better idea?

alligatorgars, it's looking more and more likely that I'll have to raise the floor to fit the fuel tank but I'm nor real sure I like the self draining decks, I'll have to think about that one. In any case I'll be putting some serious pumps in there in case of emergency's. I did look into some of the composite cores but there not easy to get around here and the places that do sell them want a fortune for them so I decided to stick with marine ply, it's cheaper and available locally.

Do you guy's think a 2" core is going to be over kill? Keep in mind it'll have a bracket with swim platform hanging on the back when its done.

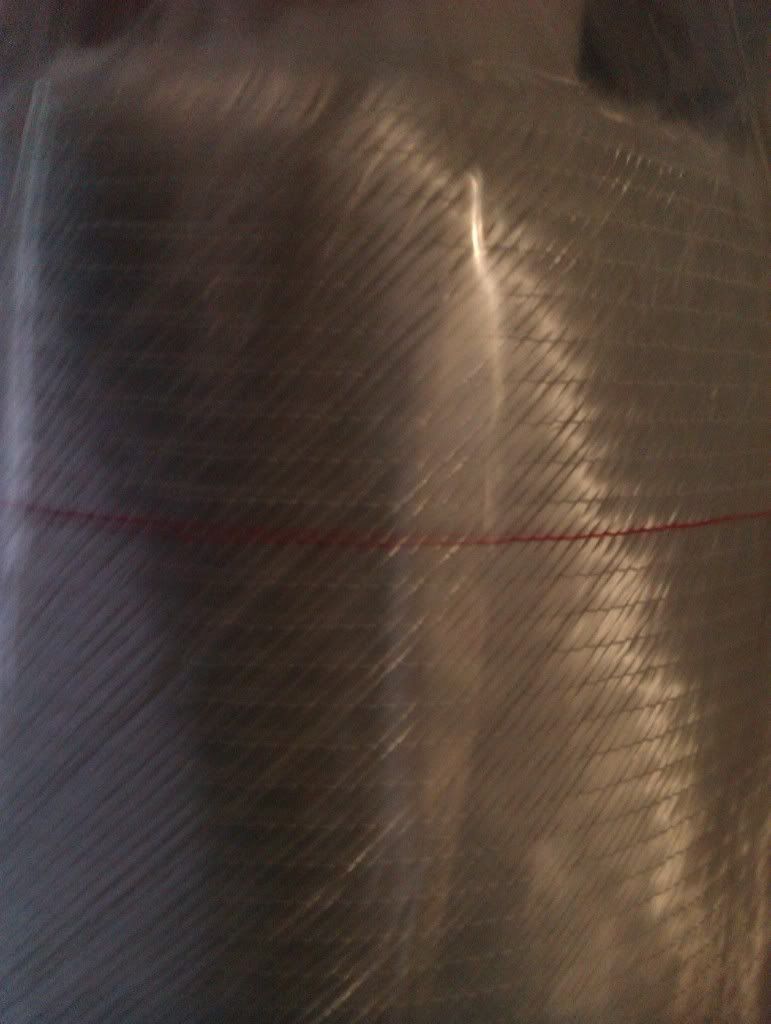
This is the glass I'm using, if I did the math correctly it's about the same as 1808 It's 45* bias 607grams / 222gram csm stitched to the back.

IMAG0057.jpg


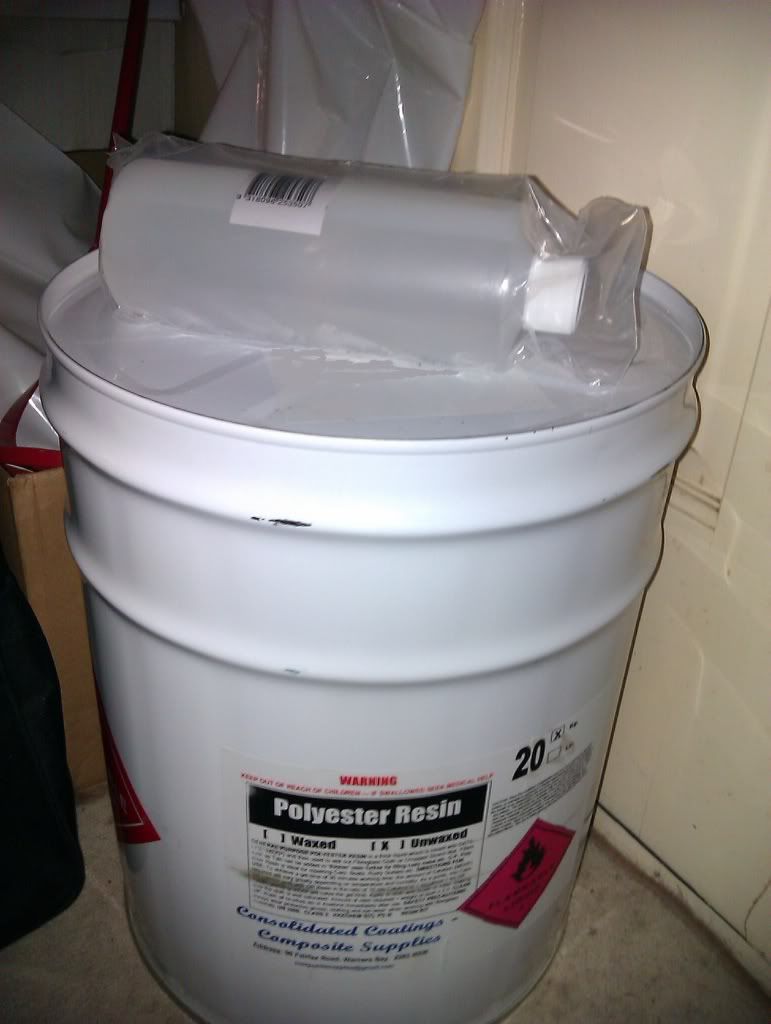
20 kg of resin, I've gotta find a tap for this drum....
IMAG0061b.jpg
 

Three08

Petty Officer 2nd Class
Joined
Oct 24, 2009
Messages
111
Re: Seafarer transom and deck replacement

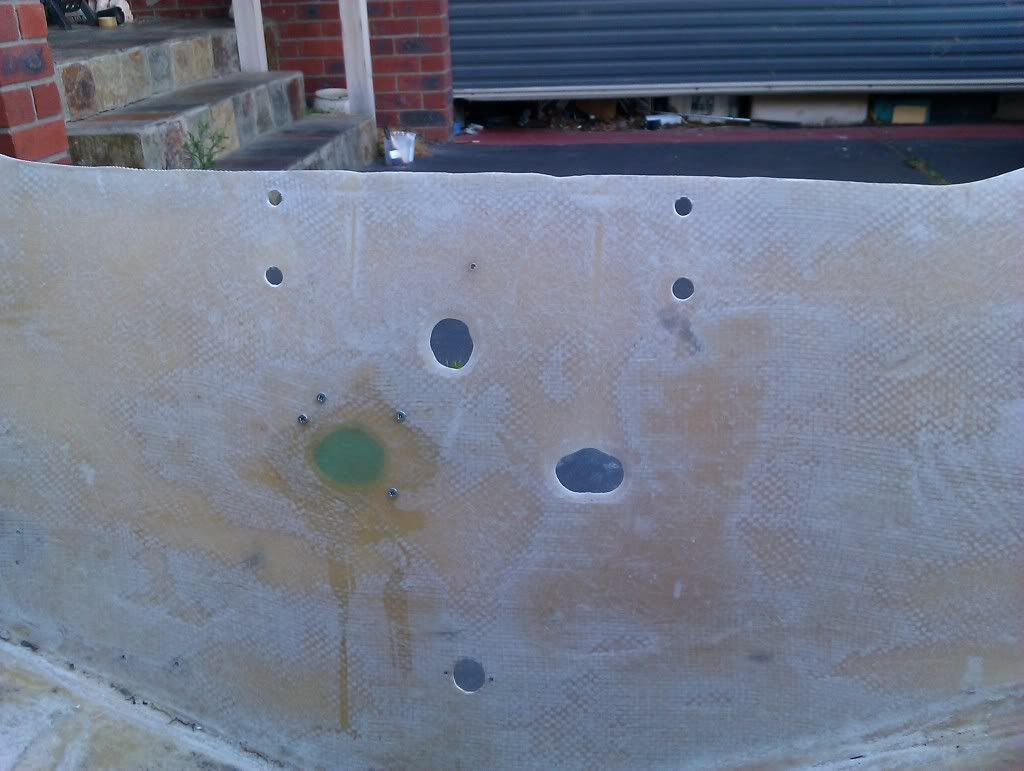
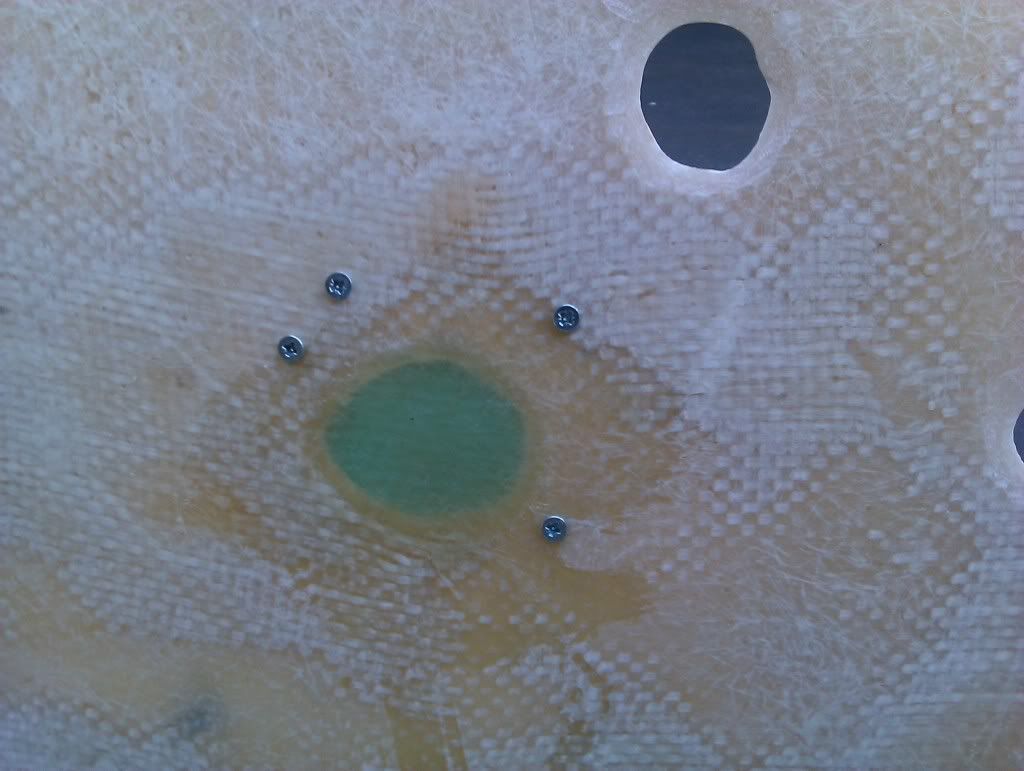
The bolt hole repair, you can see how bad it was by the size of the holes.
The wood has a almost smooth white surface on the other side, I used 6 coats of wax and a thick coat of pvc over the wax then screwed it to the skin, I didn't use gel coat this time.
IMAG0066.jpg


And 2 from the inside.
IMAG0067.jpg


IMAG0068.jpg


That 1808 is great to work with, really strong stuff too. I think I took the backing off to soon, a tiny bit of glass the size of a match head on the outside moved after I took it off so I'll grind that bit out and fill it with csm or maybe even pb. I also drilled out all to holes that had been filled by the last owner as I didn't know how they'd been done and I glad I did because a few of them pushed out without even hitting the trigger on the drill and none of them were counter sunk.
 

Three08

Petty Officer 2nd Class
Joined
Oct 24, 2009
Messages
111
Re: Seafarer transom and deck replacement

Fixed those 2 little holes that I ground in the hull too...
 

Three08

Petty Officer 2nd Class
Joined
Oct 24, 2009
Messages
111
Re: Seafarer transom and deck replacement

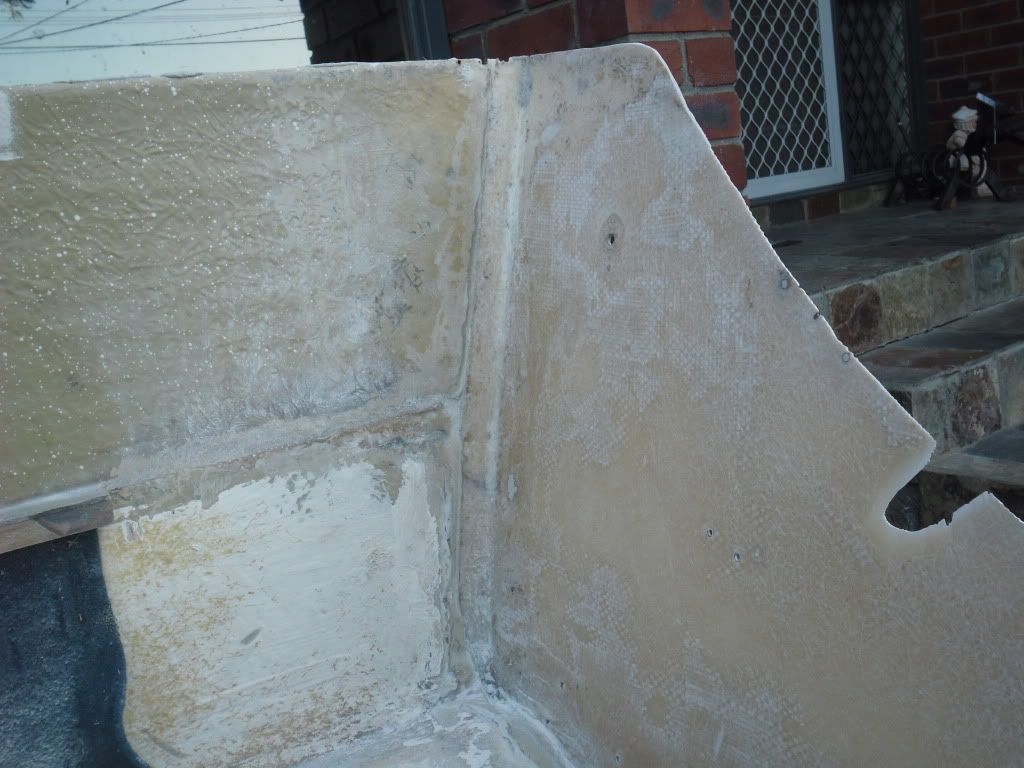
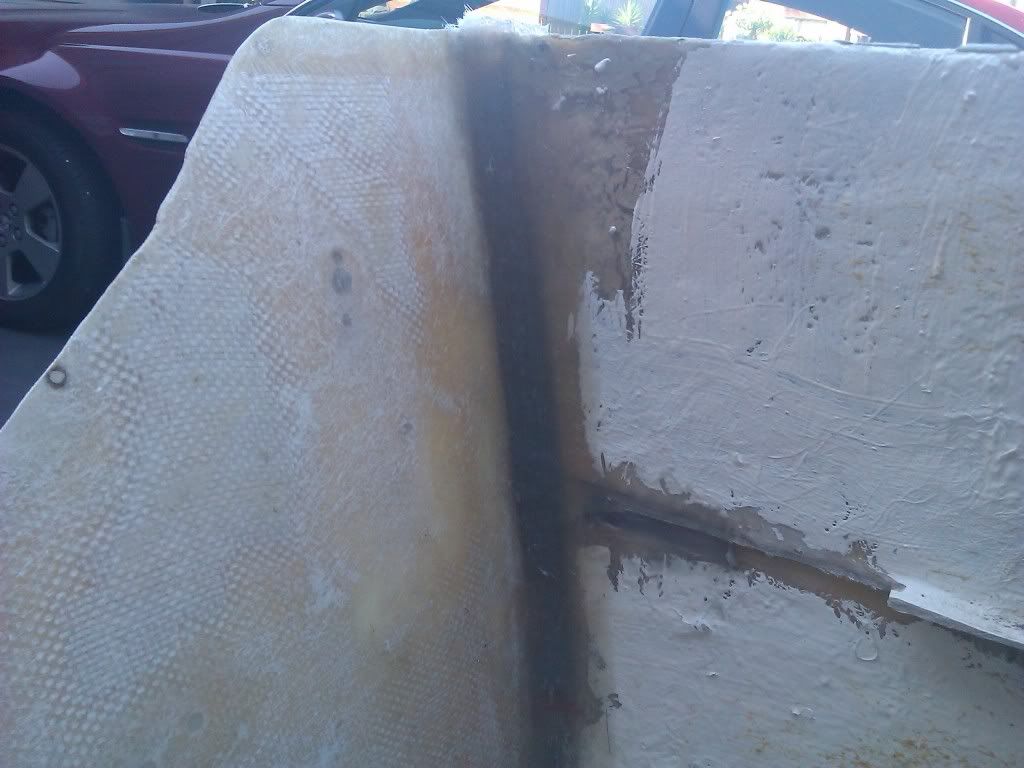
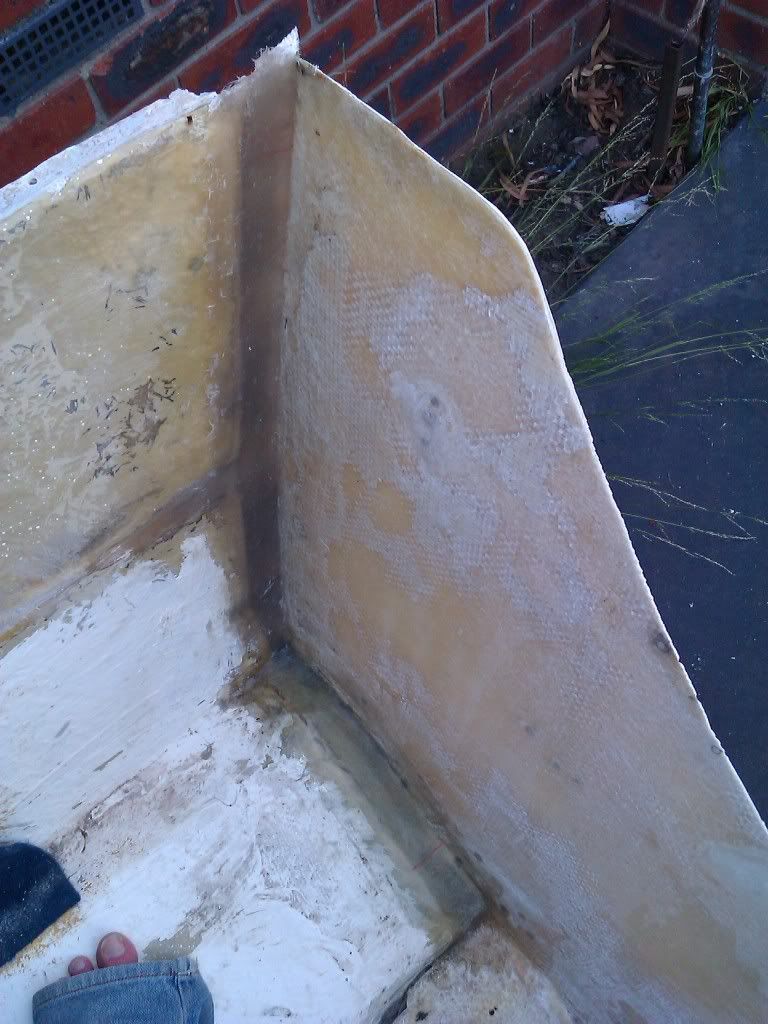
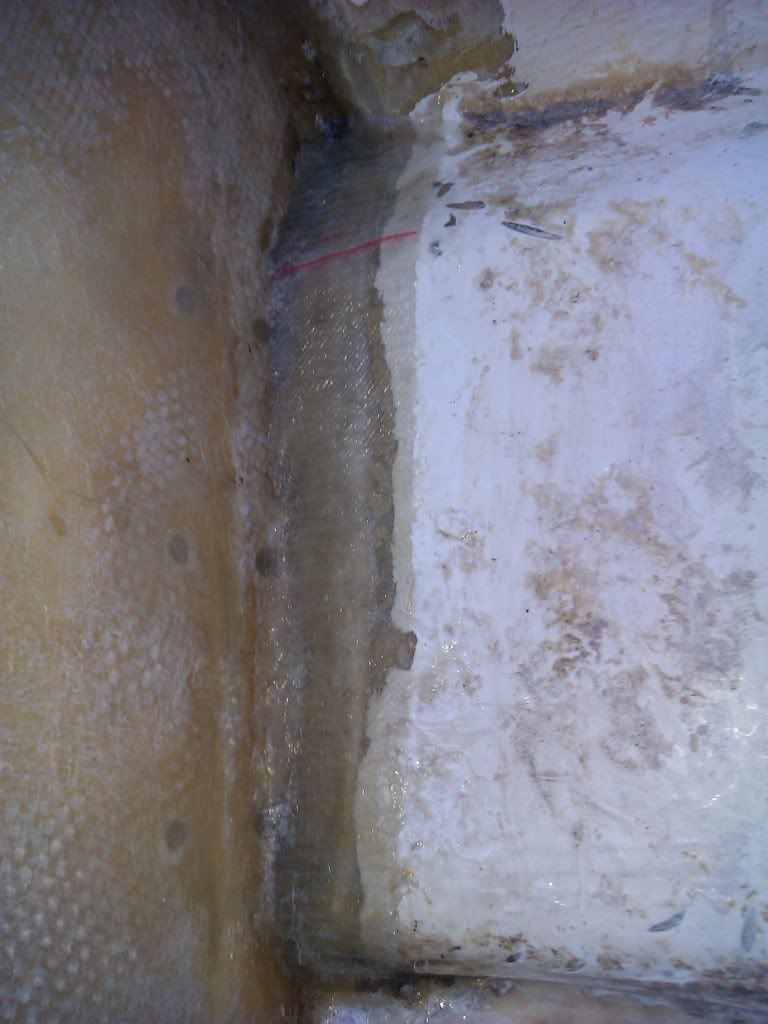
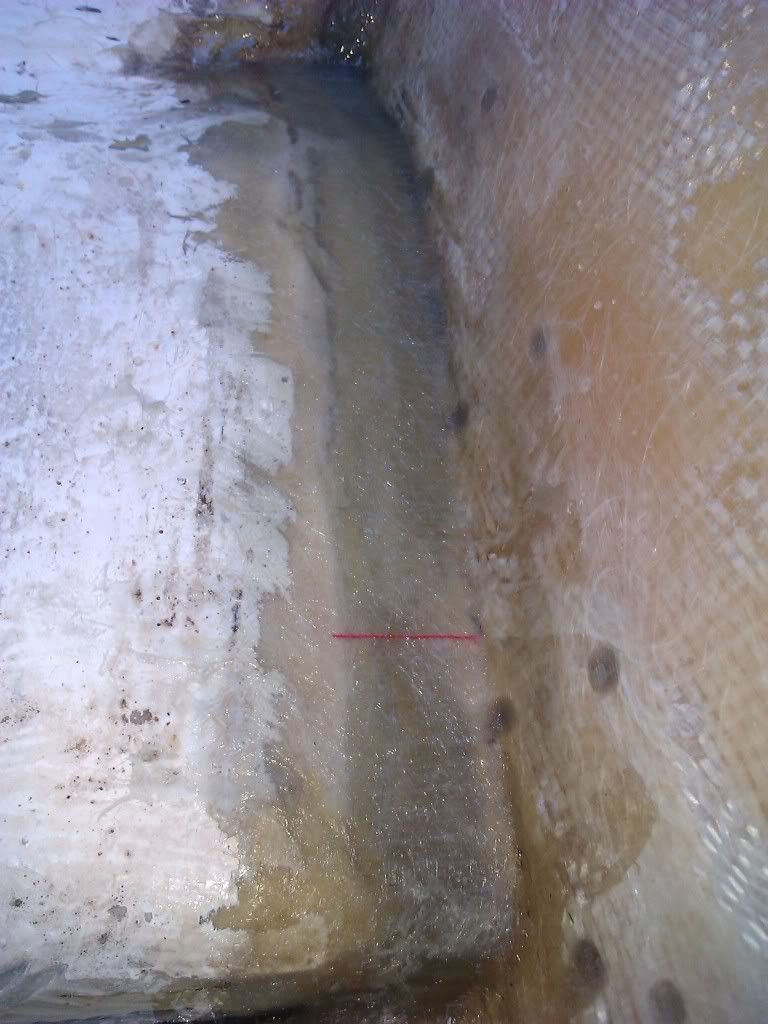
Got a little more work done since the last update. on the side of the hull, where the old transom core was the hull was about 3mm thinner then the rest of the hull. You can sort of see what it was like in this photo.

SAM_0121.jpg


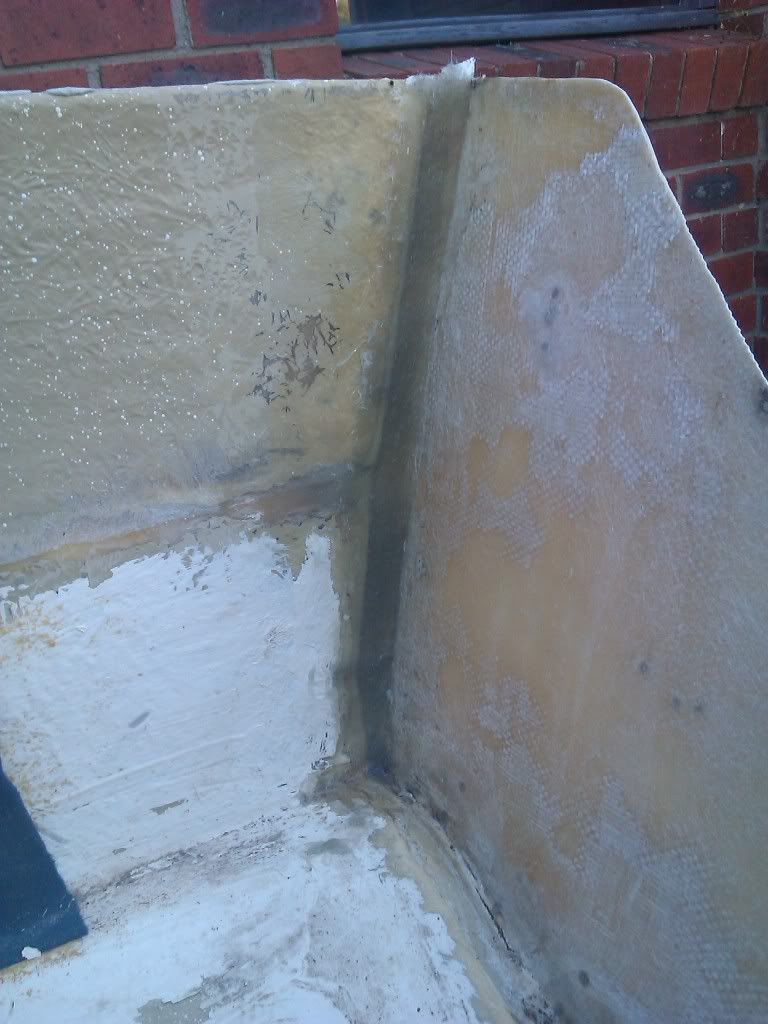
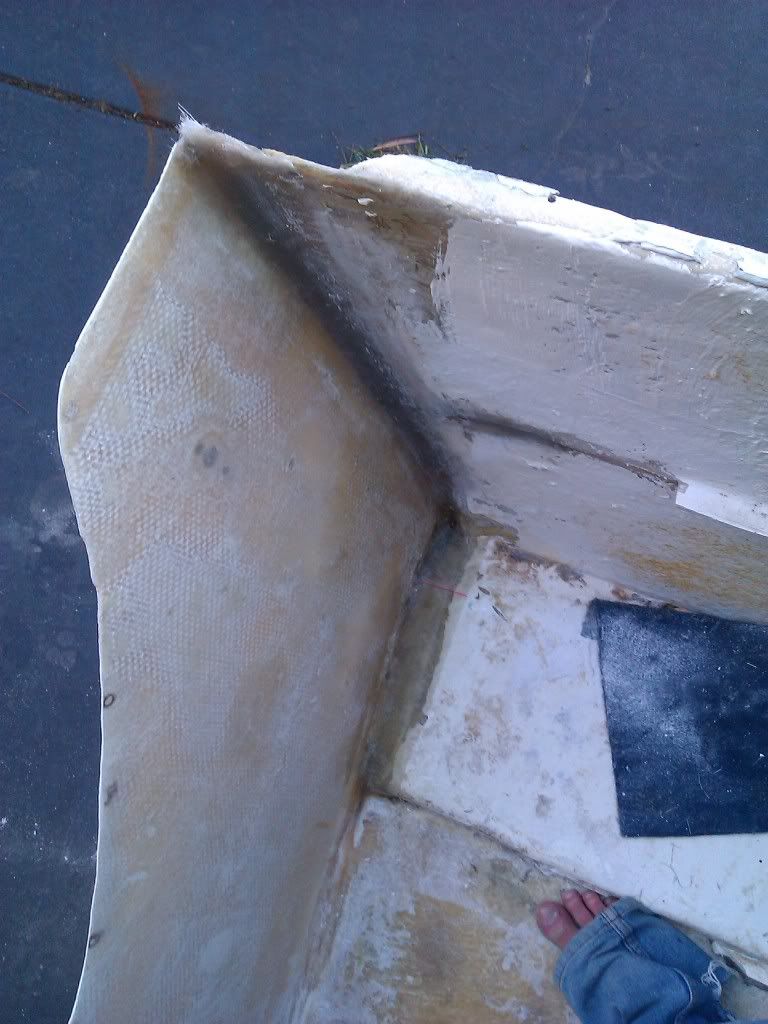
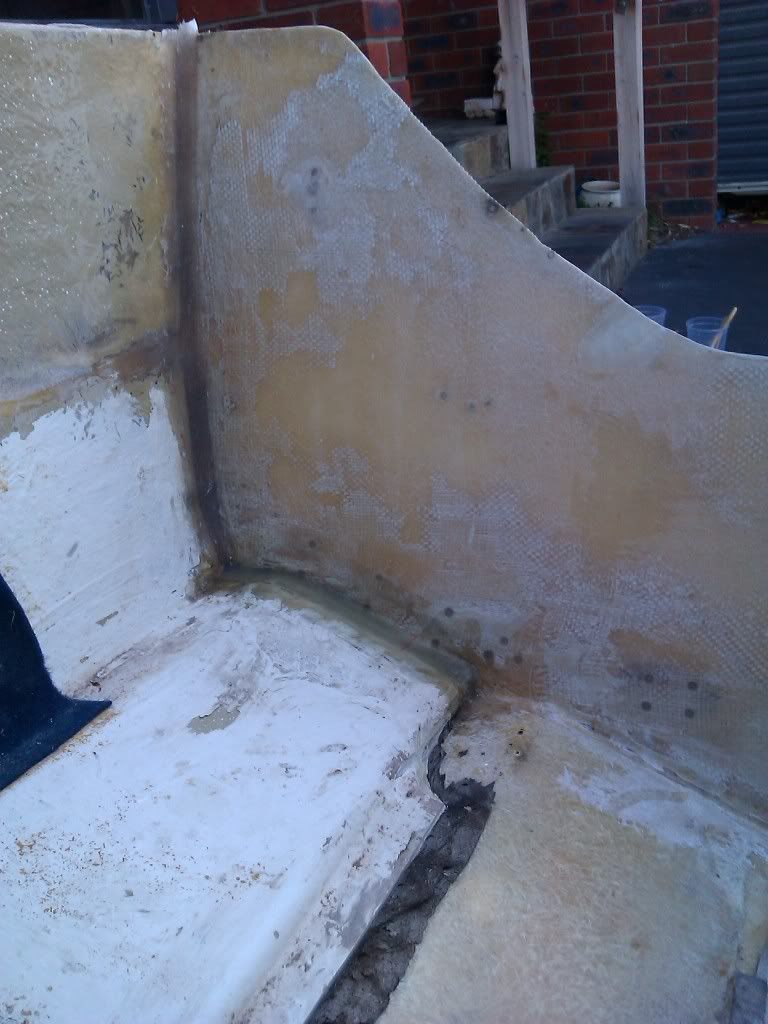
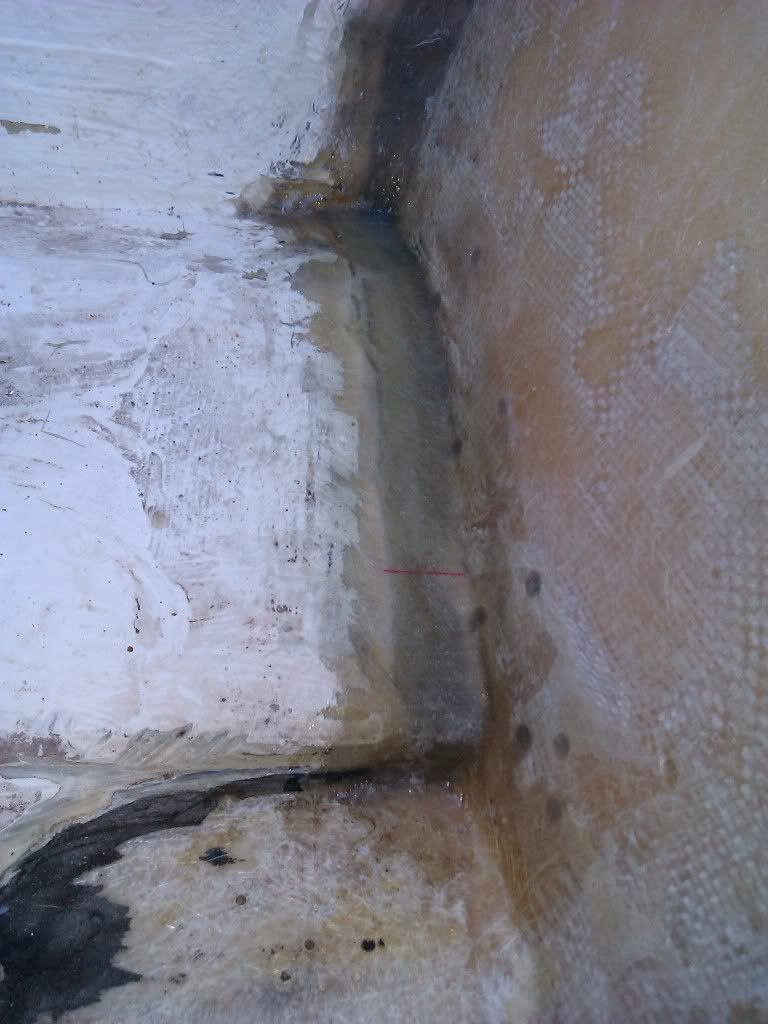
I filled the low section using 1808 & csm once I got it almost the flush I filled it with structural peanut butter. still need to sand it back.

IMG_20120203_172923.jpg


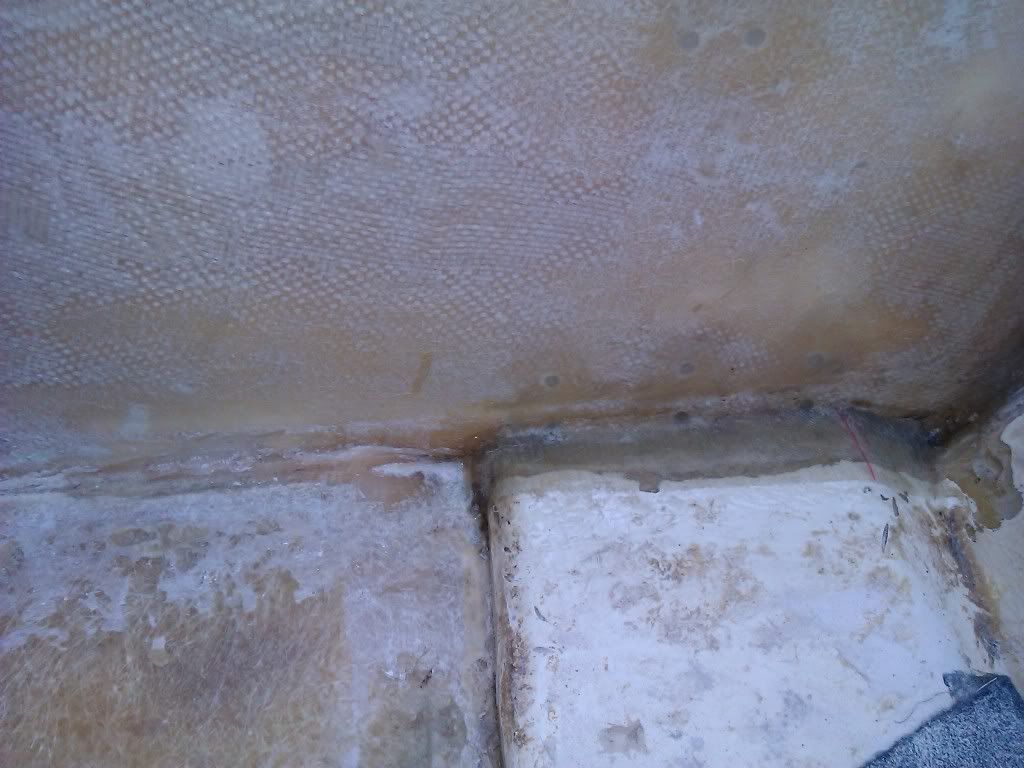
Had the same kind of thing on the bottom except this was from me grinding the wood out. Again used 1808 and csm with a little pb under to smoothen the corner. I still need to doo the same thing in the bidge, then more gringing, touch up anything I'm not happy with, some 1808 and csm over whole transom to thicken it up and then I ready to to fill the outboard notch....

IMG_20120203_172905.jpg


IMG_20120206_180050.jpg


IMG_20120206_180037.jpg
 

Three08

Petty Officer 2nd Class
Joined
Oct 24, 2009
Messages
111
Re: Seafarer transom and deck replacement

IMG_20120206_175900.jpg


IMG_20120206_180022.jpg


IMG_20120206_180009.jpg


IMG_20120206_175956.jpg

^^^ Not looking forward to cutting the rest of that floor out

IMG_20120206_175942.jpg


IMG_20120206_175930.jpg
 

GT1000000

Rear Admiral
Joined
Jul 13, 2011
Messages
4,916
Re: Seafarer transom and deck replacement - Updated

Re: Seafarer transom and deck replacement - Updated

Hi Three08,

Just came aboard to watch and help if I can...

That is a nice looking boat you got yourself. I still haven't read the entire thread, but I am workin on it...

The one thing I noticed right off is the patch you did in Post #15, using screws to hold the backing plate for the patch...

It is not a big deal, cause you can later fill those with PB, but since you will end up having to sand and repair the outer part of the skin later, anyway...

Just use a piece of cardboard, covered with either wax paper or aluminum foil and hold it in place with some strong tape...
Fill the hole, and when its dry... No extra holes to cover up later...

Best Regards,
GT1M
 

Three08

Petty Officer 2nd Class
Joined
Oct 24, 2009
Messages
111
Re: Seafarer transom and deck replacement - Updated

Re: Seafarer transom and deck replacement - Updated

If I had to do it all again I wouldn't use the screws, they got in the way when I was laying the glass and as you say it's a lot of extra work filling and sanding all the little holes. When I filled the screw holes I just used some packing tape to back them with, it seemed to work well but I don't think I'd use it on anything bigger then small screw holes.
 
Top