Oh no. Here I go again.......

SigSaurP229

Commander
Joined
Oct 1, 2008
Messages
2,123
TGP looks like the new diagram should work just fine. Really not much of a need to but it on its own switch though. I think I have 1 10 amp fuse for my whole gauge cluster.

If you are dead set on a stand alone system though yes your diagram will work perfectly fine. All of my gauges are powered from the ignition switch from my control box though.

Hey Watermann I am calling you out.

Those aren't the proper connectors for a marine environment.
 

tgp***

Senior Chief Petty Officer
Joined
Oct 18, 2009
Messages
768
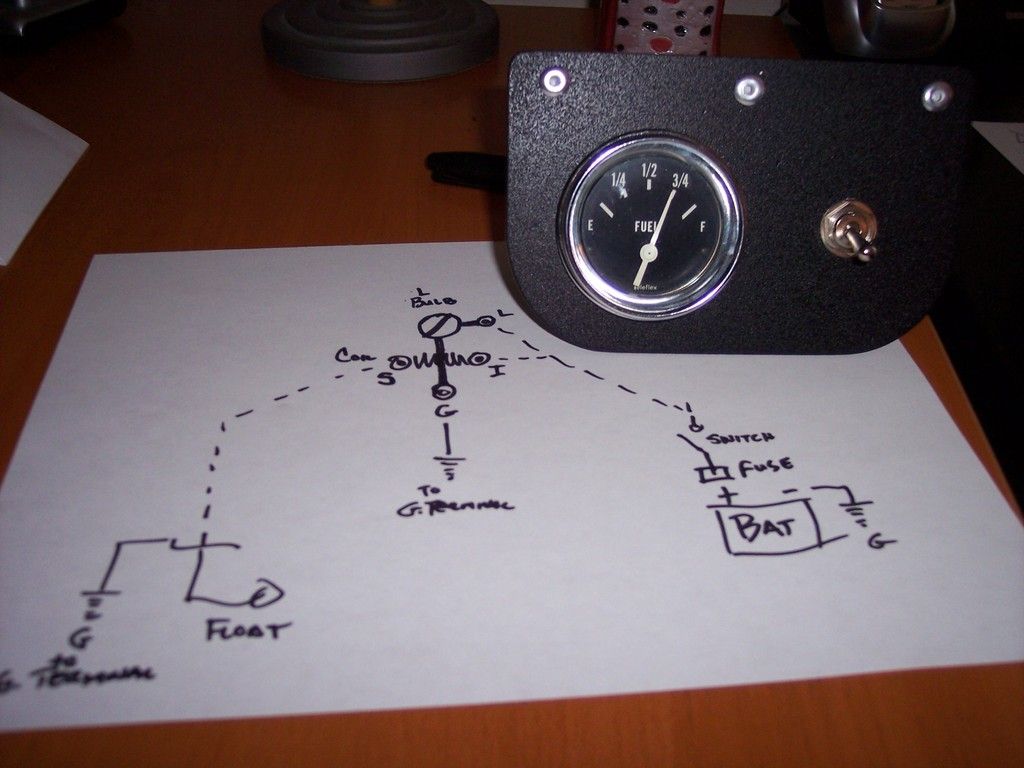
So I assume my wiring diagram will work, right?
Giving mine the KISS.
Already fabbed my panel and coated it.
 

SigSaurP229

Commander
Joined
Oct 1, 2008
Messages
2,123
Yours will work.

This is a cleaner way to do it simpler way to do it. i.e. more K.I.S.S.

In your method I would do it this way.

I to your switch
G to ground
S to Sender
Jumper wire L to I (but your gauge will stay back lit all the time)

I just had a slightly different way of skinning a cat.

I don't need my gauges back lit during the day so I run my back lights off of my light switch, and the gauges themselves off of ignition power.


So this is my method.

I to the Ignition power, or switch
S to the sender.
G to dead ground
L to the running light switch.
 
Last edited:

SigSaurP229

Commander
Joined
Oct 1, 2008
Messages
2,123
LOL up until my 18SS I never actually owned a boat that had a spot for gauges, and if they did they didn't work anyways just having gauges is still kind of a new experience for me.
 

Watermann

Starmada Splash of the Year 2014
Joined
Jan 12, 2013
Messages
13,794
Hey Watermann I am calling you out.

Those aren't the proper connectors for a marine environment.

Sorry I tried wrapping the stripped wire around each post but my fingers kept getting poked. :lol:
 

tgp***

Senior Chief Petty Officer
Joined
Oct 18, 2009
Messages
768
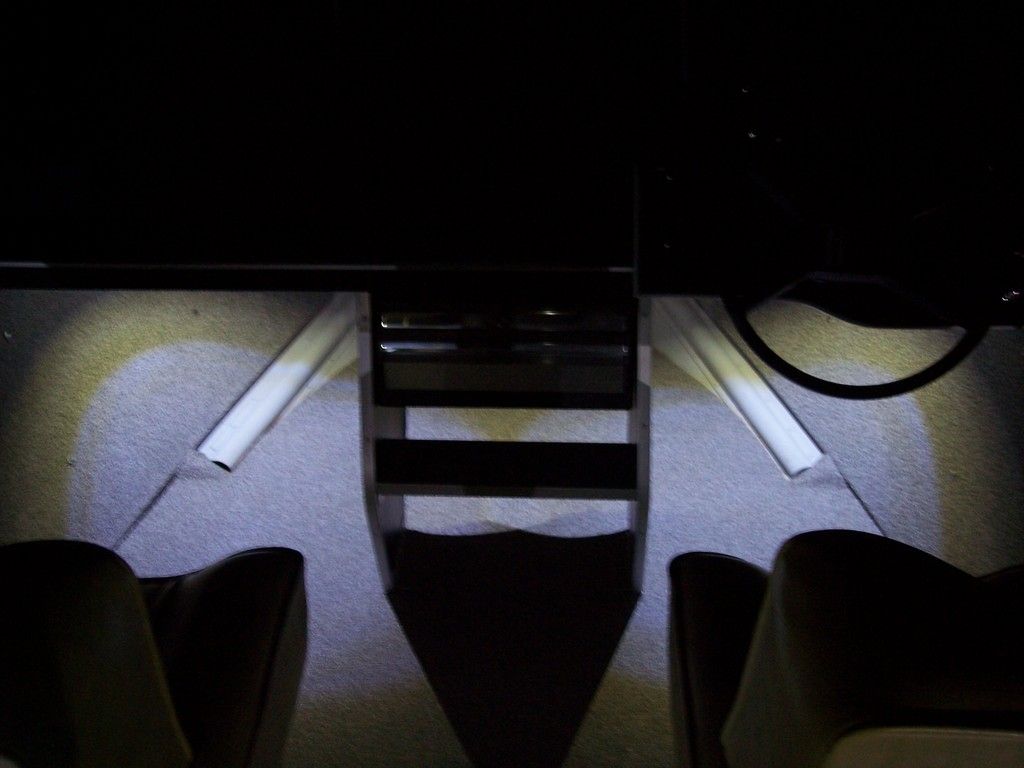
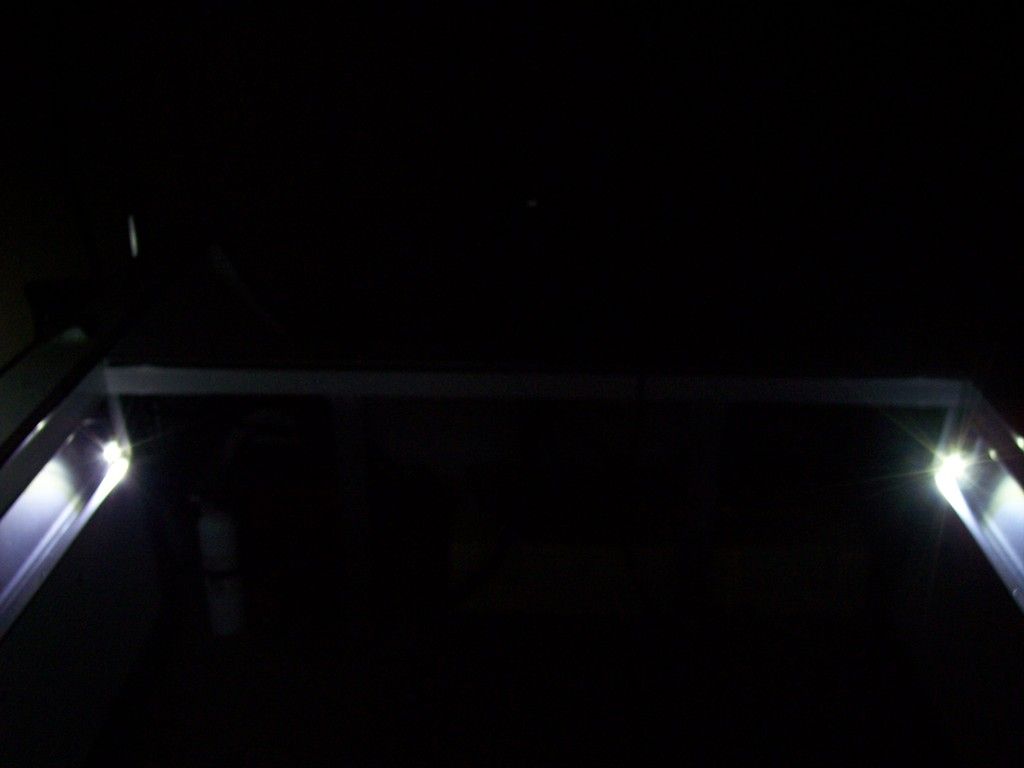
Check out the LED light bolts. This 2 mounted under the dash, and 2 at the back of the boat. Little things are bright! I was thinking of aiming a third through the center steps. Should light up the deck nicely at night


Watermann

Starmada Splash of the Year 2014
Joined
Jan 12, 2013
Messages
13,794
I think LED lighting like that is really cool, especially the ones that shine out under water for night swimming! I almost pulled the trigger on a bunch of them and then I remembered that I never stay out after dark. :cool:

You guys who boat after dark are way more brave than me, I would be a nervous wreck.
 

tgp***

Senior Chief Petty Officer
Joined
Oct 18, 2009
Messages
768
Wait til' you see my green garboard plug light for underwater! Attracts plankton, which attracts bait fish, which attracts bigger fish, at night. Even brighter than these little things. Cannot operate it out of water has to be submerged. I'm going to attach one to my friends dock underwater and run it off his boat lift batteries ($60). Hello night fishing! Too bad I fall asleep at 10.
 
Last edited:

tgp***

Senior Chief Petty Officer
Joined
Oct 18, 2009
Messages
768
I think I fubarred my fuel gauge:eek::facepalm:. Forgot the power was on and arched it while tightening (5 amp fuse blew). Works but reads an 1/8 of tank when its empty now.

Did I toast the gauge or the sending unit? Gauge was only $6, but still, bad tgp***.

Any ideas which one maybe bad or fixes?
 

Watermann

Starmada Splash of the Year 2014
Joined
Jan 12, 2013
Messages
13,794
Sending unit wouldn't have gotten the short, just the gauge. I would say once you see smoke the genie is let out of the bottle and it's gone. :grumpy:
 

tgp***

Senior Chief Petty Officer
Joined
Oct 18, 2009
Messages
768
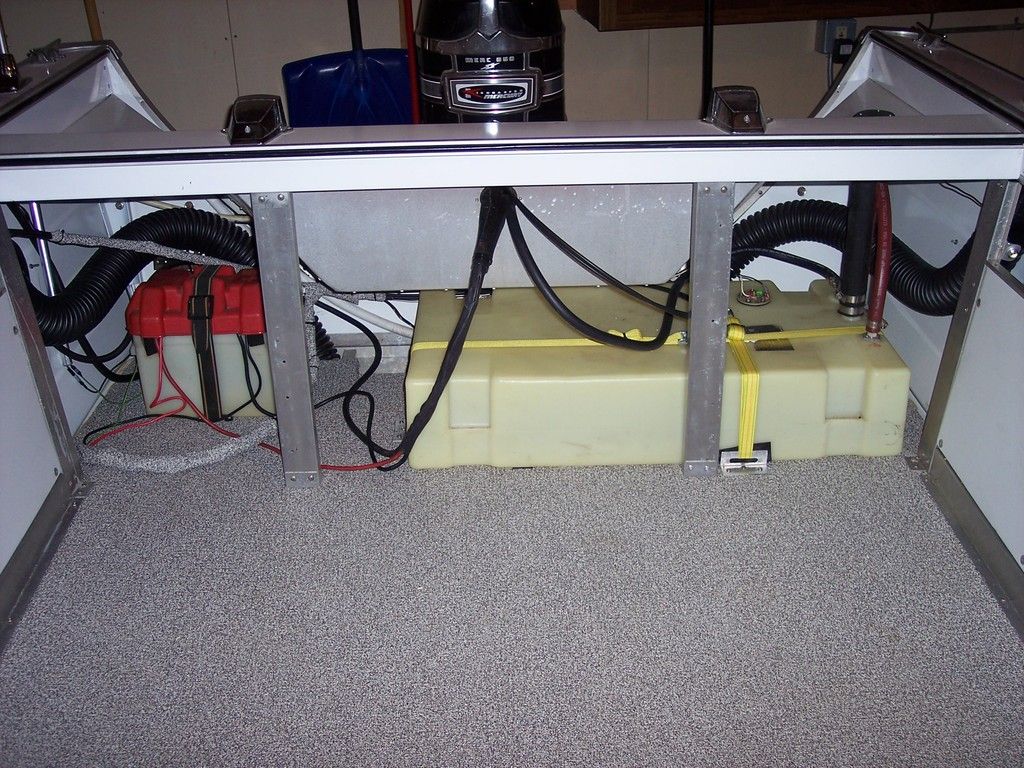
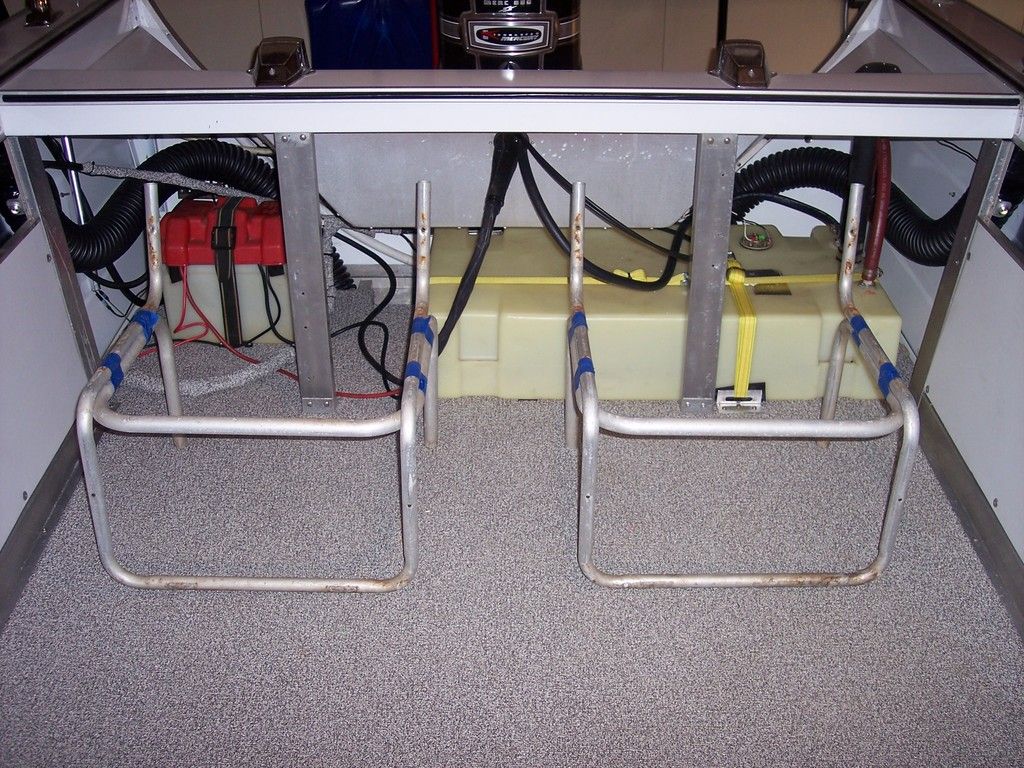
Not much left to do, need to figure out how to finish off the stern at the splashwell, then figure the rear bench.

Notice the inexpensive wire harness wrap. I used leftover strips of my nautalex flooring. Tank straps from Harbor Frieght $3.

For all intentional purposes I could put gas in it and test run the motor WOT on the lake to see if it needs anything, Hopefully she won't need to be gone through.

Alas, but today I must shovel dirt


Watermann

Starmada Splash of the Year 2014
Joined
Jan 12, 2013
Messages
13,794
Lets see dirt shoveling or skimming the waves at WOT? Yeah I know which one I would choose. :lol:

I see you have a couple of vent hoses in the rear compartment going to the bilge and your tank vents out too. Talk about over kill right there! You can do anything you want for that rear cover without fear of fumes being in there with the battery. Nice fab job too on those AL supports, they look good and strong.

How about using some 1/2" ply to make 2 hatches of equal size hinged with the center being a mounted section of ply with a latch to keep the hatches shut, maybe even a locking T handle type latch. You would have easy access to the tank fittings and battery. Probably cover them with vinyl too.
 

tgp***

Senior Chief Petty Officer
Joined
Oct 18, 2009
Messages
768
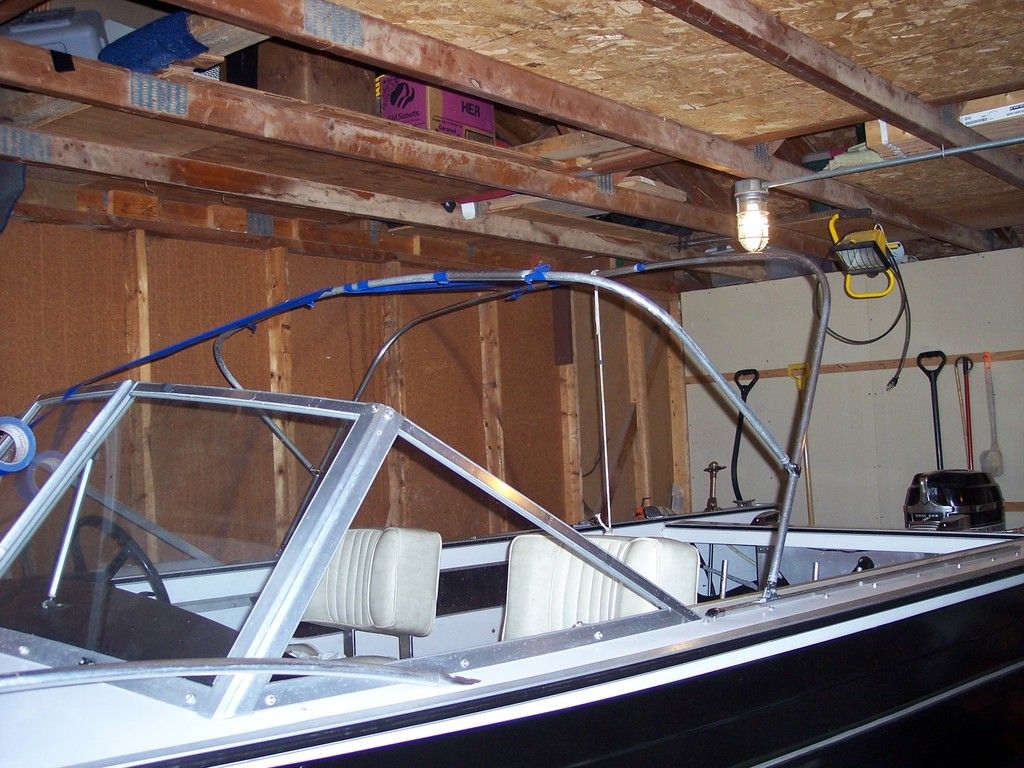
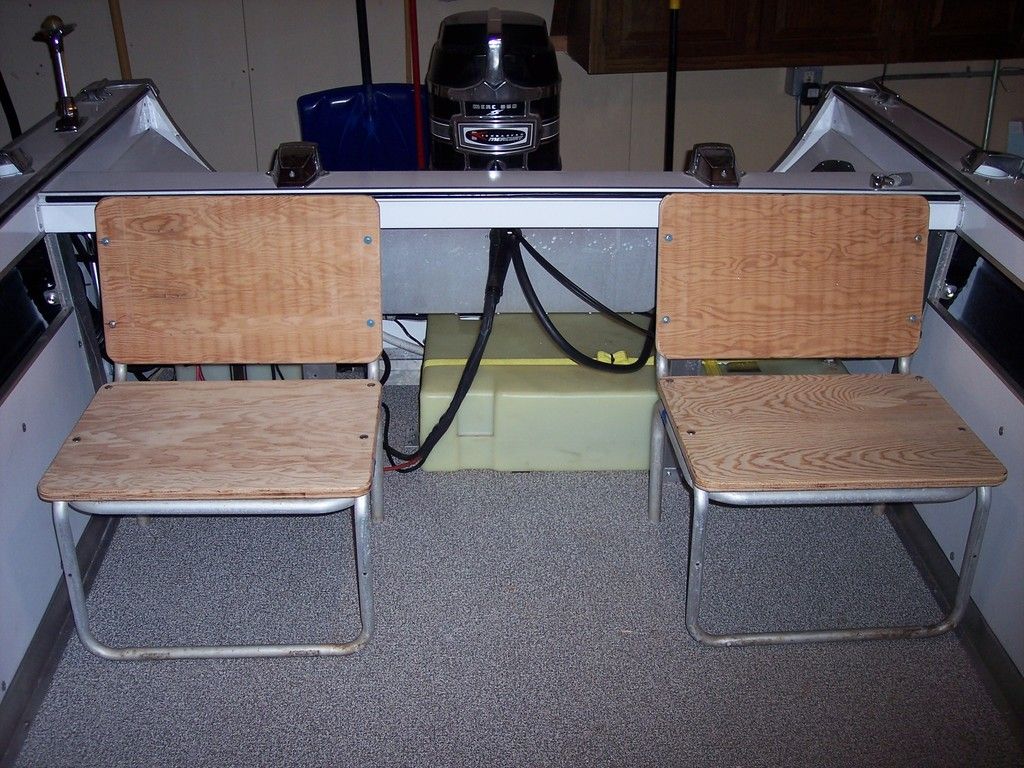
So far I've avoided the dirt shoveling, the better half is starting to give me that look. What I did decide is that I'll reuse the too old aluminum seat frames, from the rafters for the rear seating. Just need to decide bench or separate. Then all I would need to do would be to make vinyl snap cover for the cover to the splash well compartment. I need a top for this boat too ( I think I have some pieces of old frames in the rafters).

I better go make it look like I'm shoveling dirt.
 

64osby

Admiral
Joined
Jul 28, 2009
Messages
6,823
With those frames you could make a split bench that would allow easier access to things under the splashwell.:cool:
 

hayko1971

Starmada Splash of the Year 2015
Joined
May 24, 2013
Messages
448
What if you strapped down the front bottoms, then you could tilt them forward for access under the splashwell
 

jbcurt00

Moderator
Staff member
Joined
Oct 25, 2011
Messages
25,047
Looking good, splash is right around the corner.... now about that dirt moving? Same rule applies: pix or it didn't......
 

tgp***

Senior Chief Petty Officer
Joined
Oct 18, 2009
Messages
768
Good thing she left the house. I did not do much shoveling. I found some old bent top bows in the rafters( some tracks too), cut and splice the bent portions, and I have a top frame. Now I just need a 72Wx 64L top. I'm going to have to break down and actually buy some stainless steel fasteners for the seat though. Out of all the old hardware, nut, bolts, and screws I've scavenged from old boats, I don't have any long enough for the double tube portion of the seat frame (oh well only need 8, the rest I have). Not sue yet but might make individual seats, they wouldd be easier to move, can't decide yet, may have to mock it up both ways.
 

tgp***

Senior Chief Petty Officer
Joined
Oct 18, 2009
Messages
768
Wish I had 1 more frame, I have to go check the junk yard. Otherwise a good spot for a cooler...... now epoxy and paint
 
Last edited:
Top