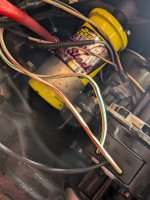
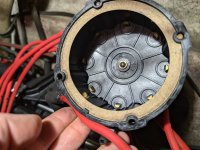
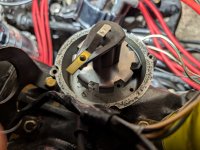
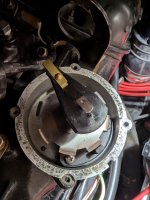
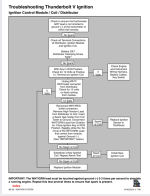
I'm not getting any spark and I'm not sure what to trouble shoot next.
How I determined I have no spark: I took out the cylinder 2 plug, put it back into the spark plug wire, set the tip against the exhaust manifold riser bolt and turned over the engine.
My trouble shooting steps so far:
1) Wiggle, removed, and reinstalled kill switch.
2) Tested positive and negative cables at the battery posts and get 12.7V reading
3) Tested coil positive post. Turned key and battery on, put positive probe directly on top of coil positive post and negative probe on exhaust manifold riser bolt. 12.1V reading
4) Tested coil output. Attached 16 gauge wire to negative coil post, inserted spark plugs directly into plug end that normally attaches to the distributor, then rubbed the other end of the 16 gauge wire onto a manifold bolt and it resulted in the spark plug sparking. I'm led to believe this means my coil is ok.
5) Remove distributor cap to inspect. It's brand new, has no moisture or corrosion in it. The rotor turns when the engine is turned over.
6) Checked grounds from coil and distributor. Put positive probe on battery post and negative probe on coil negative post. Then put positive probe on battery post and negative probe on exhaust bolt that has distributor ground wire on it.
It seems my problem is at the distributor, but I don't know what's wrong with it or what to test on it. Through researching this I did realize I probably didn't line up my distributor correctly, so I'm working on finding compression TDC on cylinder #1 and getting that put in correctly, but even if my timing is off, it should still be getting spark when I turn it over from what I can tell. Any ideas on what to do next to get spark?
These are new plugs, new spark plug wires, and a new distributor cap. It's an old coil.
Engine: 7.4L, 454 CID, 330HP, Ser# 0C662618
https://www.mercruiserparts.com/7-4l-bravo-gm-454-v-8-1988-1991-0b7711
1989 Maxum 2300 SC, I/O
Last edited:


