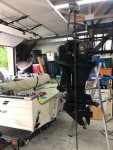
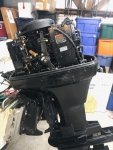
Motor Change on my 1973 Mariner 18'

roscoe

Supreme Mariner
Joined
Oct 30, 2002
Messages
21,739
get yourself a

Mercury Mariner Lifting Eye

off ebay for $20

it screws into the top of the flywheel and gives you a secure lifting point.
 

SHSU

Lieutenant Junior+Starmada Splash Of The Year 2019
Joined
Mar 8, 2017
Messages
1,726
May want to get a complete lower unit seal kit, do the drive shaft and prop shaft seals as well since you are pulling it apart and going into the water pump. Also look at the thermostat on the engine water cooling, make sure that is working correctly and not clogged with junk.

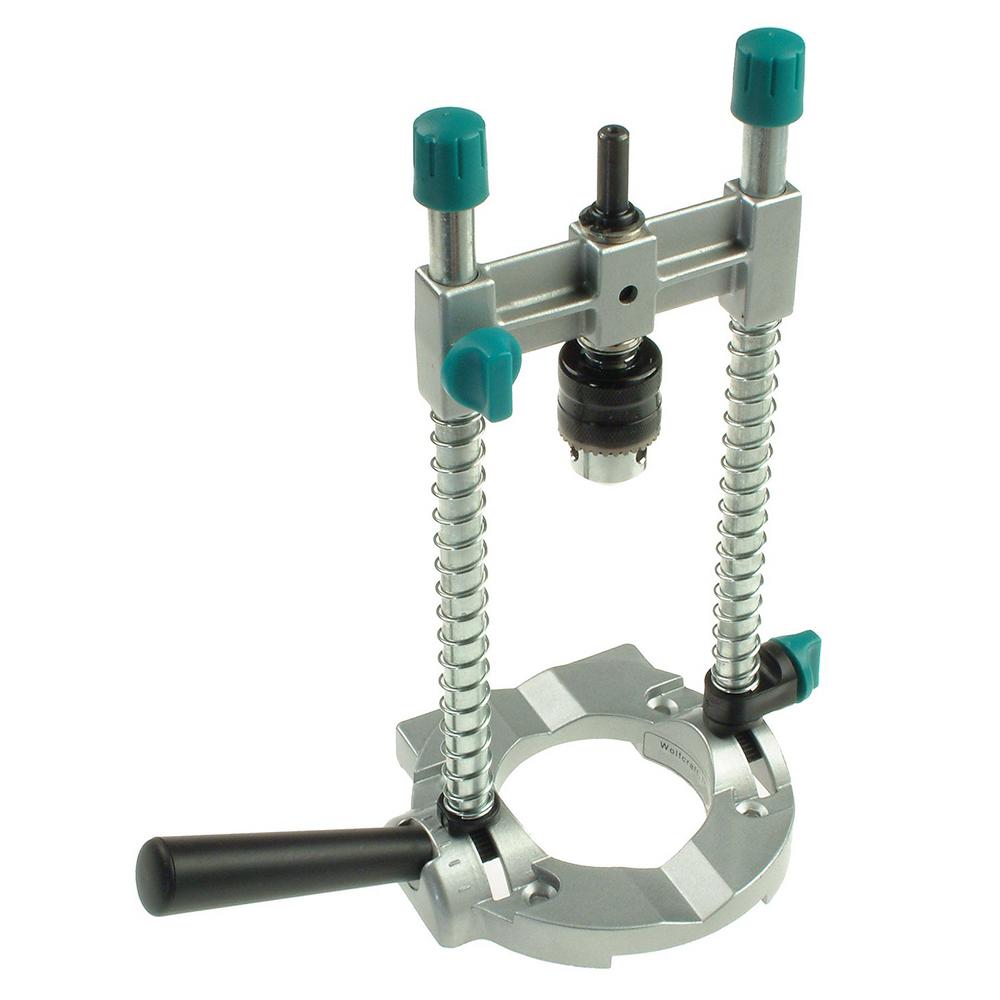
I have a drill jig I used to make sure my angle staid perpendicular relative to the transom, plus it was an excuse to by another tool. :D

Not sure about Grade 8 mounting bolts, I used standard SS but maybe I should have.

A wire should be run already in the harness to send Tach readings up your helm. Plenty of them out there, just got to find the one that will work for yours.

As for temp/trim gauge. I had to install my own temp gauge as my OB was to old to have one pre installed (~$50 combo). Passed on the trim gauge as I would have needed a sender and couldn't find anything in my price range to justify the cost.

SHSU
 

Watermann

Starmada Splash of the Year 2014
Joined
Jan 12, 2013
Messages
13,787
The mounting bolts should be stainless with nylocs no need for grade 8, they will rust and there are no shearing forces at play with an OB motor. 4 x 1/2" bolts equals 2" total of SS bolts holding it against the transom.

Seal the mounting holes with 5200, no need to use epoxy or are you filling in the old existing holes that won't be needed?

A drill guide is nice to have so the holes are 100% true.

wolfcraft-drill-attachments-4525404-64_1000.jpg
 

MonkeyBird747

Petty Officer 2nd Class
Joined
Aug 5, 2020
Messages
112
wAAACH5BAEKAAAALAAAAAABAAEAAAICRAEAOw==
​ Thanks to both of you. I have all my parts and today is the big day. I’ll try to get some pics of the install process.

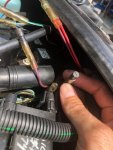
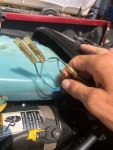
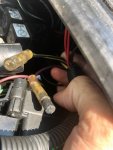
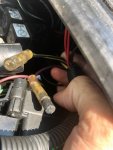
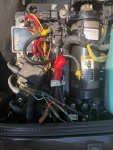
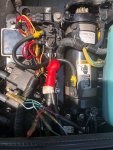
I have some wires and a hose bib under the hood that are not connected. The blue and gree I believe are the up/down remote trim wires that I’ll need to run forward to the trim switch, along with a hot wire as well.

There are what look like some spliced unused connectors as well. Some have little rubber plugs in them. I think one is purple or pink (fuel sender or ignition) some black with yellow (choke?)

I also have a hose bib at the top of the block at the back that isn’t connected to anything. It’s not the tell tale stream, as that is connected on the port side of the motor somewhere.
 

Watermann

Starmada Splash of the Year 2014
Joined
Jan 12, 2013
Messages
13,787
Black/yellow wire is the kill circuit to the switch box on the Merc OB motors I've worked on.

Yes blue and green wires are for trim.

Pink is fuel sender to gauge.

Purple is 12v ignition switch.

Need a pic of the hose bib you're referring to.

Use this for future needs. https://maxrules.com/fixmercwiringcodes.html
 

MonkeyBird747

Petty Officer 2nd Class
Joined
Aug 5, 2020
Messages
112
Looks like my pictures didn't attach on my previous post. I'll have some on this on.

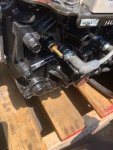
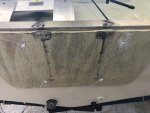
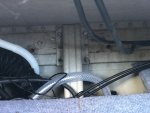
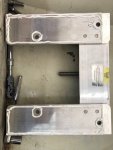
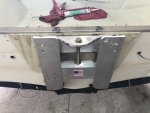
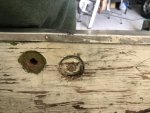
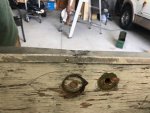
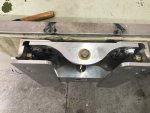
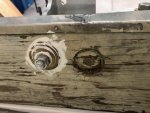
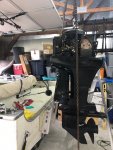
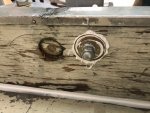
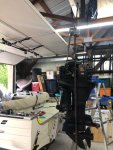
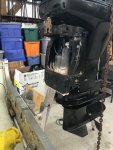
Big day today. I pulled the old motor and inspected the transom. I'm not the expert on this, but I stabbed around with a thin flat-head screwdriver and didn't hit any soft spots or notice any rotten wood. The old motor was a clamp on and the clamps had pulled into the wood by 1/8th inch or so. The previously drilled transom holes that had been filled were a match, so no new drilling except through the outer plywood brace.


photo338714.jpgphoto338717.jpgphoto338722.jpg
 

Attachments

  • attach10923848.jpg
    attach10923848.jpg
    71.5 KB · Views: 1
  • photo338715.jpg
    photo338715.jpg
    71.5 KB · Views: 1
  • photo338716.jpg
    photo338716.jpg
    85.8 KB · Views: 2
  • photo338718.jpg
    photo338718.jpg
    91.3 KB · Views: 2
  • photo338719.jpg
    photo338719.jpg
    75.6 KB · Views: 2
  • photo338721.jpg
    photo338721.jpg
    76.8 KB · Views: 2
  • photo338723.jpg
    photo338723.jpg
    109.7 KB · Views: 2
  • photo338724.jpg
    photo338724.jpg
    98.6 KB · Views: 2
  • photo338725.jpg
    photo338725.jpg
    105.5 KB · Views: 2
  • photo338726.jpg
    photo338726.jpg
    87.3 KB · Views: 2
  • photo338727.jpg
    photo338727.jpg
    95.5 KB · Views: 2
  • photo338728.jpg
    photo338728.jpg
    113.2 KB · Views: 2
  • photo338729.jpg
    photo338729.jpg
    107 KB · Views: 2
  • photo338730.jpg
    photo338730.jpg
    108.2 KB · Views: 2
  • photo338731.jpg
    photo338731.jpg
    108 KB · Views: 2
  • photo338733.jpg
    photo338733.jpg
    105.7 KB · Views: 2
  • photo338734.jpg
    photo338734.jpg
    100.5 KB · Views: 2
  • photo338739.jpg
    photo338739.jpg
    99.1 KB · Views: 2
Last edited:

Watermann

Starmada Splash of the Year 2014
Joined
Jan 12, 2013
Messages
13,787
If you don't hook up that black yellow kill circuit to the switch box you won't be able to shut off the motor after starting it. Not that it would start without the purple wire that goes to the 12v ignition being connected as well.

Yours looks like a 3 cyl but here is a pic of my 4 cyl Merc's switch box, you can see those wires have to be connected.

y4mPMmAhyqGSY-aUHBXNd9tIubXf8gzymdmLPMUm6txiALtrzeWPv1k4iAjP0yJyrkzrQTVLdQBYwNyZqSvG2w0ApG73mF_AM6KyLXQ4RaLJXHmckIFvq2fQC59d_AHZ2-PLuvoD5Glpto37fvyAtOw8acjABH8s9KZf91pcMedEBQgBL736xQIaI0z84MhuvAAZGZJl0X5HZs2inwN5aXstg


With set back you raise the motor, 1" high all the way in should be just fine.
 

SHSU

Lieutenant Junior+Starmada Splash Of The Year 2019
Joined
Mar 8, 2017
Messages
1,726
Do you have a short shaft on that motor? A "long" shaft should get you pretty close to even with the keel with standard holes from factory.

If you do have a short shaft, I would be hesitant to try and drill more holes to lower. You will also be lowering your power head and potentially getting it swamped.

SHSU
 

Watermann

Starmada Splash of the Year 2014
Joined
Jan 12, 2013
Messages
13,787
I wouldn't cap that water pressure nipple, I would take it out and replace it with a plug, no way I'd chance the cap popping off while out running WOT.

For the kill and ignition wires you'll need to make you own connections if you checked the switch box and there is nothing already connected. It is odd that they're not connected, the PO must have taken them off for some reason?
 

MonkeyBird747

Petty Officer 2nd Class
Joined
Aug 5, 2020
Messages
112
Today’s update. Lots going on on different fronts. Started new transom thread. This one was flexing quite a bit. Have the old transom removed and that will be next project.

Before I did that, I ran the motor to see if I bought a lemon. I picked up the 75hp for $1k, but it was crated and I could not see it run or do compresión check. I was rolling the dice a little for the price. Good news is it started. The only things I connected were the battery cables, and main wire harness. The extra yellow/black and purple are still disconnected, but it started and shut off normally. They must have been spliced in as extras, or maybe the PO has trouble with his harness and someone ran new wires as a work around? No idea.

I checked compression and have 107/105/105. Don’t know if that’s good yet, but at least even. Plugs look ok. Changed water pump and tell tale looks good. I’ll certainly buy a bolt in the water pressure outlet, and remove the hose bib. That’s what I meant by cap. The hose in the video was just a test.

Motor idles rough. I’m posting a video link. I smoothed it out a little with idle mixture tweaks. Started 1.5 turns out and adjusted from there. Helped a little, but the motor still “lopes” at idle.

https://www.dropbox.com/s/h8cmpqw711...%2001.mov?dl=0

So, I need to dig in to some motor threads to sort this out.
 
Top