First time pulling an engine questions

MalibuMike

Petty Officer 2nd Class
Joined
Dec 29, 2020
Messages
137
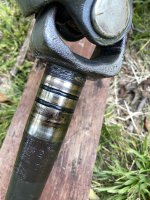
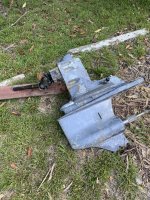
OK quick update. I managed to pull the drive off by myself without any type of accessory. I just rested the skeg on a piece of wood and shook it off and manhandled it.

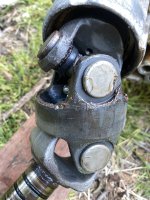
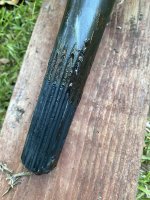
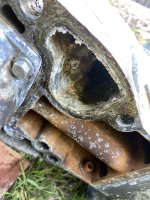
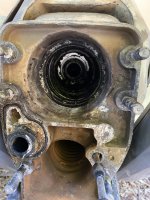
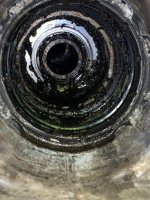
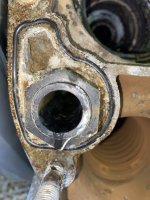
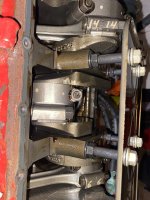
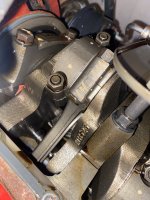
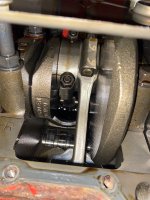
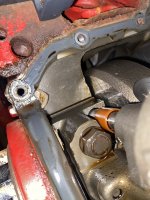
I wanted to share some pictures of what I found and get any more recommendations.

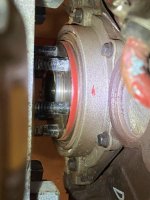
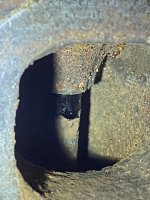
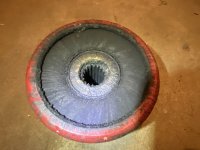
The U joint did not show any signs of water intrusion and all the grease had its natural color. Shook it around and couldn’t find any sloppiness or binding. Inside of the bellow I saw lots of original grease and again no signs of water.
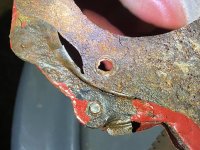
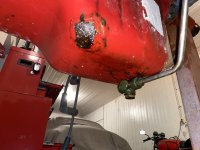
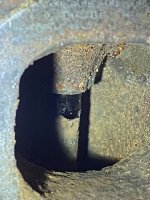
There was a decent amount of corrosion in the water tube area. Should this little gasket automatically be replaced? What degrees do you recommend I push into the U joint? The mechanic who serviced it a year and a half ago use some sort of dark burgundy brown stuff.
 

Attachments

  • A4F477B2-77DD-4775-9B58-89005884F9A7.jpeg
    A4F477B2-77DD-4775-9B58-89005884F9A7.jpeg
    2 MB · Views: 10
  • D4C0B692-535E-450B-8124-3A5D7889D666.jpeg
    D4C0B692-535E-450B-8124-3A5D7889D666.jpeg
    2.3 MB · Views: 8
  • 9276EBA9-056D-4AA3-8227-A433ED8D17B7.jpeg
    9276EBA9-056D-4AA3-8227-A433ED8D17B7.jpeg
    2 MB · Views: 11
  • 71D52828-DCBB-41ED-961F-27C9337A0E61.jpeg
    71D52828-DCBB-41ED-961F-27C9337A0E61.jpeg
    1.8 MB · Views: 12
  • C75DB66B-AACC-489C-A110-D3F4AD5E103E.jpeg
    C75DB66B-AACC-489C-A110-D3F4AD5E103E.jpeg
    1.9 MB · Views: 12
  • 04AFCB5D-EF00-433A-9A30-F42530582E0A.jpeg
    04AFCB5D-EF00-433A-9A30-F42530582E0A.jpeg
    1.4 MB · Views: 9
  • 177610D2-D9E3-4247-BEDF-31EB219D2CA2.jpeg
    177610D2-D9E3-4247-BEDF-31EB219D2CA2.jpeg
    1.7 MB · Views: 9
  • C1D7F16F-6D61-4EF4-8E05-41EB1607F54E.jpeg
    C1D7F16F-6D61-4EF4-8E05-41EB1607F54E.jpeg
    4.5 MB · Views: 9
MalibuMike

Petty Officer 2nd Class
Joined
Dec 29, 2020
Messages
137
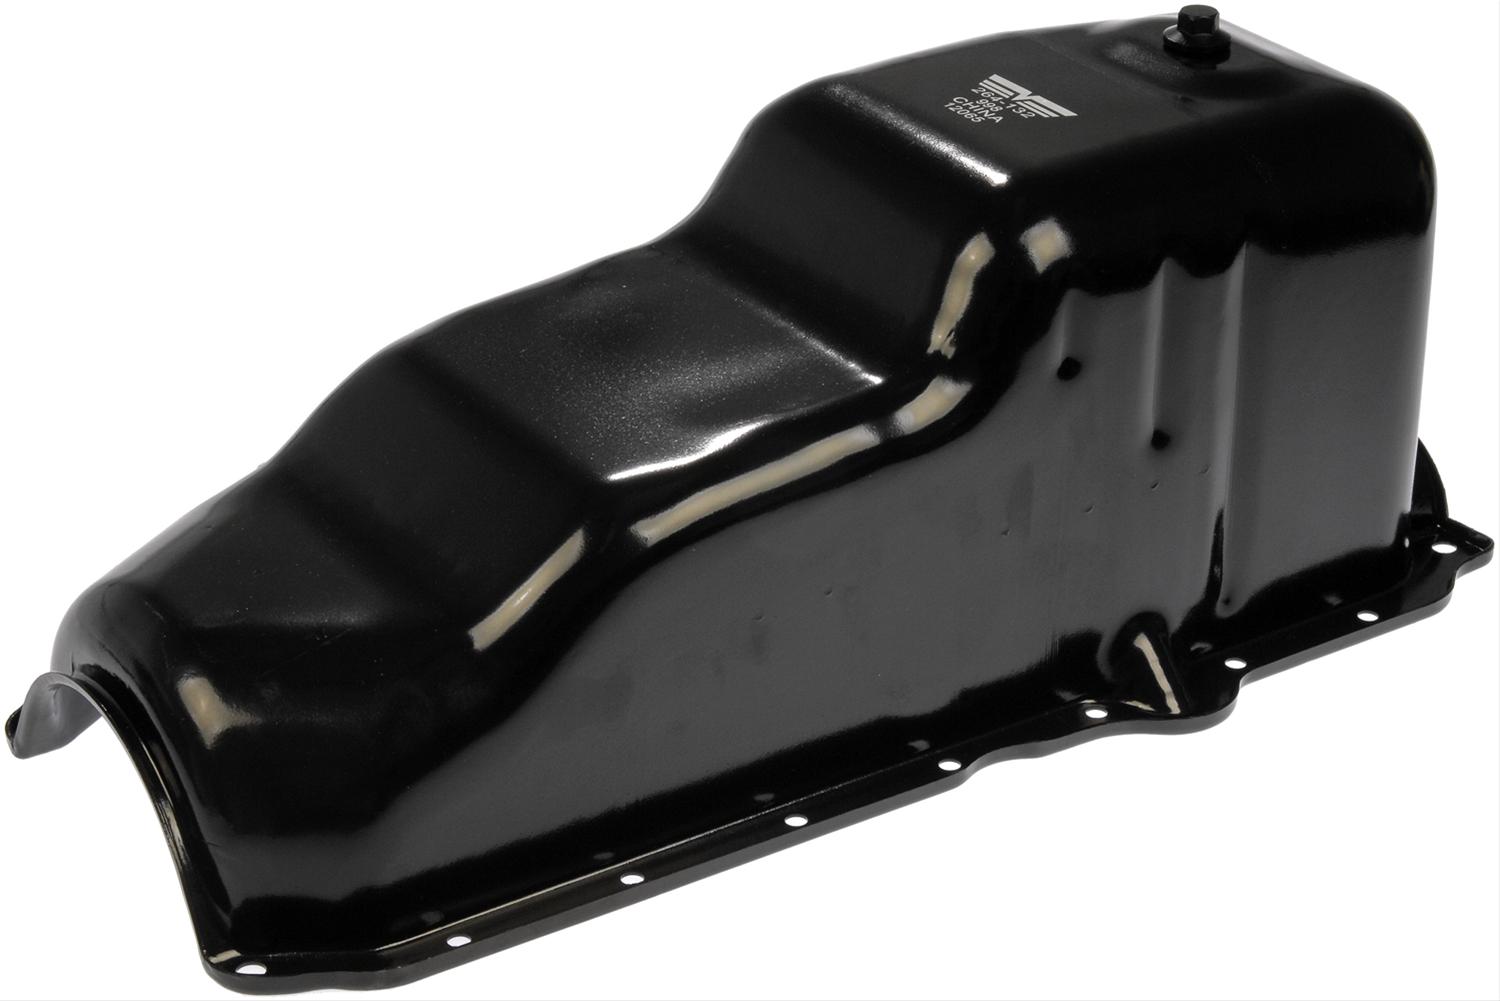
Given the hassle with pulling the engine why not ger a new oil pan.

An hour to pull the engine probably does not include the time to pull the outdrive.
I’m having a little bit of trouble sourcing an oil pan that has the external dipstick tube bolt. My dipstick travels on the outside of the pan then into a nut in the middle.
 
Last edited:

Scott Danforth

Grumpy Vintage Moderator still playing with boats
Staff member
Joined
Jul 23, 2011
Messages
49,537
the dipstick tube should be routed to the drain.
 

kenny nunez

Captain
Joined
Jun 20, 2017
Messages
3,290
Sometimes trying to weld up spots on a rusted pan will leak because the metal tends to crack when cooling. The 2 part epoxy will be easier and will seal up the rust spots. Another way is flowing solder over the bad spots after cleaning with muratic acid.
If you are referring to the sealing ring around the water transfer port get a new one and scrub as much of the white rust as possible on all mating surfaces.
 

MalibuMike

Petty Officer 2nd Class
Joined
Dec 29, 2020
Messages
137
the dipstick tube should be routed to the drain.
Scott, I’m confused about the drain pan situation. I see lots of drain pans for sale with a threaded drain plug but I have no idea if my external to pull thread into the drain plug. Any chance you could send a link to anywhere that sells a drain pan that will work with my external tube? And I’ve read a few stories of people having to weld on the correct nut for the tube to work and I don’t really want to go through that extra step.
 

Scott Danforth

Grumpy Vintage Moderator still playing with boats
Staff member
Joined
Jul 23, 2011
Messages
49,537
Scott, I’m confused about the drain pan situation. I see lots of drain pans for sale with a threaded drain plug but I have no idea if my external to pull thread into the drain plug. Any chance you could send a link to anywhere that sells a drain pan that will work with my external tube? And I’ve read a few stories of people having to weld on the correct nut for the tube to work and I don’t really want to go through that extra step.
What's to be confused about.

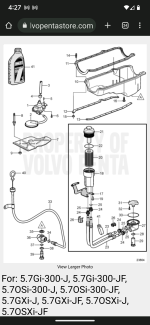
It's a GM truck pan for 4x4 trucks with center drain vs side drain


The adapter is screwed into the drain plug

Screenshot_20230714-162736.png
 

Scott Danforth

Grumpy Vintage Moderator still playing with boats
Staff member
Joined
Jul 23, 2011
Messages
49,537
Get the motor out (45 minute job) and then determine what is needed
 

MalibuMike

Petty Officer 2nd Class
Joined
Dec 29, 2020
Messages
137
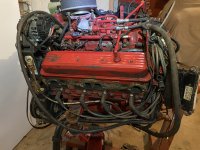
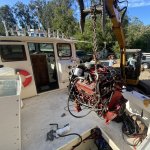
Got the motor out and lifted up and out fairly easy since the outdrive was off. 0A720207-CBB0-4549-9A91-22F1F1DA13A9.jpeg

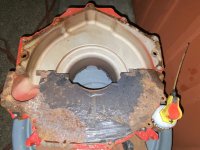
The shield for the flywheel Had several missing bolts and a few snapped off right away. Not quite sure what to do about this yet but started soaking the broken bolts. Do I need to get a special Volvo penta or marine grade shield?
CBC408F7-8A7A-4064-A7DB-ED9CFE88CB9F.jpeg
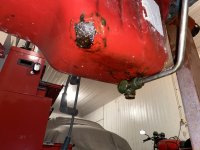
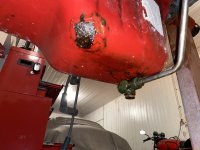
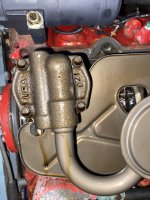
Here is a picture of the oil pan blister and possibly leak at the outlet. does this metal tube and brass fitting just fit into any drain plug for a standard oil pan?
B24F2434-6013-48F1-9ABF-FAB31FF04F87.jpeg

Is this what you call a one piece rear main seal?
BC37F9C0-8C47-47F4-9842-779BD3D9AD89.jpeg

Most of my valves look pretty good and none of the spark plugs were Rusty so I’m pretty confident that there are no leaks but this one valve stem looked a little unusual.


55591971-1BF0-4BBE-9856-D5EAE42AEB7C.jpeg

Thank you for all your help with this it felt like a pretty big accomplishment to pull the motor and get it on to an engine stand for work. At some point in the future, it’ll be good experience for working on a long block should I ever need to rebuild.

The oil has been drained out. Are there any issues with flipping this thing upside down to work on the pan?
6A46B4AB-D1C1-4F1B-896A-754E7498B2D4.jpeg
 

Attachments

  • E355093D-4BFD-4AF7-B773-F00E0A385920.jpeg
    E355093D-4BFD-4AF7-B773-F00E0A385920.jpeg
    2.7 MB · Views: 4
  • DE020DF1-2106-4C94-A9CE-B40293BA61DD.jpeg
    DE020DF1-2106-4C94-A9CE-B40293BA61DD.jpeg
    1.5 MB · Views: 3
  • C3775571-2307-48E1-92DE-72DBFE4A165A.jpeg
    C3775571-2307-48E1-92DE-72DBFE4A165A.jpeg
    2.7 MB · Views: 2
  • B06DCAA7-67B6-466B-BDA1-793BB7FAE786.jpeg
    B06DCAA7-67B6-466B-BDA1-793BB7FAE786.jpeg
    968.6 KB · Views: 4
Last edited:

Donald0039
Chief Petty Officer
Joined
Jun 11, 2022
Messages
402
Helps to have a friend with an excavator to pull the engine.

Irwin sells a ez-out kit with left handed drill bits and matching ez-outs.

Some might weld on a nut to the broken off bolt to try and get it out.

I still vote for a new oil pan
 

kenny nunez

Captain
Joined
Jun 20, 2017
Messages
3,290
With the flywheel housing on a drill press you should be able to drill out the broken bolts. The engine mount “feet” might be saved after sand blasting, you probably have a torch to heat up the nuts to free them up. The threaded part can be replaced with generic ones. Also a good time to find a pair of valve covers. I am sure that the metal timing cover is is screaming for replacement.
Looks like there was female supervision to pull the engine. Anytime I would do something like that my wife would be holding her phone with 91punched on the key board.
You never mentioned what brand of boat you have. One thing is certain, a salt water rig for sure.
 

MalibuMike

Petty Officer 2nd Class
Joined
Dec 29, 2020
Messages
137
With the flywheel housing on a drill press you should be able to drill out the broken bolts. The engine mount “feet” might be saved after sand blasting, you probably have a torch to heat up the nuts to free them up. The threaded part can be replaced with generic ones. Also a good time to find a pair of valve covers. I am sure that the metal timing cover is is screaming for replacement.
Looks like there was female supervision to pull the engine. Anytime I would do something like that my wife would be holding her phone with 91punched on the key board.
You never mentioned what brand of boat you have. One thing is certain, a salt water rig for sure.
The boat is a 25 foot 1997 Parker. The engine is a Volvo penta 5.7 and this one was put in the boat in 2007. Already found a nice set of motor mounts on eBay for $50.
 

Scott Danforth

Grumpy Vintage Moderator still playing with boats
Staff member
Joined
Jul 23, 2011
Messages
49,537
Any GM truck with a manual transmission in a junk yard can supply the dust shield for $3

Or you can spend $25 on a new one


However it's only to keep your fingers and thing in the bilge from getting between the flywheel and the housing
 

MalibuMike

Petty Officer 2nd Class
Joined
Dec 29, 2020
Messages
137
Hey guys I’m knee-deep into the project and it seems to be going pretty good. The pan came off easily and there is one of those reusable gaskets with the metal tabs at every hole. It’s so nicely attached to the block should I just put the new oil pan back on top of this?

Also wanted to know if this is considered a fairly clean engine on the inside
 

Attachments

  • A4F7A366-DE70-4A1B-BA70-38128D9F0581.jpeg
    A4F7A366-DE70-4A1B-BA70-38128D9F0581.jpeg
    2 MB · Views: 6
  • 8EE09E01-889F-4ED8-B4F3-E5CDDB5E6481.jpeg
    8EE09E01-889F-4ED8-B4F3-E5CDDB5E6481.jpeg
    2.3 MB · Views: 5
  • 237B7041-5221-4D2B-B854-8B599AFFF6FC.jpeg
    237B7041-5221-4D2B-B854-8B599AFFF6FC.jpeg
    1.7 MB · Views: 5
  • 3236AB90-4059-42E3-9272-6A6082EFE1B7.jpeg
    3236AB90-4059-42E3-9272-6A6082EFE1B7.jpeg
    1.7 MB · Views: 5
  • CC95BE49-8A1F-4210-A955-9C31D52CAD14.jpeg
    CC95BE49-8A1F-4210-A955-9C31D52CAD14.jpeg
    1.7 MB · Views: 5

MalibuMike

Petty Officer 2nd Class
Joined
Dec 29, 2020
Messages
137
Ended up getting the gasket off. Once it started it all pulled up. It was a bit rusty on the outer edges. Are used a flat blade scraper and a scotch Brite pad and think I have it pretty clean. I think the next step is to use break for to get the surfaces extra clean. I can see where extra RTV was used the last time and will put the same amount at those four spots.
I’m Nelson fair amount of oil on the inside of the harmonic balancer and it looks like it’s shooting out in all directions. Probably a small leak but I’m guessing now is the time to also do the timing chain cover right? God I feel like I’m going deeper down the rabbit hole!
 

kenny nunez

Captain
Joined
Jun 20, 2017
Messages
3,290
The timing cover is the least painted part of these engines. Before installing the harmonic balancer, put some sealer in the key slot of the balancer.
Looks like you are close to the end, you will be fishing before you know it.
My cousin has a 2820 Sport Cabin Parker with 2 Yamahas. This is his 3rd set of engines. He fishes out of Bay Saint Louis into the Gulf. I thought the rear of your cabin looked familiar.
 

MalibuMike

Petty Officer 2nd Class
Joined
Dec 29, 2020
Messages
137
Can anyone tell me the torque specifications for the bolts for the timing cover? I see lots of sources that point to around 8 foot pounds but I don’t know if that applies to this composite cover that already has a built-in silicon style gasket. I’m just worried that the 8 pounds is for a metal cover with a flat paper gasket
 

apw30534

Petty Officer 3rd Class
Joined
Jan 14, 2022
Messages
87
Can anyone tell me the torque specifications for the bolts for the timing cover? I see lots of sources that point to around 8 foot pounds but I don’t know if that applies to this composite cover that already has a built-in silicon style gasket. I’m just worried that the 8 pounds is for a metal cover with a flat paper gasket
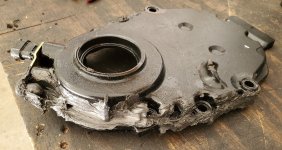
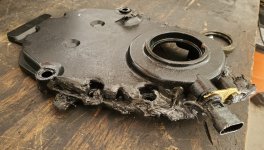
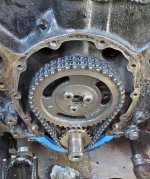
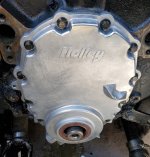
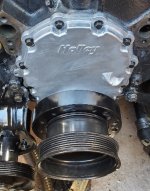
Throw that plastic timing cover in the garbage where it belongs and replace it with an aluminum timing cover. Holley makes a direct-fit replacement that is worth it's weight in gold. If you dont replace that plastic timing cover, I promise you WILL have problems with it. I know from firsthand experience. This one only had 400 hours on it and the seal FELL out of it when I pulled the balancer off.

Holley aluminum cover:
WITH crank sensor: https://www.summitracing.com/parts/hly-21-152

WITHOUT crank sensor: https://www.summitracing.com/parts/hly-21-150
 

Attachments

  • 20220319_101707_resized.jpg
    20220319_101707_resized.jpg
    271.8 KB · Views: 1
  • 20220319_101711_resized.jpg
    20220319_101711_resized.jpg
    298.5 KB · Views: 1
  • 20220319_101819_resized.jpg
    20220319_101819_resized.jpg
    264.4 KB · Views: 1
  • 20220319_110232_resized.jpg
    20220319_110232_resized.jpg
    214.4 KB · Views: 1
  • 20220319_120052_resized.jpg
    20220319_120052_resized.jpg
    133.9 KB · Views: 1
Last edited:

apw30534

Petty Officer 3rd Class
Joined
Jan 14, 2022
Messages
87
I will also add... seeing that this is a saltwater boat and theres already a ton of corrosion everywhere... AND its raw water cooled... there's no way I would put that engine back in the boat without doing a full teardown or complete replacement. I can only imagine how bad it looks inside the cooling passages, manifolds and risers.
I would be looking into an aftermarket (Orca Marine) closed cooling system if I were in this situation.
 
Top