


wellcraft-classic210
Master Chief Petty Officer
- Joined
- Sep 22, 2010
- Messages
- 839
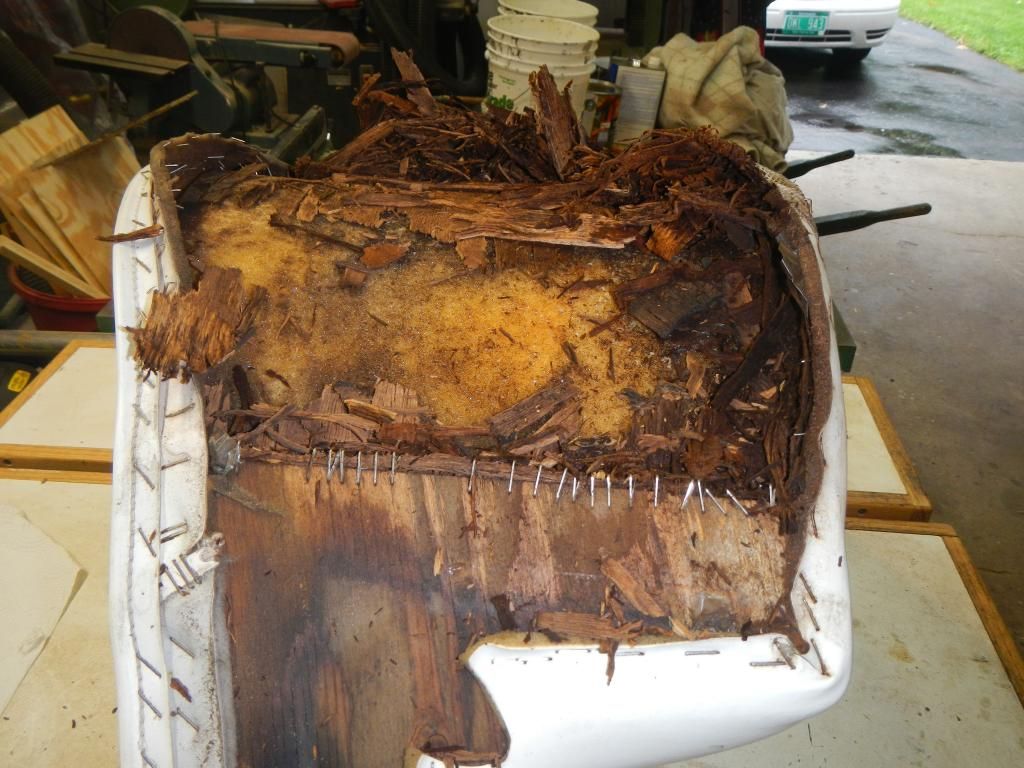
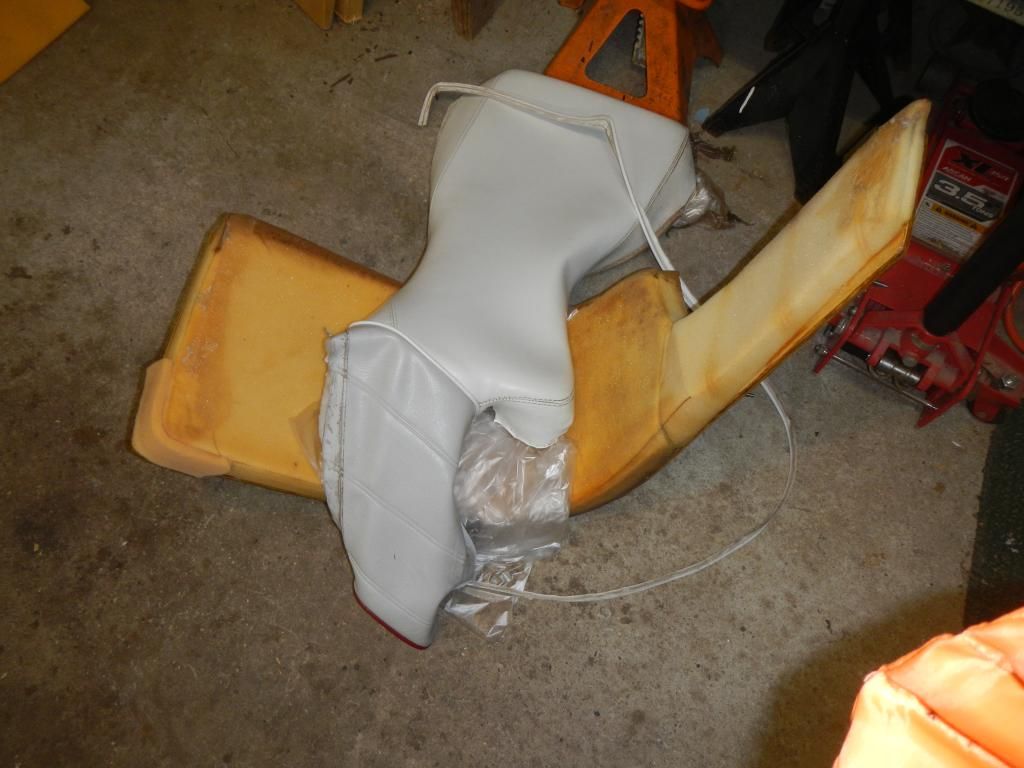
I have a 1995 SeaRay Signiature 180 that had rotted wood in the curved Bow seats. I searched the internet repeatedly for tips & methods but I was not able to find much on the particular subject.
What I did know was that I needed an 8 inch Radius on my tightest bend and their were other larger radius curves as well. I was also aware that a layered lamination when done properly will tend to hold the exact shape -- VS a steamed bent section of wood will tend to have some spring back.
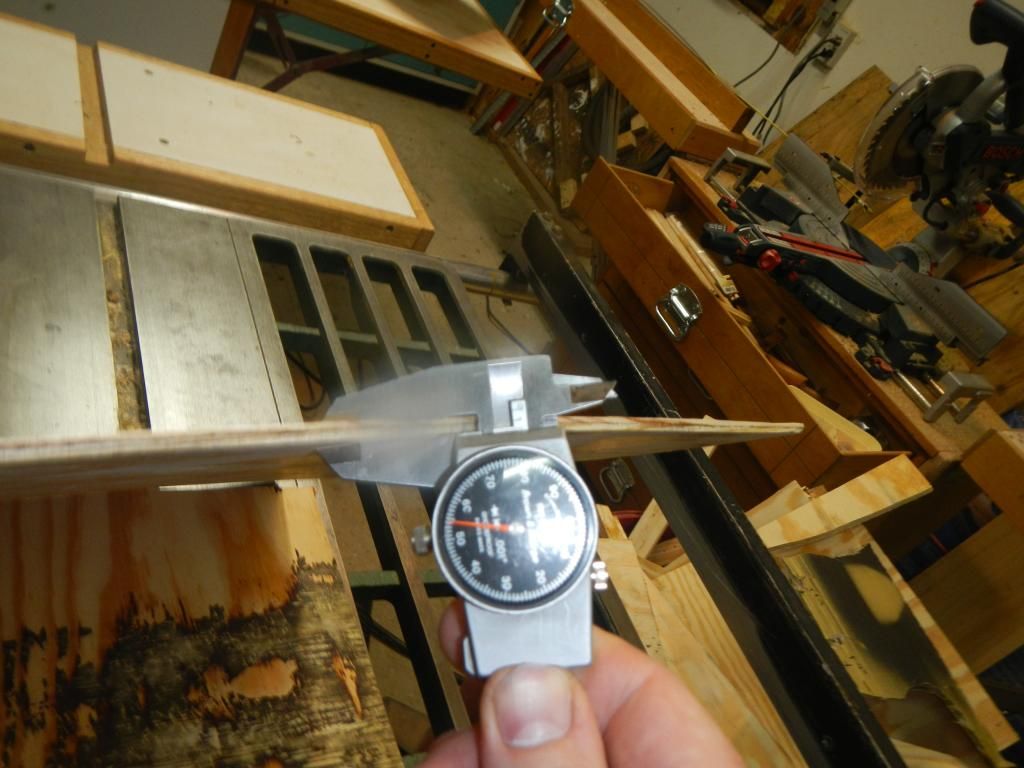
I own a planer and tried planing a few scraps of Plywood to see how flexible and resilient the were. After some trial and error I found that sections of 3/8 CDX plywood at .150 in thick that has about .100 long grain and .05 cross grain worked well. I chose this material as I already had it on hand.
I could have used marine plywood mainly for cost reasons and knowing a lost of material was going to be wasted. Bending plywood is another option but it would have still required thin laminated layers to meet the radius requirement and provide a stiff substrate when done.
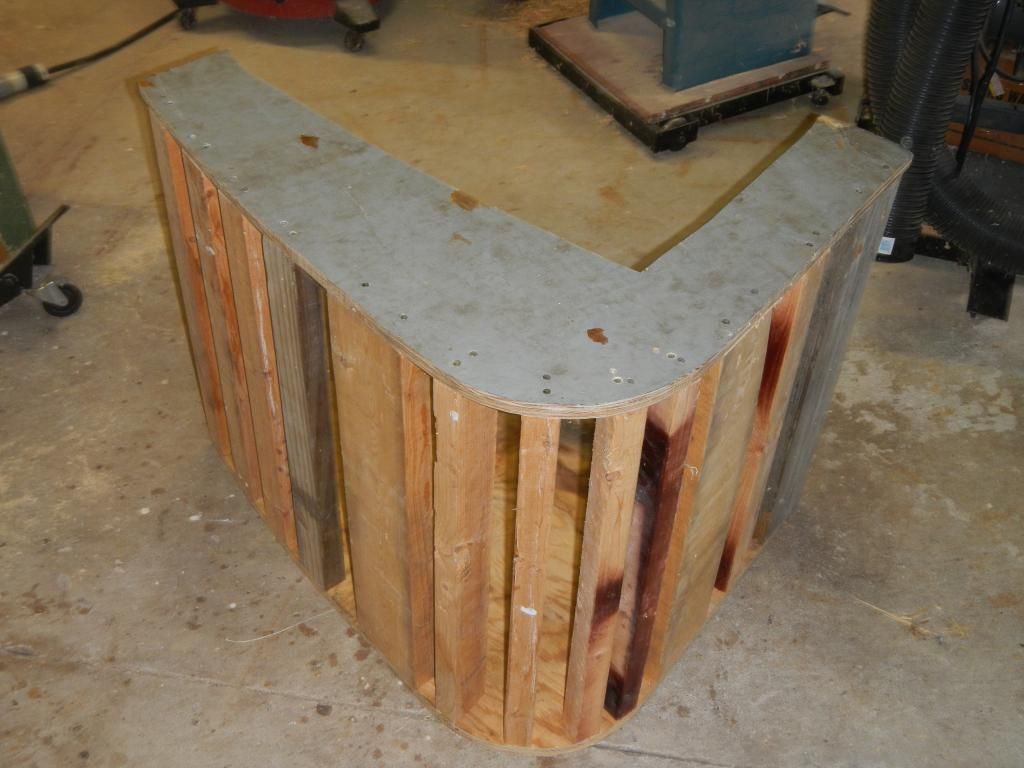
I made a template of the hull section in the bow that the seats needed to mate to and then formed a bending jig for the inside curve that tad the same shape with 1/2 inch removed to allow for the laminated material thickness.
The sections were planed to .150 thick from 2 sheets of very clean 3/8 cdx plywood with no knots in the outer surfaces but they they did have some voids internally.
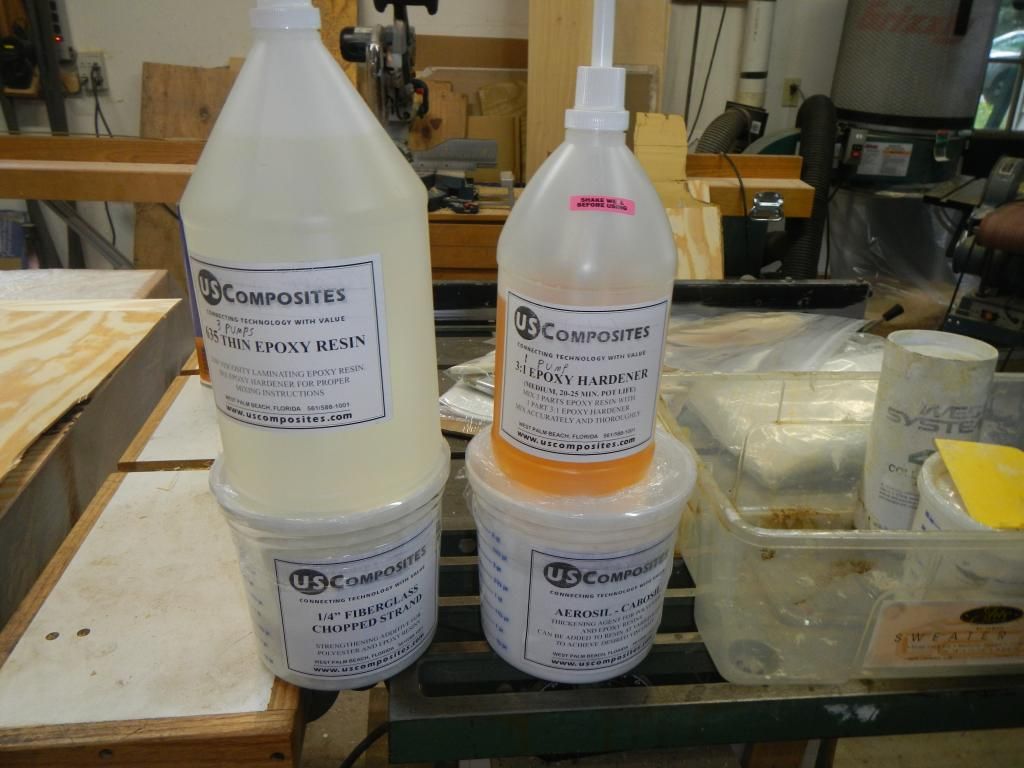
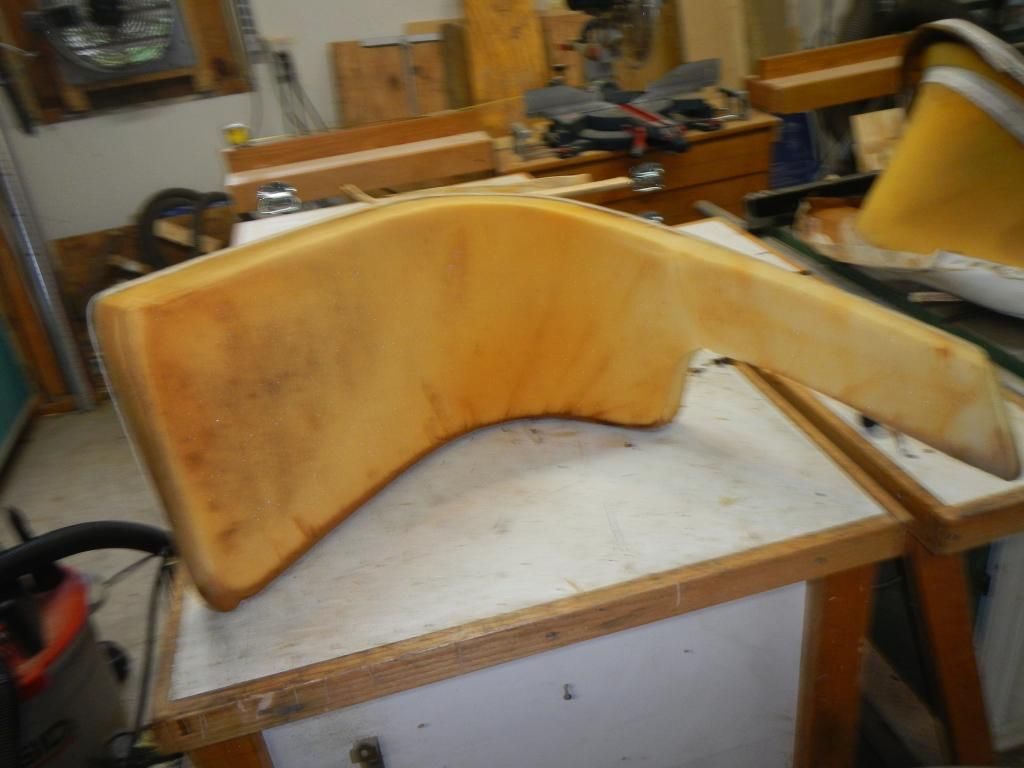
After selecting 6 of the best sections with the least voids I applied epoxy resin and then peanut butter ( thickened resin ) in the remaining voids. I started clamping in the middle of the largest curve and worked may way out in both directions to reduce gaps in the layers and left the parts clamped for 24 hours. The first one did have a few small separations and some spring back so I added more resin & clamp time on the second which made for a very tight joint.
After using the old cushions as a template and carefully checking the fitment and through bolt locations each one received 3/16 routed edges radius's and 2 more coats of epoxy on the outside and through holes -- Any small gaps in lams were also filled with epoxy. The bolts were 10-24 stainless steel flat heads with 1/4 washers threaded into tee nuts pressed into the opposite side.
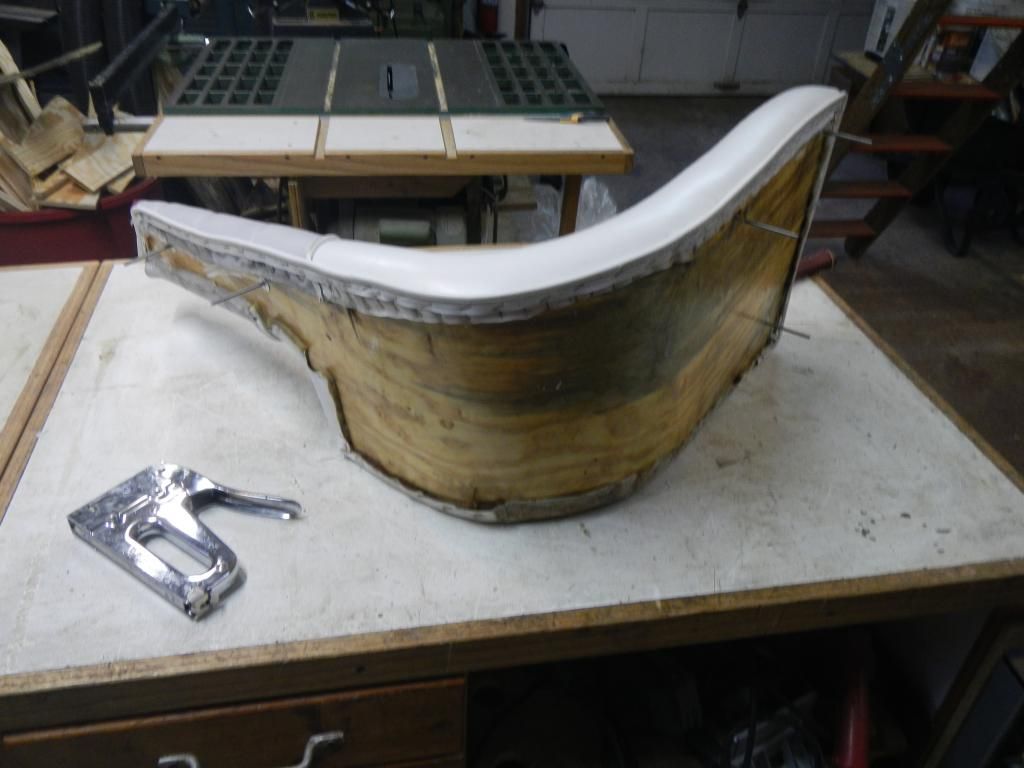
The foam was attached to the plywood using 3m #77 spray adhesive. A thin player of plastic sheet was was spot glued using the #77 as well to allow the vinyl to slide on the foam better and avoid wrinkling.
The vinyl was stapled using stainless steel staples. The hand stapler would not drive them all the way & they needed to be hammered into their final resting place.
Some pics below.
ROTTED WOOD
BENDING FORM ( SCRAP MATERIALS )
PLANED PLYWOOD
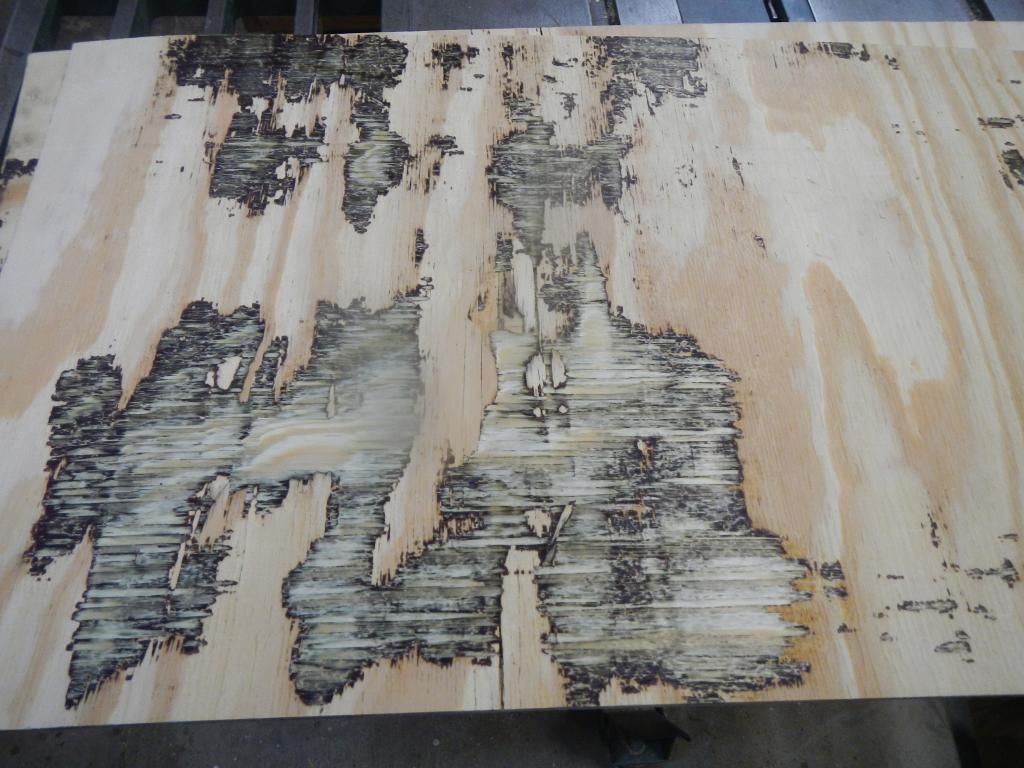
EPOXY
CURVED PLYWOOD AFTER LAMINATION
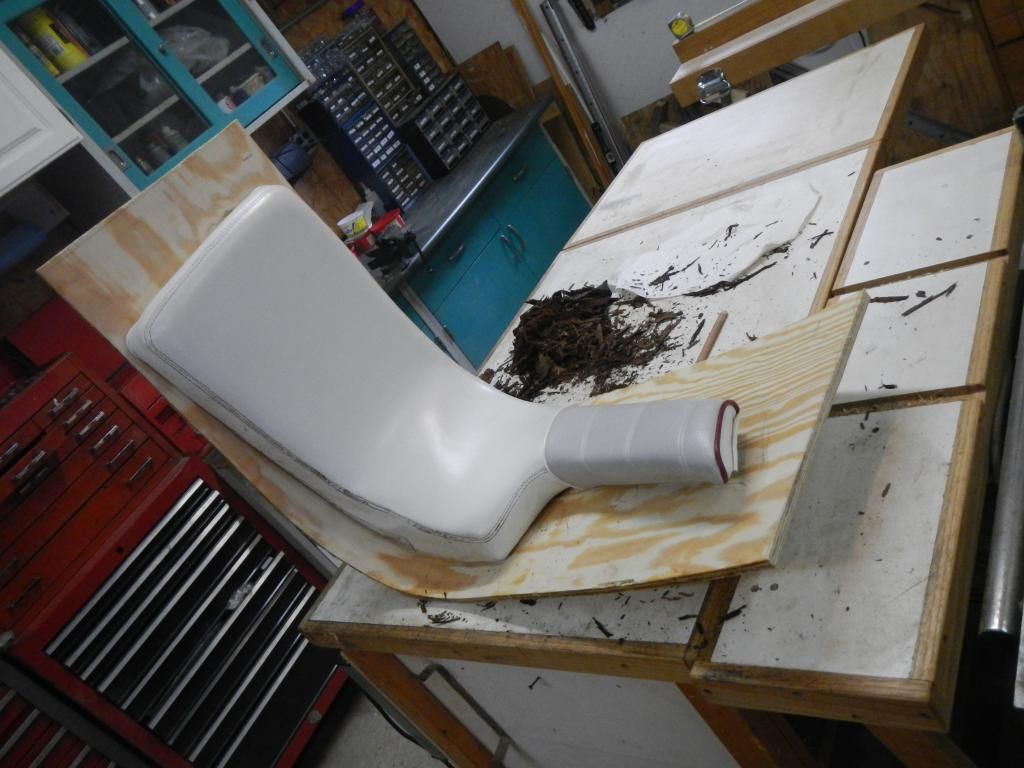
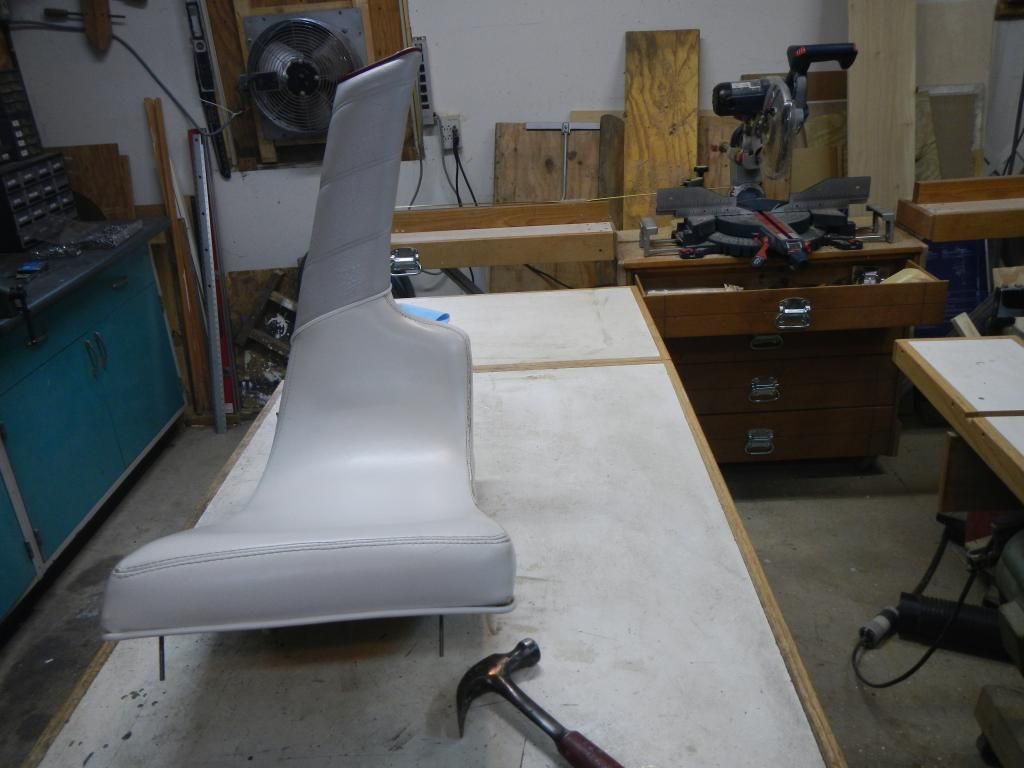
READY FOR ASSEMBLY
What I did know was that I needed an 8 inch Radius on my tightest bend and their were other larger radius curves as well. I was also aware that a layered lamination when done properly will tend to hold the exact shape -- VS a steamed bent section of wood will tend to have some spring back.
I own a planer and tried planing a few scraps of Plywood to see how flexible and resilient the were. After some trial and error I found that sections of 3/8 CDX plywood at .150 in thick that has about .100 long grain and .05 cross grain worked well. I chose this material as I already had it on hand.
I could have used marine plywood mainly for cost reasons and knowing a lost of material was going to be wasted. Bending plywood is another option but it would have still required thin laminated layers to meet the radius requirement and provide a stiff substrate when done.
I made a template of the hull section in the bow that the seats needed to mate to and then formed a bending jig for the inside curve that tad the same shape with 1/2 inch removed to allow for the laminated material thickness.
The sections were planed to .150 thick from 2 sheets of very clean 3/8 cdx plywood with no knots in the outer surfaces but they they did have some voids internally.
After selecting 6 of the best sections with the least voids I applied epoxy resin and then peanut butter ( thickened resin ) in the remaining voids. I started clamping in the middle of the largest curve and worked may way out in both directions to reduce gaps in the layers and left the parts clamped for 24 hours. The first one did have a few small separations and some spring back so I added more resin & clamp time on the second which made for a very tight joint.
After using the old cushions as a template and carefully checking the fitment and through bolt locations each one received 3/16 routed edges radius's and 2 more coats of epoxy on the outside and through holes -- Any small gaps in lams were also filled with epoxy. The bolts were 10-24 stainless steel flat heads with 1/4 washers threaded into tee nuts pressed into the opposite side.
The foam was attached to the plywood using 3m #77 spray adhesive. A thin player of plastic sheet was was spot glued using the #77 as well to allow the vinyl to slide on the foam better and avoid wrinkling.
The vinyl was stapled using stainless steel staples. The hand stapler would not drive them all the way & they needed to be hammered into their final resting place.
Some pics below.
ROTTED WOOD

BENDING FORM ( SCRAP MATERIALS )

PLANED PLYWOOD


EPOXY

CURVED PLYWOOD AFTER LAMINATION

READY FOR ASSEMBLY


Last edited:
 Looks like it worked out for you though!!!