Re: Aluminum Windshield Restoration
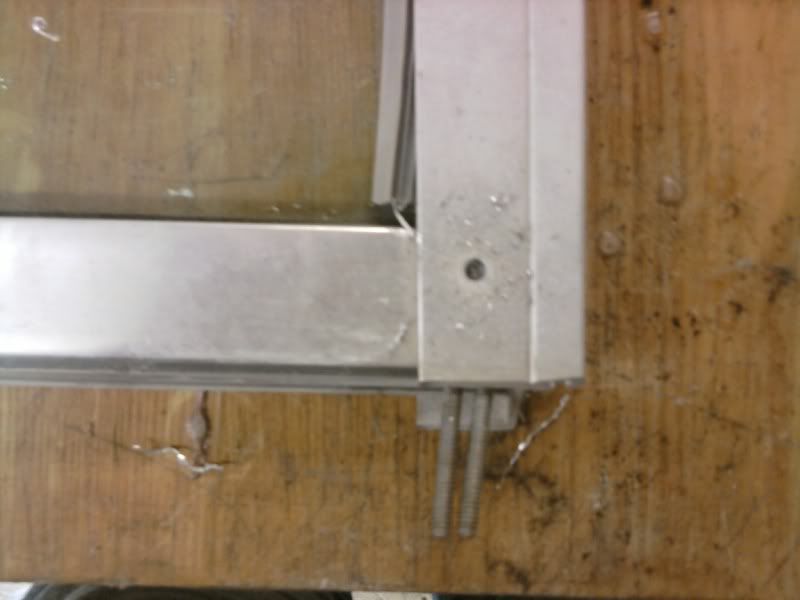
The windscreen and side panel separate by sliding them apart at the box joint in the corner of the assembly. There are no screws or fasteners. They simply slide apart. It took a little persuasion with a mallet to get them apart. The next main component was the walk through "door" panel. Rivets were used to attach the door to the port windscreen through its piano hinge. These rivets had to be drilled out in order to separate the door from the windscreen and the hinge from the door. Rivets were used to provide clearance in the hinge when the door is closed.
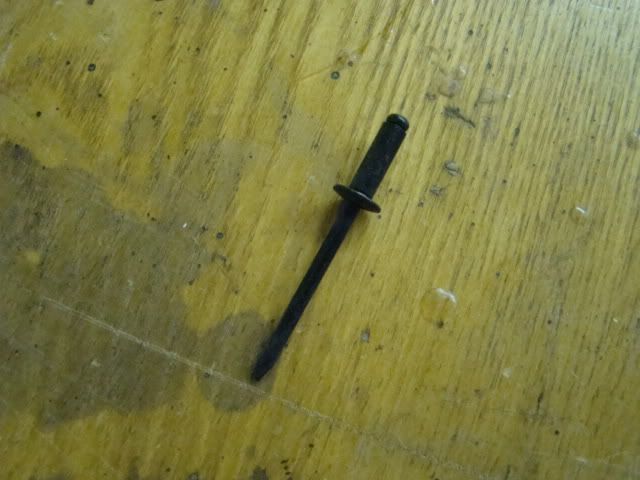
A trick to removing rivets is to use the proper size drill bit. The best size bit is one that will stay centered on the rivet head and will not enlarge the original hole. It was important to go back with the same size rivets that came out of the assembly so that clearance for all the parts could be maintained. Any larger rivet would have caused bind in the door hinge or would have hit the glass inside the windshield frame.
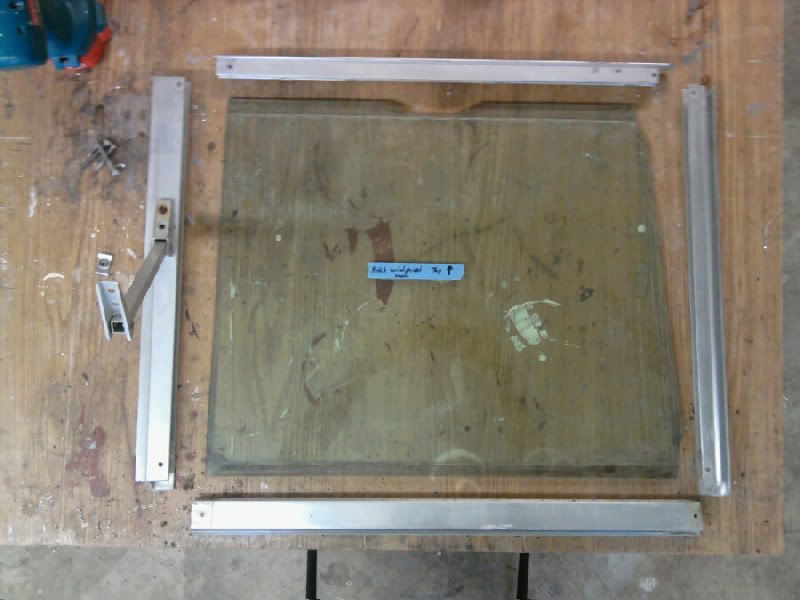
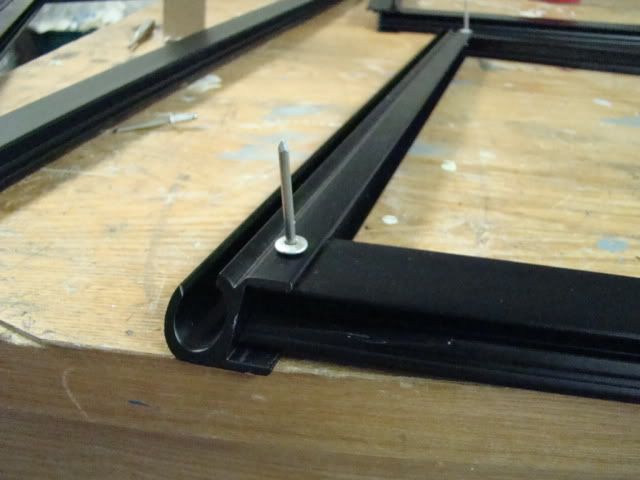
Next comes the disassembly of the frames themselves and the removal of the glass. The frames are held together with rivets at each frame corner. The pieces making up the frame are shoebox jointed together then a rivet is set at each joint.
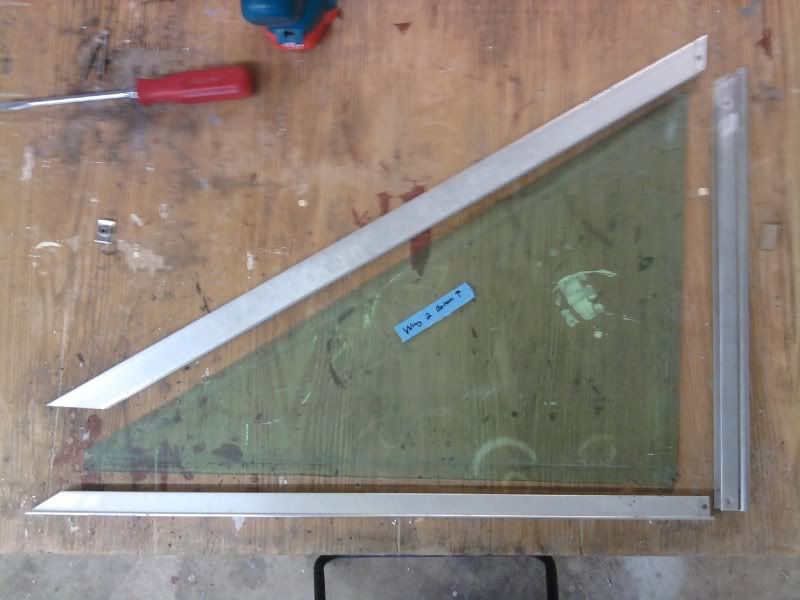
After drilling the rivets out I had to use a mallet and gentle pressure to separate the frame pieces from the glass. (these are safety glass)
I continued this process through all four main pieces. (2 windscreens and 2 side panels. I was surprised to find that the side panel did not have glass but plexiglass in them.
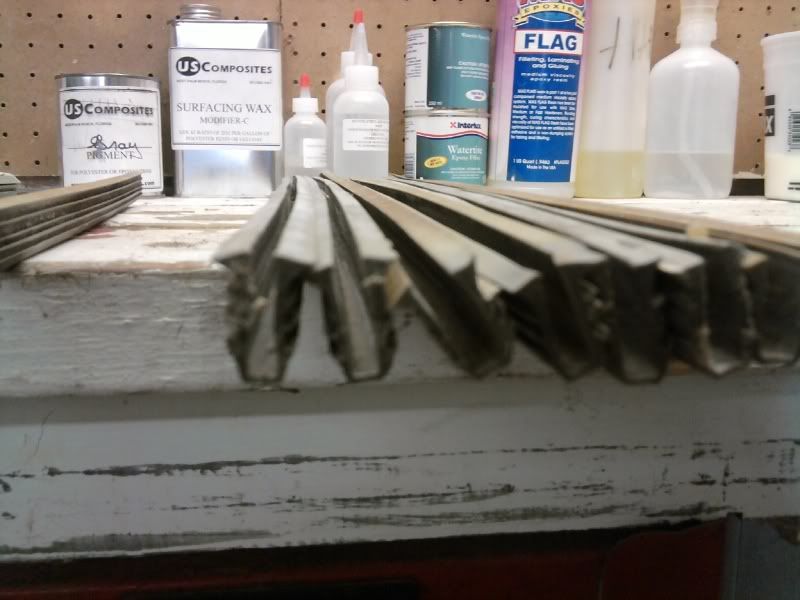
The gaskets or "glazing" that seal the glass and hold it firmly in to the frames consists of u-shaped rubber seals. Over time, about 33 years, the original gaskets had shrank in the frames leaving gaps all around the glass. This looked bad and is one of the main reasons I decided to restore this windshield.
The gaskets also made the disassembly of the frames difficult. You can imagine how stuck they were. A trick to getting them loose is to spray some soapy water on to the gaskets and use a flat screw driver to peel the rubber back. The water will seep in to the joint loosening it.
The gaskets used may look the same, but they are not. The dimensions of each gasket is set to accommodate the thickness of the glass, the width of the channel in the frame, and the finished edge of the exposed part of the gasket when it is installed. Be careful when you match up the old gaskets with the new, that you match the correct gasket with the correct frame.
After getting everything apart the next challenge was to locate suppliers for the gaskets. I tried calling RV parts suppliers, marinas, and several websites. I knew there had to be a supplier out there. I even called a rubber extrusions manufacturer who was very helpful. However I needed the exact dimensions of the gaskets to match them up. These gaskets are old! they have changed shape so much, getting an accurate measurement is impossible. I needed a supplier experienced in boat windshields and glass that could match what I needed correctly. After allot of searching I came up with one.
http://www.oceandynamics.com/
I first gathered all the gaskets together and separated each type. I then took total measurements in length of each type and cut samples of each one. I then wrote the length I needed directly on each sample using a sharpie pen and sent them to Iris at Ocean Dynamics. They matched up the types, cut my lengths, and in a few days I had nice, new black gaskets ready to install.! I only have one complaint. Ocean Dynamics is a windshield builder, not a parts supplier per se. It took some prodding and a week or so to get them moving on my order. But they did come through. I am happy with them and I would go back to them.
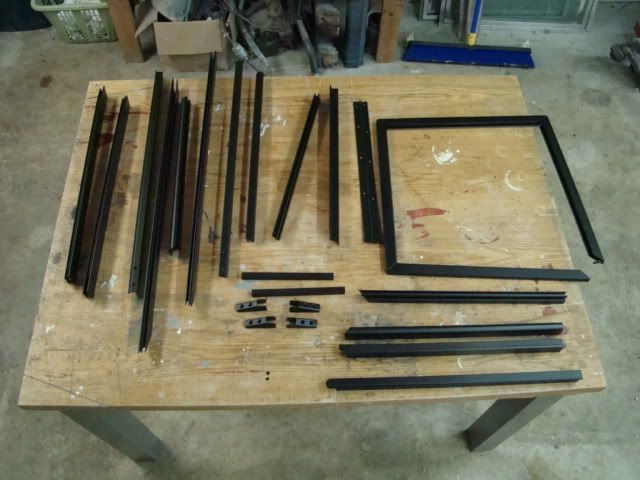
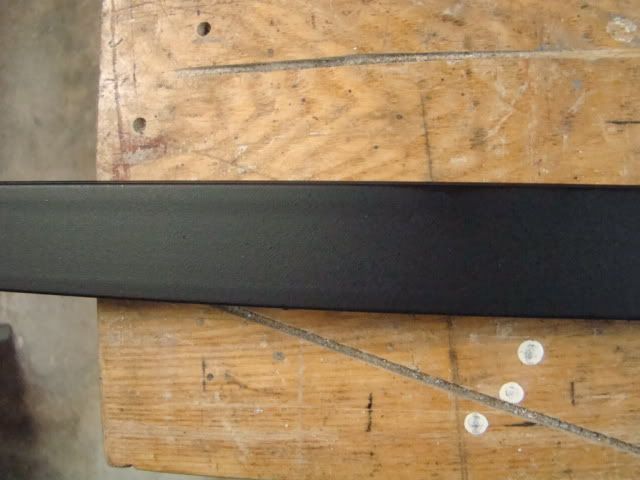
I had decided prior to tearing them apart that I would go with a powder coating to refinish the framework. Originally the frames were bare aluminum that was probably clear coated or anodized. Well that was long gone. I could have cleaned them up, brushed them, and recoated them. But that would not really fit the look of the boat. So I went with a satin black powder coat. I have used powder coating before and I wanna tell ya' its some very tough stuff. Finding a good powder coater is kind of like finding a good Doctor, you never really know how good they are until you see a result. It is likely that you will find a powder coater locally. I have three within 20 miles. But finding a good one, is tough. I my opinion painters and powder coaters that concentrate on custom work are generally better. Their customers demand it. Their prices may be a little higher, but you are getting superior work.
my powder coat guy is one of the best in the country.
http://www.autocyclepc.com/