PrinceValium
Chief Petty Officer
- Joined
- Jun 2, 2010
- Messages
- 421
Well everyone after having the Smart Tabs on my counter for a week I finally mustered up the nerve to install them. I laid out all the parts and have a video I made although it did not follow the entire process due to my frustration and constant remeasuring etc...lol Sorry in advance if this is a long post. 
Thanks to dhildebrand for going through the process before I did...it helped me install them correctly especially seting up the 25 degree angle of the tabs. I was striving for perfection as always...however there were a few things that tripped me up throughout the process that didn't allow it. :facepalm:
I am going to try and share with all of you things I found and a video (and a few pictures) of some of the install process that might help someone else installing them.
So the biggest hurdle that I faced was getting over the fact that I was about to start drilling holes in our new boat. Thoughts of the holes not sealing weighed heavy on my mind throughout the process (as well as after the install) so all I could do was just DO IT and get over it. The first hole you drill will be the HARDEST to do since you will be so apprehensive on drilling into your boat...but once you get past that initial sick feeling that you just ruined your nice boat it will pass when you see the install completed. I thought that the holes would not go through the fiberglass fully but to my surprise it did and drilled into the wood behind it. I looked for a drill stop and used the old way of taping the bit to stop at the tape mark , however just as I got to the mark that was the point it drilled through and surprised me. From that moment on I knew I would have to use a tad more than the small amount Nauticus says to use of the 3M 5200 for installing the screws (in their DVD video supplied in the kit).
The plastic tab bolts were VERY tight in the holes which was pretty disappointing to me. I would have thought that they would slide in snug but not THAT snug to where I had to push them quite hard to get them through the guides (using the end of the screw driver to push them in from the center of the bolts). I did use some carpenter pencils and taped them under the boat to allow me to have a level area to rest the brackets on when measuring and marking the holes to be drilled. I measured approximately 3 inches from the inner edge of the chine due to the contour of the upper side of the transom where I was going to mount my PR500 brackets. Had I installed them like the instructions stated (3-5" from the outer chine) the top bracket would not have been flush due to the contour.
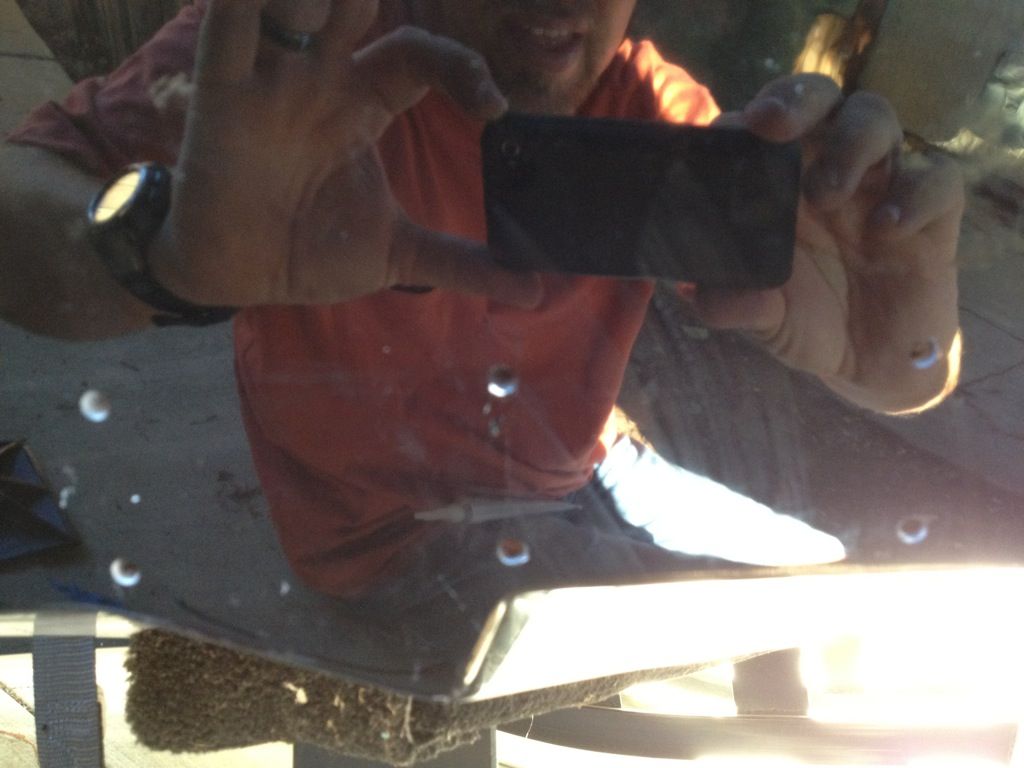
A picture of the holes drilled.
I then added some of the #M 5200 into each hole and installed the bracket.
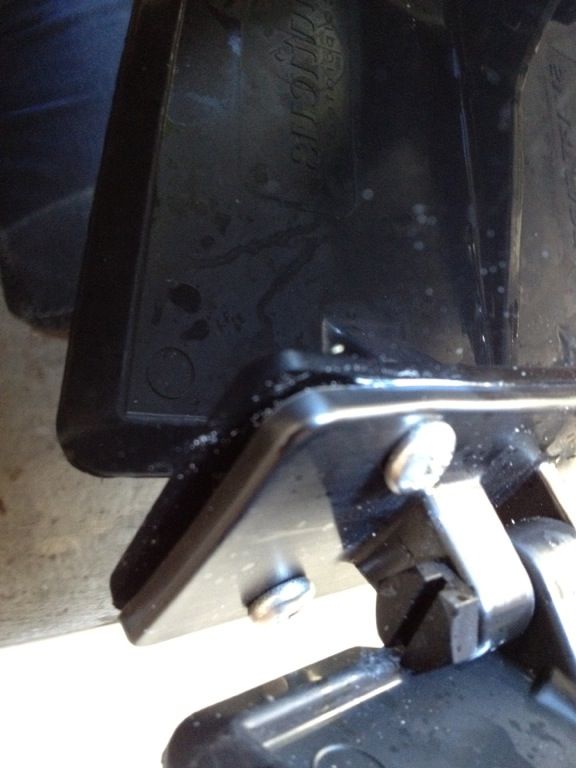
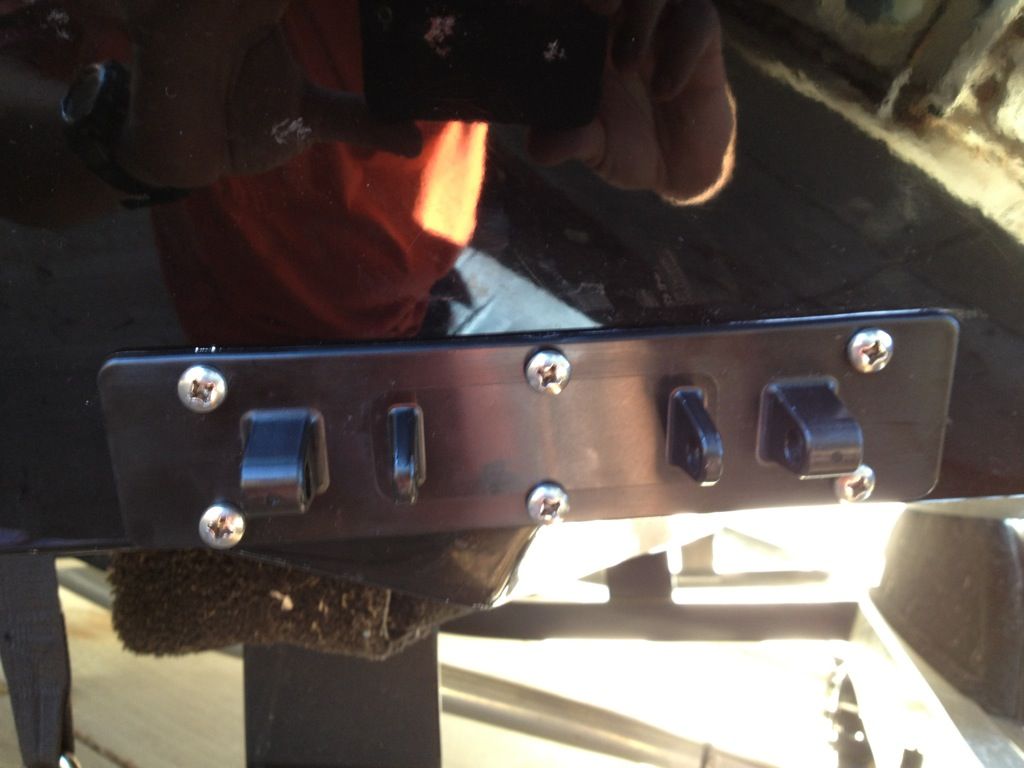
Here is the bracket installed:
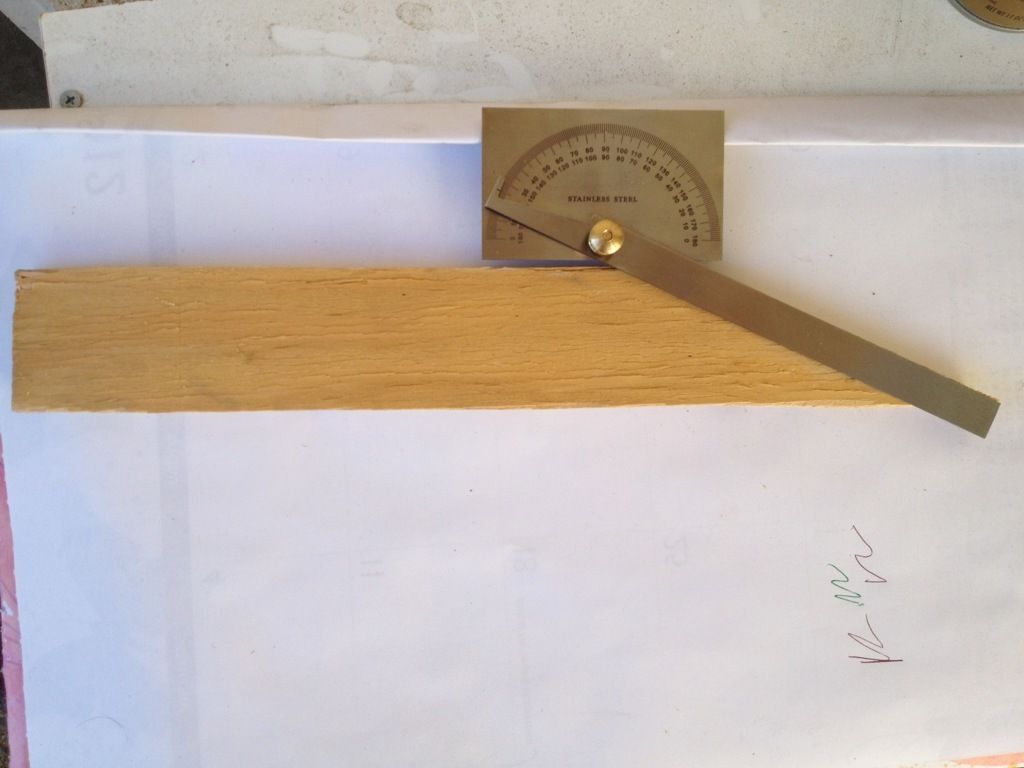
Now was the time to make the template for setting the 25 degree angle of the tab installed on the hinge. I purchased a Protractor from Home Depot and cut a piece of wood long enough to hold under the boat and have the angle for setting the tab at 25 degrees and marking my top holes.
Protractor and wood template:
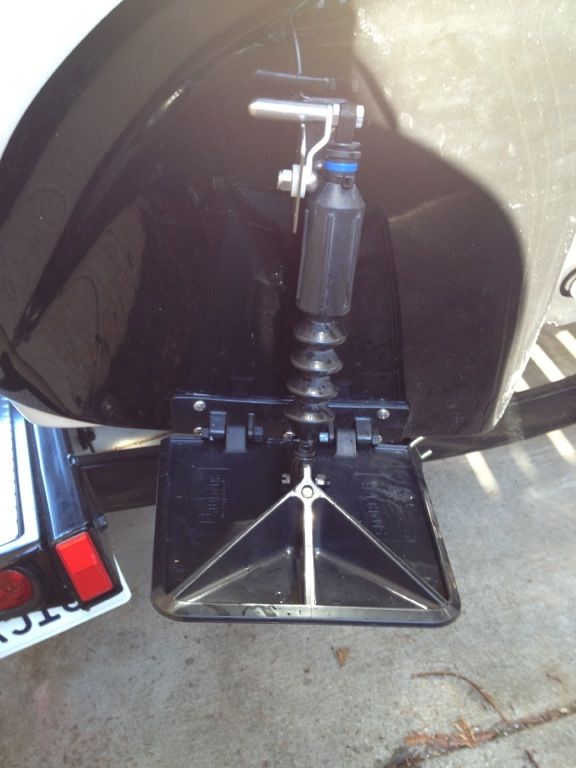
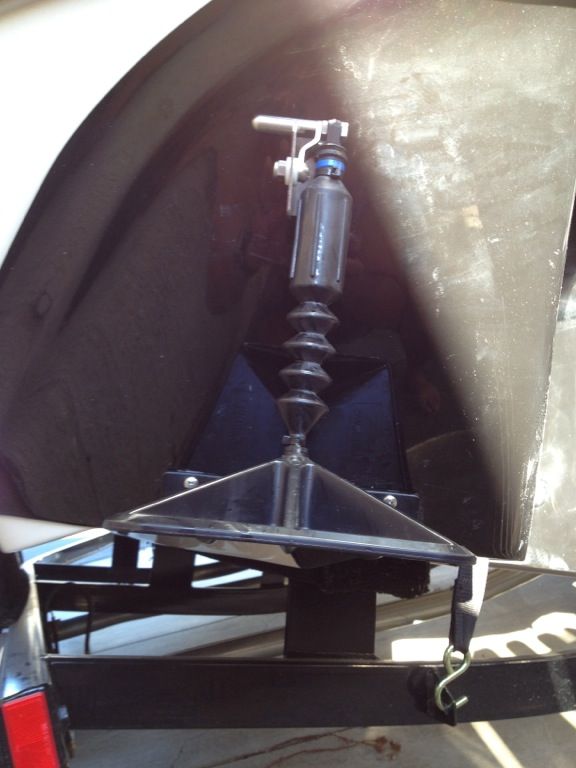
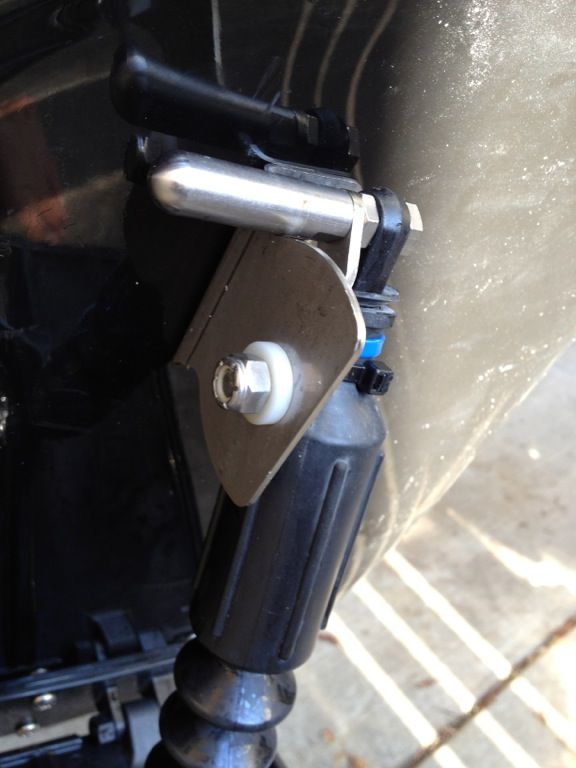
Here is where my beautiful wife helped me hold the bracket against the boat while I held the template flat against the bottom of the boat and let the tab rest on the angled part of the template. My wife then marked the holes, I installed the top brackets and we were in business! From there it was just putting everything together and seeing how it turned out.
So after doing the right side pretty great I was running out of daylight and tired (not to mention the mosquitoes and flies were driving me crazy) so I went a little quicker installing the left side. MISTAKE! I ended up not putting in a few of the screws exactly straight and this left some gap between the plate and the transom. So much for my perfect install! I am debating on whether to take out those screws today and just reseal it...or just seal it up with silicone and be able to go fishing tomorrow and just deal with it next week. Since it takes 24 hours for the sealant to cure that would keep me from fishing not to mention is there are other issues that may arise from reinstalling the screws. Decisions decisions!
Thanks to dhildebrand for going through the process before I did...it helped me install them correctly especially seting up the 25 degree angle of the tabs. I was striving for perfection as always...however there were a few things that tripped me up throughout the process that didn't allow it. :facepalm:
I am going to try and share with all of you things I found and a video (and a few pictures) of some of the install process that might help someone else installing them.
So the biggest hurdle that I faced was getting over the fact that I was about to start drilling holes in our new boat.
The plastic tab bolts were VERY tight in the holes which was pretty disappointing to me. I would have thought that they would slide in snug but not THAT snug to where I had to push them quite hard to get them through the guides (using the end of the screw driver to push them in from the center of the bolts). I did use some carpenter pencils and taped them under the boat to allow me to have a level area to rest the brackets on when measuring and marking the holes to be drilled. I measured approximately 3 inches from the inner edge of the chine due to the contour of the upper side of the transom where I was going to mount my PR500 brackets. Had I installed them like the instructions stated (3-5" from the outer chine) the top bracket would not have been flush due to the contour.
A picture of the holes drilled.

I then added some of the #M 5200 into each hole and installed the bracket.
Here is the bracket installed:

Now was the time to make the template for setting the 25 degree angle of the tab installed on the hinge. I purchased a Protractor from Home Depot and cut a piece of wood long enough to hold under the boat and have the angle for setting the tab at 25 degrees and marking my top holes.
Protractor and wood template:

Here is where my beautiful wife helped me hold the bracket against the boat while I held the template flat against the bottom of the boat and let the tab rest on the angled part of the template. My wife then marked the holes, I installed the top brackets and we were in business! From there it was just putting everything together and seeing how it turned out.
So after doing the right side pretty great I was running out of daylight and tired (not to mention the mosquitoes and flies were driving me crazy) so I went a little quicker installing the left side. MISTAKE! I ended up not putting in a few of the screws exactly straight and this left some gap between the plate and the transom. So much for my perfect install! I am debating on whether to take out those screws today and just reseal it...or just seal it up with silicone and be able to go fishing tomorrow and just deal with it next week. Since it takes 24 hours for the sealant to cure that would keep me from fishing not to mention is there are other issues that may arise from reinstalling the screws. Decisions decisions!


