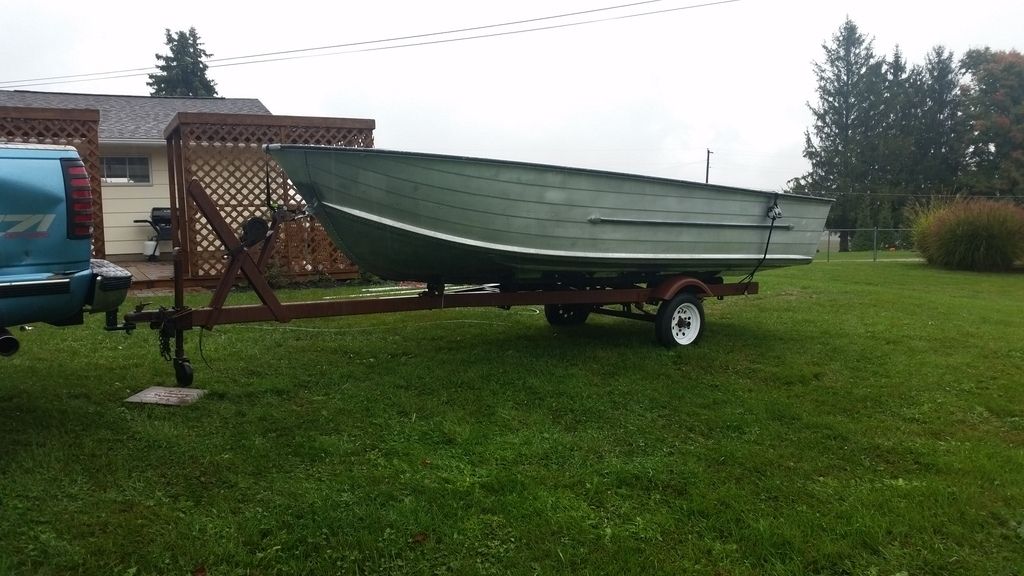
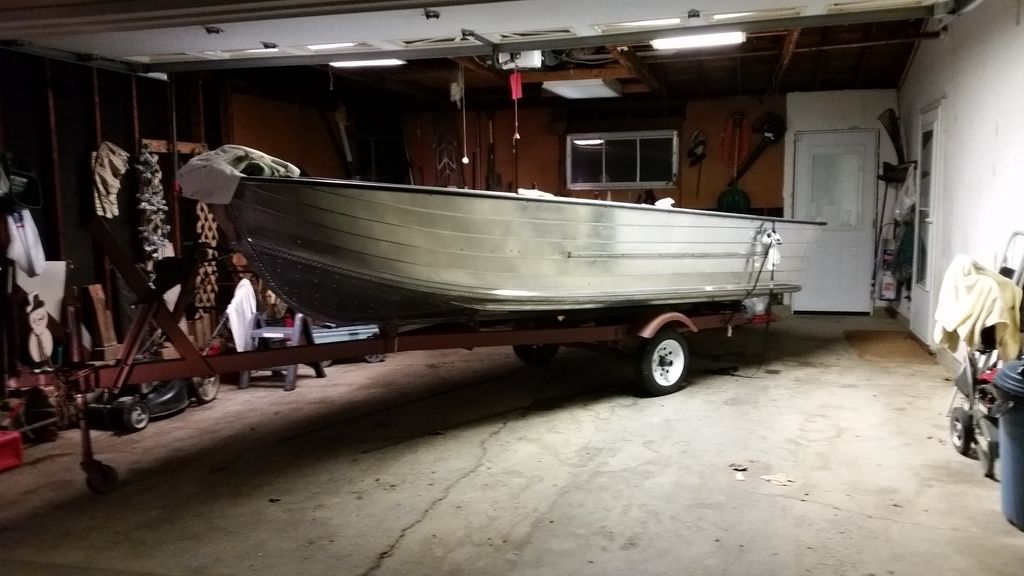
1973 SS 16' Resto & Fishing Conversion

Crusader002

Cadet
Joined
Dec 19, 2011
Messages
23
I'm impressed by your quick progress on a nasty job. How are your arms and shoulders doing? Your whole attitude about the restoration will profit from getting that out of the way early.

Ron

Let's just say I'll sleep good tonight. I figure do this hard work and breathe the fumes while I'm young so I can have a nice boat down the road.
 

Crusader002

Cadet
Joined
Dec 19, 2011
Messages
23
I went to using my pressure washer over a scraper and would finish up any left over paint using a 3M scrub pad with a handle. That's tough job that'll be nice to have behind you.

Yeah the pole scrubber would have been nice LOL. Hose helped quite a bit after I'd gotten most of the goop off since I was out of the garage for the bottom half. Pressure washer crossed my mind... but getting it out never quite came to pass.
 

Crusader002

Cadet
Joined
Dec 19, 2011
Messages
23
Howdy fellow mob members. The time has come to dive back into the old boat. Rivets. Varnish. Cutting plywood. Will have updates after the weekend. Stay tuned.
 

Crusader002

Cadet
Joined
Dec 19, 2011
Messages
23
One word. Progress.

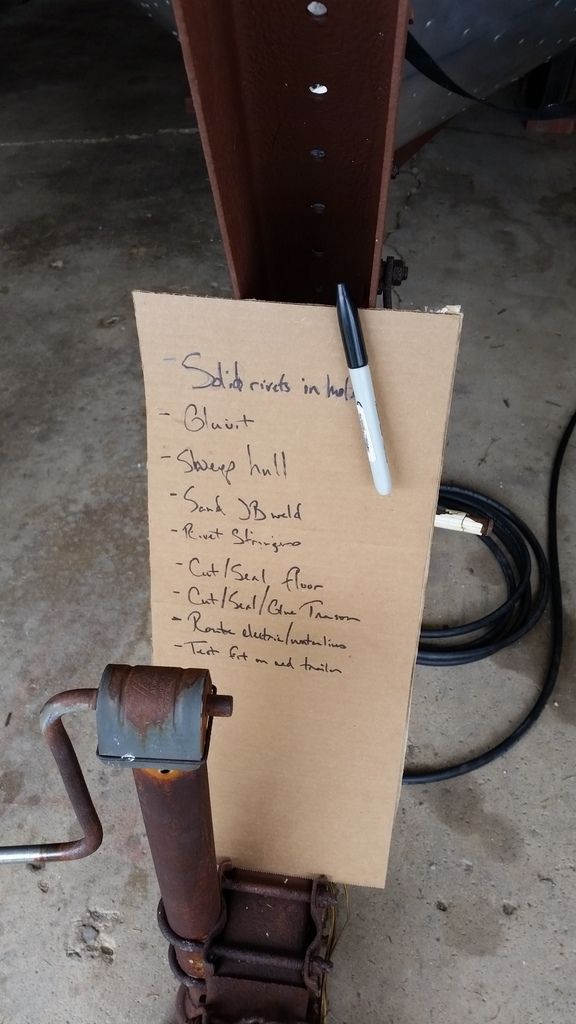
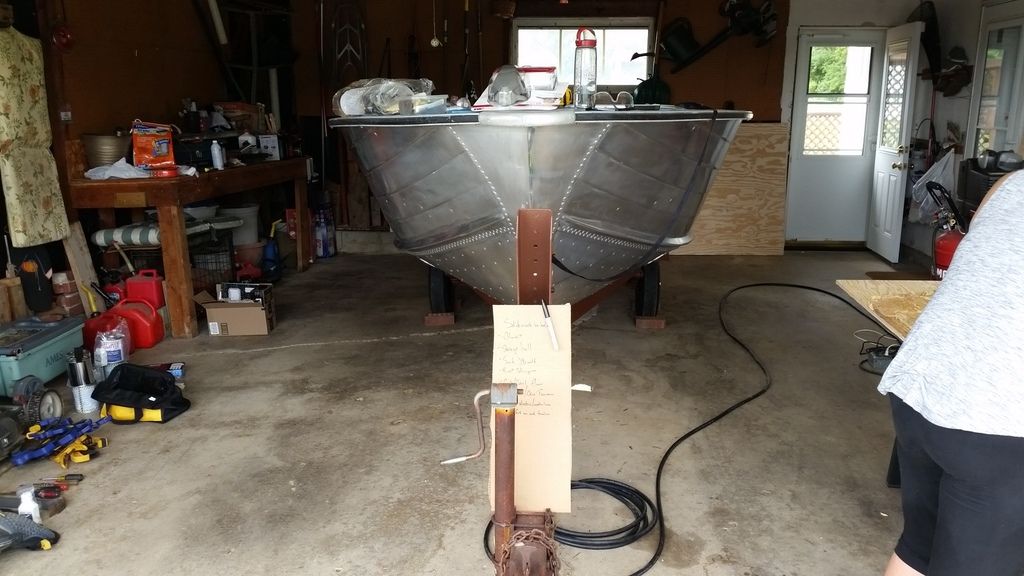
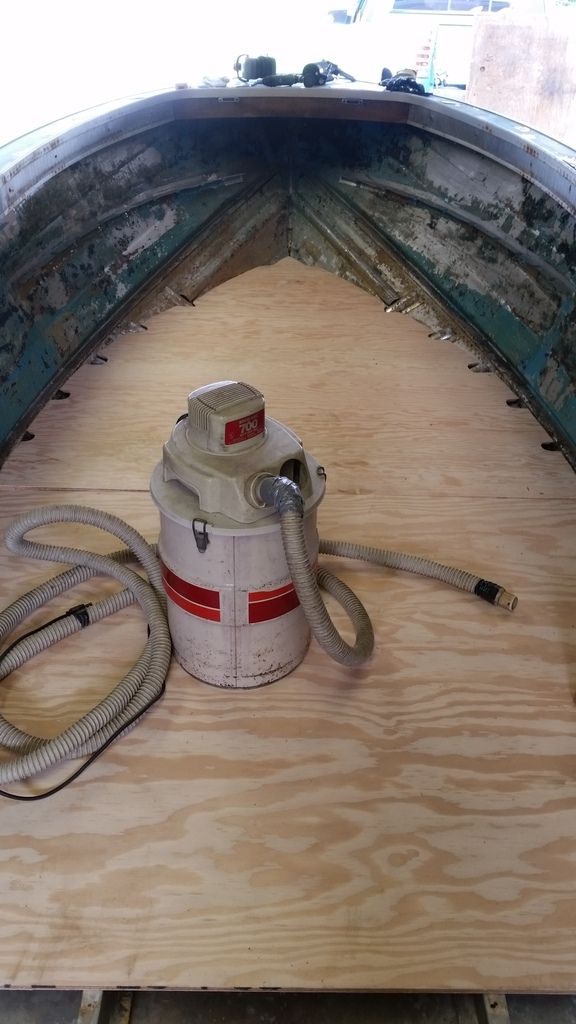
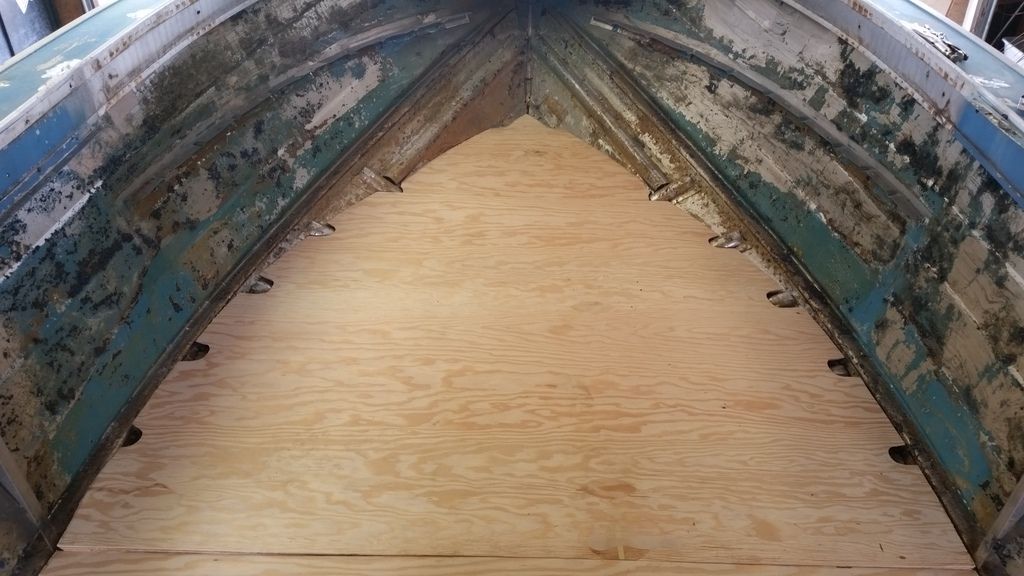
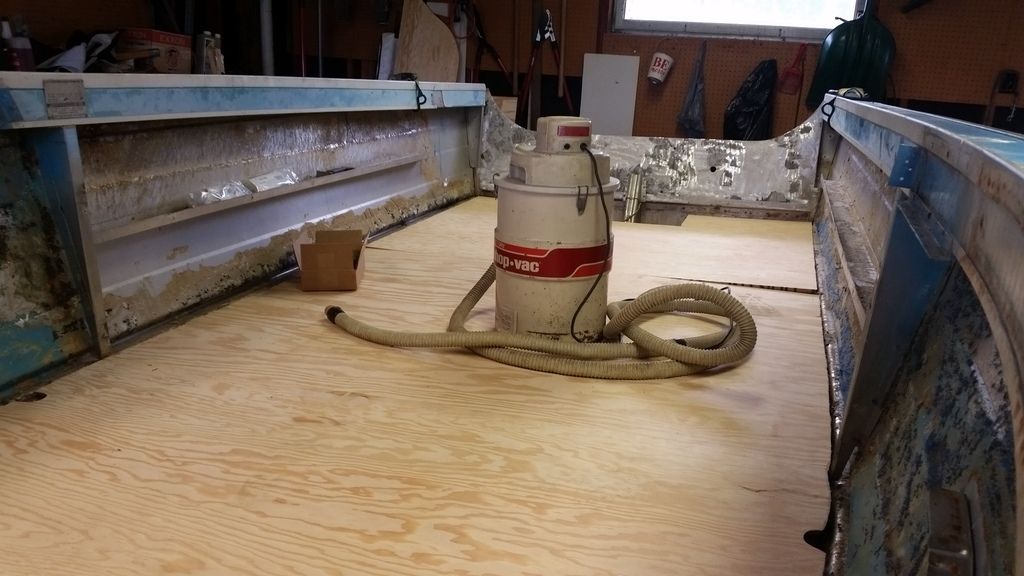
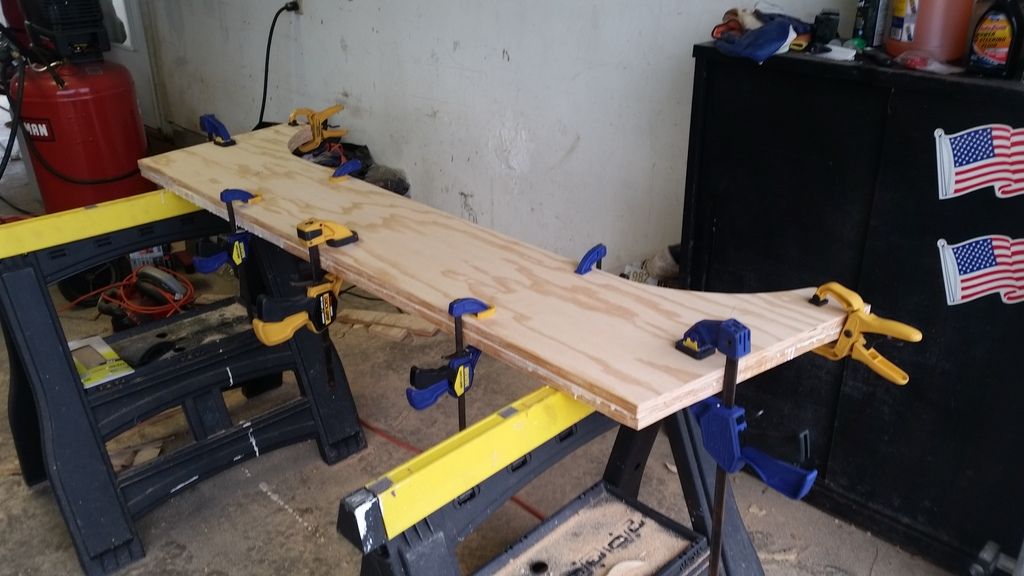
Flooring cut and test fit. 6 holes in the hull drilled, 5200'ed, and bucked with solid 3/16 brazier rivets. Hull vacuumed what feels like a dozen times preparing for gluvit today. Sanded the JB weld on the gunnels. Found several spots where there was still a small to medium divet where the JB sagged when it dried. Re-coated and will sand again today. May look to body filler if I still have issues. Not a show car... but I'd like to not know an army of holes once existed in my gunnel skin!

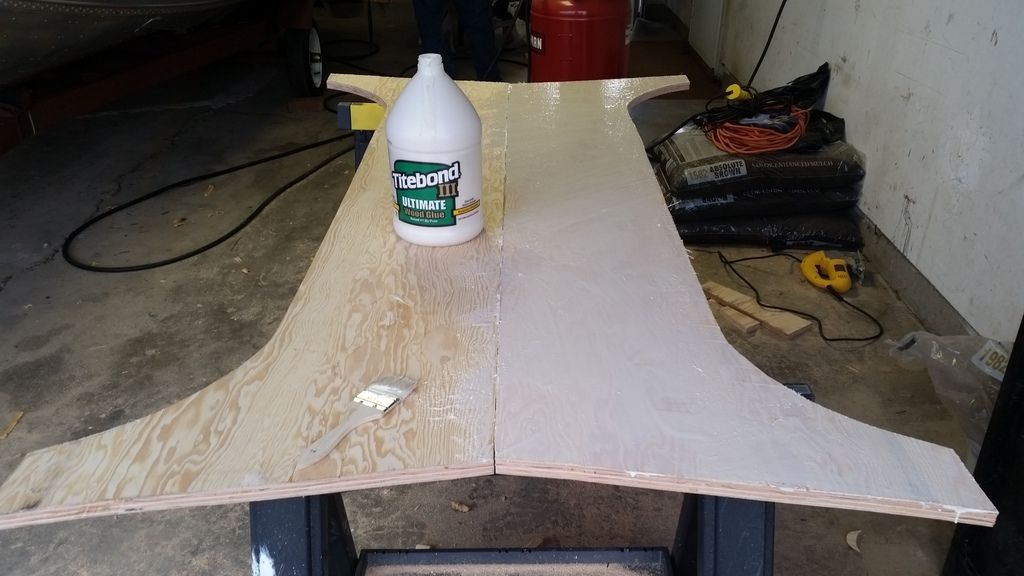
Transom cut, test fit, and glued. Will do the hard work today of getting it to slide in around the small aluminum flaps under those transom corner caps. Have not quite decided whether I'll cut and replace the transom in 3 pieces as the factory did or do some bending to make it work.

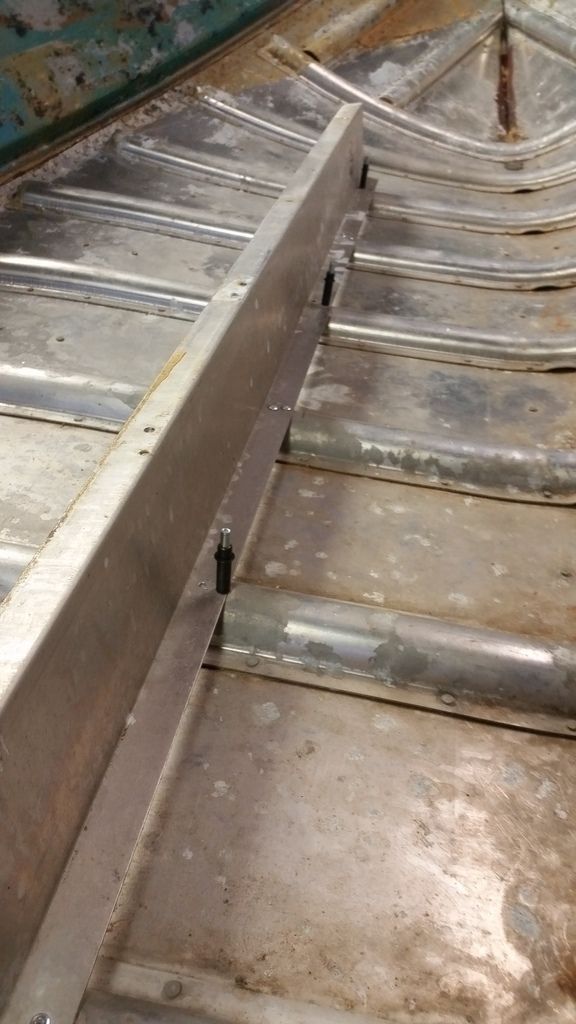
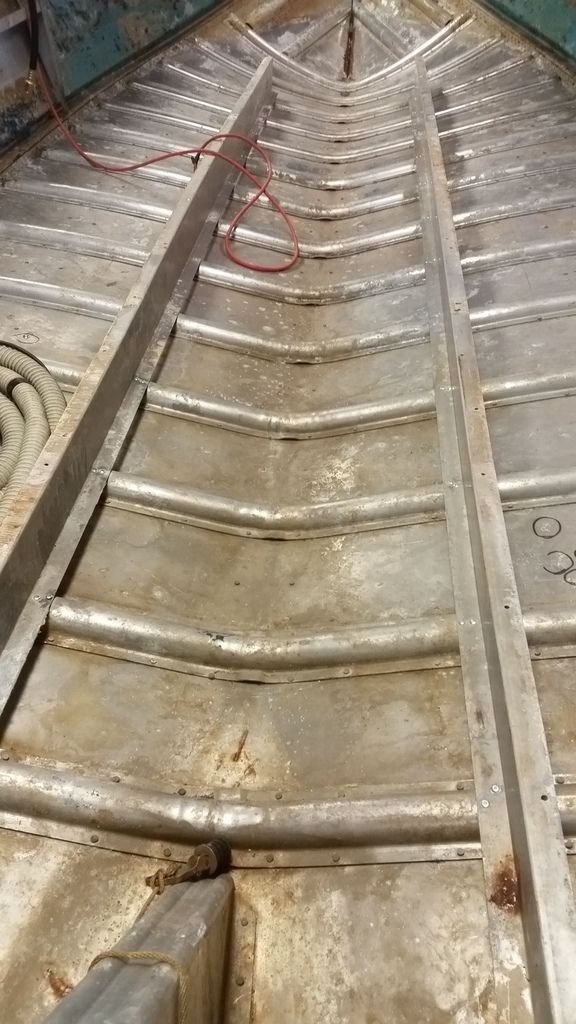
Stringers re-revieted down with the rivets Waterman recommended in his sticky. For those debating... the air rivet gun for pops is the way to go. Quick and pulled the stringers down really well. I did get some clecos to to help with assembly and they were great to hold the stringers in place (one had all of the rivets break or come loose) while I worked on aligning and re-riveting. They were even strong enough to place the floor boards and do some test fitting with me crawling around on top of it. A must have for riveted craft if you can swing getting a set.

Went with Epifanes for my varnish. Did the first coat tinning with plain old mineral spirits last night per their directions. Might not have tinned to 50%, but it thinned out quite a bit and didn't end up using the entire first coat (one side only). Figure I'll finish that can up today so this stuff might go farther than anticipated (bought 6 "quart" cans in preparation). A few pictures follow. Hope to have more after I wrap up what I can before midnight today.


Crusader002

Cadet
Joined
Dec 19, 2011
Messages
23
A question for those that have bucked solid rivets (got the alloy, not pure aluminum). I'm not seeing the rivets mushroom or flatten as much as the stock ones in the ribs. They are holding firm and won't pop back out. Anyone have thoughts here? I've heard a few taps to get it to expand is all it takes. Helps avoid cracking the aluminum skin. All of these solids are either in the transom or the bottom skin to fill holes and buttered with 5200. Thanks mob!
 

Watermann

Starmada Splash of the Year 2014
Joined
Jan 12, 2013
Messages
13,787
For the solid rivets, you should be able to get them buck tailed close to what the factory did if your bucking bar partner is holding firm pressure and just let the air hammer do the work on your end with just enough pressure so that the set doesn't come off the rivet head.
 
Top