18' Starcraft Starchief OB Rebuild

Gibbles

Commander
Joined
Nov 14, 2009
Messages
2,027
Re: 18' Starcraft Starchief OB Rebuild

Things pending a freeway move... off the top of my head...
Top windshield still needs the center piece tied down
top windshield supports
lower windshield tie downs, found some replacements at the local boat store (mounts through the lower part of the windshield and prevents it from coming out of the lower trim)
trailer bearing repack & new seals (I have noidea of the condition)

aaand the nautolex...

I noticed some yellowing patterns on the flooring, I thought it was dirt..
yesterday I got in there with a hose and some dish soap, and a sponge and started cleaning

While the flooring looks great overall, I'm starting to wonder if it was related to the glue I used (carpet glue).

the yellowing is one of those things I doubt anyone but me will notice, but I'll try and clean it again with something a bit stronger later on... I can't see the glue actually coming through the top...
 

GA_Boater

Honorary Moderator Emeritus
Joined
May 24, 2011
Messages
49,038
Re: 18' Starcraft Starchief OB Rebuild

Chicken! :lol: Dozer and you are in the same boat, except his looks like a Holiday. :smile: Both of you are looking for manageable winds.

If you don't get out today, you have a couple of weeks to pack the bearings, etc. You know if you don't pack 'em you'll be a nervous wreck on the trip to and from the lake.
 

Gibbles

Commander
Joined
Nov 14, 2009
Messages
2,027
Well since the last posts got deleted in what I can only assume was a full restore from a backup... :p

RE: Getting close pictures!
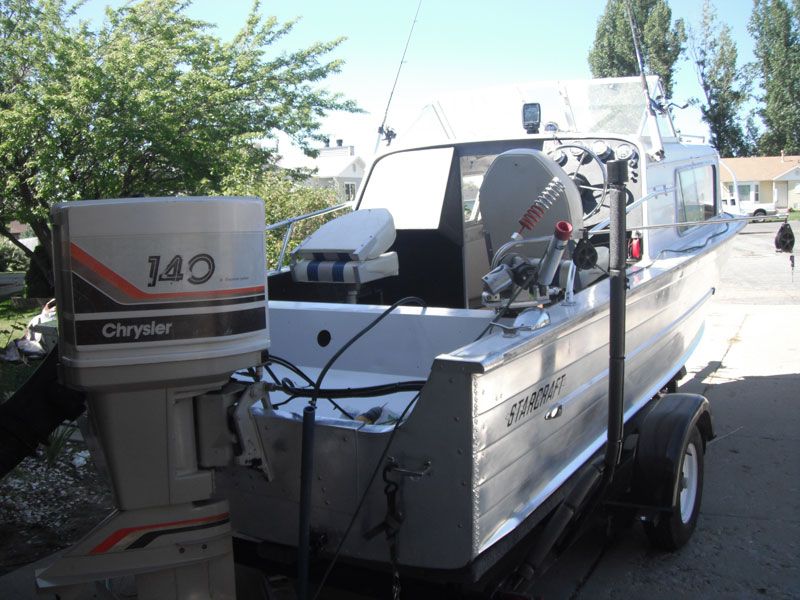
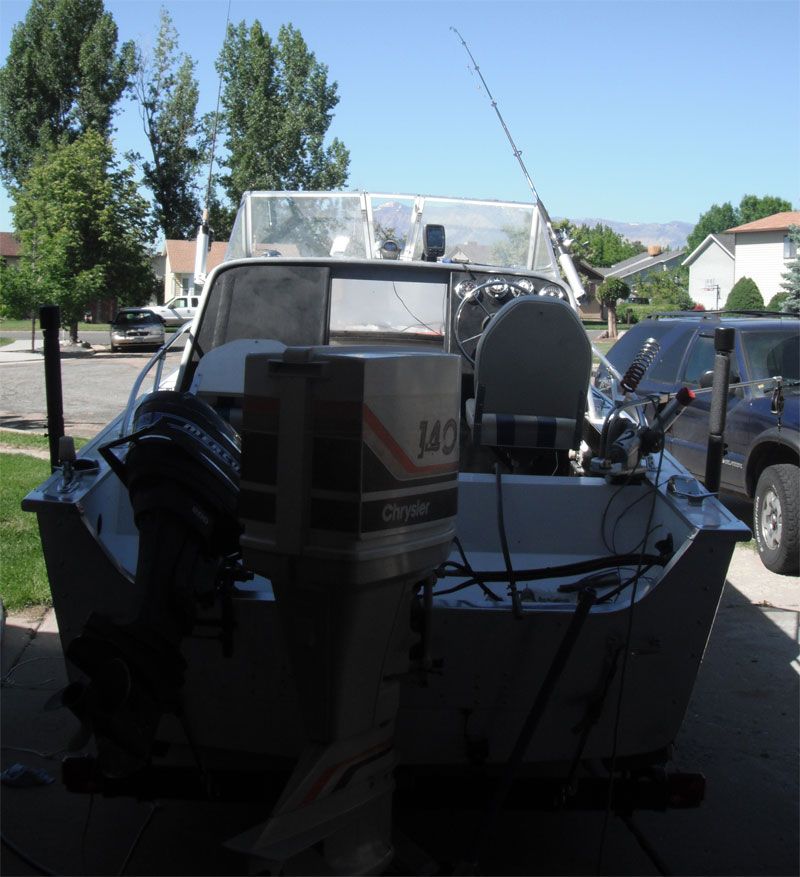
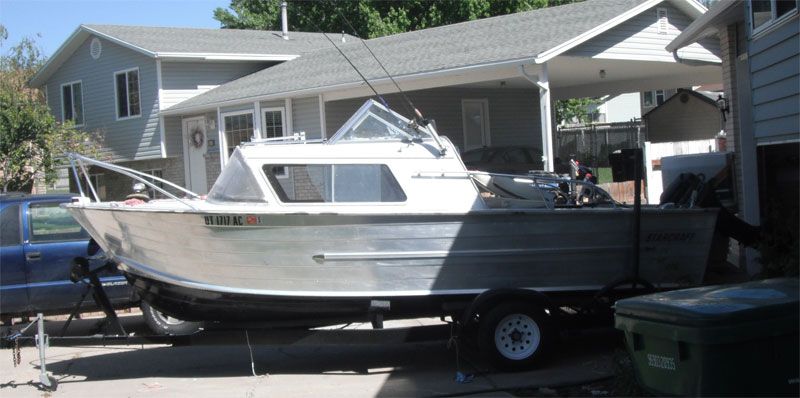
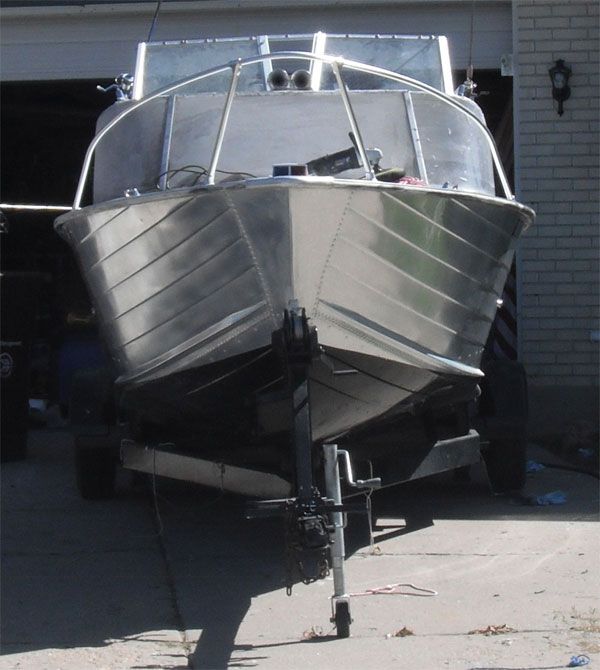
Side image, and a strong running 20hp (merc 200) kicker that my Jetstar came with..
Closetobedone_Rearright_zps1464975e.jpg

Closetobedone_Rear1_zpsbfb9afc1.jpg
 

Gibbles

Commander
Joined
Nov 14, 2009
Messages
2,027
I notice a little bug, when I post I get a "Working", however if I click another page and back again, there my post sits...

Today I'm doing bearings on the trailer.

I got one side off, and it looked pretty good
The grease was a little old, but clean and in good condition.

Back seal looked good, so I just cleaned It up and repacked the hub with grease.

Since the rear bearing was held in by the seal, I don't want to mess with it, I got as much new grease into the rear bearing as I could, and re-packed the outer bearing and stuck it back together...


One question tho... how tight do I want the bearing nut?
I snugged it down while turning the wheel, and then backed it off just enough to get the cotter pin in

spinning the wheel I don't get the spinning spinning spinning I did get, now it's more of two rounds and a slowish come to a stop.

I think if I back the nut off one more notch I'll have a little play in the wheel...
 

Watermann

Starmada Splash of the Year 2014
Joined
Jan 12, 2013
Messages
13,798
Wow the Chief looks great out in the sun! I also find myself staring at that dorm fridge... :happy:

I tried posting earlier about the bearings too. I normally tighten the castle nut until it makes contact and then tighten it up to the next slot and drop the cotter pin in.
 

Weep'n Willy

Master Chief Petty Officer
Joined
Jun 12, 2012
Messages
831
Your boat looks like it is begging to get out on the water. We are anxiously awaiting the pics of the splash.
 

GA_Boater

Honorary Moderator Emeritus
Joined
May 24, 2011
Messages
49,038
Thanks for re-posting pics, Gibber. She's too nice not to show her off.

When I do wheel bearings, I spin the wheel as I tighten the nut until I feel drag. Then back off a wee bit until the drag lessens and cotter pin slides in. That's how my Dad taught me years ago and It still works.

On the posting woes - That's one of the things iboats is working on. If you wait until the "working" box goes away, you end up with either a clean post, the page refreshes with your new message or a data base error box and you have to manually refresh to see your new post. Some say if you preview and post from the preview box the error rate is less. My experience has been 50/50.
 
Last edited:

Gibbles

Commander
Joined
Nov 14, 2009
Messages
2,027
Thanks for the details on the wheel bearings, sounds like I got it pretty close... :)

I also saw a thing on youtube where a guy got the bright idea to trim the flat washer on a belt sander to get the thickness perfect...

What I ended up doing was to get the tension where it felt close, then tighten till I could get the cotter pin in, then back the nut off as far as the castle nut allowed me with the pin in place.

FIL wants to take the boat out next Sunday, so that is our planned splash date... unless something else comes up, or I realize I forgot something important... lol

Today I have a date with the welder that fixed up the bottom of the boat, fixing a trailer gate for my Dad...
while I have his attention I have that 28 gallon aluminum tank, get an idea about cost of adding a bit of a "V" to the bottom of the tank in order to fit it up in the front of the boat.
If not used for fuel, maybe some sort of a ballast tank...

I found yesterday while moving the trailer around while on the truck, the front feels a bit to light.

I think that 20hp kicker is nothing more than a dream, it sure would be nice to find something to use that smooth running 20hp engine on...
+I have a ton of spare parts for it... ;)
 

GA_Boater

Honorary Moderator Emeritus
Joined
May 24, 2011
Messages
49,038
When you start towing her, stop and feel the hubs after a few miles. If the temps don't feel the same, do a roadside re-snug on the warmer wheel.

You might want to move the winch post forward a little if it feels light. Unless you meant the truck front end felt light, them move it back a bit.
 

Gibbles

Commander
Joined
Nov 14, 2009
Messages
2,027
Yeah the trailer was trying to pull up on the hitch, causing some slap.

Somewhere in the trailers past the winch end was welded down, so some die grinder work may be in the future.

Mostly I started noticing how light the front of the boat was the moment I dropped that 20hp on there, after that I had to put a jack stand under the back of the trailer while working inside :lol:

I tossed a 50lb bag of sand in the boat last night (after wrapping it up in 3 garbage sacks.

That 20hp felt like a good 100lbs (+/-) I figure another 100lbs in the nose should be good.

then I can see how it floats while at the lake on Sunday, moving the sand bags around to see what I really need, or if they are even needed at all.

If it's good to go, I'll look at modding the trailer.

There is not a huge amount of room at the front of the trailer to go to much further forward, but I could always move the axle back a bit, assuming that's not welded on as well... :)
 

GA_Boater

Honorary Moderator Emeritus
Joined
May 24, 2011
Messages
49,038
Sometimes I think the worst tool is a welder in the hands of a dufus. :eek:
 

Gibbles

Commander
Joined
Nov 14, 2009
Messages
2,027
Yeah... there are some interesting welds all over that trailer...

The rear guide posts on the trailer are welded a bit messy, not horrible but they look like they have to much penetration in the sides, and someone in the past got the bright idea to wrap the posts really well, lots of heavy duty vinyl tape... and hose clamps :lol:

I'm sure that idea was to protect the boat ect, however... sealing it up like that trapped water, causing tons of damage.

It took me a while to get all of the rust off, and uncovered some really bad pitting on the bottoms.

before I painted I used a combo of JB weld and body filler to smooth the posts out, then completed with the epoxy paint.

and on the posts...

I went down to a marine parts dealer hoping to pick up some fancy post protectors, but after looking at the covers I noticed they were nothing more than the pipe insulator foam you can buy at any hardware store, covered with a simple canvas type material.
So at $60 each for those stupid things, I decided I can make my own.

I have a 50% off at Joan's fabrics coupon and enough pipe insulator foam to cover the posts up (about $10 cost there).

My plan is to find some material like what they had on the retail covers, and sew some Velcro to make some good covers to protect the foam from tearing.
 

GA_Boater

Honorary Moderator Emeritus
Joined
May 24, 2011
Messages
49,038
"Marine" pricing is crazy. Your way sounds much better and still does the job. Your splash is coming up soon. :D
 

Gibbles

Commander
Joined
Nov 14, 2009
Messages
2,027
Well I went down to Joan's, they had some material that would work... but not quite what I wanted, so I decided I would roll with some marine vinyl since I have plenty.

I also noticed that tossing a single 50lb bag of sand in the front stabilized the entire trailer, I can now get in there and lean off the splashwell without the front of the trailer coming up :lol:

I ordered 4x boat fenders, some splash well boots, and most importantly; control cables for the kicker...

I ordered from the place I usually order stuff when I want it the same week... but they shipped out of FL... so middle of next week :facepalm:

iboats needs a warehouse closer to where their operations is (UTAH!!), they would so be my best friend.

...I would order everything from them...

Heck I would settle for a good 3 states away... anything to get me into that 3-4 day window :rolleyes:
 

dozerII

Admiral
Joined
Oct 25, 2009
Messages
6,527
Looking forward to the splash Chris, as far as shipping goes I would be happy with 5 days. Most everything up to me is 10-20 days.
 

Gibbles

Commander
Joined
Nov 14, 2009
Messages
2,027
10-20 days, ouch!

I'm not sure what I would do with my self having to wait that long :lol:
 

Gibbles

Commander
Joined
Nov 14, 2009
Messages
2,027
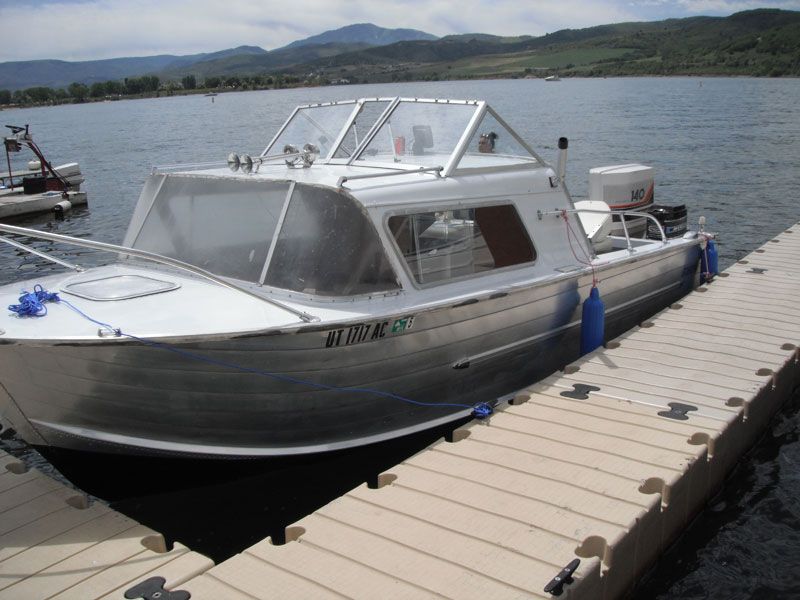
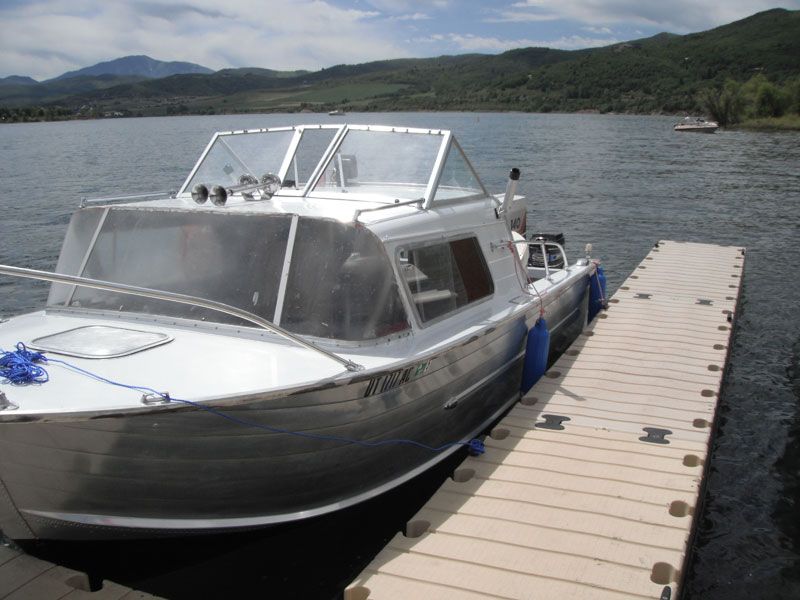
And today, I splashed her!

I ended up driving further than expected... and the left bearing is to tight on the trailer.

It got warmer than the right side right before I had to take the freeway detour to the lake, I noticed when I got home the left side was quite warm... so I'll make adjustments and hope I did not mess anything up :)

Pictures!
DSCF2647_zps6f17cb25.jpg
 

Gibbles

Commander
Joined
Nov 14, 2009
Messages
2,027
it floated fine, the Chrysler ran real nice!

Tons of power, but it looks like I mounted the engine to high.... cavitation :(

When I mounted the engine I had planned on having room to raise more if needed, then when I adjusted the engine I noticed my mistake...

So I have to figure out how to fill the current holes up, since the engine mount will need to go over the top... :facepalm:

Slightly different angle, I had wanted to get more pictures, but the lake was busy... very busy...

DSCF2646_zpsbb678a7d.jpg
 

GA_Boater

Honorary Moderator Emeritus
Joined
May 24, 2011
Messages
49,038
STARCRAFT ON THE WATER


:D Lookin' good, Gibster. Now fine tuning time, like the motor up and down. Glad to hear the Dorm Fridge ran good and kept the beverages chilled. :thumb:
 
Top