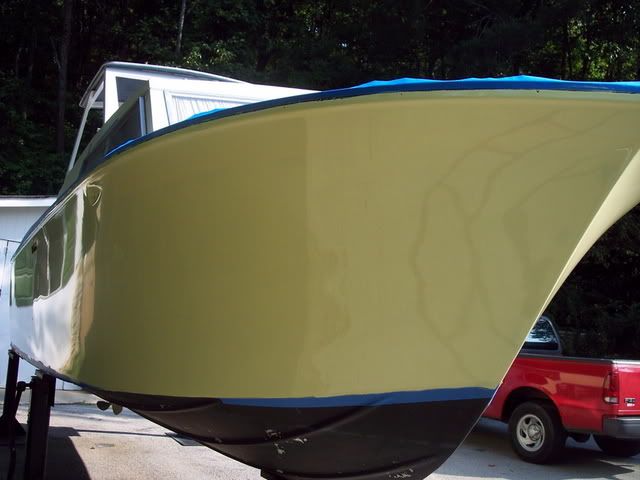
Re: Finally ready to sand and paint. Primer????
Before you do any sanding be sure to dewax the surface. When the boat was built the manufacturer used a wax release agent to get the boat out of the mold. Traces of this wax can still be on the surface even after many years and washings. Most of the marine paint makers recommend this step even if the surface is chalky. Mold release will cause adhesion problems with the primer and paint. Interlux makes a solvent called 202 that is designed for wiping down to de-wax. Use two clean rags, one wet with solvent, the other dry to wipe down. It is recommended to turn the rag to a clean spot and change rags often. Interlux also makes a low VOC fiberglass solvent wash to do it. Make sure you dewax before and after initial sanding.
Skipping this step and sanding the hull will not remove the wax. In fact it will drive it further into the surface making it very difficult to remove. I little insurance.
Primers for marine paints are not primarily to aid paint adhesion. They are mainly used as a surfacer and sealer. The primer will fill tiny defects and will give a very smooth paint ready surface. I always use primers with one part Polyurethane no matter what. Marine poly paints are very shiney and defects stand out like a traffic light. That's why prep is so important. Interlux Pre-Kote primer is used for one part topside paints and Interlux Primekote is used for two part topside paints.
The steps are generally as follows
1) clean- mild soap, no wax additives, let dry
2) dewax- two rags, be thorough, change rags often
3) initial sanding- 220 grit, remove chalking, light sanding, no burn through
4) dewax again- two rags, remove sanding residue
5) repair work- fill scrapes, repair damage, grind crazing, fill ect, (if epoxy fillers are used, be aware of amine blush, amine blush is a waxy contaminate that is a byproduct of epoxy curing, it can be removed with water and a scotchbright pad, solvents will not remove it)
6) Fair in repairs by sanding- use sanding blocks 220 grit, sand repairs flush and feather them into surface
7) solvent wipedown- two rags, use solvent compatible with fillers used
8) Priming- highly recommended, two coats minimum, use compatible primer (stick with same name brands)
9) sand primer- one part primer 320+ grit (wet or dry) two part primer 220 grit dry, sand smooth as a baby's hiney.
10) solvent wipedown- Two rags, use thinner compatible with primer, (DO NOT use dewaxing solvent or prime coat will be damaged)
11) double check prep- thoroughly inspect work so far, go back if more prep is needed.
12) worry, obsess, drive others crazy with anticipation, go over every nook and cranny.
13) Paint- apply in optimum weather conditions, NO WIND, cooler temps, wet ground to prevent dust rising, use solvent resistant short nap foam roller, and quality china bristle or badger hair brush for tipping off, two coats minimum for one part paints, (sand 400 grit to haze between coats) 2-3 coats minimum for two part paints (sand 300-400 grit between coats)
14) smile in pride, your done
There is my process. generally


 gel-coat.......