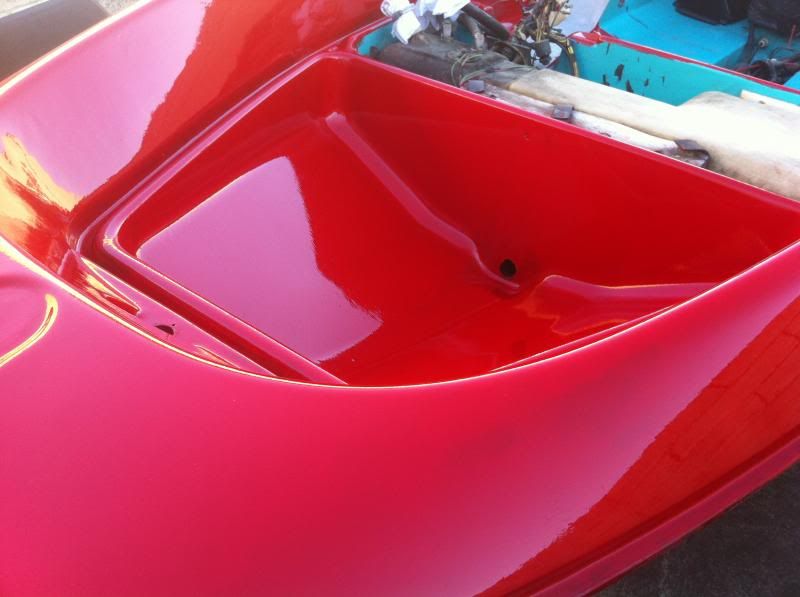
1993 Bayliner Jazz Restoration & How To...

Status
Not open for further replies.

Keehnel1414

Cadet
Joined
May 17, 2013
Messages
15
Hello,

I purchased a 1993 Bayliner Jazz here in Sacramento CA. I am working down here and I thought I would purchase a fixer upper to pass the time. I have done a lot of searching for Bayliner Jazz help threads but I haven't come across a whole lot of information. So I starting this thread in hopes of helping other and getting some feedback from people that have had experience with these boats or just general boat repair.

So when I purchased the boat the current owner said that he had used it for the past 4 years and on his last year it was not able to plane out anymore. I went and took a look at the boat and he said that it ran. So I had him start it and it ran for about 4 minutes and then just died. He had a lot of cool stories with the boat out on Folsom Lake if your familiar with the area. However when I got it back to my warehouse and tried to fire it up I couldn't get it going. There appears to be a severe issue with the motor that I am address on this post -->

http://forums.iboats.com/mercury-mariner-outboards/mercury-sport-jet-90-starting-problems-606083.html


He also painted the boat yellow and did a pretty crap *** job but I didn't care as I wanted to paint it anyways. I am going to use Interlux brightside paint. So if anybody has any tips or tricks please feel free to chime in.

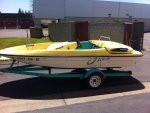
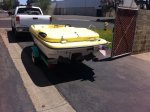
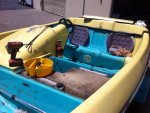
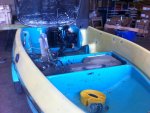
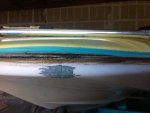
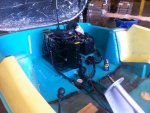
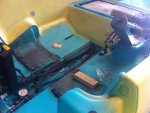
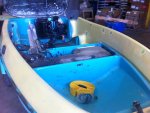
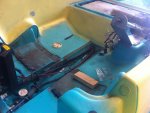
So here are the photo's and the start of my restoration project.

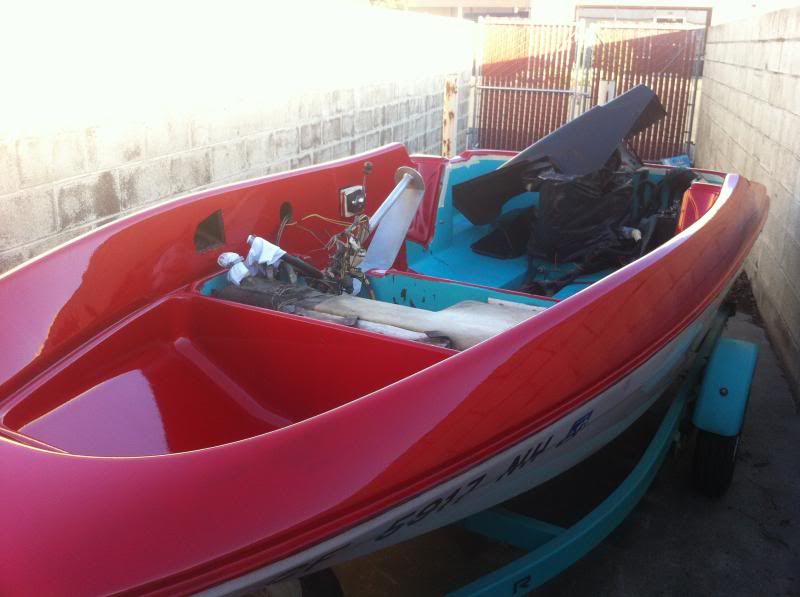
These are picture from the day I bought it
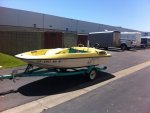
IMG_0001.jpgIMG_0002.jpgIMG_0003.jpg
 

Keehnel1414

Cadet
Joined
May 17, 2013
Messages
15
Re: 1993 Bayliner Jazz Restoration & How To...

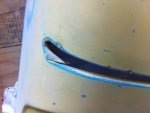
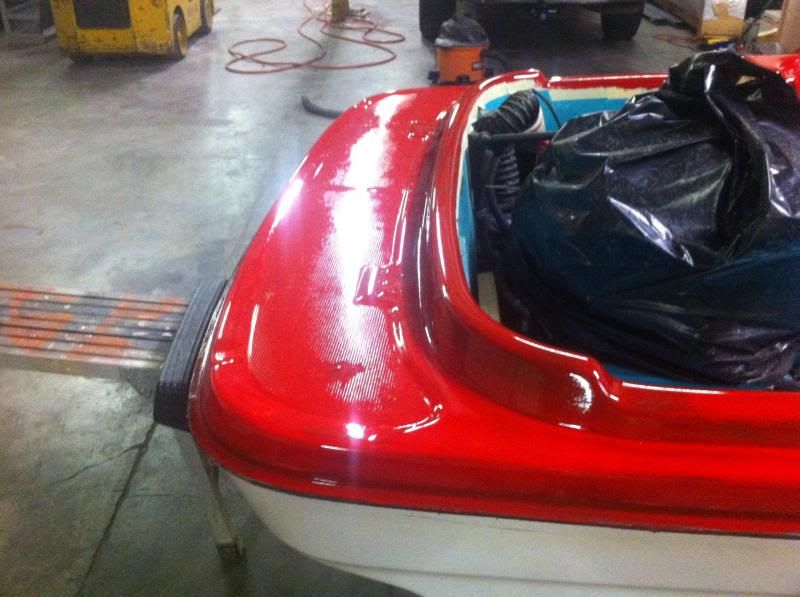
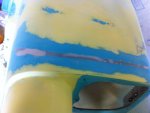
So last weekend and today I have been prepping for paint. I decided to remove all of the handles and little black tabs that used to hold velcro straps (I think they were used to hold some type of padding down). Here are some photo's of my work. I have painted 2 cars now and this will be my first boat. I have to say this is going to be one of the easiest paint jobs I have done.

So one question I had to ask is do I need to use Interlux's special pre-kote primer paint or can I use any primer?. I think I am going to go with some basic primer as that should work just fine. This is not going to be a show boat or anything, just my hobby.

To fill the holes I have been using this product call quiksteel. It is a putty that comes in a tube. It has 2 parts so when you cut a piece off of the tube, you then kneed, and mix it with your hands and you can fill your holes. Its actually a pretty awesome product. The only downside is that you only have about 3-5 minutes of work time with the putty.

Here are photo's from last weekend and today. I am going to try and finish all of the prep for paint by tomorrow. If I do, I will get the paint ordered on line.
IMG_0013.jpgIMG_0016.jpgIMG_0015.jpgIMG_0018.jpgIMG_0019.jpg

Colors I am going with...

Fire Red with Black accents.

There is one picture above that shows the separation of the top and bottom hulls. That is the only area of separation and I have been working today on filling and clamping the two together with gorrilla glue. Also an interesting product.

Sorry I can only post 5 photo's at a time so I will keep posting to this thread. More photo's to come tomorrow 6/2/13.
 

Woodonglass

Supreme Mariner
Joined
Dec 29, 2009
Messages
25,928
Re: 1993 Bayliner Jazz Restoration & How To...

Uhhmmm, I believe this hull is foam filled, and if the foam is waterlogged this can add several hundred pounds of weight to the boat. This could be an issue contributing the boat not being able to get up on plane. I'd highly recommend you investigate this possibility before painting and then having to tear the deck out to remove the waterlogged foam.
 

Keehnel1414

Cadet
Joined
May 17, 2013
Messages
15
Re: 1993 Bayliner Jazz Restoration & How To...

Uhhmmm, I believe this hull is foam filled, and if the foam is waterlogged this can add several hundred pounds of weight to the boat. This could be an issue contributing the boat not being able to get up on plane. I'd highly recommend you investigate this possibility before painting and then having to tear the deck out to remove the waterlogged foam.

Well I hope your wrong on that but it could be a possibility however, I more leaning to the motor being wrecked in someway or another. I don't know how I would investigate whether or not the boat is waterlogged however it is very light. I can almost pick up the back of the boat by myself. Either way I am still going to paint it and try and fix the motor. If not I will pass it along to someone else who has the time to tinker with it and they will at least have a nice looking boat.

So last weekend I made some progress on prepping for paint. I patched the whole in the steering wheel cover where the previous owner had hacked a hole in the top to place a windshield.

Here is Before & After

IMG_2652.jpgIMG_2655.jpg

I used drywall fiberglass seam tape and placed that on the back side of the piece I was working on to give the Fiberglass Bondo something to sit on. I then mixed up a batch of the Fiberglass bondo and applied it to the area. I didn't have a file so I had to sand it down. It was a pain in the ***. From there I added a lightweight bondo to the area to fill in the imperfection of the fiberglass bondo. I realized that there are other area's on this panel that could also use a little repair. I guess if I am going to do it, might as well do it right. I still need to apply one more layer of lightweight filler to this section as well.

Here are some more progress shots.

IMG_2645.jpgIMG_2647.jpg

I will post more photo's after this weekend. I am hoping to get the boat all primered and wet sanded. If I work really hard I might be able to get get a few of the pieces painted.
 

Keehnel1414

Cadet
Joined
May 17, 2013
Messages
15
Hinges

Hinges

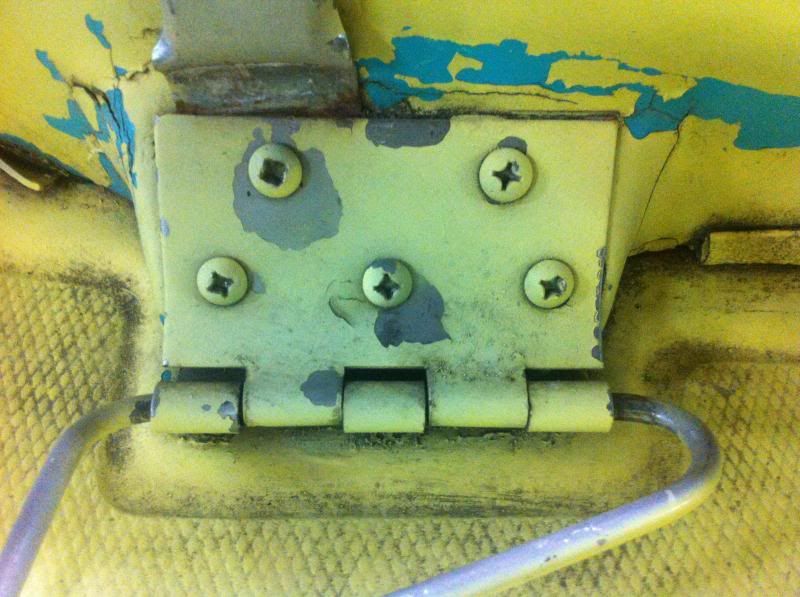
I wanted to ask somebody who has one of these boats if these are the correct hinges for the engine cover/hood. I think these got bent at some point as the cover did not sit perfectly flush. I think I am going to go try and find some other hinges this weekend. Something that looks cleaner. I just don't like the metal handles for hinge pins. I think it looks ugly.

I am tired of using the photo uploader on this site so I am going to try a photo host. Its nice for small files but most of my pictures are larger.


dockrash

Cadet
Joined
Feb 13, 2012
Messages
9
Re: 1993 Bayliner Jazz Restoration & How To...

We had one of those Jazz boats.. Those are the factory hinges and they are bent from the engine cover flipping up and over at speed or that's how ours were bent.
 

Keehnel1414

Cadet
Joined
May 17, 2013
Messages
15
Re: 1993 Bayliner Jazz Restoration & How To...

We had one of those Jazz boats.. Those are the factory hinges and they are bent from the engine cover flipping up and over at speed or that's how ours were bent.

I had a feeling. The previous owner had a make shift latch and was very adamant about making sure that it was strapped down well when traveling. I need to find replacements but that bolt pattern is very hard to find. I am either going to replace them with something different or try and bend the originals back to factory. I don't like the look of them so I will probably try and find replacements. Thanks for the reply.
 

Woodonglass

Supreme Mariner
Joined
Dec 29, 2009
Messages
25,928
Re: 1993 Bayliner Jazz Restoration & How To...

A free Photobucket account is the best way to post your pics.
 

Bondo

Moderator
Staff member
Joined
Apr 17, 2002
Messages
70,984
Re: 1993 Bayliner Jazz Restoration & How To...

I had a feeling. The previous owner had a make shift latch and was very adamant about making sure that it was strapped down well when traveling. I need to find replacements but that bolt pattern is very hard to find. I am either going to replace them with something different or try and bend the originals back to factory. I don't like the look of them so I will probably try and find replacements. Thanks for the reply.

Ayuh,... Welcome Aboard,... Ya really oughta figure out the driveline issues before dumpin' tons of money into paint, 'n other details,...

A Dead driveline, Equals a Dead boat,...

'n yer hull has a Unique driveline,...
 

Keehnel1414

Cadet
Joined
May 17, 2013
Messages
15
Re: 1993 Bayliner Jazz Restoration & How To...

Ayuh,... Welcome Aboard,... Ya really oughta figure out the driveline issues before dumpin' tons of money into paint, 'n other details,...

A Dead driveline, Equals a Dead boat,...

'n yer hull has a Unique driveline,...

Hey cheers, mod.... I hear what your saying however, I am currently working down here in Sacramento, CA. I am from WA, and there isn't a whole lot to do.., at least I haven't found much. I like to tinker and I bought the boat for cheap. I would definitely like to get it out on the water. My goal is to have it up and running by the 4th of July, (When my girlfriend is coming down)... I have ordered the parts to which I think will get it running. After that I know I am going to have to deal with the ride plate, but it is one thing at a time. I put in my order for the engine parts last week and they still haven't shipped. I called and they said they are waiting for Mercury to ship them to the place I bought them before they can ship them to me. So.. I needed to do something with the boat. At first I thought I would just do a little (crappy paint job) but then I got into it and now it has to be perfect. Just how I am.

So my other two purchases for today are the following...

First I spent probably 2 hours trying to find these things...
door Holdbacks.JPG

I had no idea what this thing was called. I tried every "Rubber" combination you could think of and finally I was led to the right place. I purchased 2 of these for the engine hood. Both of the existing "Door Holdbacks" were ruined so I need to replace them. I purchased the 40lb version of these. The only place that I could find them was ebay and this site... Door Holders

A company called Eberhard has them on their website, however I could not do an online purchase...

I was thinking 40lbs might be a little too much and strain the fiberglass, but I went with it anyways as I wanted it to be locked down when traveling.

The second purchase I made was one of these...
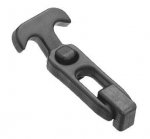
rubber-hold-down-latch-f7.jpg

This was the best I could find for a hood latch that didn't have many sharp edges.

I really wanted to use one of these however the smallest they make them is 10", which would take up pretty much the whole middle seat.
rubber-hold-down-latch-373029760-aero_1.jpg

You can find these latches at...

Search results for: 'rubber hood latch'

Hopefully I will get to work on the boat tomorrow and for sure the rest of the weekend. I appreciate all the feedback and comments.
 

Keehnel1414

Cadet
Joined
May 17, 2013
Messages
15
First Paint

First Paint

Well, I didn't get to everything this weekend. I was pretty close but kept getting work calls so I will have to finish up the priming next weekend or perhaps during this week so I can get the final paint on the boat. I decided not to go 100% perfect. I tried but I forgot how tedious painting is and to try and get a perfect finish takes a lot of time that I don't have. After getting the primer on the few panels that I did, I was satisfied with how they turned out. I might do a little more work before the final coat but I know it already looks 100 times better than when I bought it.


I received my door holdbacks today and they were an exact match, pretty happy with that purchase. Hopefully I will get the latch and the motor parts tomorrow.
 

Keehnel1414

Cadet
Joined
May 17, 2013
Messages
15
1st & 2nd Coat of Finish Paint

1st & 2nd Coat of Finish Paint

I went and bought 3 quarts of Interlux Brightside paint last Friday. I purchased 2 quarts of Fire Red and 1 quart of the black. I also purchased there brushing liquid they call 333. They people at West Marine Recommended it for painting here in Sacramento CA as it is so hot. (I am glad they did however at 27.00 a bottle it was quite expensive). I am sure I could have found a similar product at home depot, however the paint was not cheap either at $47.00 per quart.

I started working on the boat at 6:00am. I still had to finish sanding down the actual boat. I decided to skip the priming process on the boat as the directions on the paint can said it was not needed and I was anxious to start painting. (At this point I wish I would have primed the boat like I did with the other pieces as the paint may have covered better). I finished sanding the entire boat at around 12:00pm. I then went and washed all of the pieces and the boat with water and a degreaser/de-waxer. From there I let the items dry and then wheeled them into our shop. I used acetone to wipe down everything then started the first coat at around 4:00pm after getting some lunch. Let me tell you, that it takes quite a bit of time to paint everything with a brush and roller.

I started with the main hull of the boat. I planned it out so that I would do the inner pieces of the boat and work my way out to the outside. I added some of the brushing liquid 333 to the paint and I am glad I did. I didn't do any measuring just add small amounts at first until the paint flowed right. The little pieces were easier, but when I switched over to the black paint I ran out in the middle of the pieces and forgot to add the brushing liquid. I could definitely tell a difference. The paint would not sit right and was very tacky. It made it difficult to apply. I would recommend using the brushing liquid no matter what temps you are working in.

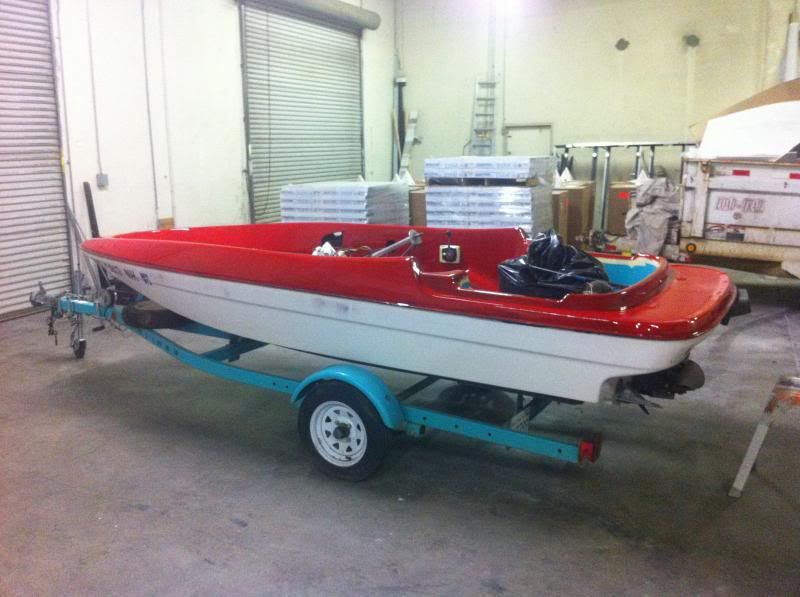
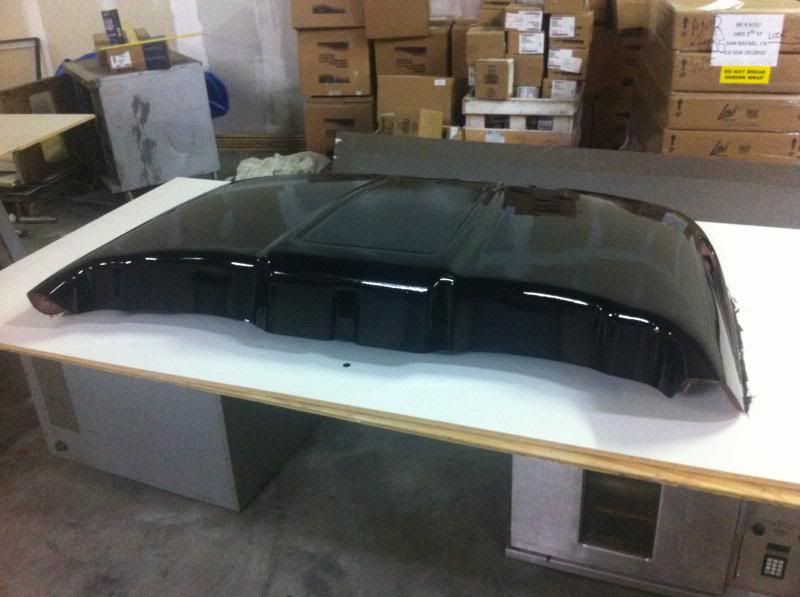
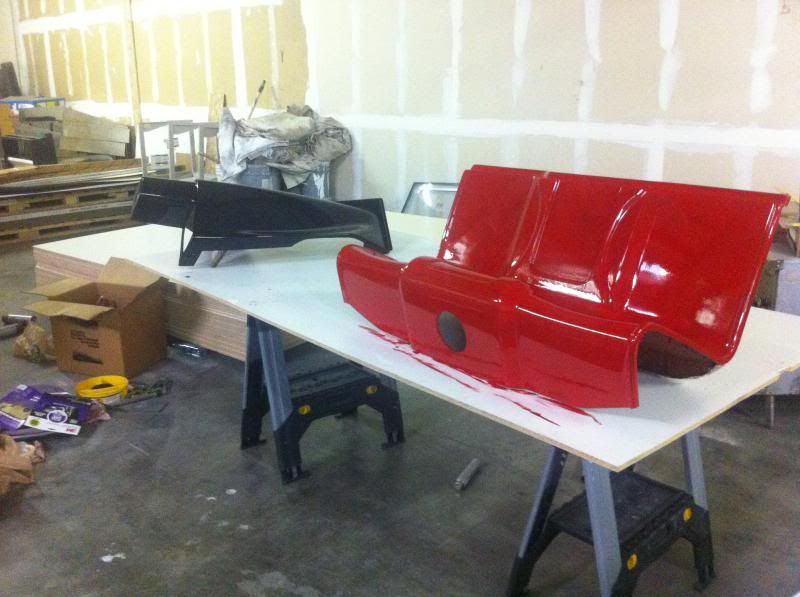
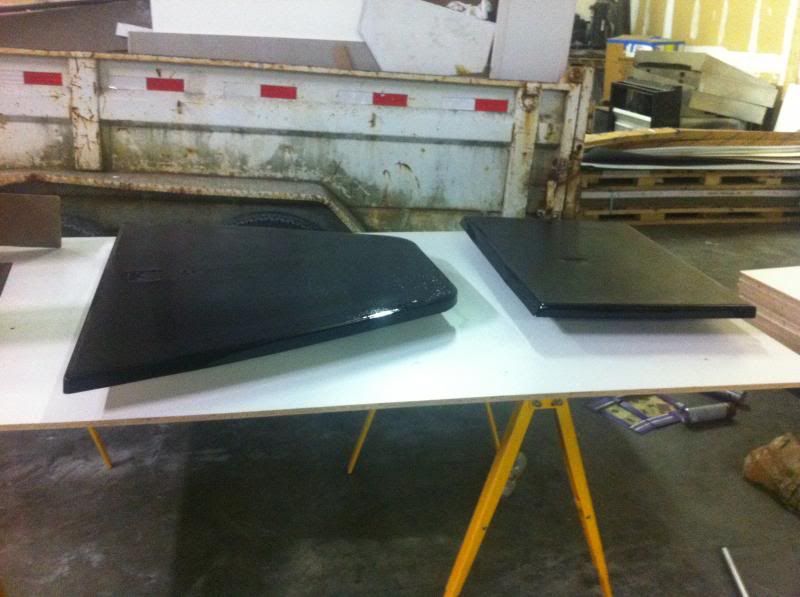
Based on the manufactures recommendation the paint should have been dry by 8:00am as I finished around 8pm. Here are pictures after the first coat. The black pieces covered very well however the would need a second and 3rd coat.


I am new at using this type of paint and after using it I have a few pointers for anybody that would like to use it in the future. First I didn't have access to a paint sprayer so I used the brush and roller method. I few pointers to start with is the equipment...

Equipment

Roller - I first purchased a very fine Nap roller used for typical house paint. I bought a 3" as I had many tight little corners and it would work best for my application. Well I found out that this type of roller produces a lot of lint. After my first coat I had to do a lot of sanding to get rid of all of the little hairs in the paint. So after the first coat I decided to shop for a new roller. I found some foam rollers at Home depot for 3 bucks. On the second coat these worked much better. Practically no lint. I will take a picture of one of these so you can see what I am talking about.

Brushes - I found some brushes that are specifically for polyurethane paint. Again for my application a basic 2" brush worked good enough and was able to get into specific places.

Wiping Rags - I made a mistake on my first wipe down of the pieces before painting. You need to find a rag that is minimal in producing lint. Any little piece of dust and lint will show in the paint after you are done.

*** Synthetic Steel Wool. This stuff is awesome and easy on the hands. The paint manufacture recommends sanding with 320 grit sandpaper between coats however if you find some of the extremely fine synthetic wool. It works just as good at scuffing up the surface and its faster and easier on the hands. I used 320 grit to take down the really bad imperfections and paint runs and used the wool every where else.

Some Tips while painting...

* Watch for paint runs. You wont even notice when your painting but you really need to watch spots where paint gets heavy or around corners. I had some thick paint runs in my paint after I was done with the first coat. My recommendation and in my case I would paint one side of the boat and then have to go to the other side and make sure that I didn't have any paint runs. (When painting the inner hull). When I was painting on the outside of the hull I didn't have to worry about it as much as I could see when I had a run.

* When brushing on the paint it is very hard to get it to flow evenly. Use a roller wherever possible and when you cannot apply different angle brush strokes until you get the best coverage. Basically brush in different directions.

*Make sure you have enough time in between coats to let the paint dry. I ran into some spots where I applied the paint heaving in one spot and it hadn't fully dried before I started sanding on it. It wasn't a real big deal as a wipe down with the brushing liquid removed the paint that had not dried.
 

Keehnel1414

Cadet
Joined
May 17, 2013
Messages
15
Re: 1993 Bayliner Jazz Restoration & How To...

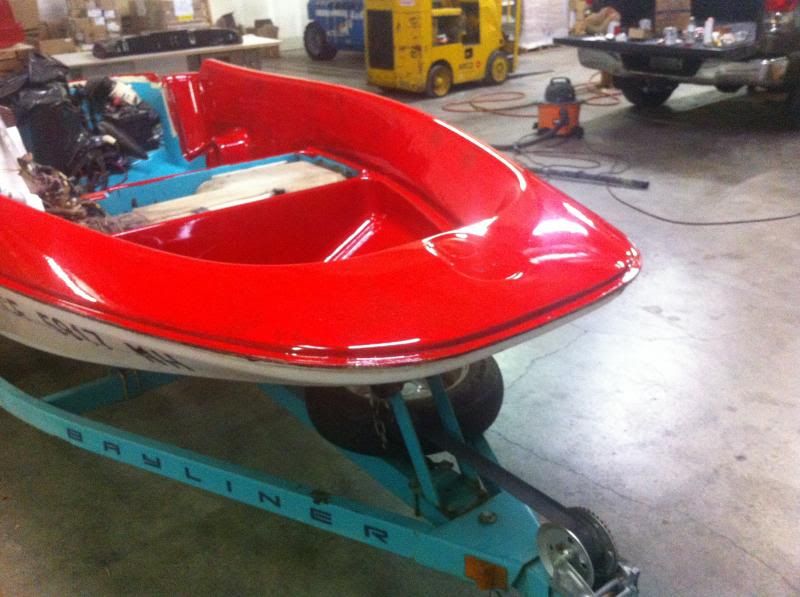
Here are a few photo's of the second coat applied. I was only able to apply the second coat to the hull of the boat as I ran out of time on Sunday. Hopefully I will be able to finish next weekend. I know I will have to do one more coat on the boat and the seat, 3 total and perhaps one more coat if it does not cover in the 3rd coat (Parts Painted Red). The parts painted black I think I will do 1 more coat but may do a third just to make sure I don't have any problems as these parts will probably get a lot of wear.


Till Next Weekend
 

Woodonglass

Supreme Mariner
Joined
Dec 29, 2009
Messages
25,928
Re: 1993 Bayliner Jazz Restoration & How To...

There's a lot of info here on the forum on how to do the Roll n' Roll technique using the Ultra Fine Foam Rollers that yield a "Spray Like" finish. Glad you discovered it on your own. Your finish is looking pretty good. The last link in my signature has some info and some vids on how to do the technique.
 

Keehnel1414

Cadet
Joined
May 17, 2013
Messages
15
Re: 1993 Bayliner Jazz Restoration & How To...

There's a lot of info here on the forum on how to do the Roll n' Roll technique using the Ultra Fine Foam Rollers that yield a "Spray Like" finish. Glad you discovered it on your own. Your finish is looking pretty good. The last link in my signature has some info and some vids on how to do the technique.

I did do a little searching and watched youtube videos on how to apply it. What I found was that you apply with a roller and tip it off with a brush which is what I have been doing it turns out pretty good. However if there is a better way I will try and find it.

What your saying is that you only apply with a Ultra fine Roller and do not tip it off with a brush?

BTW, I did see your post on how to paint a boat, however it was long. I will go through it again for some pointers. Thanks for the feedback.
 

ewscroggins

Seaman Apprentice
Joined
Jul 13, 2012
Messages
35
Re: 1993 Bayliner Jazz Restoration & How To...

Looking forward to seeing the finished product. I have a 93' Jazz myself. Just bought it a week ago and it was in really good shape. Previous owner only ever used it on a lake. I live on the Clearwater and Snake rivers, both are just as big as the Sacramento river. I think you will have fun down there with that boat.
 

einnuyuk

Cadet
Joined
Sep 3, 2013
Messages
10
Re: 1993 Bayliner Jazz Restoration & How To...

I just recently bought a 1995 bayliner jazz and it runs exceptionally well. You boat looks good and you are doing a great job of posting your progress. I have a pair of yamaha jet skies and was wondering if I could use the same 2W Yamalube in the boat as well?
 

GeneralSnowball

Recruit
Joined
Oct 2, 2019
Messages
1
i just got a 95 120 mine was water logged pretty bad so im going to be adding some hull drain plugs same type on a bombardier 3 man ski i also ordered a new cdi for the motor and have drilled some holes for re doing the wiring and re routed stock harness to clean it up ill add some pictures later at work at the moment
 
Status
Not open for further replies.
Top