Finnish fishing boat overhaul [Splashed 2017]

Red Herring

Chief Petty Officer
Joined
Oct 1, 2012
Messages
536
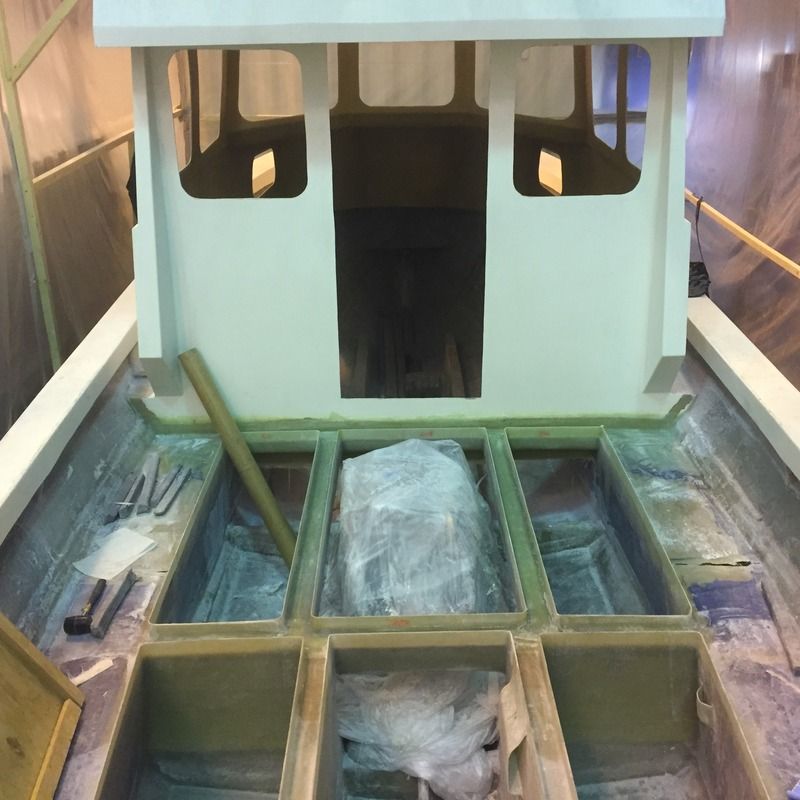
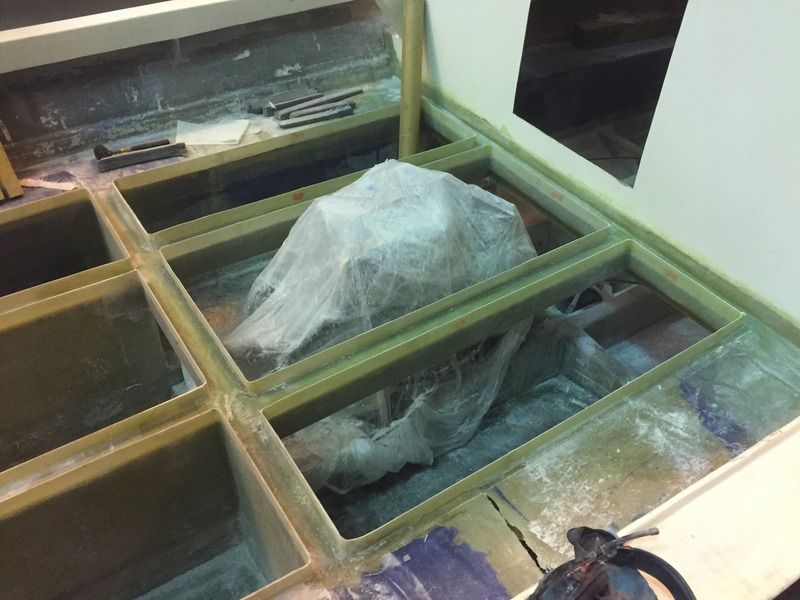
Finally done with those beams! Put down some pb to get rid of the rounded corners on top and tomorrow we'll put up the melamine strips and glass again :) Was too excited to remember to get any photos, but then again it's the same old as before.
 

Red Herring

Chief Petty Officer
Joined
Oct 1, 2012
Messages
536
So next week we ought to have the remaining hatches done. Then we'll have to figure out a jig to build the engine cover.
 

gm280

Supreme Mariner
Joined
Jun 26, 2011
Messages
14,593
So next week we ought to have the remaining hatches done. Then we'll have to figure out a jig to build the engine cover.

Oh I get the feeling you will make the engine cover with ease. You definitely have to post your procedures in make that as well. I am learning from your efforts. :thumb:
 

Red Herring

Chief Petty Officer
Joined
Oct 1, 2012
Messages
536
Thanks, and I sure hope so! I guess we'll tackle it somehow :)

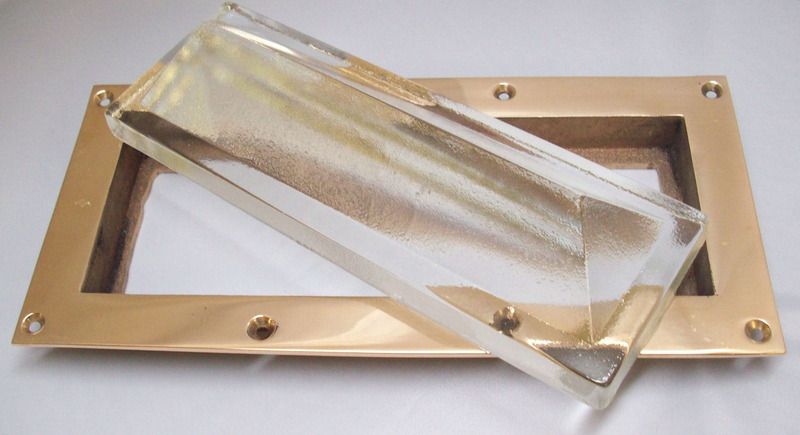
I had this "traditional" idea/approach going on with the boat and all the hardware from the start, but a lot has changed and at some point everything started taking a step towards more modern solutions. But now I found something "ancient" that really works and fits the boat.


The one I got has a stainless steel frame, but ought to be almost the same otherwise. It's a deck prism to give natural light (when available) to the shower/head that would've otherwise been totally reliant on a led light. This got me really excited, it's stupidly simple and yet very elegant IMO.
 
Last edited:

Red Herring

Chief Petty Officer
Joined
Oct 1, 2012
Messages
536


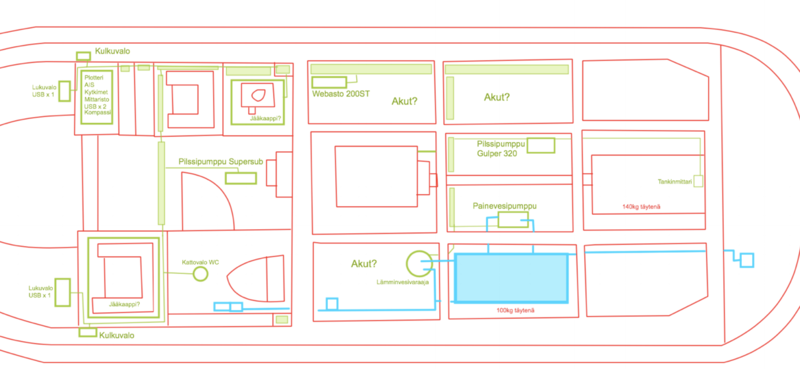
Oh, and here's the current electricity plan. Still need to figure out the spot for the batteries and shore power stuff. Please excuse the language. But at least it gives you guys a hint of the insides.
 

GA_Boater

Honorary Moderator Emeritus
Joined
May 24, 2011
Messages
49,038
Red Herring - I look in on your thread so I can go gaga over the work you are doing. You have come a long way from the starting point and she is going to be awesome. Great work!

The deck prism is cool. A throwback to the time of whale oil lamps and sailing ships. They work amazingly well. Nice find.
 

gm280

Supreme Mariner
Joined
Jun 26, 2011
Messages
14,593
As usual, very precise and clean lines on his boat. I like seeing and reading how such things are done. I get additional ideas every time I see his work. :thumb:
 

kcassells

Fleet Admiral
Joined
Oct 16, 2012
Messages
8,600
Are you planning on doing foam in any compartments? As usual Great Work! Not sure if this type of boat design needs it.?
 

Red Herring

Chief Petty Officer
Joined
Oct 1, 2012
Messages
536
Thank you everyone! Some spotd need to be fixed with pb later on, and some shapes are a bit off, but it ought to be fixable. Thanks for the encouragement, means a lot in the middle of this fools errand.

No foam, the local legislation doesn't require it. And those side pontoons/old benches at the side will at least theoretically float the whole thing if turned upside down.
 

Red Herring

Chief Petty Officer
Joined
Oct 1, 2012
Messages
536


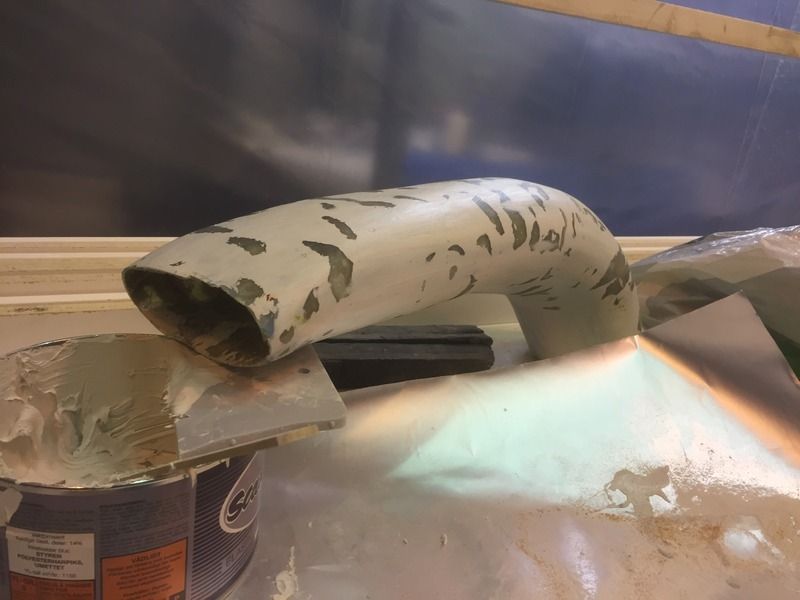
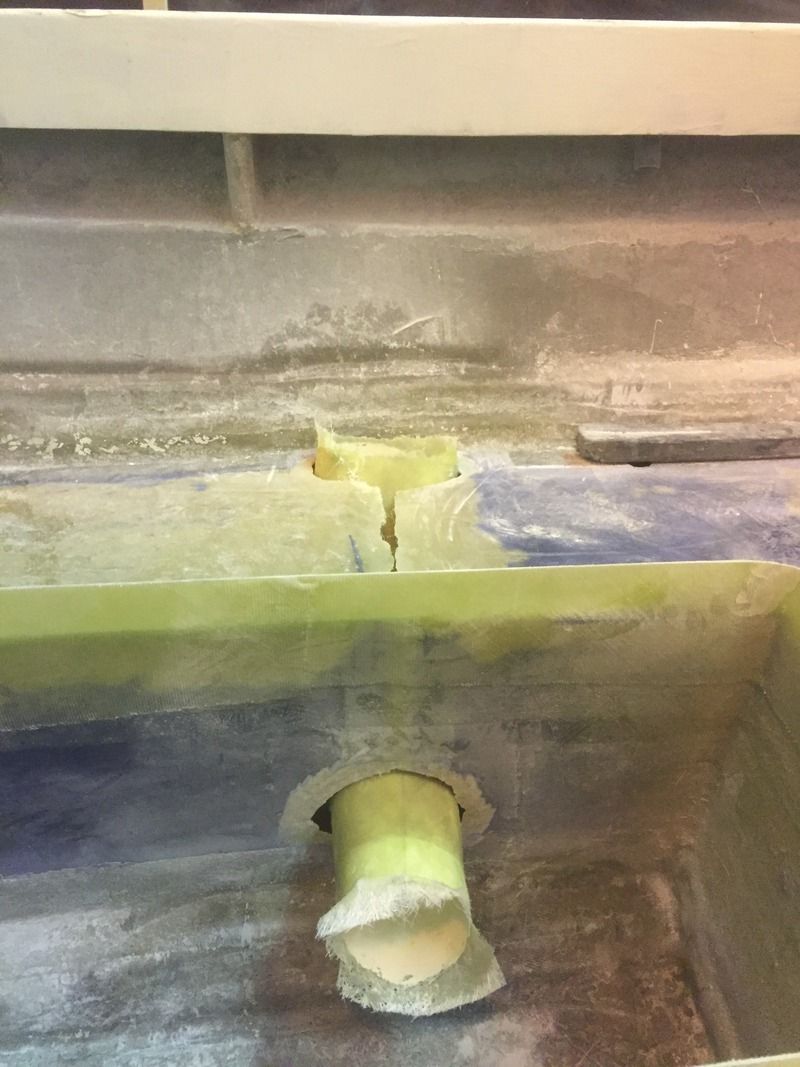
The engine vents we started working with today ended up being one hellish project.

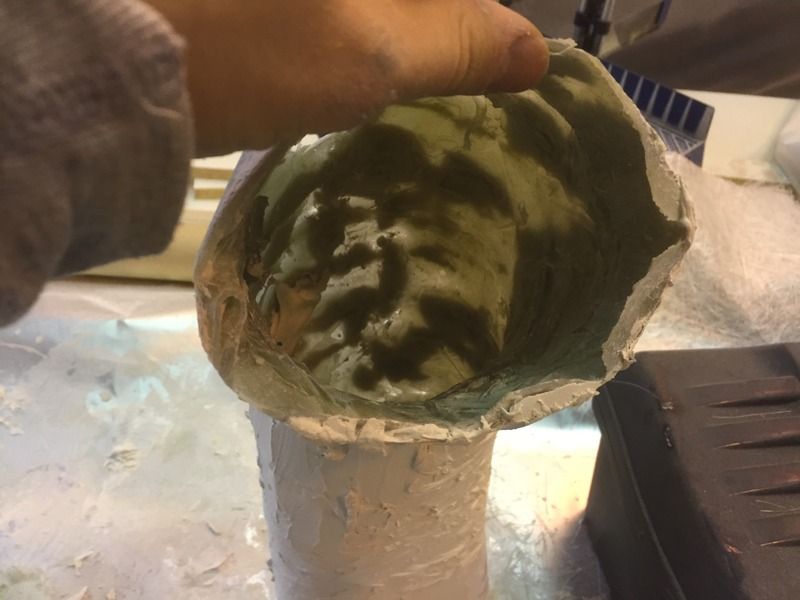
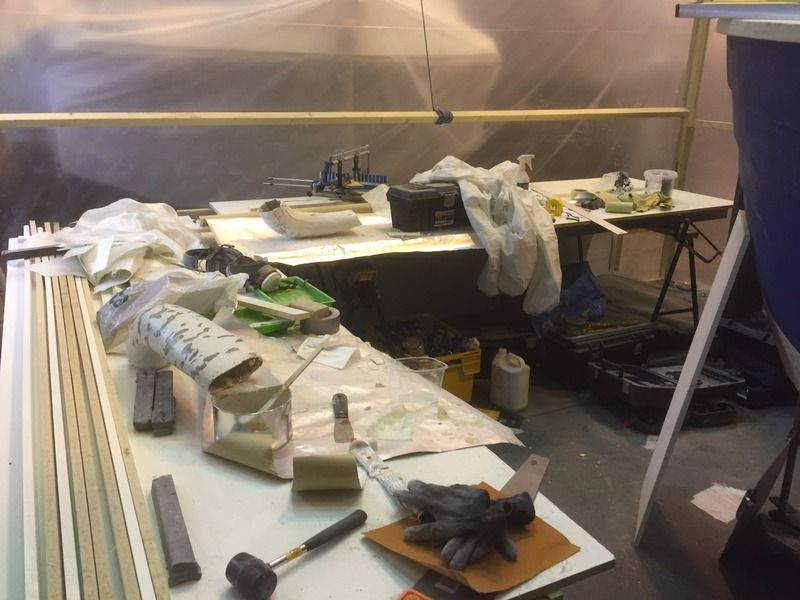
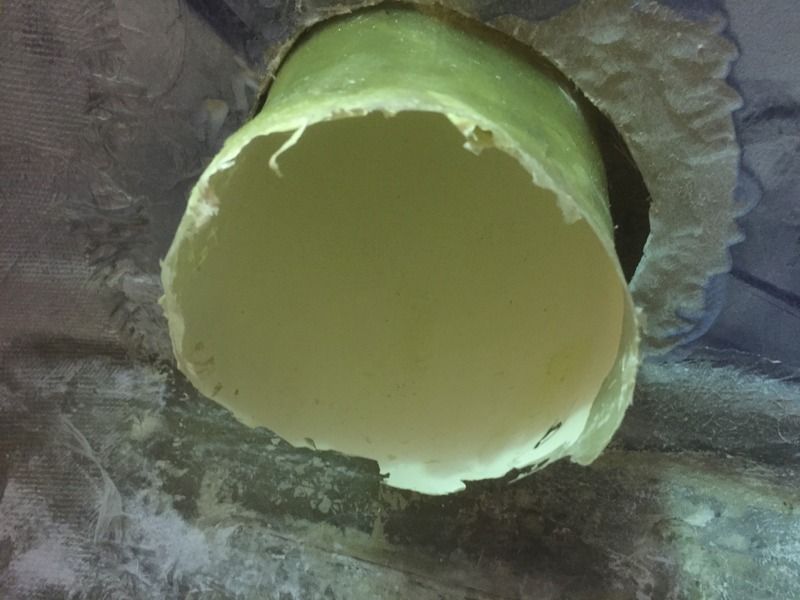
First we made the mold out of aluminium ducting pipe covered in packing tape. It all went well until we got greedy and added four layers of csm. The weight of the resin and glass led to this sticky mass not conforming to any shape, had to wind some string around it to keep even a slight resemblance. Ended up grinding the resulting "pipe out of hell" sort of smooth and basically filling all the gaps with bondo. So now we made molds out of them instead...Will have to cut the final piece open to separate them, but it'll be much better this way in the long run. Made a huge mess as well.
 

Red Herring

Chief Petty Officer
Joined
Oct 1, 2012
Messages
536


The vent pipes are done, much better this way. Tomorrow I'll glass them in and start working on the dorade box under the gunwale
 

Red Herring

Chief Petty Officer
Joined
Oct 1, 2012
Messages
536
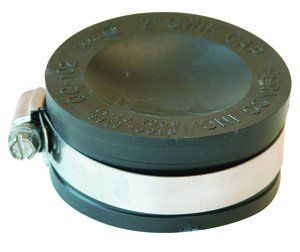
If you'd happen to have any ideas on how to make these ducts closeable then I'm all ears! I'd like to have the possibility in case the weather really acts up, but I'm a bit short on simple solutions. Except a giant cork hammered in the round end :)
 

Red Herring

Chief Petty Officer
Joined
Oct 1, 2012
Messages
536


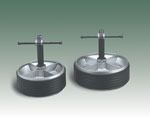
Some ideas, if I could find a wing nut hose clamp in aisi 316 then that first version would work great. Those aluminium test plugs would be great as well, but they're way more expensive.
 
Last edited:

gm280

Supreme Mariner
Joined
Jun 26, 2011
Messages
14,593
What about some type manual flapper valve? It would basically close off the piping when you flip a lever. Kind of like a sink drain setup. JMHO!
 

Red Herring

Chief Petty Officer
Joined
Oct 1, 2012
Messages
536
That could work, would be fairly simple to build as well. Could have two bolts permanently fastened on the flange/collar and then just tighten a gasketed lid with two wingnuts.
 

Red Herring

Chief Petty Officer
Joined
Oct 1, 2012
Messages
536
Approx 11cm, 4.3 inches. I'll get exact measurements after they're cut to length.
 
Last edited:

kcassells

Fleet Admiral
Joined
Oct 16, 2012
Messages
8,600
ae95bc62-d436-4faa-87cd-1588d51434e7_400.jpg
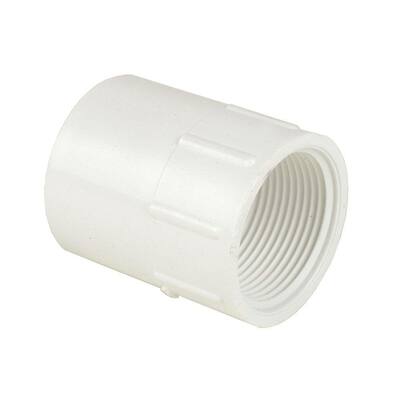
These come in many different sizes and depths. Can simply add a plug/cap to seal off. Referenced as a "pvc female adapter". Can be bonded to your glass tube fab.
 
Top