59 Arkansas Traveler - glass

Status
Not open for further replies.

rheine

Petty Officer 3rd Class
Joined
Sep 13, 2008
Messages
81
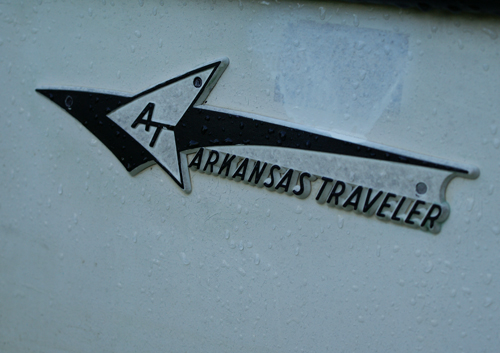
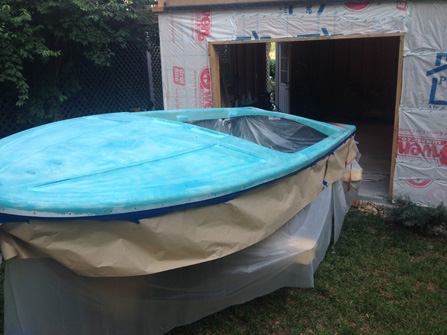
1959 Arkansas Traveler, 59 Johnson 35.

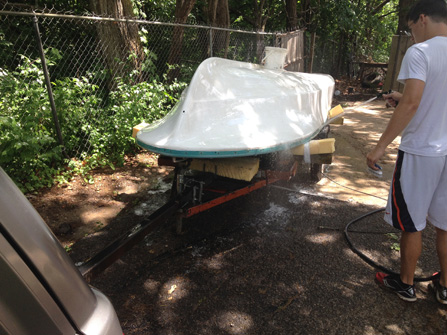
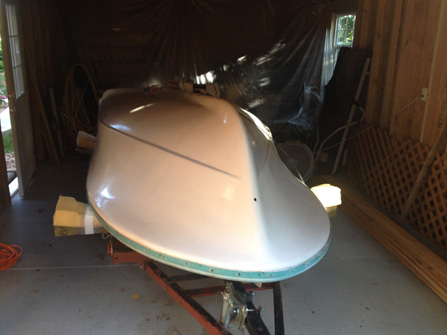
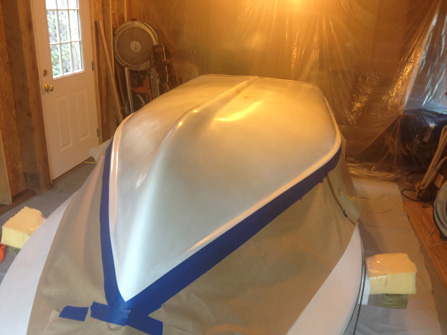
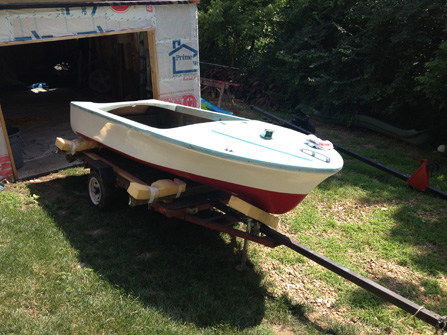
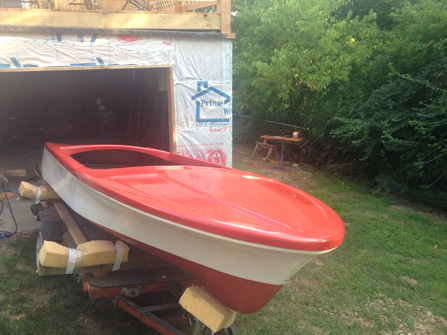
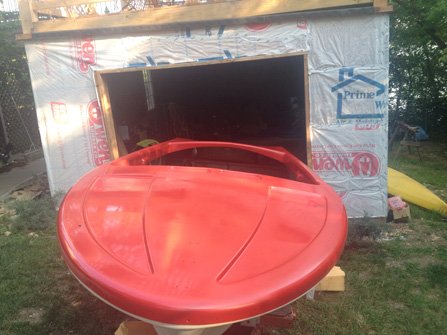
OK, just dragged it home for my fall project.

1.jpg

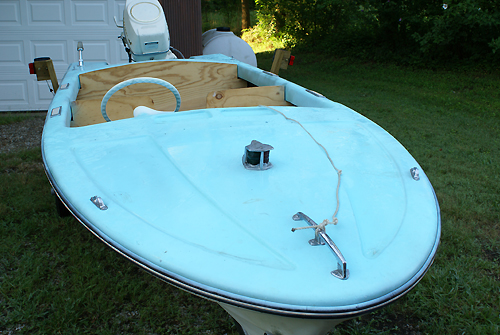
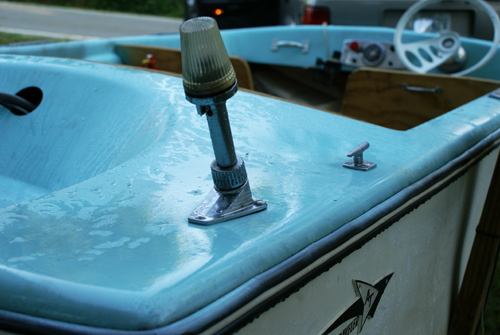
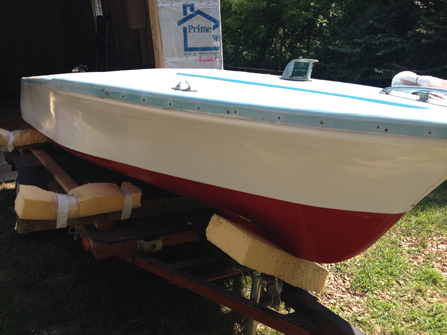
The sprinkler system graced the boat this morning. The blue top is actually chalky.

1a.jpg


5.jpg


6.jpg


4.jpg


3.jpg


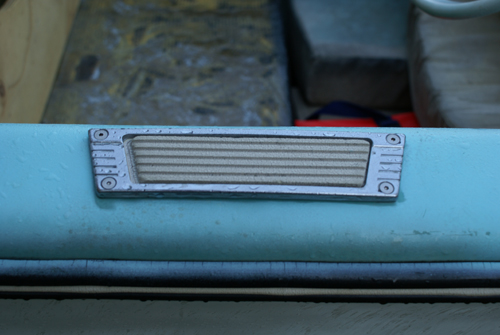
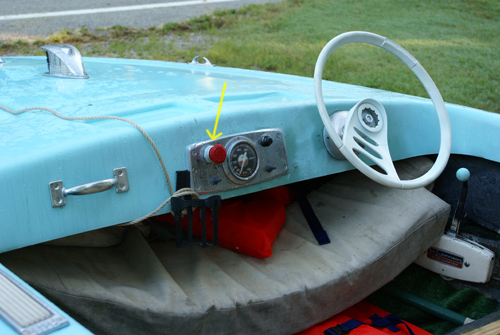
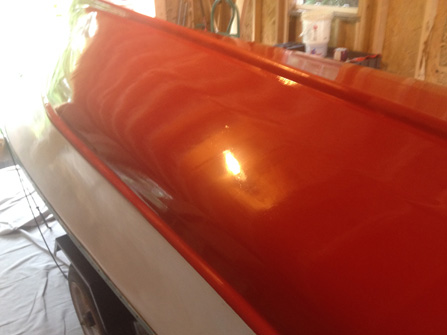
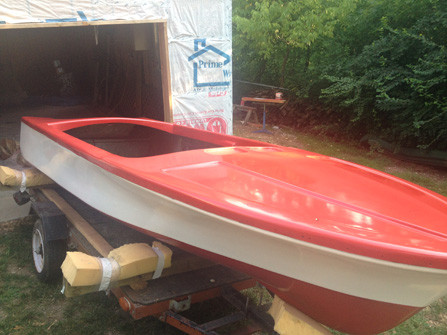
Motor has been rebuilt top and bottom. The glass is very sound and the transom is solid as a rock. I had to drive quite a ways to pick it up and when I pulled in I noticed the lack of a windsheild.

Couple of questions:
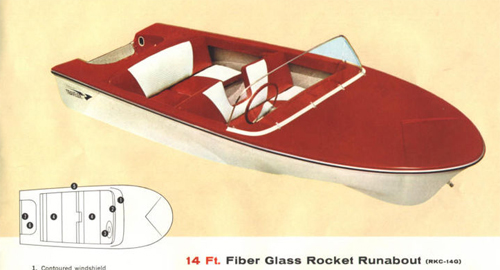
What is a good source for the windsheild?
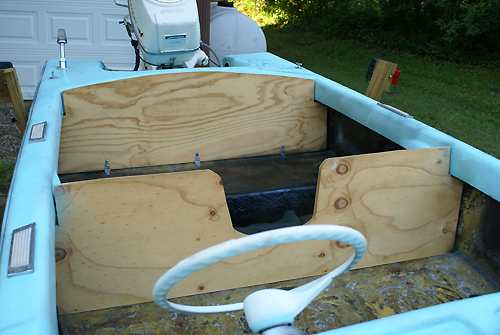
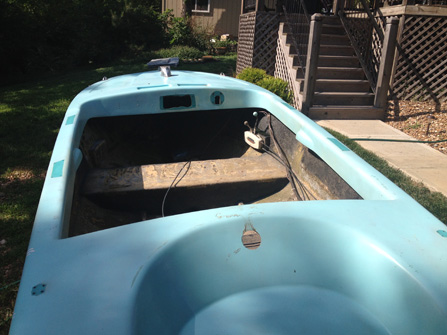
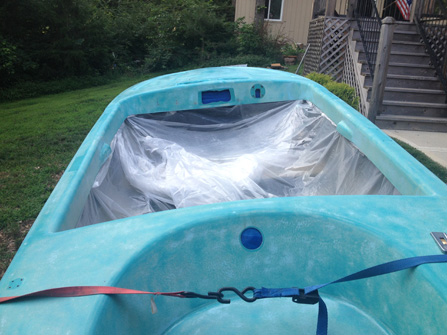
Did these boats have a floor or side panels?
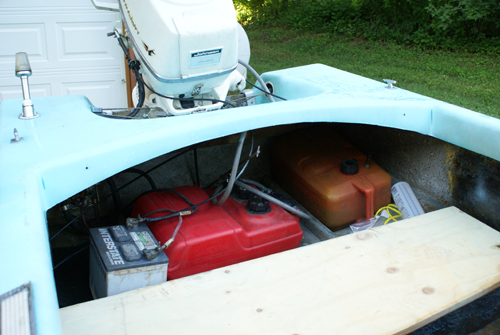
Does anyone have interior pictures?


R
 

rheine

Petty Officer 3rd Class
Joined
Sep 13, 2008
Messages
81
Re: 59 Arkansas Traveler - glass

More Pictures

1.jpg


2.jpg

Note the kill button added later in life.

3.jpg

Best part of the boat right now.

4.jpg


That's it. More later when get started.

R
 

Woodonglass

Supreme Mariner
Joined
Dec 29, 2009
Messages
25,926

rheine

Petty Officer 3rd Class
Joined
Sep 13, 2008
Messages
81
Re: 59 Arkansas Traveler - glass

Thnaks for the info. Yes, I can probably do a windsheild. I really like the lapstrake look on the ad but mine is smooth and it's all glass. My Traveler is the 'lil 14er. I am going to pull some serials and post.

BTW, I think the seats were bench with a step through for the front. I just haven't figured out if they were unpholstered or cushioned.

R
 

bowtie2440

Cadet
Joined
Jun 22, 2010
Messages
20
Re: 59 Arkansas Traveler - glass

Nice looking lil boat . I've always like the little ones from the late 50's through the late 60's . Good luck with it I'll stop in to check out how your making out.
 

tmcalavy

Rear Admiral
Joined
Aug 29, 2001
Messages
4,005
Re: 59 Arkansas Traveler - glass

Floors were optional, generally no inside side panels. Nice rig...as noted, you can make/add a windshield out of lexan or other materials. Keep the pix coming as you go a long.
 

rheine

Petty Officer 3rd Class
Joined
Sep 13, 2008
Messages
81
Finally got a boat house to work out of. Moving project there.
b1.jpg


Got some white on.
b2.jpg


Decided to bottom out in red.
b3.jpg


b4.jpg


b5.jpg
 
Last edited:

rheine

Petty Officer 3rd Class
Joined
Sep 13, 2008
Messages
81
Rolling out to inspect. The AT is the Taurus SE of boats; zero frills.
.
b8.jpg


b9.jpg


Ready for the topside. The error here was not doing the inside paint before anything.
b10.jpg


b11.jpg


Just waiting for a little cooler weather.
b12.jpg
 
Last edited:

rheine

Petty Officer 3rd Class
Joined
Sep 13, 2008
Messages
81
Here is what we are aiming for.
b17.jpg
 
Last edited:

rheine

Petty Officer 3rd Class
Joined
Sep 13, 2008
Messages
81
Strange, I can see them in FF but not IE. I will work on that tonight.

R
 

rheine

Petty Officer 3rd Class
Joined
Sep 13, 2008
Messages
81
Big difference. What you don't see is the frustration of a couple of pock areas that would not go away. I was finally able to seal them with enamel and continue. This is three coats of EZPOXY.

b13.jpg


b14.jpg


b15.jpg


b16.jpg
 

rheine

Petty Officer 3rd Class
Joined
Sep 13, 2008
Messages
81
Checking out the shiny stuff. The chrome came back to life with some wire wheel treatment. I am doing a black speckle over gray to the inside right now.
b18.jpg


And while waiting for paint to dry I starting cutting seat back boards.

b20.jpg
 

mercurymang

Master Chief Petty Officer
Joined
Jul 14, 2012
Messages
853
Could you describe you method for applying the easypoxy? I'm think of using some of that on my bow section.
 

rheine

Petty Officer 3rd Class
Joined
Sep 13, 2008
Messages
81
Yep, rub rail time. I left it out in the 95 degree sun until it got real supple. Stretched like a weak rubber band. I still had to wrestle with the insert of course but the rail went on easy. .
b19.jpg


Painting Question Answer: I used the famous HF gravity gun. When I first started with the white I was doing roll and tip and it was with mixed results. The proper ratio of thinner is essential. I had several challenges. It was hot out, the surface had a lot of vertical and I was a newb with these paints. I know with practice better results would've come. With a lot of thinner and the vertical it was hard getting just the right mix to flow and prevent sagging.


Thus, gravity spray. What everyone says is right, it's all in the surface prep. After mixing and straining I used a smaller cup and nozzle. Since it was going on light I made a couple of solid passes until it sheened over, flowed. From this I could move up the spray volume a little and get it down with two quick passes. I did not put the paint on thick. I wanted a three coat process so I could knock down my inevitable orange peel patches. The third coat was thinned pretty heavy and it glassed up right away. If you stood back 8 feet you would say it looked pretty good.

Btw, EZPOXY is not a hull paint and they advise against its use for moored boats but OK on the hull for trailered boats.

R
 
Last edited:

rheine

Petty Officer 3rd Class
Joined
Sep 13, 2008
Messages
81
Lil peek at the Tee Nee trailer it came with. Isn't she pretty. All ready for a sand storm. This one is really basic, no tilt or rear bottom rollers. I am going to stray somewhat from resto on this. I think I missed the fancier fenders by one year anyway. Only part not in the picture besides rubber is the full length tongue with those wily built-in rollers.

.
TeeNee2.jpg
 

mercurymang

Master Chief Petty Officer
Joined
Jul 14, 2012
Messages
853
Yep, rub rail time. I left it out in the 95 degree sun until it got real supple. Stretched like a weak rubber band. I still had to wrestle with the insert of course but the rail went on easy. .
b19.jpg


I used the famous HF gravity gun. When I first started with the white I was doing roll and tip and it was with mixed results. The proper ratio of thinner is essential. I had several challenges. It was hot out, the surface had a lot of vertical and I was a newb with these paints. I know with practice better results would've come. With a lot of thinner and the vertical it was hard getting just the right mix to flow and prevent sagging.


Thus, gravity spray. What everyone says is right, it's all in the prep. After mixing and straining I used a smaller cup and nozzle. Since it was going on light I made a couple of solid passes until it sheened over, flowed. From this I could move up the spray volume a little and get it down with two quick passes. I did not put the paint on thick. I wanted a three coat process so I could knock down my inevitable orange peel patches. The third coat was thinned pretty heavy and it glassed up right away. If you stood back 8 feet you would say it looked pretty good.

Btw, EZPOXY is not really hull paint and they advise against its use for moored boats but OK for trailered boats.

R

Thanks for the step by step.
 

rheine

Petty Officer 3rd Class
Joined
Sep 13, 2008
Messages
81
More detail. Even the little stuff gets some attention. Did the front housing last night.

b21.jpg


It's almost that time again. You know, crawling in and out of the boat over and over.
 

rheine

Petty Officer 3rd Class
Joined
Sep 13, 2008
Messages
81
Ok, been a while. I have been all over the country chasing down my favorite tri-hulls, 60's era OMC / Johnson / Evinrude. Now I have a fleet going so I got that itch taken care of. Most hardware is back on.

Trailer is ready too, I will get some pics of that tomorrow. I found a sand blaster out in the country that does things right.
 
Status
Not open for further replies.
Top