1993 Ski Centurion Restoration

Timr71

Petty Officer 1st Class
Joined
Jul 19, 2012
Messages
326
Hi all,

Wow, I just looked at my profile and saw that I joined this site in the summer of 2012. I probably should've started this thread back then and just stated that I/we were at the beginning of restoring this boat. But, I lurked all over this thread and read everything I could about stringer and floor repair. However, before we get to the boat, I'll give you a brief summary of the backstory.

Boat backstory: my cousin is a very accomplished skier, and back in the 90s after shopping for a tournament ski boat, he decided to go not with a Nautique or a Mastercraft, but with a Ski Centurion (out of Merced, California). At that time, there wasn't a Centurion dealer within 300 miles of his house in Northeast Tennessee. So, he worked a deal and purchased the boat directly from the factory. After owning his boat, he sold it to upgrade to a Supra. He liked the Supra for everything but slalom skiing. My cousin is in the Navy and he sold the Supra and deployed to the middle east. Upon his return he decided to go back to the Ski Centurion. The problem was he couldn't locate his original boat. After shopping around, he purchased a 1993 Ski Centurion Falcon with an open bow with intentions to restore it and use it as his daily boat. A few months later, his original boat showed up on eBay (in Arkansas) and he promptly purchased it. The 1993 open bow falcon sat in his driveway pretty much untouched for a couple of years.

At this point, I began to plan the seed, that if he wanted to get rid of the open bow boat, I was interested. We "talked" about it for nearly 3 years before my involvement. I guess he planned to eventually restore the boat and sell it.

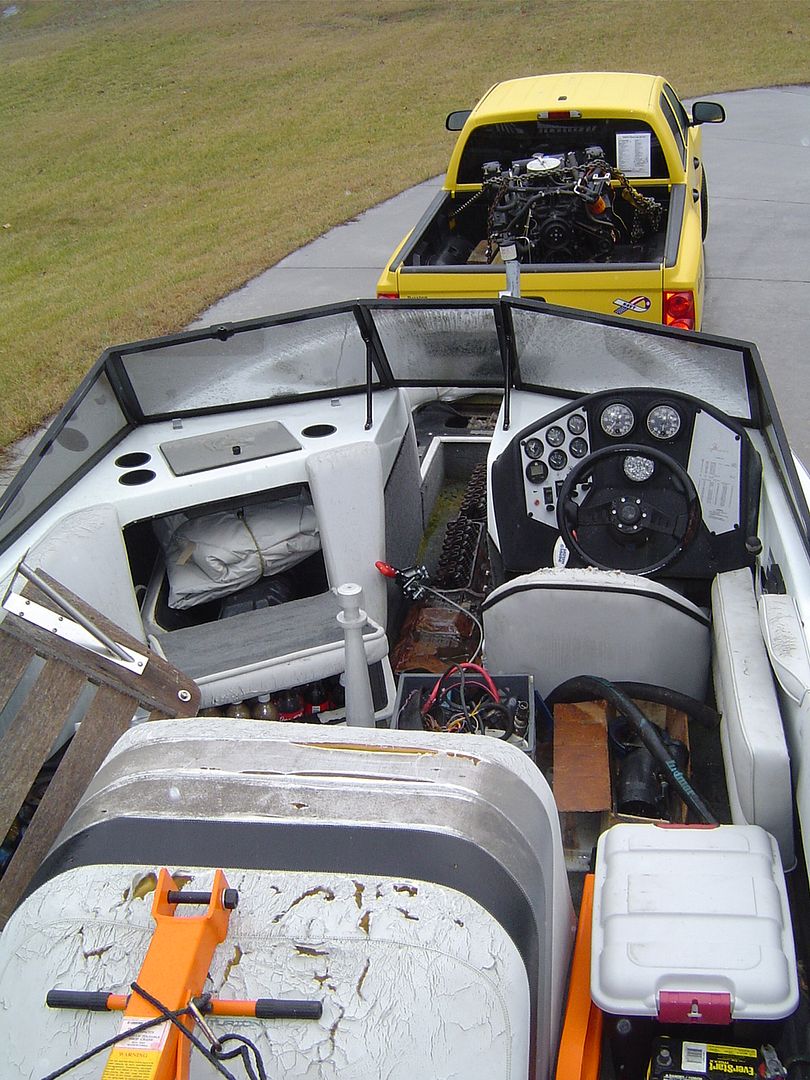
The boat was purchased up east out of a barn in Delaware. It hadn't been registered in a half dozen years. It had been used in saltwater, and it had run aground.

My uncle and cousin took delivery of the boat in New Jersey. As a result, we nick named it "The New Jersey."
DSC00601.jpg


DSC00604.jpg


DSC00607.jpg


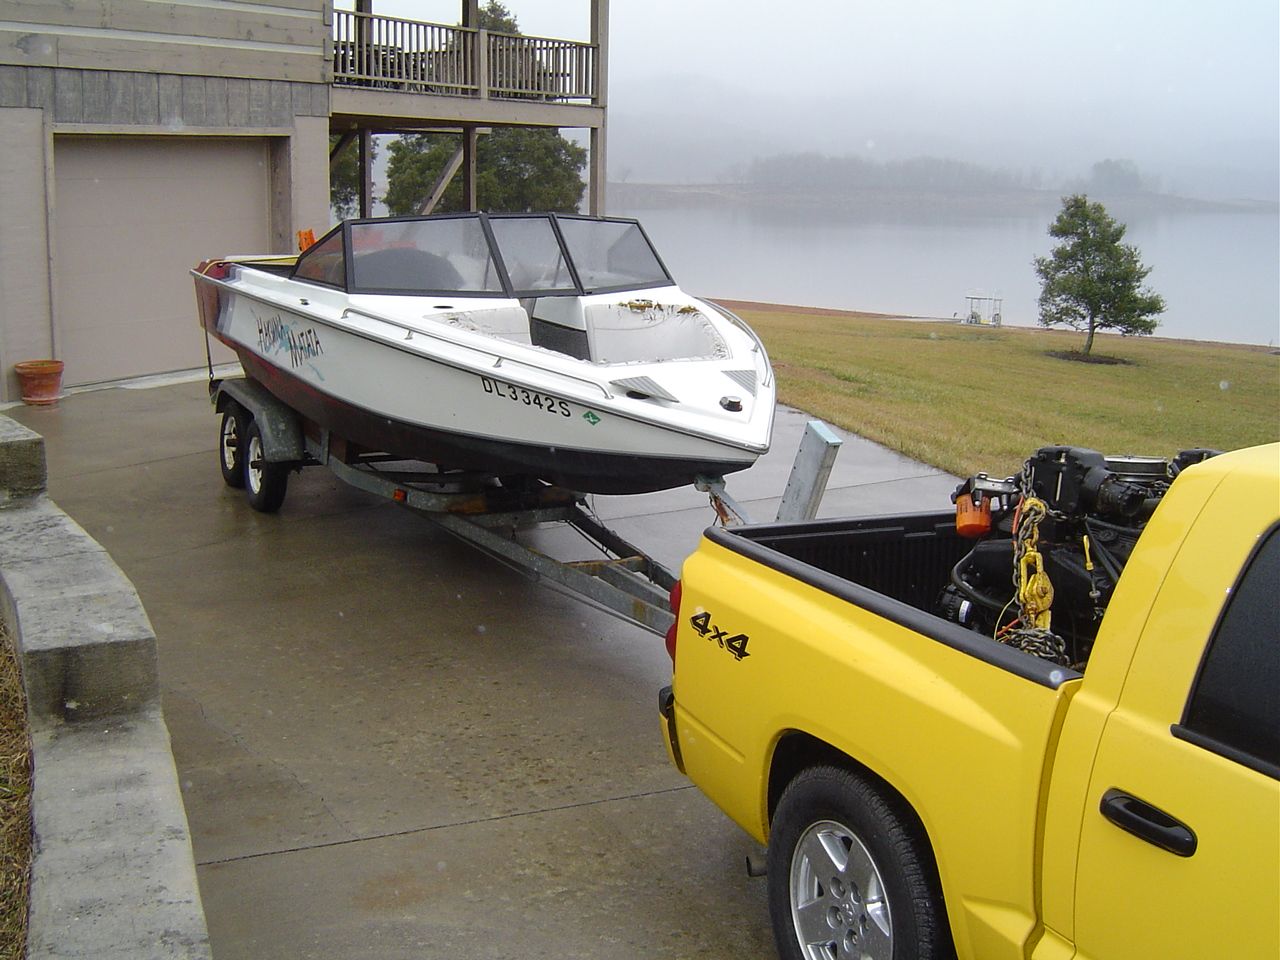
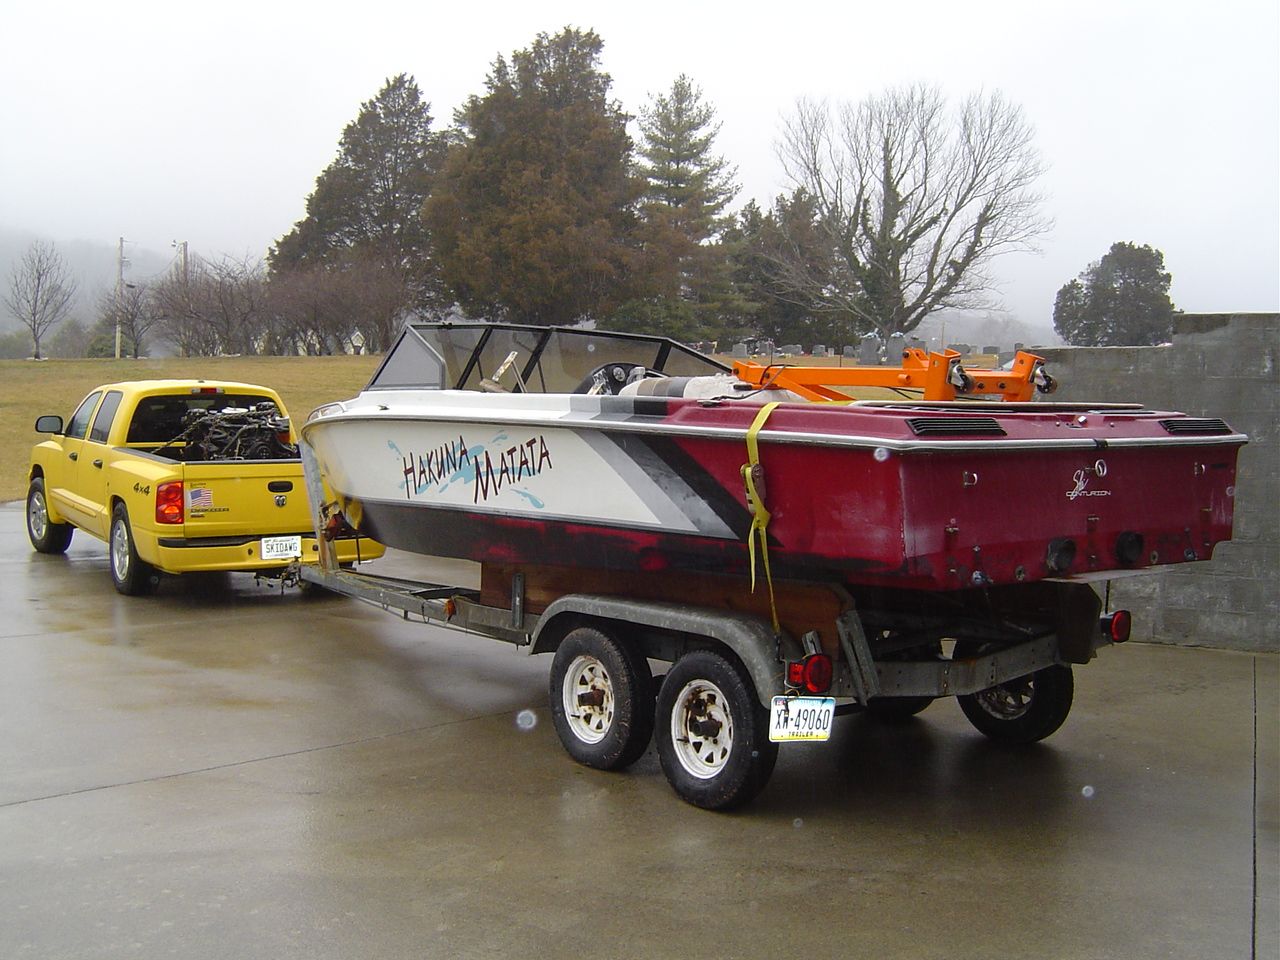
My uncle joked that it was good thing that it was dark when they picked up this boat...had they seen it in the daylight, they might not have drug it home to Tennessee.

My cousin did a lot of the clean up and first phase work before I got involved. Yes, it is sitting on a sailboat trailer. And yes, that is a second engine in the back of the pickup. The owner had taken that engine as a partial payment for some work he had done. I guess he had planned to replace the original engine too.
 

Timr71

Petty Officer 1st Class
Joined
Jul 19, 2012
Messages
326
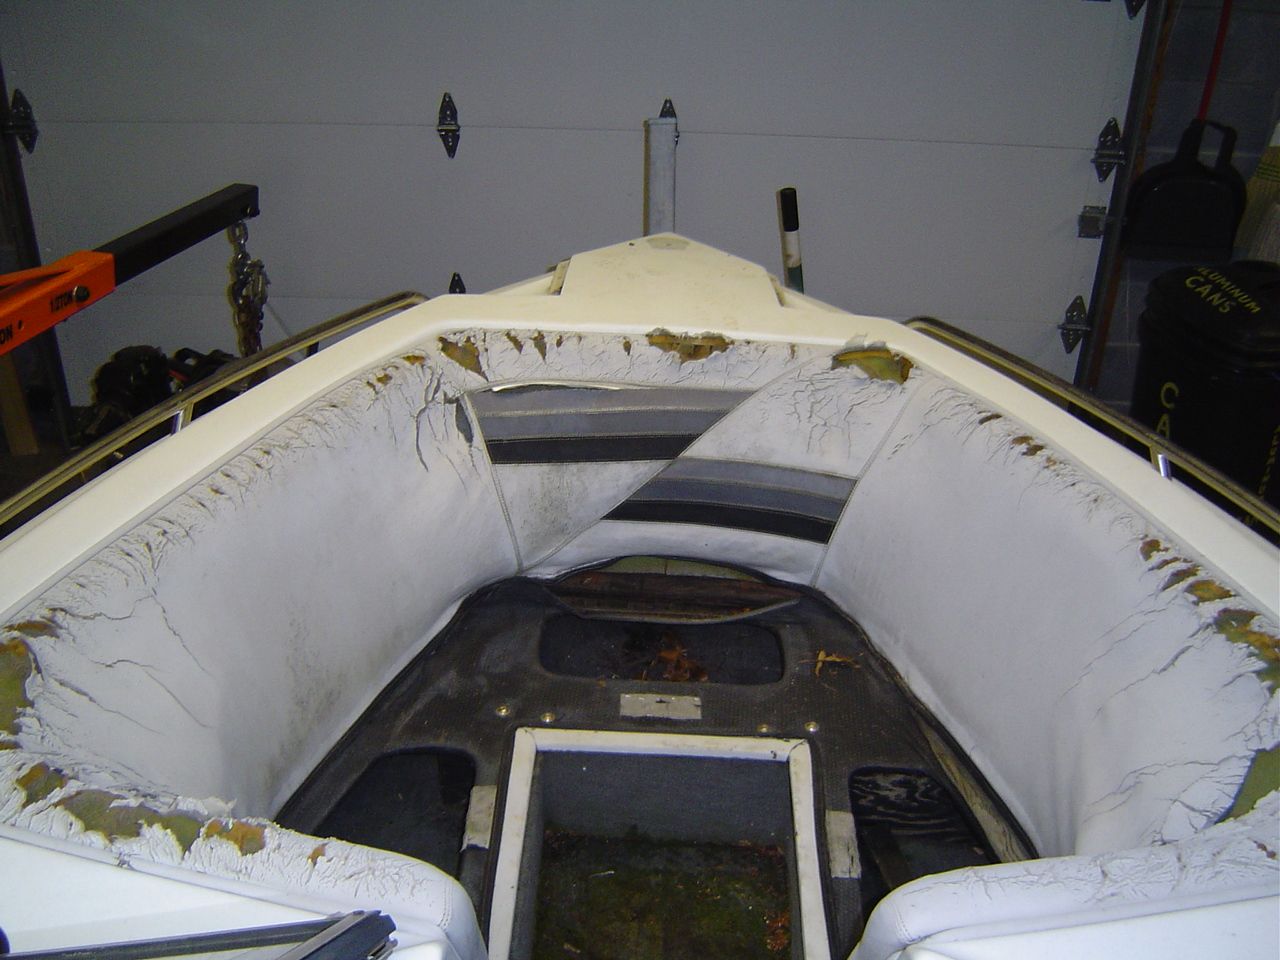
Here's some more pics of it in it's original arrival state:

DSC00631.jpg

DSC00633.jpg


DSC00634.jpg


DSC00636.jpg


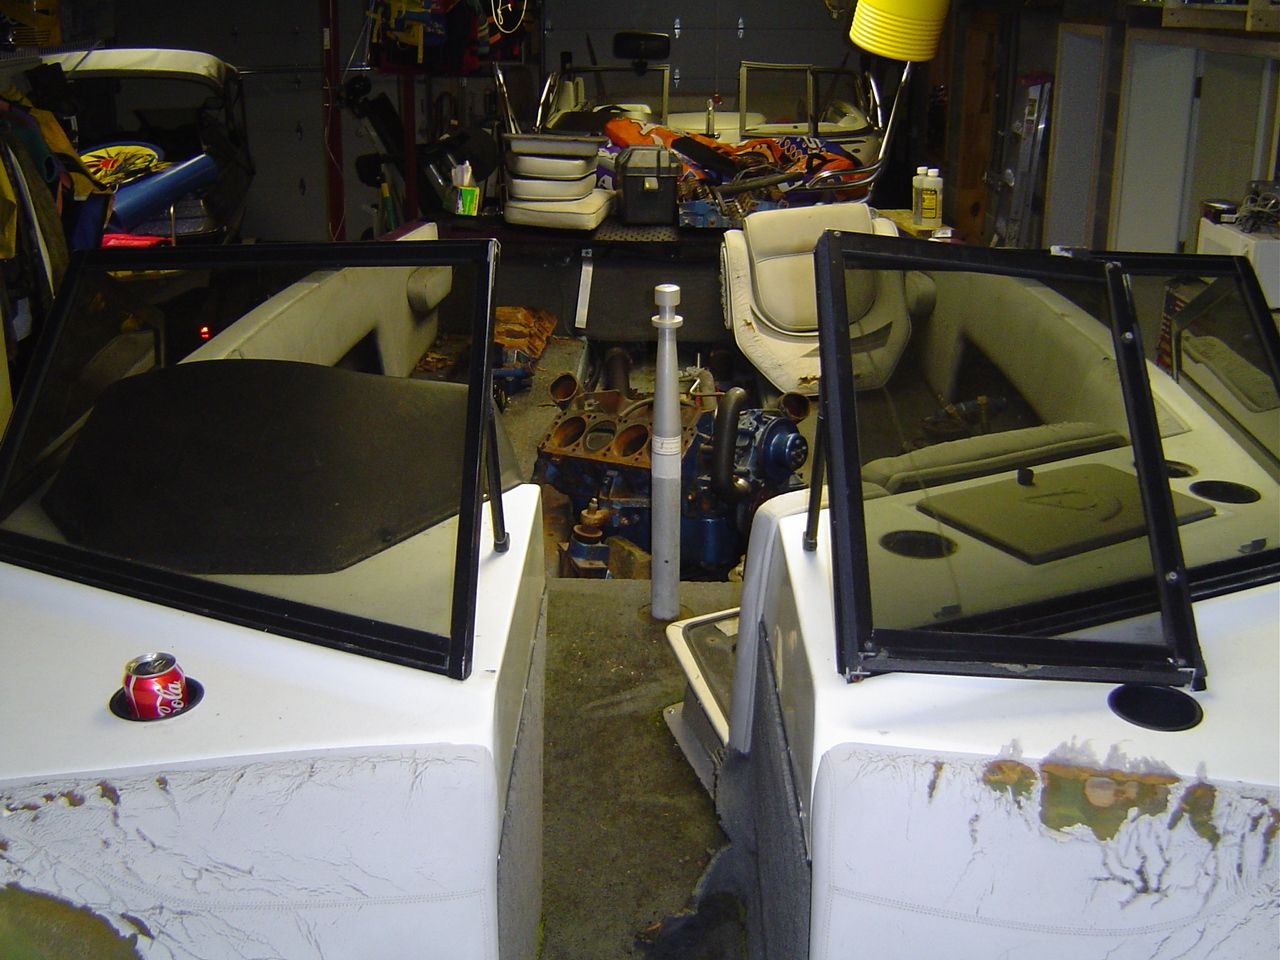
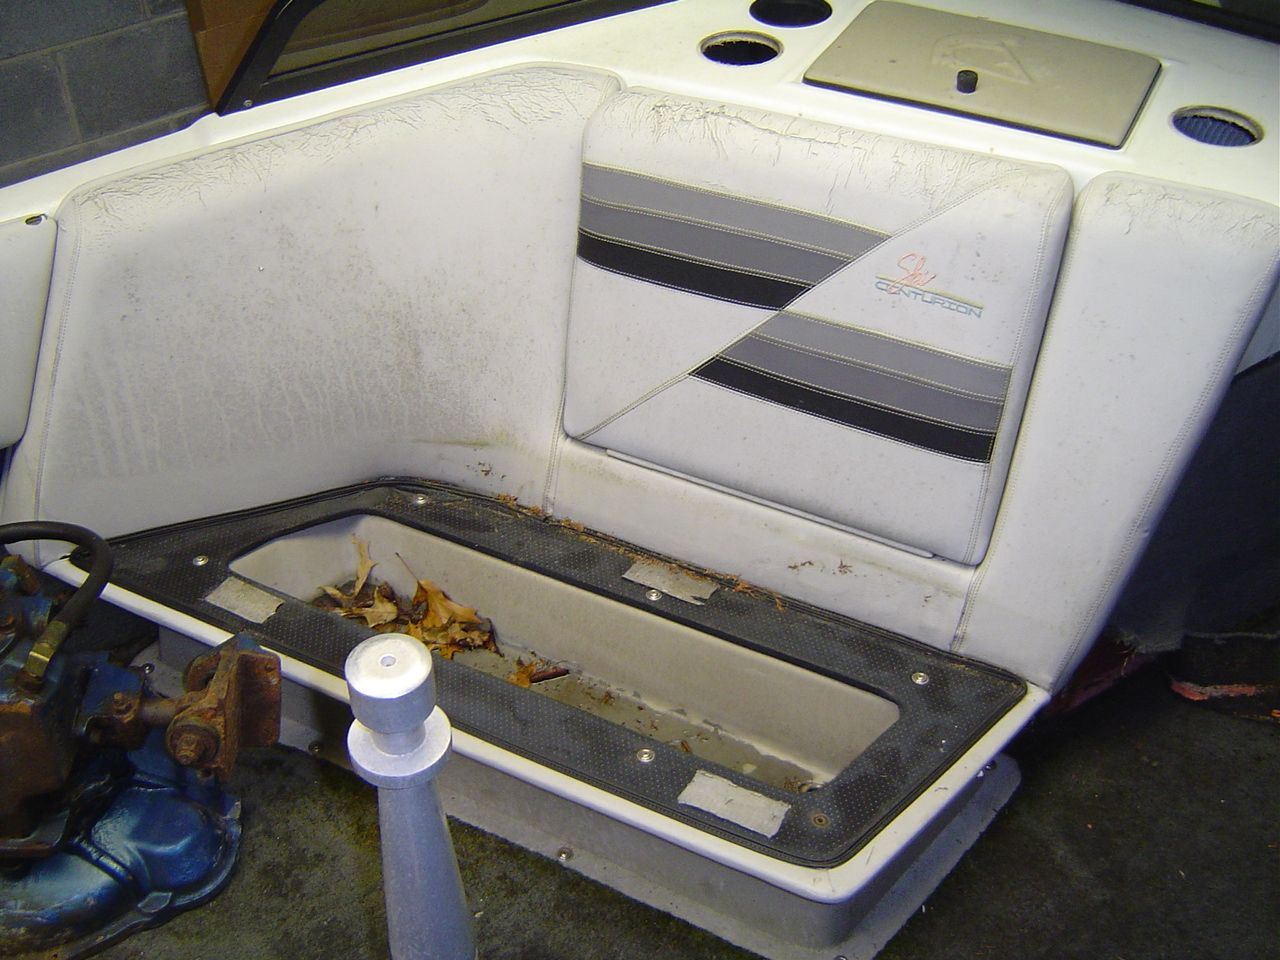
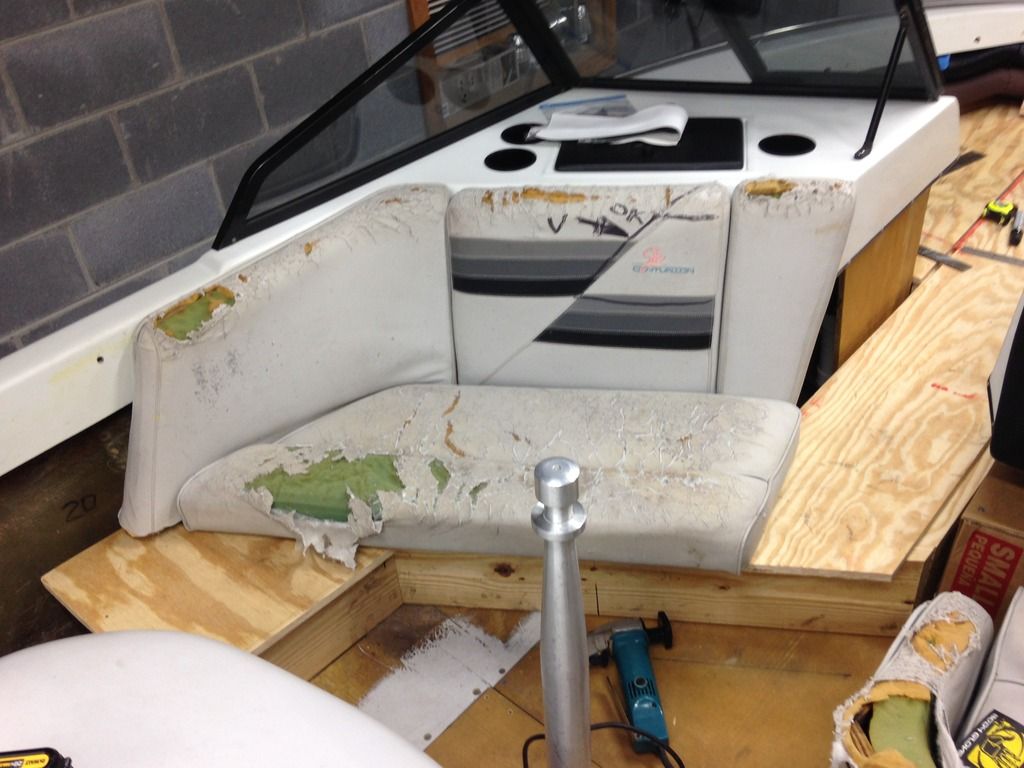
None of this seating structure in the front was salvageable. All of just fell apart when it was taken out of the boat.

DSC00640.jpg
 

Timr71

Petty Officer 1st Class
Joined
Jul 19, 2012
Messages
326
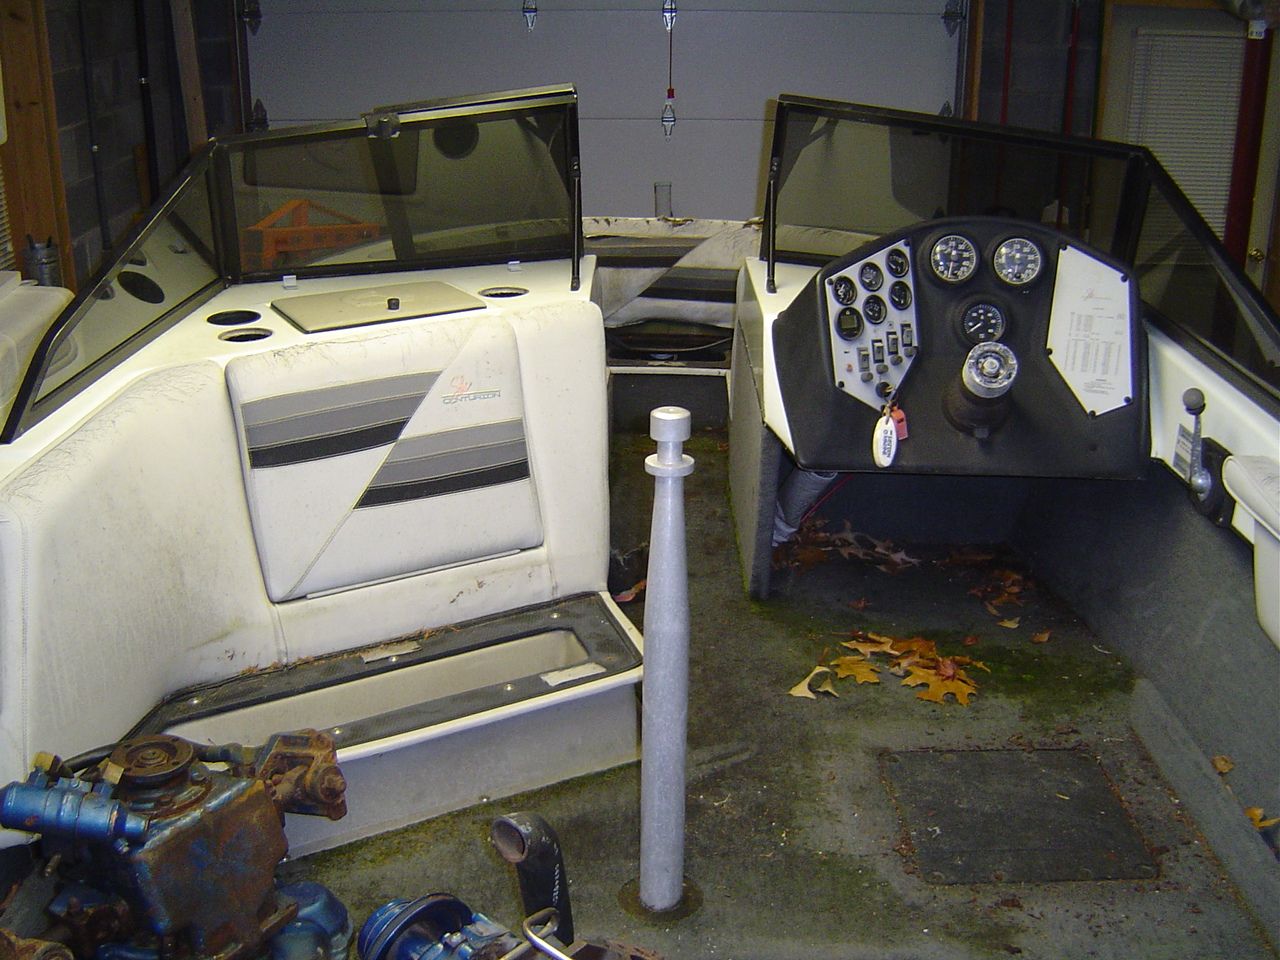
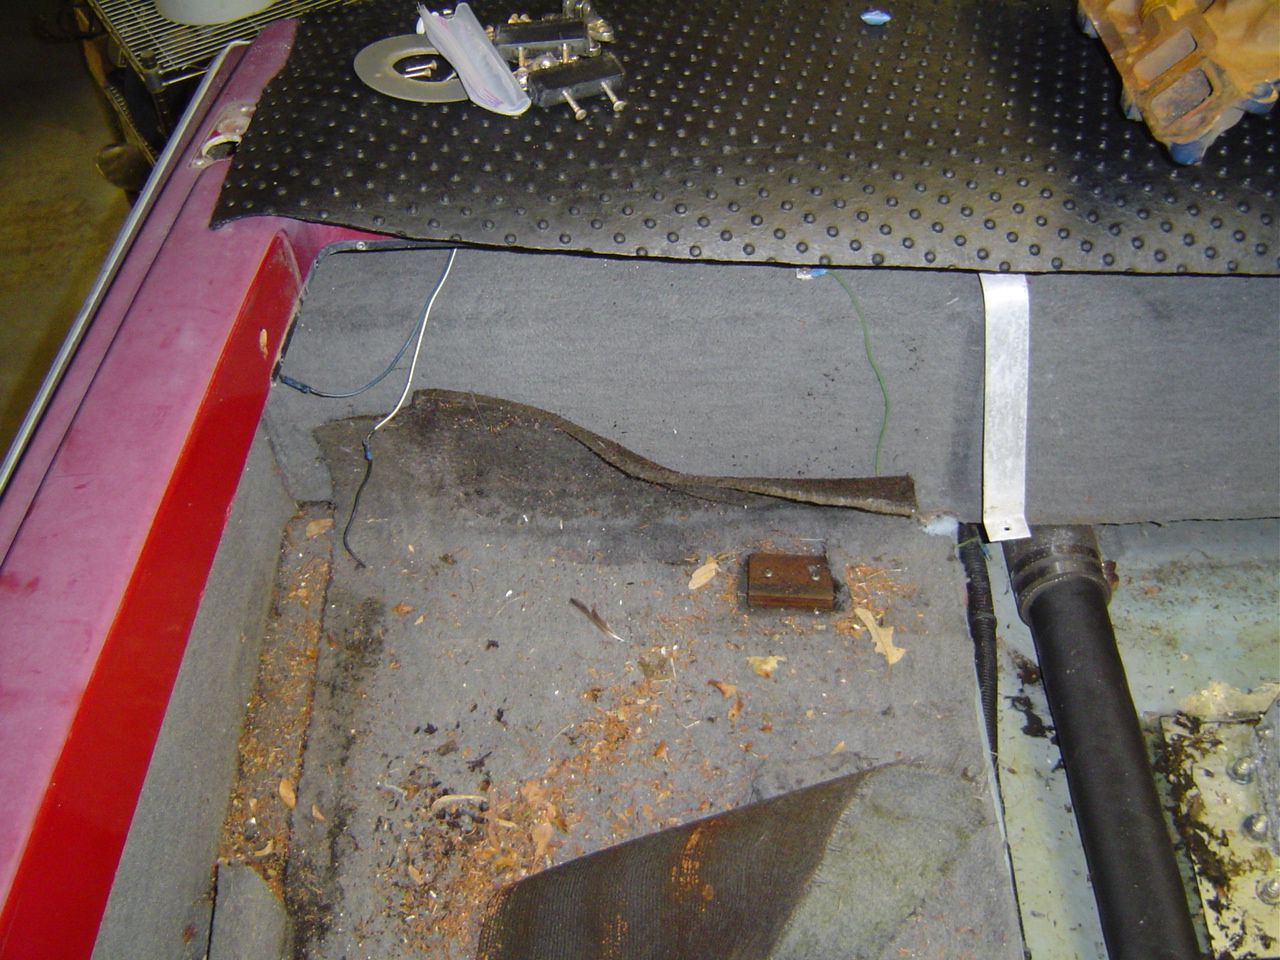
Getting the boat cleaned out:
DSC00659.jpg


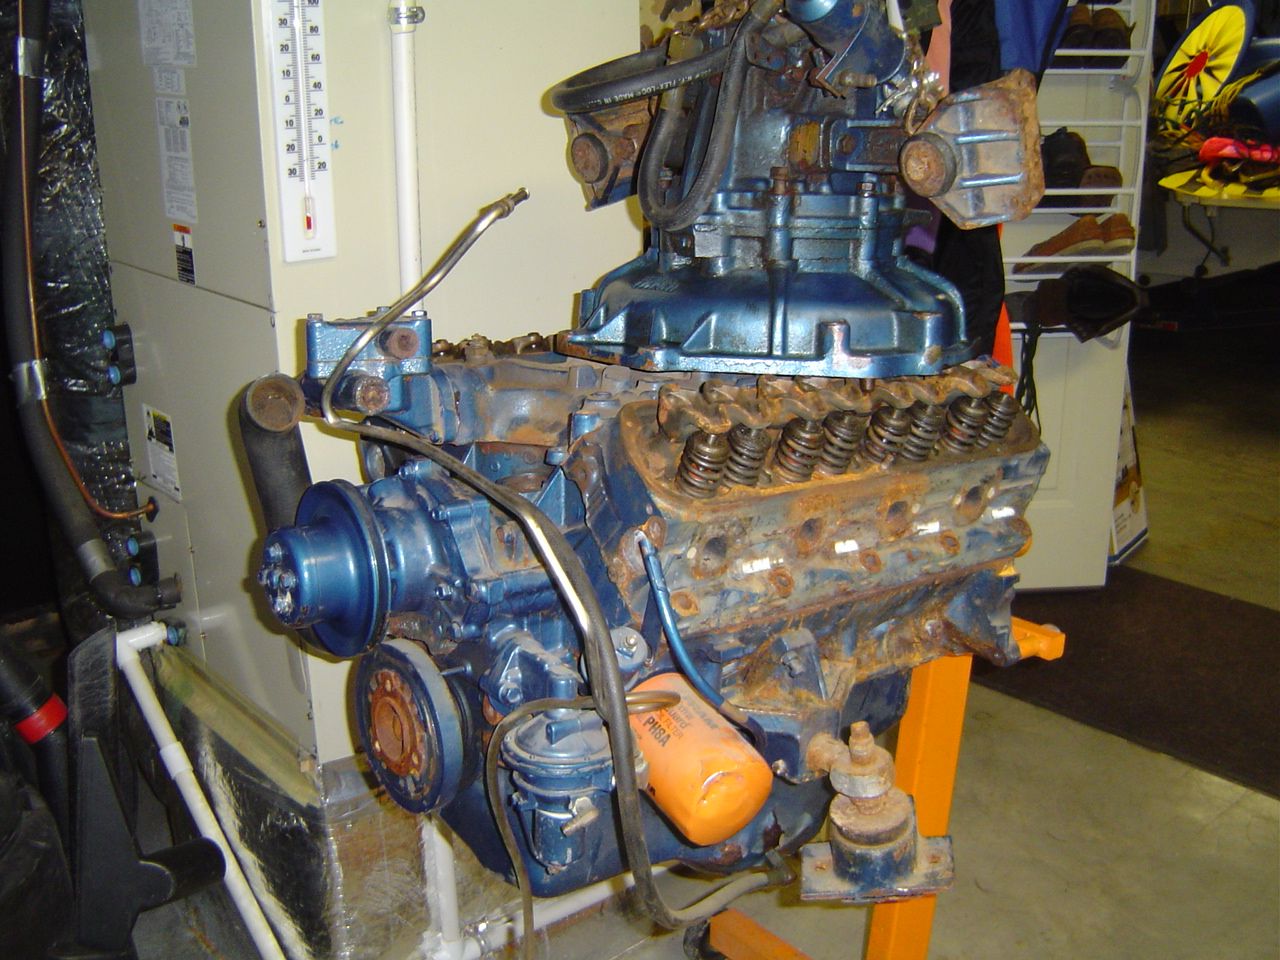
The original engine...out of the boat...we didn't use this.

DSC00662.jpg


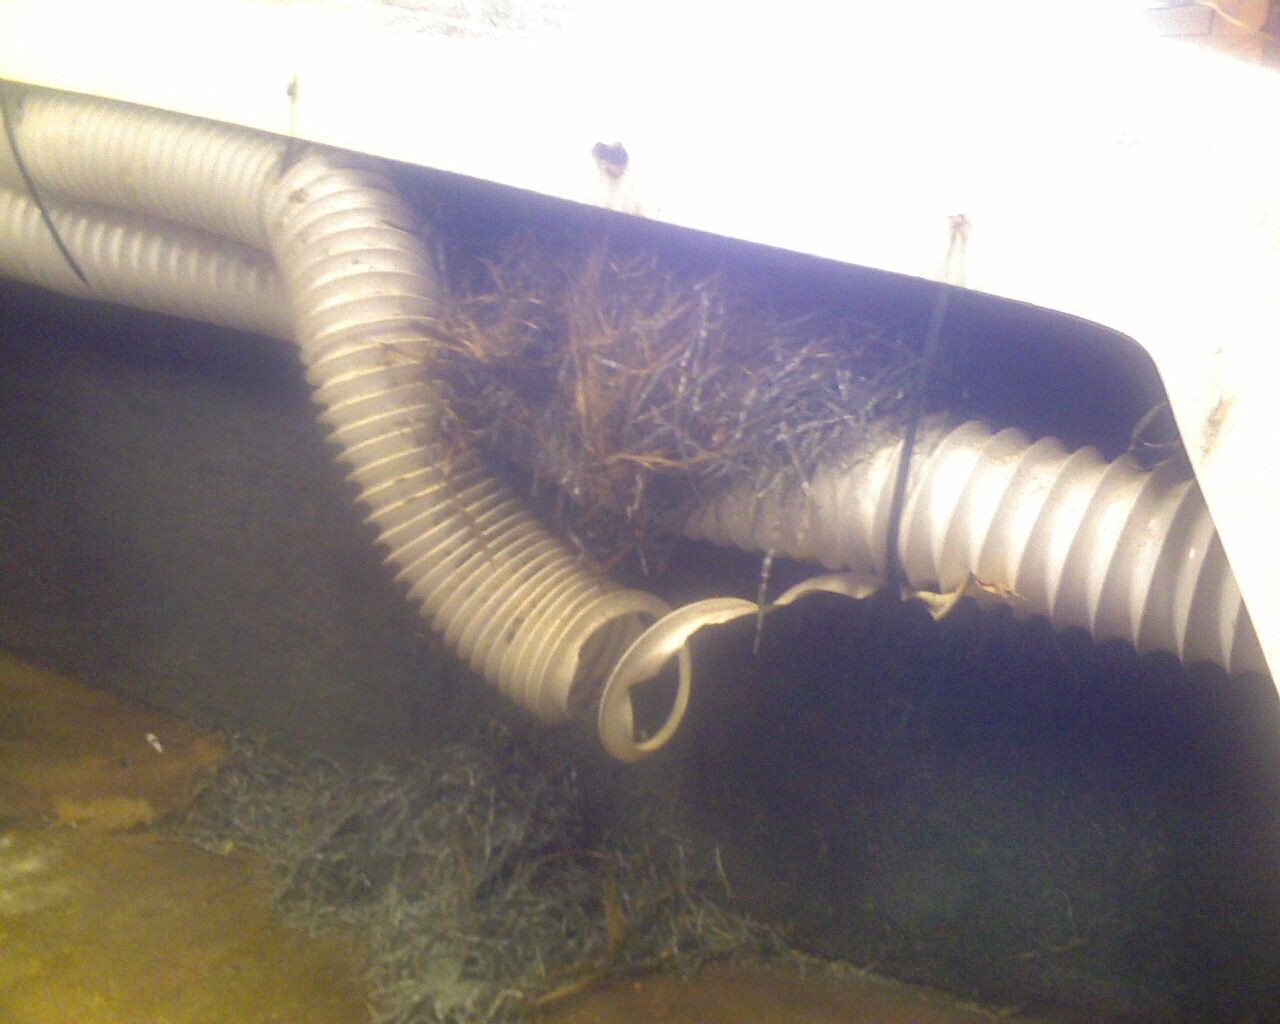
I think something was living in here:
Photo_061308_005.jpg


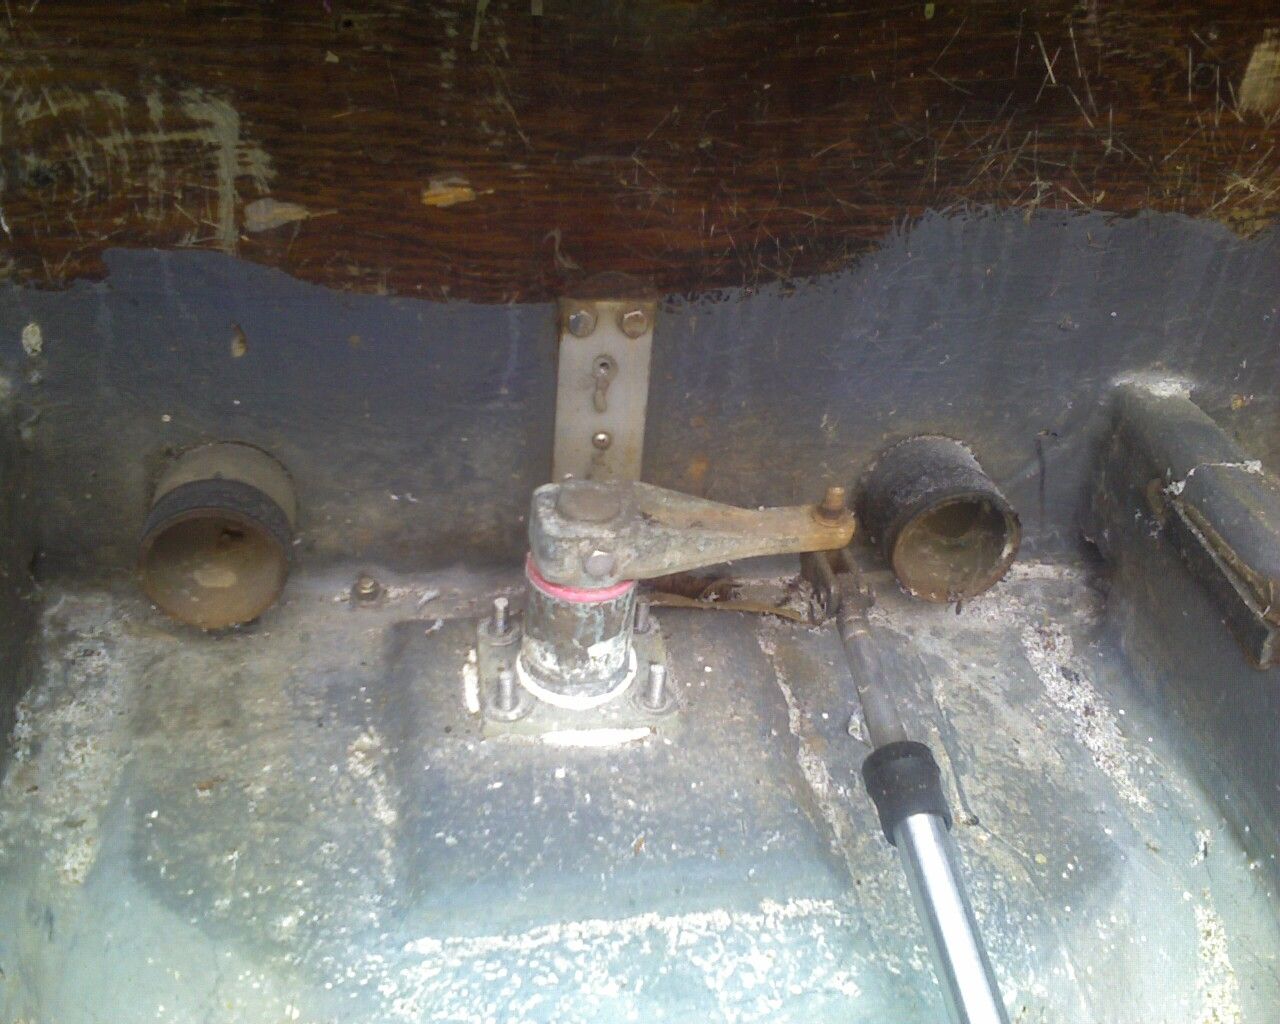
Saltwater usage sure leaves a mess:
Photo_061308_010.jpg
 

Timr71

Petty Officer 1st Class
Joined
Jul 19, 2012
Messages
326
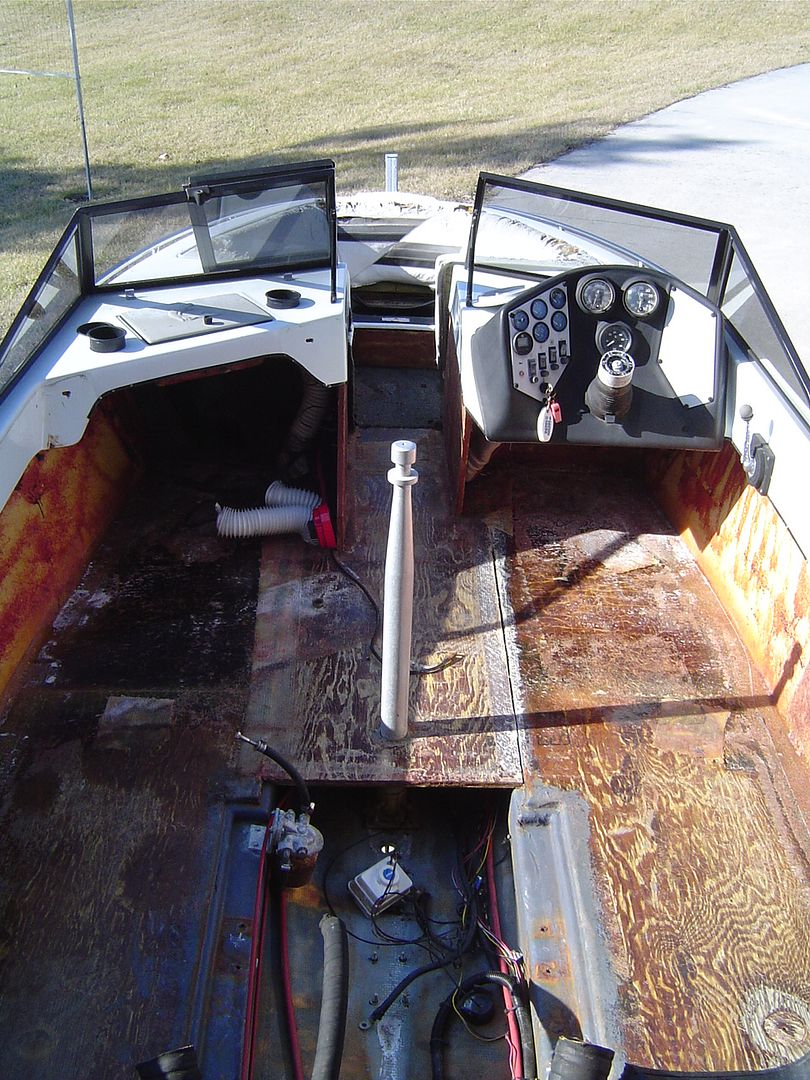
At this point, the boat was stripped and ready to go to the fiberglass guy. I was never there during this phase so I can't comment on what the status was of that floor. Also, I don't really know why my cousin farmed out the stringers and floor when he had all of the material and know how to do the job. As you may know, Mastercraft, and Skier's Choice (Supra), and Malibu all have factories in Northeast Tennessee. As a result, there are numerous former factory employees who have their own small shops. The stringer and floor work was done by a really nice guy, whom I've met twice. He has since closed up his fiberglass shop. I suspect that my cousin threw business at him because he needed work.

Ready to go to shop for new stringers and floor, plus wetsanding a buff job.

Photo_061508_003.jpg
 

Timr71

Petty Officer 1st Class
Joined
Jul 19, 2012
Messages
326
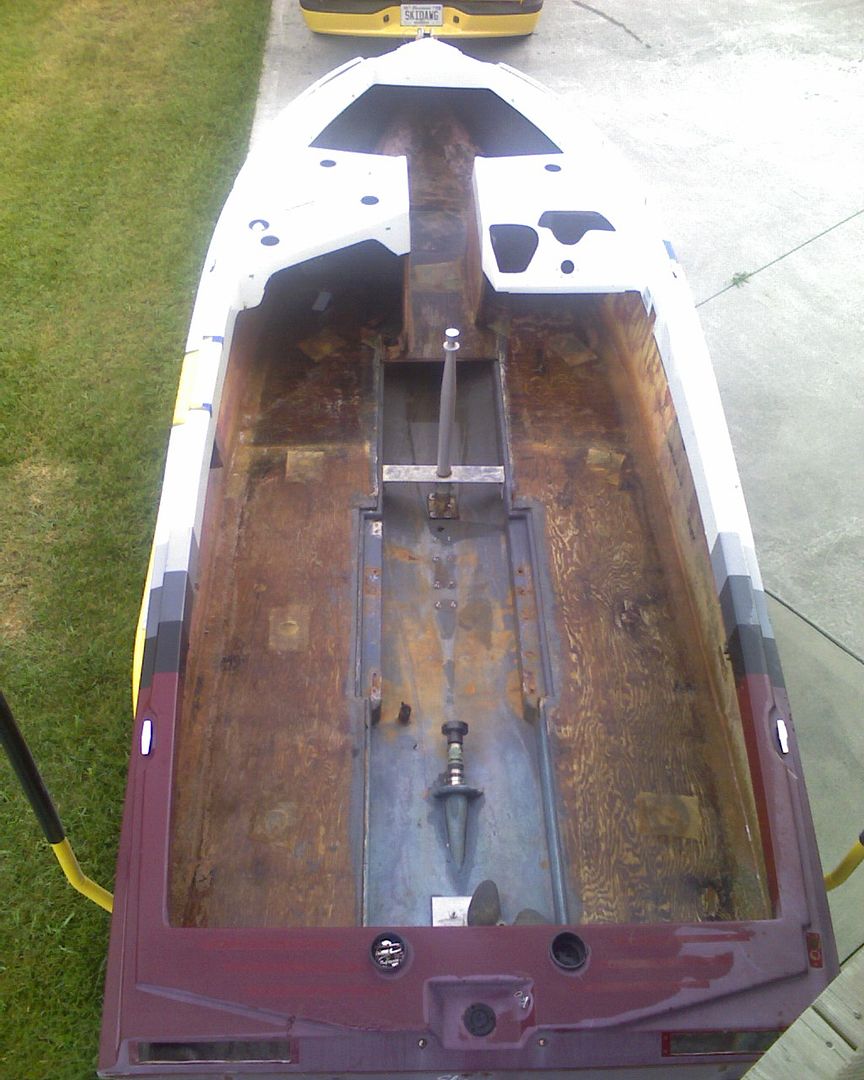
This is what the boat looked like when I first got involved with the project. It had recently returned from Don's shop with new stringers and floor. At this point, we were ready to begin the engine transplant. This was in the summer of 2015.

IMG_0399.jpg


Looking considerably better on the exterior too. Also, my uncle found a boatmate tandem axle trailer for a Centurion.

IMG_0400.jpg
 
Last edited:

Timr71

Petty Officer 1st Class
Joined
Jul 19, 2012
Messages
326
Engine Transplant: the plan was to take the engine out of my cousin's Falcon and drop it into mine. He had aquired a 350 MCX test engine from Mastercraft and wanted to install that into his boat. This should be easy right? Well other than putting a GM into a boat that originally came with a Ford. The only real issue was plumbing the raw water pickup...they're on opposite sides.

The donor boat:
IMG_0410.jpg


Fortunately, my cousin put an engine hoist in his garage/workshop when he built this house.

IMG_0809.jpg


IMG_0811.jpg


IMG_0408.jpg


IMG_0813.jpg


IMG_0409.jpg
 

Timr71

Petty Officer 1st Class
Joined
Jul 19, 2012
Messages
326
In August of 2015, with the engine and running gear all installed we backed it down to the water to see if it would run...for the first time in over a decade.

IMG_0427.jpg


Splash!

IMG_0824.jpg


IMG_0428.jpg


My cousin had done the steering hook ups under the dash and had the rack installed upside down. So when I first drove it, it turned in the oposite direction of the steering wheel. A quick and easy fix and we were working good.

After this, we bolted in the torn up interior and I towed the boat back to my house in Alabama. We went to the lake a couple of times to close out the season.

Here's what the boat looked like then:
IMG_0471.jpg
IMG_0474.jpg
 

Timr71

Petty Officer 1st Class
Joined
Jul 19, 2012
Messages
326
Yep. That vinyl was a tad tattered and torn.
The good news is that when I did the next phase of the restore, I got rid of all of that.

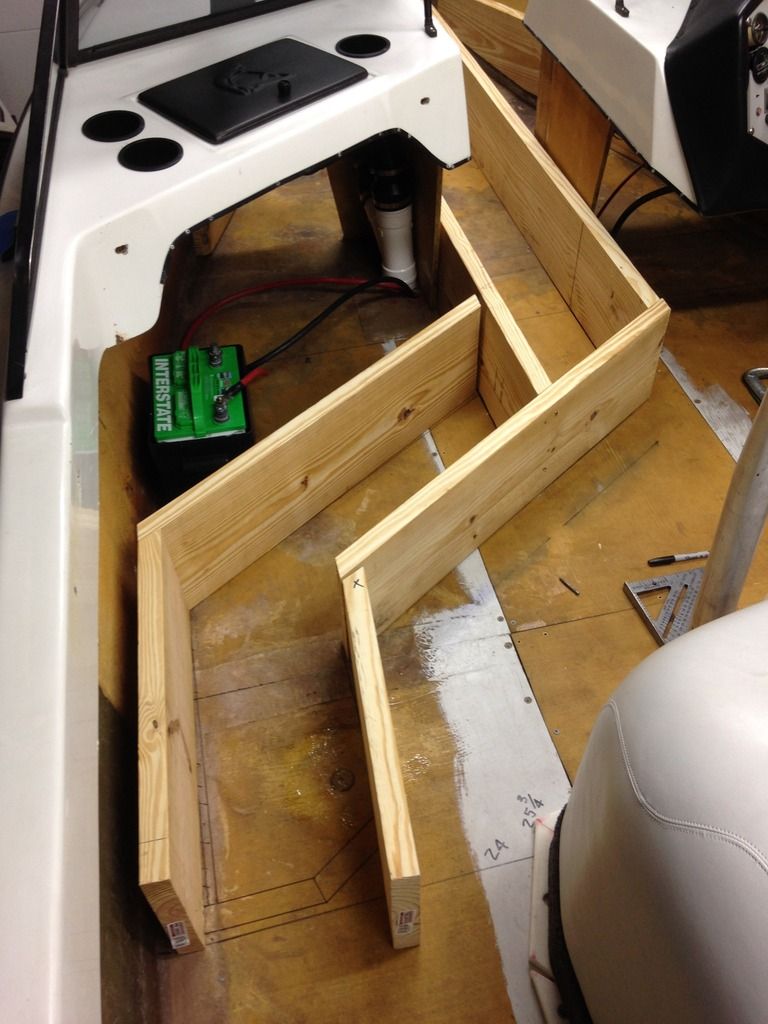
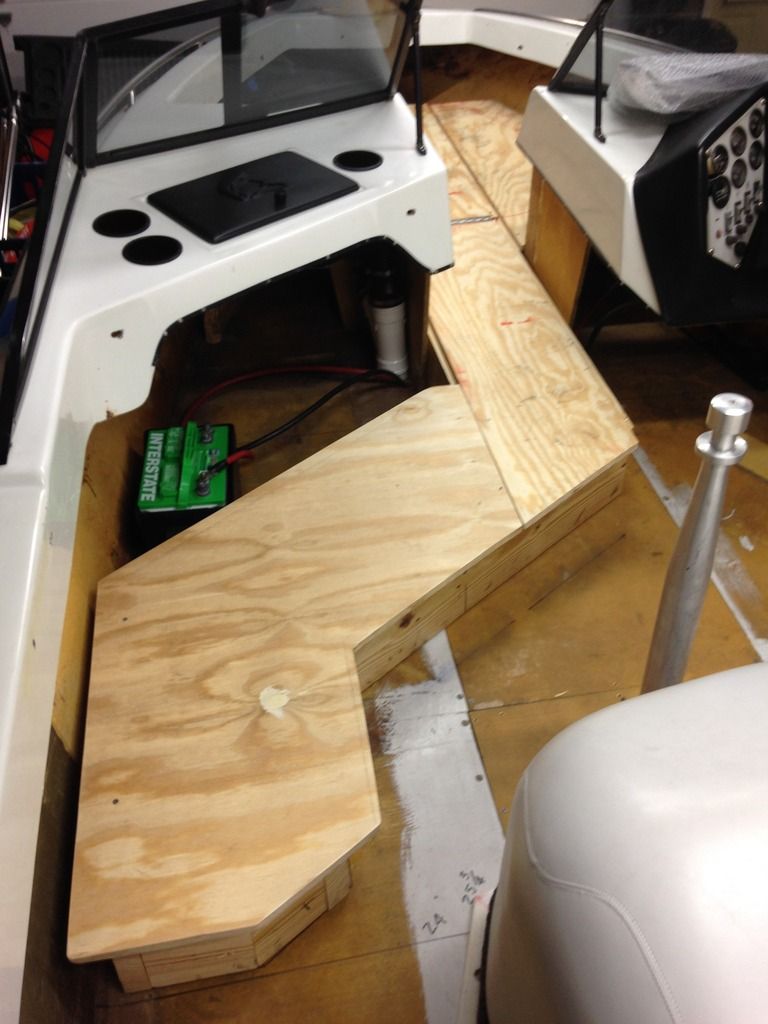
We had to build new structure to replace everything that was removed. In doing so, we borrowed a design idea from many Supra boats. That is a raised area going through the walk through. This allowed me to create a new ski locker and expanded seating with pop up seat backs that fold flat.

IMG_0793.jpg


IMG_0794.jpg


IMG_0803.jpg


IMG_0807_1.jpg


IMG_0847.jpg


Designing on the fly...we had to make a height adjustment of this much:
IMG_0851.jpg


I took the old pieces apart so some of it could be reused.
IMG_0860.jpg


some days it's hard to work at the lake when this is right outside your back door
IMG_0861.jpg


Our work area:
IMG_0862.jpg


IMG_0873.jpg


A lot of rot in the bottom of this:
IMG_0887.jpg


Starting to take shape:
IMG_0891.jpg


IMG_0942.jpg
IMG_0949.jpg


I bought a new captains chair. And purchased the same vinyl to all of the interior would match.
IMG_1080.jpg
 

Timr71

Petty Officer 1st Class
Joined
Jul 19, 2012
Messages
326
Did you seal the plywood with anthing??


Yes, all of the new wood structure was coated with fiberglass resin to seal it. Unfortunately, I don't have any pictures of that because it was done while I wasn't here. That's what happens when your boat restore project is a family/team effort.
 

Woodonglass

Supreme Mariner
Joined
Dec 29, 2009
Messages
25,928
Hopefully you mean Epoxy resin. If you only used the Bondo type resin (Polyester Resin) and didn't use CSM with it then it's pretty much worthless. With out the CSM it will harden and eventually crack when the boat flexes...(and it will).
 

Timr71

Petty Officer 1st Class
Joined
Jul 19, 2012
Messages
326
Hopefully you mean Epoxy resin. If you only used the Bondo type resin (Polyester Resin) and didn't use CSM with it then it's pretty much worthless. With out the CSM it will harden and eventually crack when the boat flexes...(and it will).


Yes, my typo. Again, this is not my area of expertise. The application was done by a boat building professional (friend of a friend). I had to ask. Definitely no Bondo. (At the time this work was done, last summer, we were under a bit of a deadline to get the boat in the water for an event. So, we called in a favor. Someone who could do the work better and quicker.)
 

Timr71

Petty Officer 1st Class
Joined
Jul 19, 2012
Messages
326
In mid July last summer, we started to get items back from the upholstery shop:

IMG_1089.jpg


Then we put in carpet:

IMG_1087.jpg


Then, installed the interior and some original boat graphics:
IMG_1099.jpg


IMG_1100.jpg


IMG_1101.jpg

IMG_1102.jpg


At this point (mid-August) last summer, I took it back to Alabama and used it for the remainder of the season. Everything worked fine until we broke the prop shaft on the first Saturday in October. So, I had more work to do this past winter.
 

Timr71

Petty Officer 1st Class
Joined
Jul 19, 2012
Messages
326
The goals for this past winter were:

1. Locate, purchase and install a new prop shaft
2. Rebuild the dashboard, replace gauges, make everything work, install GPS/depthfinder
3. purchase and install bimini top
4. finish up interior trim

We built the walk through area, borrowing from supra. There are two cushions that lay flat, but pop-up to create seat backs. In the cockpit area, this provide another smallish seat where a kid could sit.

IMG_1374.jpg


IMG_1372.jpg


IMG_1371.jpg


IMG_1373.jpg
 

Timr71

Petty Officer 1st Class
Joined
Jul 19, 2012
Messages
326
For the dashboard, I purchased some black HPDE in the same width as the stock dash plates. I/we used the old plates as templates for the new plates even though I changed out the switch panel.

17155444_10212186003036174_6521798522624430588_n.jpg


17103507_10212186002556162_6497473790026735654_n.jpg


17201203_10212186002516161_6065673752557336462_n.jpg


17951667_10212516033566731_569069847567715487_n.jpg


17904048_10212516033406727_8405902552635920835_n.jpg


Then, I used 3M carbon fiber sheets to wall paper the dash plates.

IMG_1394.jpg


IMG_1395.jpg


IMG_1396.jpg


IMG_1397.jpg


Finished and installed:
IMG_1503.jpg


IMG_1505.jpg
 
Top