ybstuk
Seaman
- Joined
- Sep 29, 2008
- Messages
- 57
No Title
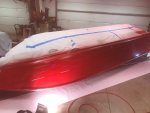
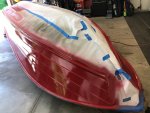
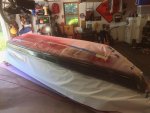
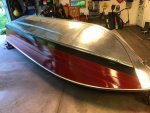
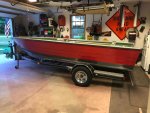
Wow - 2.5 months...
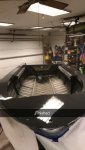
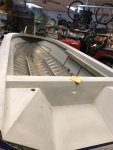
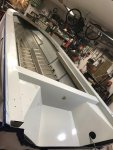
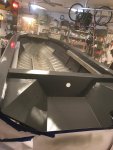
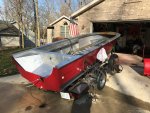
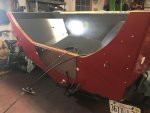
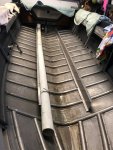
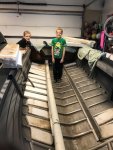
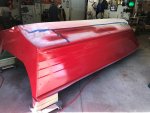
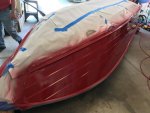
Here's a long overdue update. Finally painting the sides. 2 coats of paint on yesterday. Pretty pleased with it so far! I followed Watermann's steps to the tee using tractor paint from this thread: http://forums.iboats.com/forum/boat...paint-instead-of-gel-coat-on-sears-gamefisher
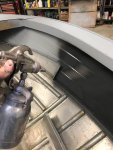
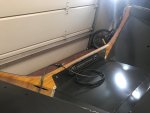
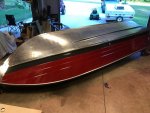
Later this week I'll be doing a small section of gray on the bottom. Once that's complete, I can finally flip it, and start working on the interior.
It will get done, albeit at a snail's pace probalby.
Wow - 2.5 months...
Here's a long overdue update. Finally painting the sides. 2 coats of paint on yesterday. Pretty pleased with it so far! I followed Watermann's steps to the tee using tractor paint from this thread: http://forums.iboats.com/forum/boat...paint-instead-of-gel-coat-on-sears-gamefisher
Later this week I'll be doing a small section of gray on the bottom. Once that's complete, I can finally flip it, and start working on the interior.
It will get done, albeit at a snail's pace probalby.

")