Dillon Laker 14/16.5 Wooden Tunnel Hull Build/Mod Project

gomopar440

Petty Officer 1st Class
Joined
Nov 27, 2007
Messages
281
I just finished rebuilding the DVA (minus the cap) with my changes to prevent hooking it up backwards again. I've got wires with large jaw clips coming out the motor end, and two screw posts coming out on the multimeter side. I didn't have any banana posts so I used a couple stainless screws for posts with locking nuts instead. The nut on the positive side is painted red so I don't get them mixed up. I'll use the alligator clips on my multimeter leads to grab the posts to get the readings from it. I used a pretty small enclosure (Hammond 1551G) so I had to turn the screw heads down a bit on the lathe to get them to fit.

Oh yea, I found another pic of the Laker 14 on the Dillon Racing website. It's a single seat version, but the side view should give a better idea of the scale of the motor to the boat. Even though it's called the Laker 14, it's actually 14.5' long. Mine will be 2' longer than the one in this pic and the powerhead part of my "Tower of Power" motor will be about twice as tall as this 75 JohnRude rendering. The OB mid and lower sections should be pretty close to each other in scale. I cut and pasted the motor I drew to try to get it closer to scale by using the OB on the other boat as a guide. Messy, but it looks a little bit closer now at least.

EDIT: Pics edited to try to match the scale of each drawing. Rear transom edge is used as the reference point on both boats.
Laker%20comparo%20-%20side.jpg

Laker%20comparo%20-%20top.jpg
 
Last edited:

archbuilder

Vice Admiral
Joined
Sep 12, 2009
Messages
5,697
Do you have a long shaft or a short shaft? Looks like it will be on a jack plate, or will the transom be high enough? How do you set the height on a single engine cat?
 

Patfromny

Lieutenant Junior Grade
Joined
Dec 2, 2012
Messages
1,197
Do you have a long shaft or a short shaft? Looks like it will be on a jack plate, or will the transom be high enough? How do you set the height on a single engine cat?


That rendering sure looks like a long shaft. Good question on the engine height. I guess you have to do the boat running, cav. Plate on top of the water thingy? Sorry to get so technical.:redface:
 

gomopar440

Petty Officer 1st Class
Joined
Nov 27, 2007
Messages
281
My motor model # is 115ELPT, which translates to: 115HP, Elec start, Long shaft, Power Trim). So I have the 20" shaft in mine. I previously emailed Bob Dillon about the suggested motor placement, and he said to mount it so the center line of the prop shaft is lined up with the lowest part of the hull, which happens to be the sponson keels. The height is set by making the top of the transom as tall as it needs to be to get the prop to the proper height. Since this is a total ground up build, it's up to me to make sure I build the transom to the size and shape required to achieve that goal. The plan is to build the transom so I (hopefully) won't need a jack plate at all.

This seems a bit high compared to the normal motor placement rules for conventional hulls, but remember this boat was designed by a person who designs, builds and races mostly true race boats. This recreational boat design is his first "recreational" boat design he's done. Most power boat racers tend to put their motors higher and further back than regular pleasure craft from what I've read about their setups. They even sometimes run the props partially in and out of the water. I'm not ever going to be racing this thing (officially anyway:heh:) so I'm not trying to get that close to the performance edge, just make the boat work as the designer intended. Those racers running with their motors that high need specialized props to deal with the prop cutting through the water's surface. I'd like to stick with a normal prop so I can find replacements easier and cheaper if necessary.

And I guess you guys were right, I AM addicted. I decided to start the resto on the Larson. It'll need new stringers and a transom at a minimum so I decided to de-cap it. How am I doing so far?


DSC_4482.jpg

:fish: LOL! Just kidding guys.

The flotation foam in the front half of the boat was so waterlogged, it weighed about as much as a piece of wood (not balsa) of about the same size. The waterlogged wood under the floor was probably twice as heavy, if not more, than it was originally. This much trapped water would explain why this boat felt like it weighed a lot more than the bigger blue boat when I towed it home.
DSC_4483.jpg


It's not all going to the dump though. Aside from all the pieces I already salvaged off of it, my wife now wants it to make a raised garden bed out of it. I still need to finish cutting the rest of the sides down to the floor level, but I've done as much as I could for today. The red and white Larson will get the same weight reduction treatment. Then the two hulls will be set back to back to make a large oval shaped garden.
 
Last edited:

gomopar440

Petty Officer 1st Class
Joined
Nov 27, 2007
Messages
281
I think you could make a cool Hot Tub out of the Larson ! ;)
Hey, I think you're right. Just let me put this jigsaw puzzle back together and it'll be good as new. Right? I'm sure I'll get used to the itchy feeling in no time. Wait a minute... Maybe I could turn the red one into a mini skating rink. :lol:

EDIT: On second though I'll have to nix both of those ideas. The wifey claimed them already for her garden. I'd rather keep her happy so I can stay on her good side.:crutch:
 

sphelps

Supreme Mariner
Joined
Nov 16, 2011
Messages
11,435
Confused on the donor pile ... The little blue Rambler was the one I was thinking of ... Unless it's already had the chainsaw treatment .. :D
 

archbuilder

Vice Admiral
Joined
Sep 12, 2009
Messages
5,697
Sam is your typical Florida guy, always trying to build a hot tub or pool lol! Gomopar, what you are saying jives with my limited knowledge about rigging. I actually called my friend David that has a Skater cat with twin Merc optimax 300 outboards to pick his brain. He more or less said the same thing, max speed is set up the lower unit so that the center line of the prop shaft is about an inch or so out of the water. His Skater is set up that way, and as you mentioned, he has 7K in two props! One thing he reminded me of is the water pickups on a TOP are right below the cavitation plate. I'm guessing that the sponsons will ride low enough for the pickups to be in the water? I know they make lower drives with low water pick ups, just wondering what your setup is.
 

gomopar440

Petty Officer 1st Class
Joined
Nov 27, 2007
Messages
281
The blue and white Rambler is still fine, so no worries there. The blue boat I was referring to is the big wooden home built one. That boat had almost 2' of water in it from sitting there for years bow down on the trailer with the hitch coupler sitting in the dirt. I drilled a half dozen 1" holes in the keel and let it drain while I got new (used) tires mounted on the rims. By the time I was done with the tires and hit the road, there was less than 4" of water left in the blue boat, and it was still lighter than this much smaller green Larson.

Sounds like the Skater is setup more like a race boat by your description. I'm shooting for more of the middle ground, between race and regular setups for my boat. As far as RPM goes, I'm sticking with the factory limit of 5,500 to try to keep it reliable. I don't need bleeding edge performance, especially at the expense of motor longevity. Don't get me wrong now, I'd LOVE to take a few laps around the lake at the controls of a boat like your friends Skater. I just don't have the budget to be able to live with a high maintenance setup like that, which is why I'm sticking with a milder setup on mine.

I know there are factory low water pickup parts out there, but I haven't come across any to get an idea what those parts sell for. As a result, I'll most likely end up making own design low water pickup for the TOP. I'll probably use some small aluminum C channel and bend it to wrap around to the under side of the LU to about where the skeg starts. I'll need to get someone to weld it on for me though as I don't have the right kind of welder, nor the knowledge to weld aluminum. That way might be a little draggy if I don't blend it in well enough with the LU sides though. The other option is to have a tube, or tubes (one on each sponson), rigid mounted just under the sponson keels. Then attach a flexible hose to that and route it to the water pickup in the LU. Either way, I'll want to make the covers that direct the water into the stock openings removable for maintenance and cleaning.
 

gm280

Supreme Mariner
Joined
Jun 26, 2011
Messages
14,593
gomaopar440, if you are going to set the engine that high, I would certainly install a water pressure meter so you can tell if water is being picked up properly to keep from frying an engine. Setting the engine that high eliminates friction of the foot in the water. And that does help with the speed. That is the concept behind Jack Plates. I am watching though. Interesting thread. :thumb:
 

Baylinerchuck

Commander
Joined
Jul 29, 2016
Messages
2,726
Wouldn't an adjustable jack plate help you experiment and get the engine set at the right height for optimum speed? I see these plates sold in a few sites, but they seem pricey. Just curious. Enjoying the thread.
 

gomopar440

Petty Officer 1st Class
Joined
Nov 27, 2007
Messages
281
I am planing to have a water pressure gauge, along with a few others. I like to be able to keep tabs on what my motor is doing on pretty much all of my vehicles.

There's one big problem with using a jack plate IMHO. It's only going to be useful on a finished boat you can put in the water and test it with. You can't do that without a completed transom and watertight hull, basically an already finished boat. If I was ok with leaving the jack plate in place permanently (I'm not) then it wouldn't really be any issue. To actually make use of the best motor placement setting info found by using an adjustable jack plate, I'd have to go back in and tear the transom out and then rebuild it to mimic the jack plate settings (not happening). I'm not as concerned with getting every last scrap of performance out of this boat and motor combo as I am with keeping it simple and reliable. Jack plates have their place on boats that want/need to get that last bit of performance, but I'm already overpowering the original design with the 115 TOP. The mods I'm doing to the hull were already run past the designer and got his ok on them before starting this build. I'm just trying to follow the KISS principal here as much as possible to minimize the chances of me screwing something up. Once this boat is ready for the water I'll do a bit of prop testing to find one that lets the motor hit 5,500 RPM at WOT. Whatever speed I get at 5,500 is what I get, and I'm fine with that.

The green Larson is down to just the part of the hull below the floor now. Everything above that point, as well as all the stringers, ply and foam pieces under it are now at the dump. I'm NOT looking forward to doing this again to the red and white Larson. I may just go ahead and pay the $30 to get the dump to take it whole. That'll be next payday if I go that route with it. In addition to the cost of the sawzall blades I burned up, there's also the physical cost to consider. The more I think about it, the more I'm leaning towards dropping it off whole. I'm probably going to be out of commission for a few days to recover from the strain I put on my back over the last two days.

EDIT: BTW, what's up with the forum ranks not working consistently here? I know they are geting updated since Archbuilder just got a promotion not too long ago. According to the sticky at the top of the forum, I should already be a Seaman by now. I know those ranks don't really count for anything, I was just curious. Here's the link to the forum rank guidelines where I got that info from. http://forums.iboats.com/forum/forum...-by-post-count
 
Last edited:

gomopar440

Petty Officer 1st Class
Joined
Nov 27, 2007
Messages
281
Uggg. Insomnia strikes again. At least I made good use of the extra innings of awake time by ordering a couple replacement capacitors for the DVA. This time I ordered directly from Digikey and got a much more reasonable shipping cost. Both caps together totaled just $1.62, but shipping is estimated to be $3.40 for USPS First Class to my ZIP. Much better than the near $5 I got hit with for just the shipping from an Amazon vendor (NOT Digikey). What bugged me about that vendor, besides the shipping cost, is that they took over a week to ship my parts to me after they took my payment. When the parts finally got here, they were in a Digikey box as if they just took my order and then ordered the same stuff from Digikey themselves. I guess it took them so long to ship it to me because they were waiting to get the parts in.

I'll try to do my homework a little better from now on before I order any more parts online again. That's my fault though for being impatient and just going with the first seller that offered all the parts I needed in one place. Live and learn...
 

Baylinerchuck

Commander
Joined
Jul 29, 2016
Messages
2,726
eBay is also a good place to find electronic components and boat rebuild stuff. I bought 2 ski locker teak doors and a teak ski platform for the Capri. All used and inexpensive of course. That's how I roll, lol.
 

gomopar440

Petty Officer 1st Class
Joined
Nov 27, 2007
Messages
281
It wasn't too bad outside temperature wise today, so I headed out the the tent for a while. I just used one burner on the propane heater for about ten minutes and then was able to turn it off for about 45 before it got cool enough that I needed to fire it up again.

I spent about three hours getting all the beam cutout locations drawn onto the port sponson inner side. After that I trimmed the screw points that were poking through the butt block near the tip flush with the surface of the wood with an angle grinder. Now that I was done with the drawing part (for now) I propped up the sponson side so I could trim it to shape with a jigsaw. Then I flipped it over onto the other scarfed piece of ply so the smooth faces were facing each other. I used a brad nail at each end to lock the two pieces together temporarily and then used the first piece to trace the shape onto the other. I still need to make an extension for the tip like I did with the first side. Now I have big enough scrap pieces of 1/4" AC ply to make the extension without having to go out and buy a whole 4' x 8' sheet just for that one little piece.
DSC_4484.jpg


Next up is cutting out all the openings for the beams, but that will be another day.
DSC_4485.jpg


BTW: On that first pic I had my back up against the tent door so the camera angle really makes the pieces look weird. It's just about impossible to catch big pieces like that in the pic frame from that close without getting a bunch of distortion. If anyone has any tips on how to deal with that I'm all ears. I'm using a Nikon D3100 DSLR with an AF-S Nikkor 18-55mm lens. I'm no expert when it comes to taking pics so I usually just leave the camera set to "Guide" or "Auto". Both settings pretty much just let the camera do what it thinks is best for the pic AFAIK. Most of my pic are going to be like that unless I have the tent door rolled up. That's probably not going to be very likely with winter rolling into these MT mountains where I live. Since I'm building a 16.5' boat in a 17' tent, I guess I'll have to get used to it. Once Spring rolls back around, I'll be able to take better open door pics.
 

gm280

Supreme Mariner
Joined
Jun 26, 2011
Messages
14,593
Noting wrong with you pictures. We all know how iffy some shots can be. But the fact that you are taking them and posting them here is what we enjoy. I am watching with much interest. Keep up the work and shots. :thumb:
 

gomopar440

Petty Officer 1st Class
Joined
Nov 27, 2007
Messages
281
Laker%20comparo%20-%20tigershark%20paint%20-%20side.jpg


P-40 Warhawks (or Tiger Sharks, depending on who you ask) are one of my two favorite WWII aircraft of all time (the P-38 Lightning being the other). The motor and the top and sides of the hull would be done in flat olive drab. The bottom would be done in Glossy cloud grey. All lettering would be done in typical military stencils with yellow paint. I had the pic zoomed in pretty far so I could do the teeth detail. As a result I drew the mouth is a little too small for the size of the hull. If I use this paint scheme, I'd have to name it "Tiger Shark".

What do y'all think? :der: or :encouragement: ?
 

Patfromny

Lieutenant Junior Grade
Joined
Dec 2, 2012
Messages
1,197
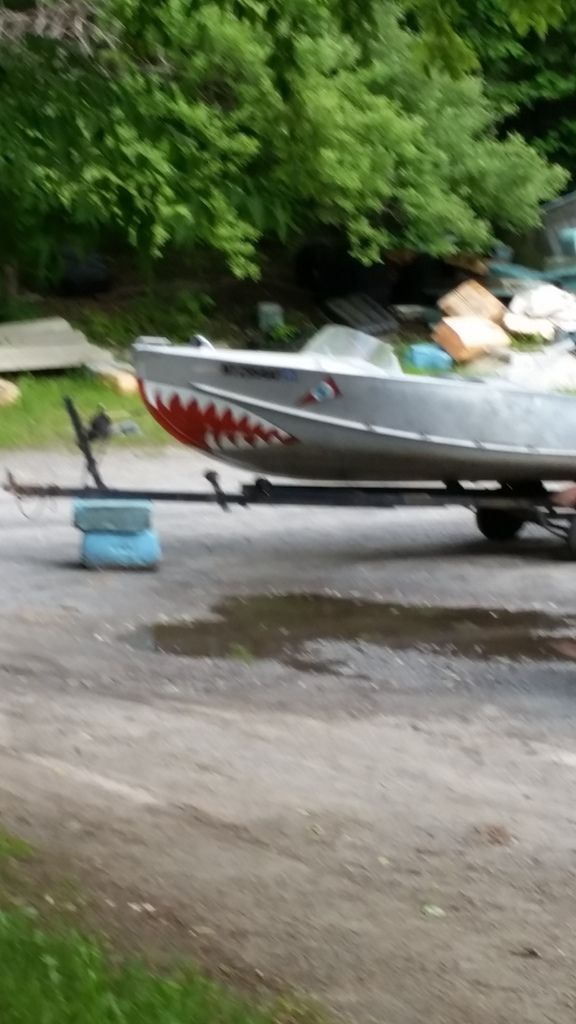
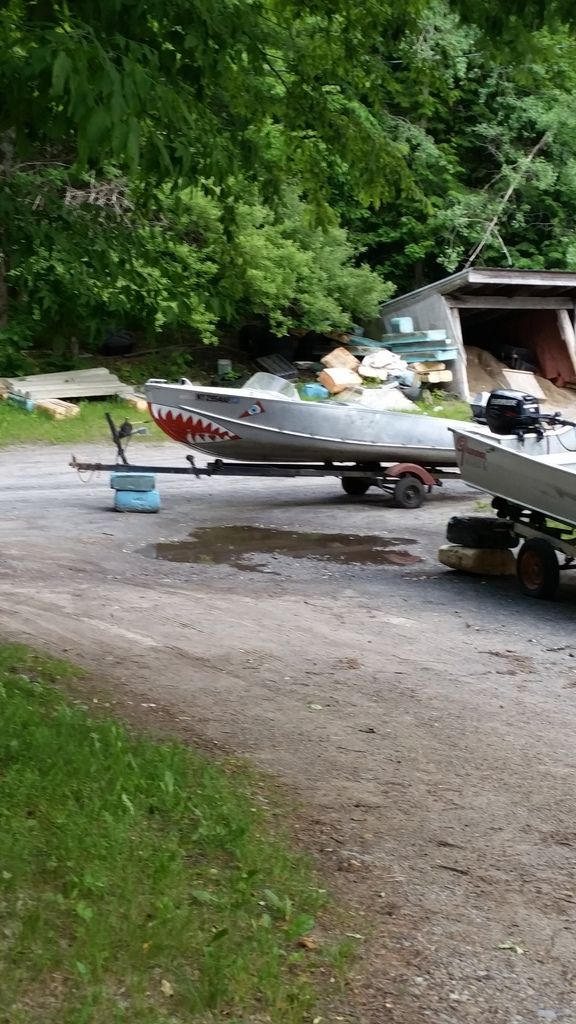
I grew up loving this boat. It was another resident of the lakes. Was, hopefully still is. I saw it this year at the lake marina and had to snap a pic. Hadn't seen it in 20 years. I always wanted to do the same thing when I was younger. Super cool graphic.


Top