Just a note, those ski pylon poles aren't supposed to be used for tubing, although lots of people use them anyway.
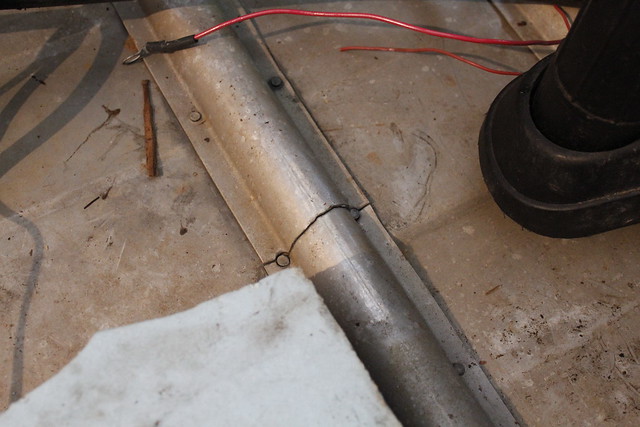
You've pulled to old transom wood, correct? Or at least the upper 2 'wings' at either corner?
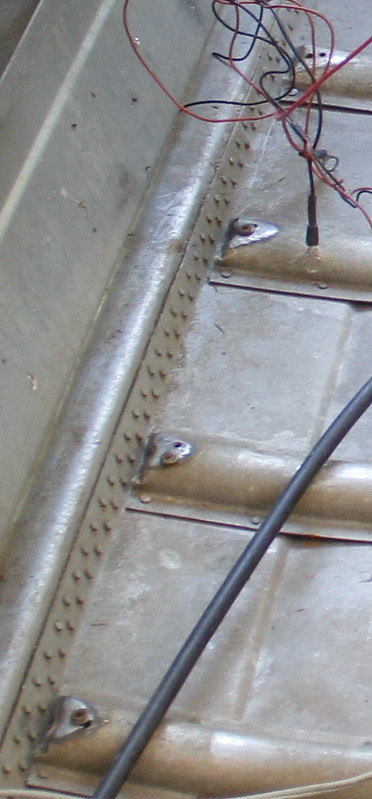
If you want to go a little higher w/ the tow eyes, instead of using the current handle location you can, although you should probably make the transom in all 1 piece, rather then a trapezoidal main section w the 2 upper 'wings'. It'll take extra plywood to do it that way, but being all 1 piece it'll be stronger, and I still wouldn't raise more then about half way from the current handle to the flat part of the transom (where the OB rests). Straight up from the right most handle screws on the starboard handle, and straight up from the left most handle screw on the port side.
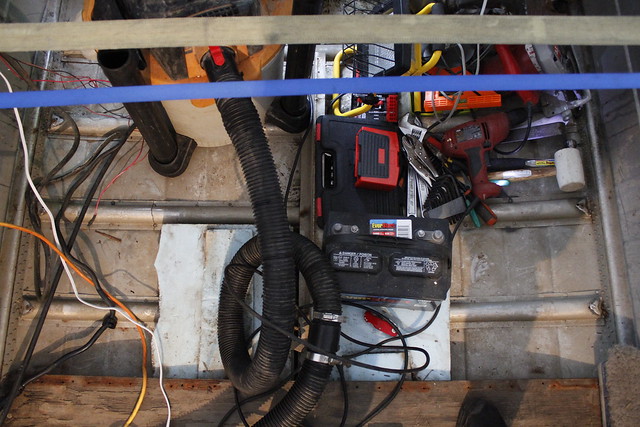
Most guys recycle a handle hole for tow eyes, and JB Weld/patch/MarineTex the unused holes, and use the U shaped eyes instead of the ski tow eye you posted.
Add an aluminum backer plate on the inside, even if the eyes came w/ washers, but use them too
The U shaped tow eyes work good for transom tiedown straps too