99 Super Hawk. Repair, Transform, Rig

83mulligan

Senior Chief Petty Officer
Joined
Feb 7, 2009
Messages
687
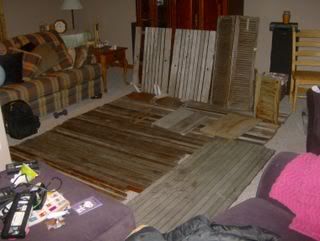
Got my deck boards cut last night. Was too late to get the epoxy on, but I'll get after that tonight. I'm excited to get the deck in and covered with vinyl. Some years ago I salvaged a mother load of teak for a ridiculously low price. I can't wait to start building it into my design and hopefully the boat will turn out really nice!
 
Last edited:

Woodonglass

Supreme Mariner
Joined
Dec 29, 2009
Messages
25,924
Well, my nautalex arrived tonight! A little earlier than expected so I need to spend the evening templating the floor, cutting it out and getting that first coat of epoxy resin on it. Anyone know how long between coats of epoxy????
Depends on the conditions. If it's hot and you can get it into direct sunlight you could probably recoat after about 4-6 hours. If not then probably wait till the next day or one coat in the morning and then another in the evening.
 

kcassells

Fleet Admiral
Joined
Oct 16, 2012
Messages
8,600
I have no idea how this post got here. Sorry for the bump.
 
Last edited:

fishrdan

Admiral
Joined
Jan 25, 2008
Messages
6,989
Those teak transom peices look cool, nice touch.

What type of epoxy did you buy? Type of epoxy and ambient temps play a big role in how fast the epoxy cures. On my swim platform I used US Composites slow cure since I was working in 90-100* temps, and it still took around 12 hours before I could flip and recoat...
 

83mulligan

Senior Chief Petty Officer
Joined
Feb 7, 2009
Messages
687
Wood: I'm doing it in the basement. I'll just take it a day at a time. I can't remember if I have to sand between coats???? fisherdan: it's us composites 635 medium. And thanks, love working with that teak! I just have to keep it to an amount I can maintain. Did you use blue foam on all your livewell hatches? Can you post a pic of one? I need to build 3 of those.
 

83mulligan

Senior Chief Petty Officer
Joined
Feb 7, 2009
Messages
687
I've got two coats of epoxy on the topside and one on the bottom of the deck boards. It's taking a really long time for it to cure in the basement, which is in the 60's. The first coat i put on with a chip brush took almost 48 hours. On that coat I did both sides same time. I sanded and rolled a coat on topside last night. I also rolled a coat on a hatch cover last night and put it outside this morning. Will be interesting to see the cure progress of each when I get home this evening.
 

Woodonglass

Supreme Mariner
Joined
Dec 29, 2009
Messages
25,924
Yup, Epoxy likes Heat for curing. If you have some Halogen Lights put em on it.
 

83mulligan

Senior Chief Petty Officer
Joined
Feb 7, 2009
Messages
687
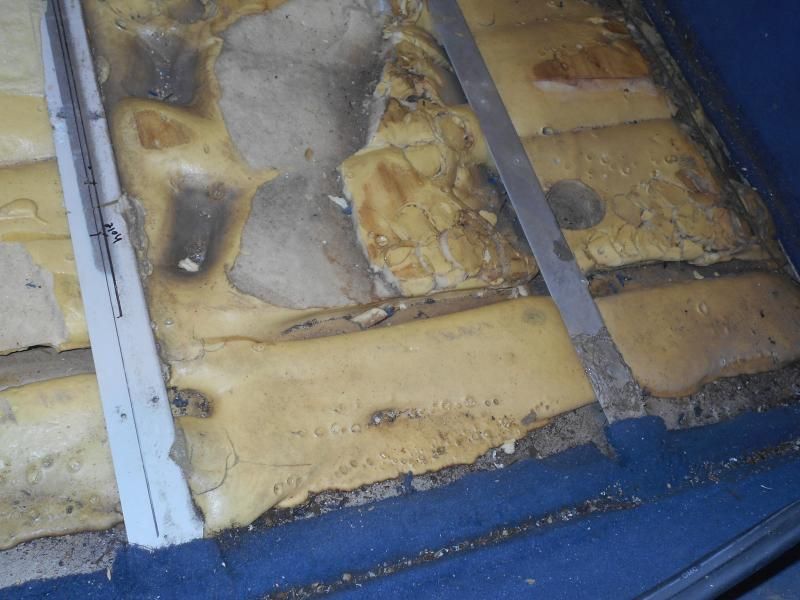
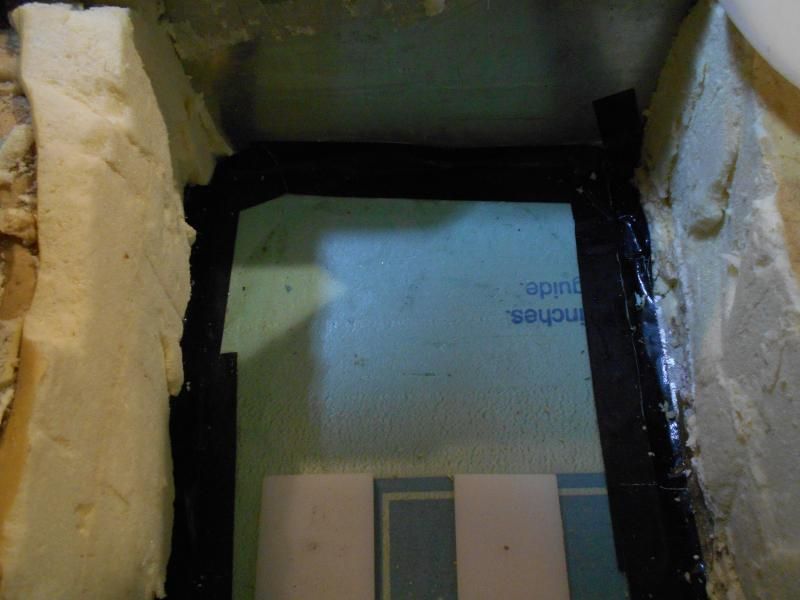
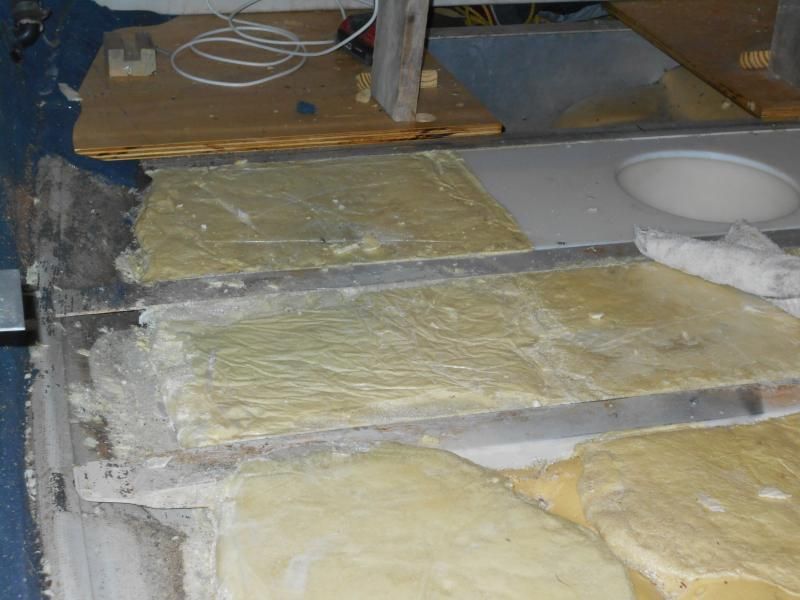
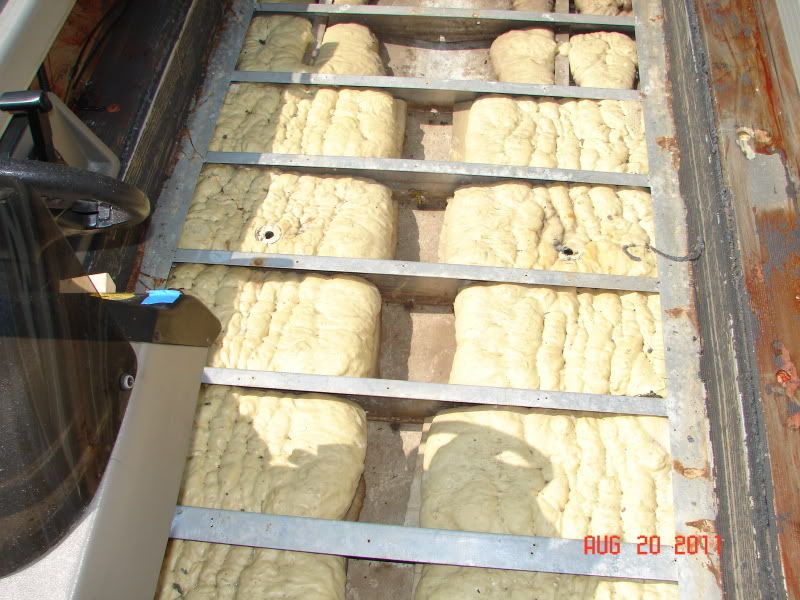
Here is how the manufacturer of my boat did the foam. The really high spots they cut off after the pour. The kinda high spots they beat back down with a dead blow hammer. Many spots are still higher than the cross bracing causing the old deck to not sit quite flush. I'll be cutting off the high spots and re-pouring to flush with cross bracing

.
 

83mulligan

Senior Chief Petty Officer
Joined
Feb 7, 2009
Messages
687
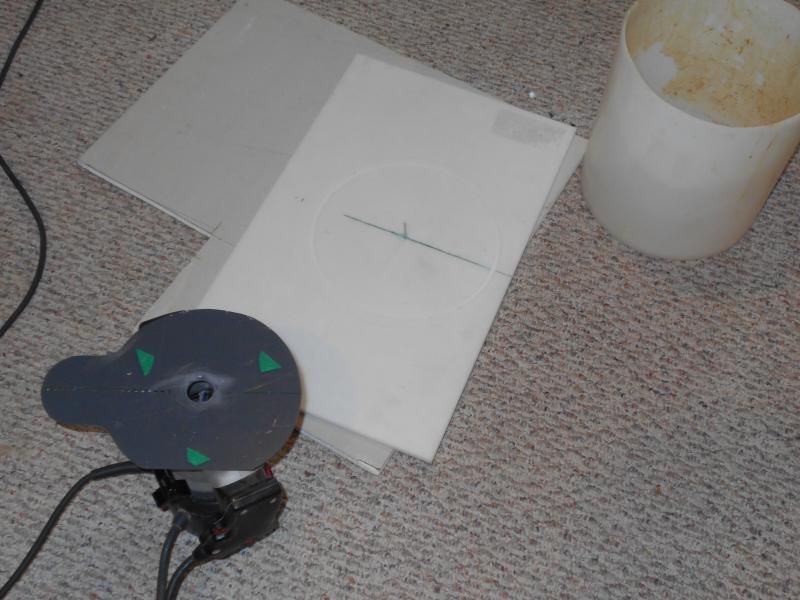
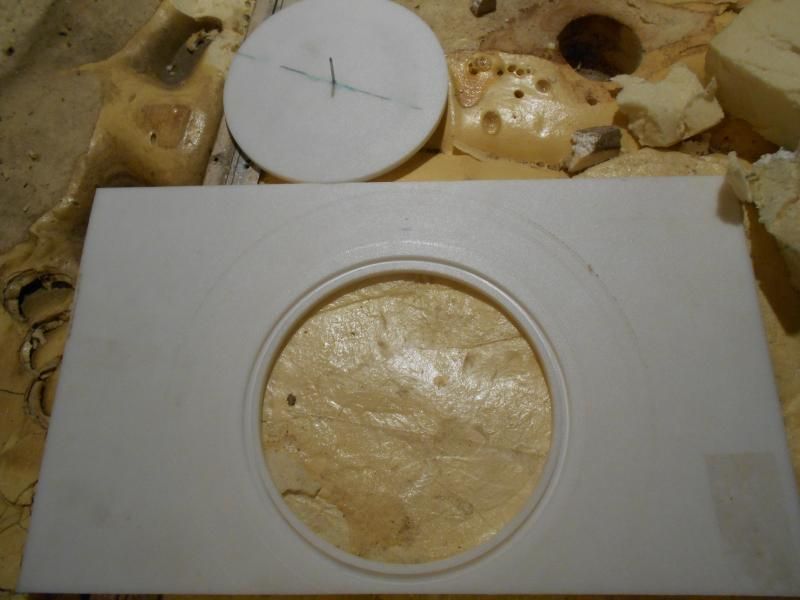
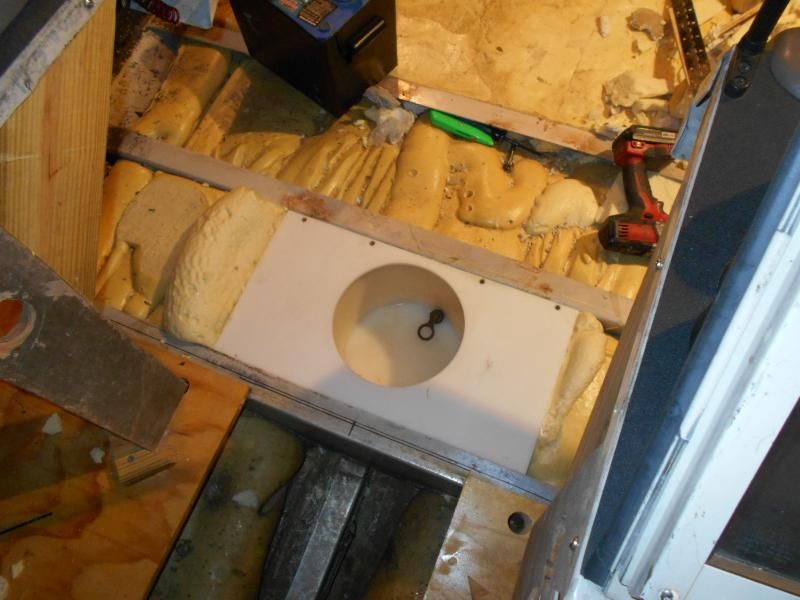
I have a nice poly bucket that I want to put below deck on this boat. I cut out the foam where i want it (between consoles). I plan to place the bucket, foam it in and cover it with a piece of uhmw. It will have a hatch over it. The uhmw will make a nice spot to cut on if I need to and gives it a finished look. So, I got out the circle jig I made for my router and cut a groove that the rim of the bucket will fit in and then cut out a circle for access to the bucket.


So now I have to clean the bucket, foam it in, place the uhmw sheet and secure it.
 

83mulligan

Senior Chief Petty Officer
Joined
Feb 7, 2009
Messages
687
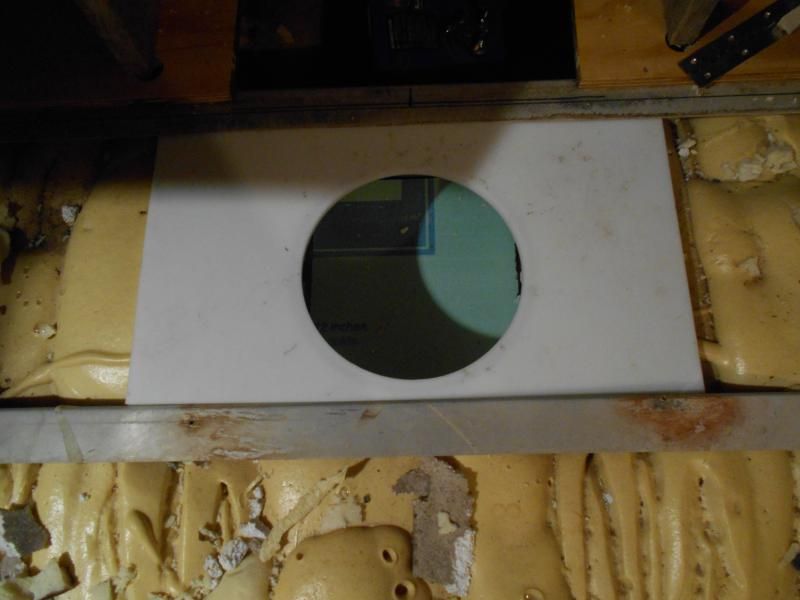
Some project updates: I have all three coats of Epoxy on my deck boards now, so it's almost time to vinyl them. I've also been working on my poly bucket project. I got it all cleaned up and fit a drain plug in it. Cut it to the right height. Then I dropped a piece of closed cell foam in the hole and used some 100 mile an hour tape to seal the gaps so that the foam won't get down into the main drainage between the bow and stern. I placed a couple of shims also, so that water in the bucket would angle slightly towards the drain hole. Then I held the bucket in place and began pouring the foam. When the bucket was secure, I placed the uhmw sheet on top with the lip of the bucket fitting into the routed groove poured the last foam and secured the sheet. It came out pretty nice. The uhmw sheet will never ever rot and gives me a nice place to cut something if need be. I think I'll also put a tape on it to measure fish. Next step there is to finish a hatch. Here are some pics.....
.
 

83mulligan

Senior Chief Petty Officer
Joined
Feb 7, 2009
Messages
687
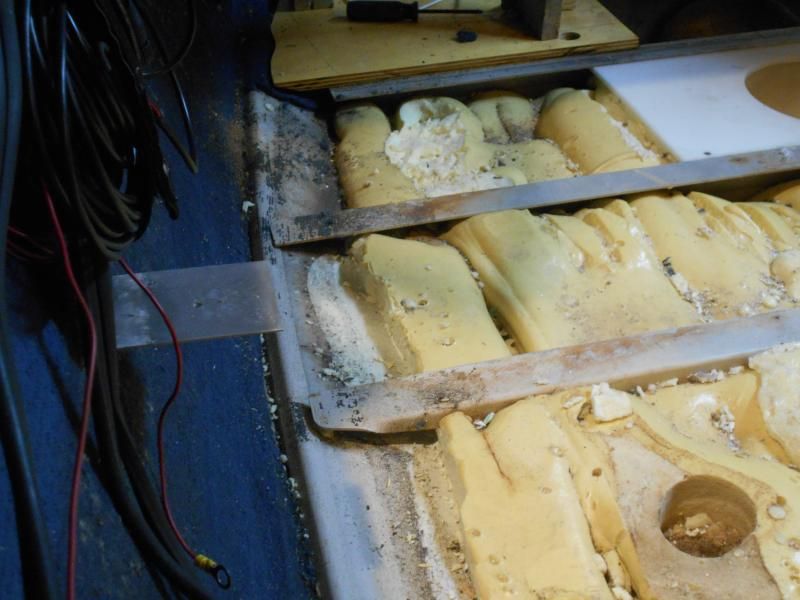
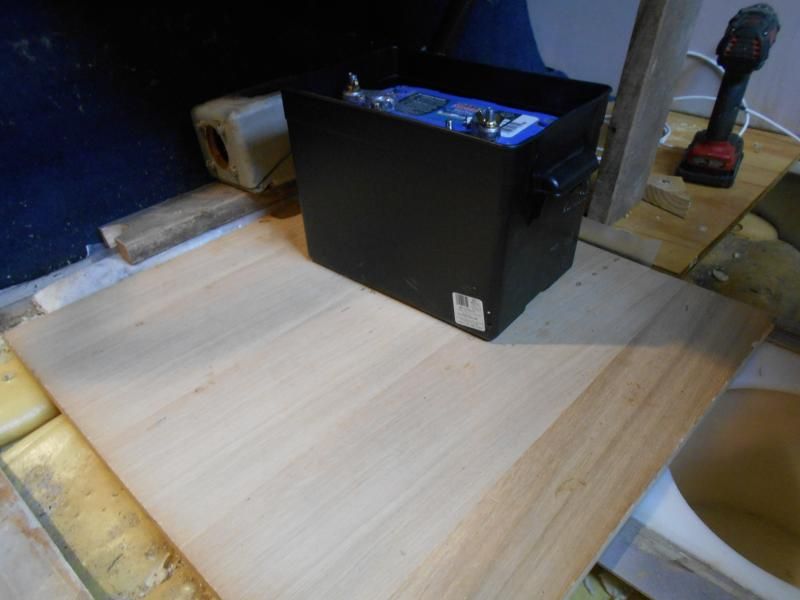
I've been working on the drainage under the deck along the sides. I want to make sure the area cut out of each rib allows water to flow freely to the stern. When the manufacturer foamed, some of these holes were constricted and there were large peaks and valleys in the foam along the way. So, I cut the foam back along the sides. I rolled up a towel and stuffed it in the holes under the ribs. The towell is wrapped in wax paper so I can pull it out after I foam. I also lay wax paper along the top of the ribs. Then I cover with a board and put a battery on top for weight. Small pours are giving me the control I need on the foam to get it level and exactly where I want it................


.
 

83mulligan

Senior Chief Petty Officer
Joined
Feb 7, 2009
Messages
687
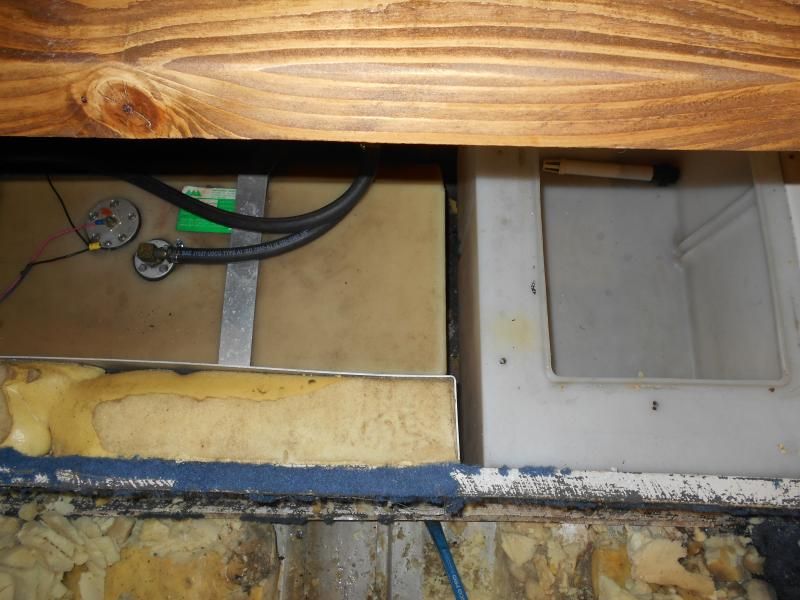
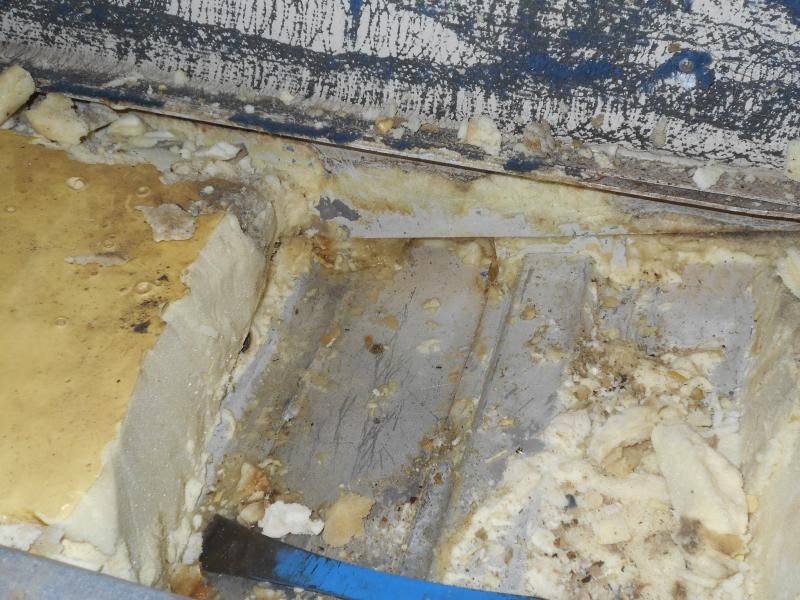
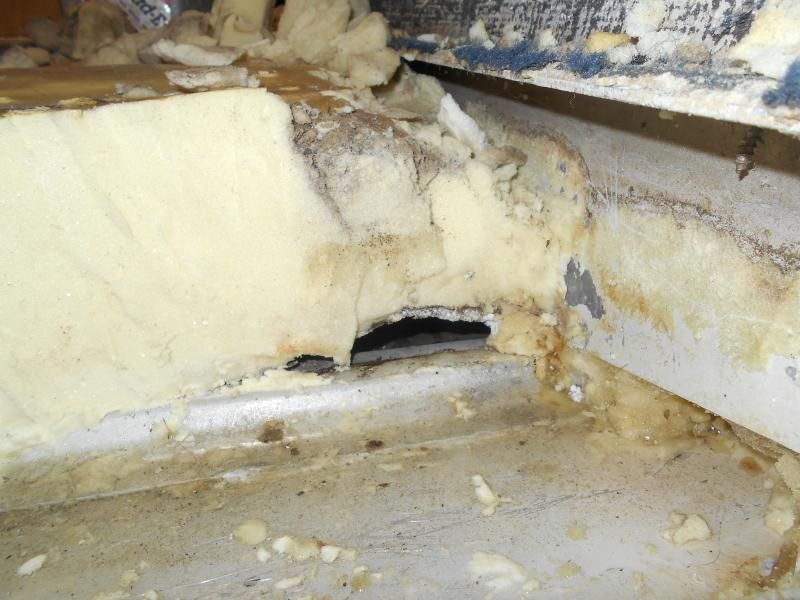
Had a little setback tonight. In the back rib compartment of the deck i found some waterlogged foam in the strake area (I think that's what you call it). Crestliner, when they foamed laid some sheet of foam along the back rib to keep the foam from expanding under the splash well, effectively sealing in the water that gets into the depression formed by the hull in that area. The bottom couple inches are soaked. Its only about an inch in the next compartment. However, there is a big rectangular box in front of the gas tank that appears to be wet on the bottom as well. I have to get it all out of the back compartment and evaluate from there. Pics tomorrow in case anyone is reading this thread, lol
 

jigngrub

Fleet Admiral
Joined
Mar 19, 2011
Messages
8,155
The re-done foam looks a lot better.

I don't know how much good that drainway is going to do on the side, but it sounds good in theory. I prefer a drainway down the center/keel of the bilge with a deck drain installed through the decking. This gives water more room to accumulate should you get a lot of water on the deck quickly and it lines the water up with the bilge drain plug for a direct route out of the boat to get rid of it quickly. The water in the bilge over the keel will also act as ballast and keep your boat in an upright position in an emergency instead of rolling over when the water on deck rolls to one side.

You can go ahead and keep pouring your foam solid and then come back and cut and dig out the foam for the keel bilge drain.

My boat was designed with the keel bilge drain and it worked really well whenever I got caught in a monsoon type flash flood rain:

... and you can see the deck drain here:


Water off the deck and into the bilge to be either pumped out by the bilge pump or drained when the bilge plug is pulled.
 

83mulligan

Senior Chief Petty Officer
Joined
Feb 7, 2009
Messages
687
Jig, the boat is designed like that, kind of. The ribs on the floor are open in the center. The problem is they sealed it all off with a sheet of foam and poured a "cap" of foam about 6 inches thick over the top. So the keel is open under the foam, Water just can't reach it from the deck. The ribs are open on the side too. So, I'll definitely be exposing drainage to the Keel area under the deck in each compartment and drainage directly to the bilge in the back section for water on the deck. I'll try and post some better pics of the areas today.
 

83mulligan

Senior Chief Petty Officer
Joined
Feb 7, 2009
Messages
687
Well, I did some investigating and here is what I found.....There is another rib 12 inches behind the back deck. The fuel tank lips over the top of the rib and onto a board. The foamed box sits on top of the board too, and is not a concern. The problem is the foam under the board, which is very wet and effectively seals water from leaving the area under the deck. Here is a view from the top
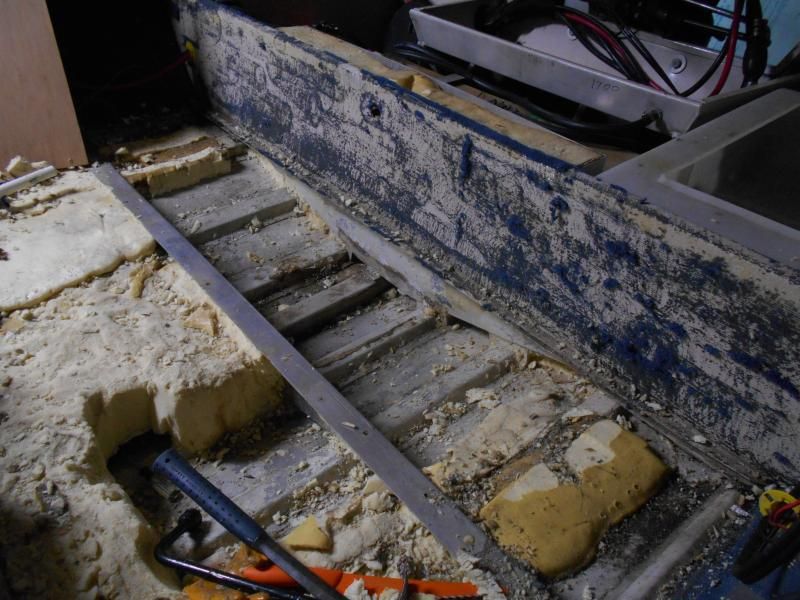


Looking from the bow side, you can see where the water accumulates. I poured water in that spot and it just does not drain back. I also poured water down my channels on the sides and it goes right through and to the bilge.


Here is a view from the side where I punched through the slip sheet of foam they used to keep poured foam out of the keel area. Sadly, it also keeps water from getting the the keel area and the bilge. However, the foam on top of this area is dry.


83mulligan

Senior Chief Petty Officer
Joined
Feb 7, 2009
Messages
687
So the plan, unless someone has a better suggestion, is to hog out the foam in that channel, punch it open to the bilge, and try to get it flowing back to the bilge.

That 12 inch channel in the back with the fuel tank and livewell over it will be a project for next winter.
 
Last edited:

83mulligan

Senior Chief Petty Officer
Joined
Feb 7, 2009
Messages
687
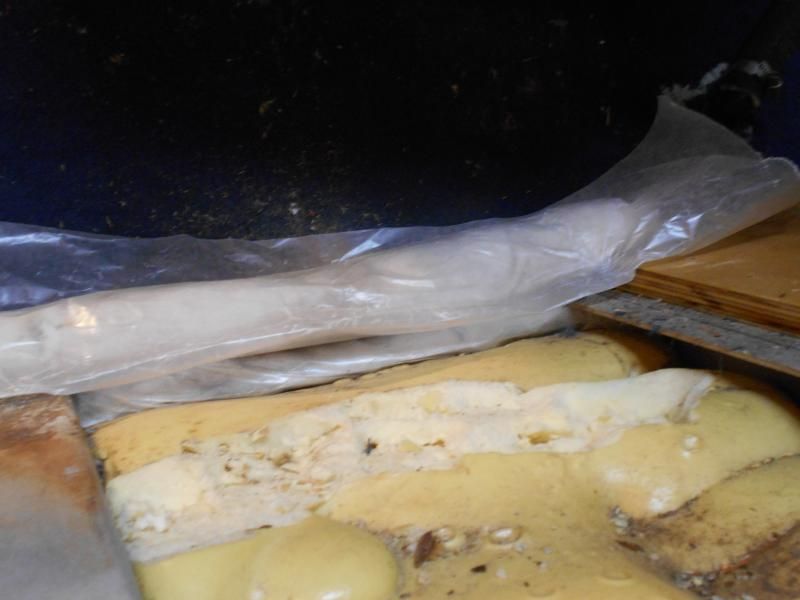
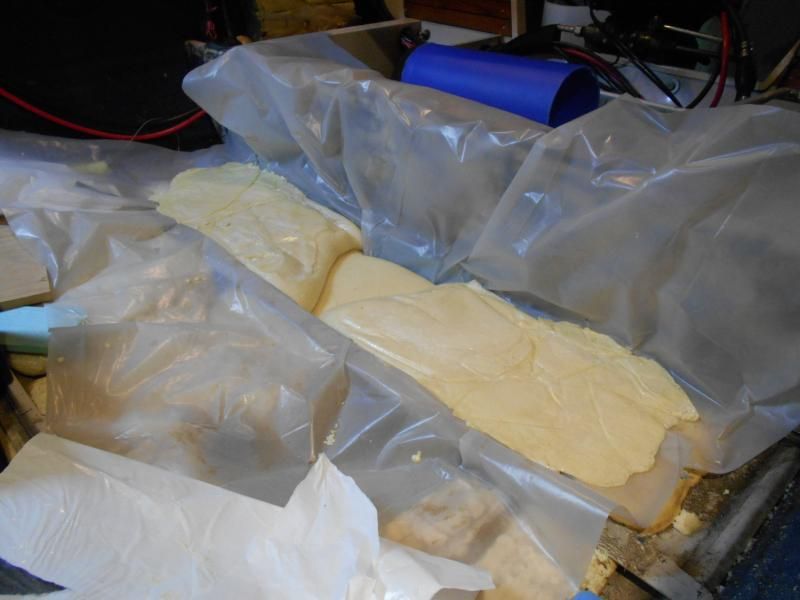
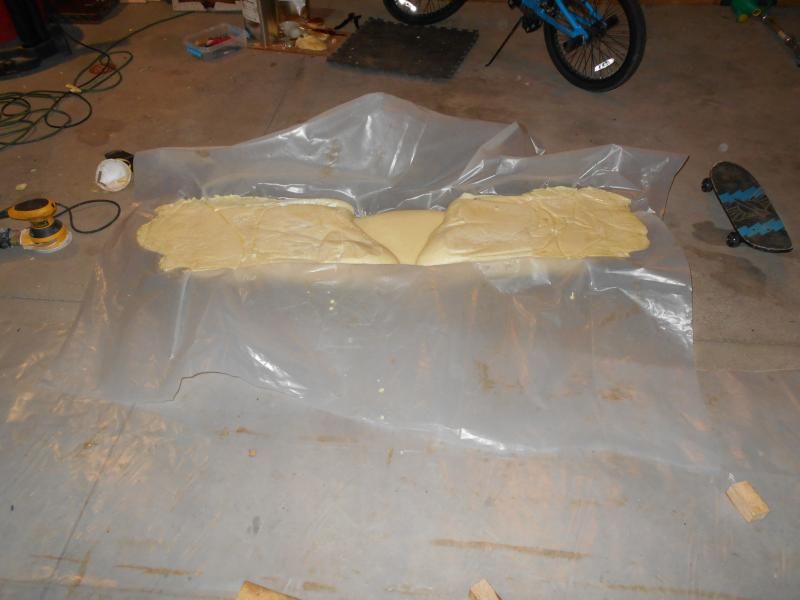
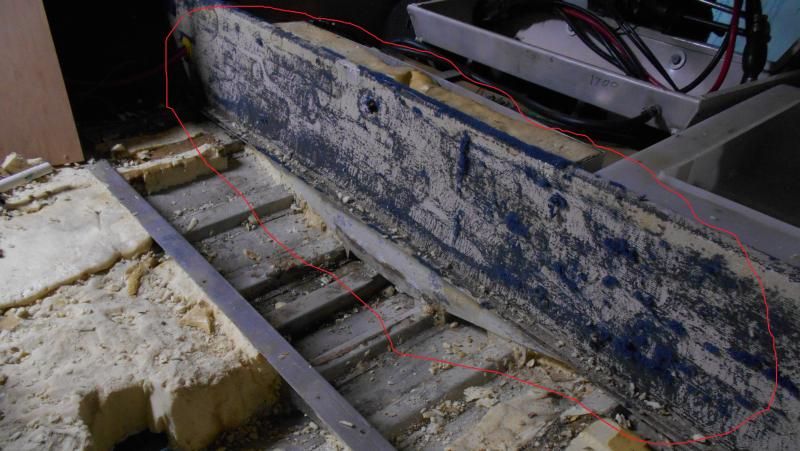
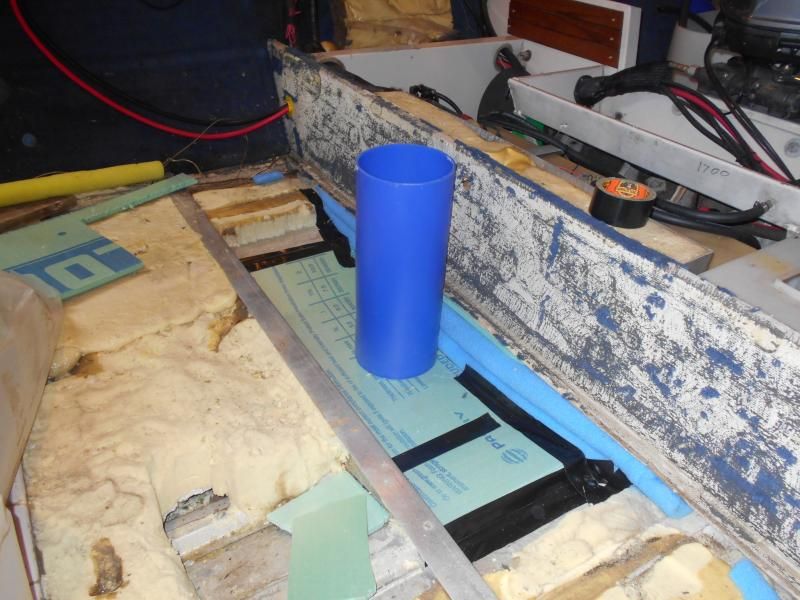
Got all the foam out of the back compartment. Then I punched a hole through the foam under the fuel tank and livewell so those areas would drain to the back of the boat. I used a piece of pvc cut on an angle to core it out. Next step was to make a form for my pourable foam so that it would remain off the hull and allow water to drain. I decided to bag this one so I could just pull it out any time. I'm wishing now I'd have done this with all my foam, but life goes on. Here are some pics of the work.

Foam Removed


Form made and set (i didn't end up using the blue plastic tube
)

Plastic sheet laid, foam poured


Foam pulled out of boat, came out with no effort
 

83mulligan

Senior Chief Petty Officer
Joined
Feb 7, 2009
Messages
687
With foaming complete, the last really nasty job I have to do before the fun rebuilding part is getting the old nasty carpet glue off this aluminum panel. I'm guessing i have to get out the grinder with a flap wheel disc and sand it off. Any thoughts?


83mulligan

Senior Chief Petty Officer
Joined
Feb 7, 2009
Messages
687
Wow, removing the old carpet glue from this back aluminum panel sucks! The grinder melts it and slings it everywhere. I've resorted to using my dremmel with a scraper blade. Anyone got any tips on how to make this go easier?
 
Top