Toilet Installation Mishap . . .

captmello

Captain
Joined
Jun 30, 2008
Messages
3,828
the better Kohler models have a metal bracket pre mounted to the bottom of the tank that the bolts mount into so you don't have to worry about the bolts helping to make the seal in the tank. the bracket also has feet that touch the bowl to indicate when it's tight enough. they also have better flushing engineering...definitely worth the extra 100 bucks. live and learn.
also, I find it much easier to mount the tank after installing the bowl. you may already be doing it this way.
 

tpenfield

Moderator
Staff member
Joined
Jul 18, 2011
Messages
17,707
Yes, should have gotten the higher-end model . . .

However, the thrown awaits . . .
IMG_0355.JPG
.
I got 3 more of these to install, so hopefully they will suffice. They flush better than the old toilets.
 

tpenfield

Moderator
Staff member
Joined
Jul 18, 2011
Messages
17,707
Second installation without a mishap :D (y)

I did a second bathroom this weekend . . . more of a makeover than the first bathroom. this one was new flooring (Vinyl plank) and new toilet. My learnings from the first installation paid off.

IMG_0359.JPG

The Admiral has now requested that I bring the defunct outdoor shower back online in preparation for summer :rolleyes:🤪
 

redneck joe

Supreme Mariner
Joined
Mar 18, 2009
Messages
10,272
I've got some thoughts on the silver coming off the mirror if you are interested.
 

redneck joe

Supreme Mariner
Joined
Mar 18, 2009
Messages
10,272
ok, depends on your comfort level with glass. If you get into the removing thing, make sure you have the rubber palm gloves and they are cleaned with acetone and shop towels prior to use. Wear long sleeves.

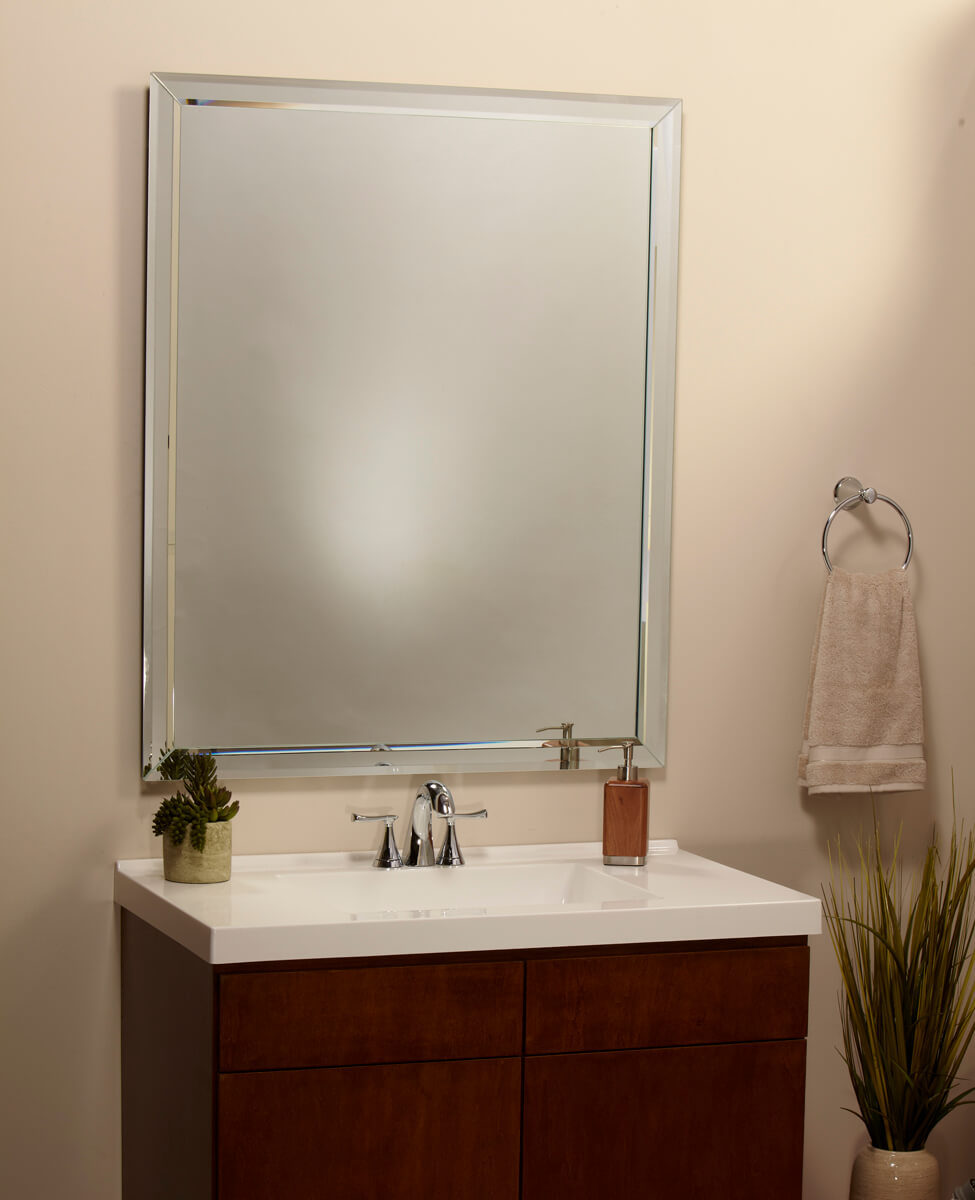
The silver is coming off due to the trapped moisture against the vanity top.


You can trim out with wood, or flat aluminum or xxx. Small dabs of silicone will hold with tape on while setting up.

Get exact dimensions and go to your local glass shop to have them cut you beveled strips to frame. This is one sample, there are many corner piece options. They stick on with a GOOD 3M two sided tape, as thin as you can get. Leave drainage areas. That buys you another 10 years or so.


To remove:
Use heavy braided fish line to saw back and forth (two people) to cut thru the mastic. It looks like you have no mechanical fasteners (against code btw I've had them fall off before)

Then take to glass shop to have them trim out in the strips mentioned above, cut the bad off and or cut to install in a frame of some sort.

If you do remove, when reinstalling I think the best for a 'frameless' look is nickel finish J channel. ALWAYS drill some drainage holes in the bottom strip and leave a gap to the vanity top.

Again if removing, always set at a good angle to the wall with soft something underneath, never on bare garage floor.

If you choose to re-glue to the wall, so NOT use silicone get a specifically made mirror mastic.

Cheap and to keep with changing fashion is to use vinyl tape in varying widths and colors and patterns.


Have fun.
Beveled-Mirror-Strips-1-1.jpg
 

tpenfield

Moderator
Staff member
Joined
Jul 18, 2011
Messages
17,707
I probably will leave it as is for now and add a frame if it becomes a troublesome eyesore. :D
 
Top