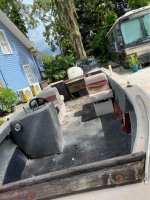
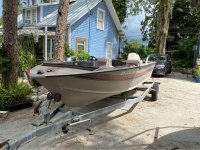
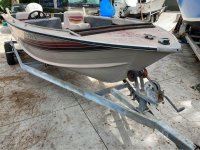
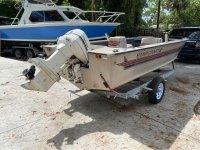
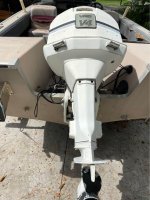
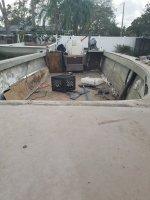
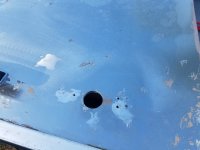
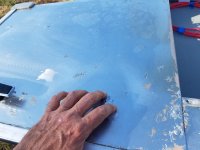
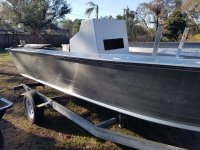
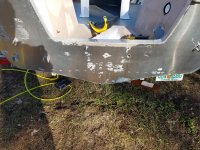
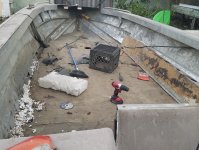
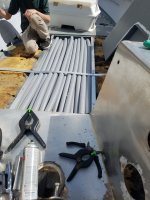
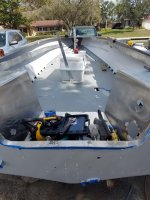
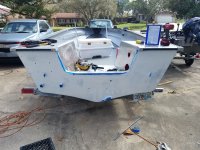
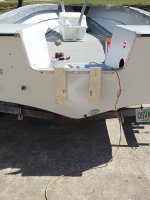
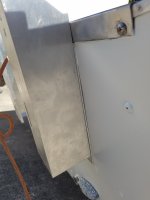
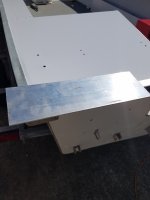
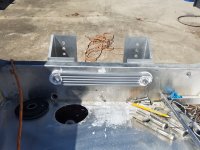
I'm slowly making progress on my first aluminum boat project. I'm more used to fiberglass boats so it's a bit of a learning experience. I haven't really been documenting it but I have some a few pictures of the progress so far. The plan is to end up with a center console similar to a Mariner. From the beginning: